
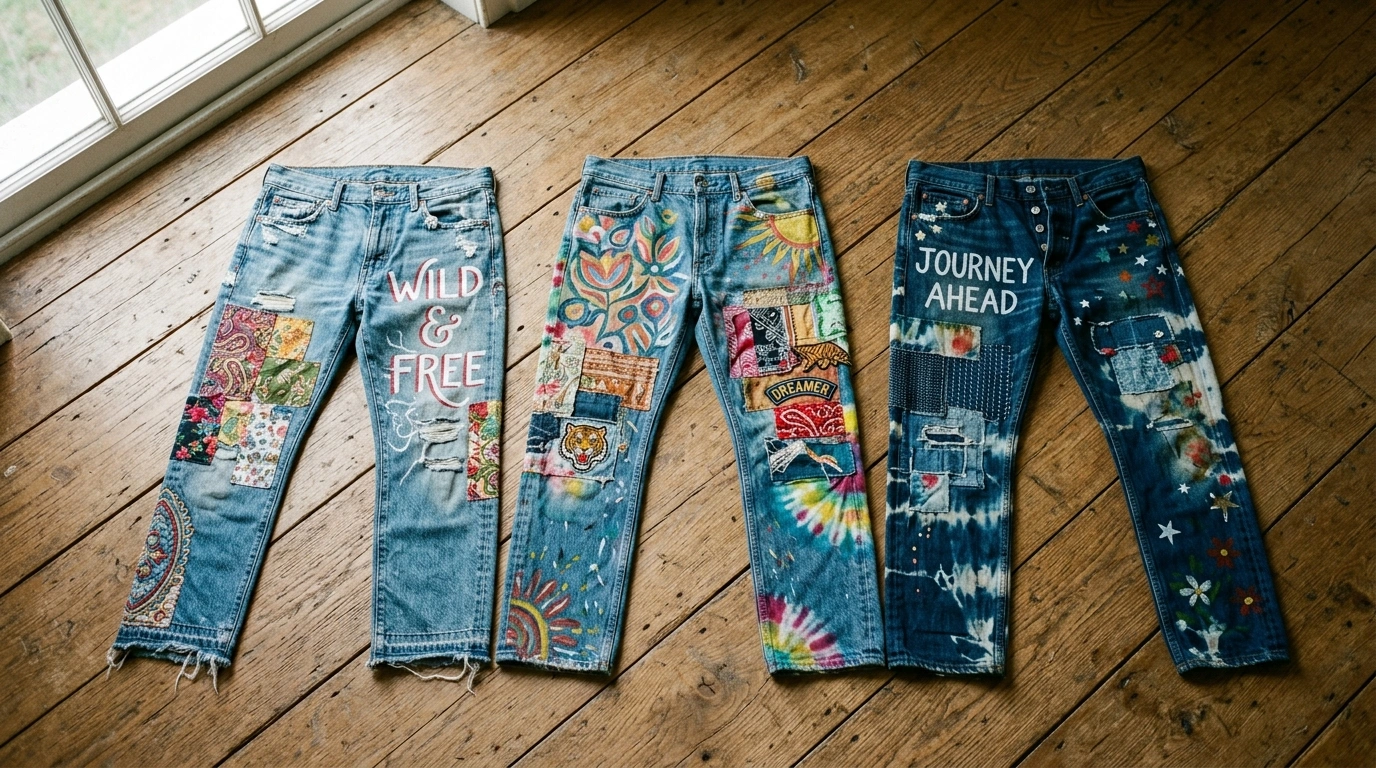
Everyone paints their name down one leg. That is where most pairs begin and end.
Which is fine, except by October half your class is wearing the same layout in different colors.
The senior jeans ideas below go past lettering into dye, hardware, texture and cut. Every one of these senior jeans 2027 ideas works on denim you already own. Some take an afternoon, some take a weekend, and the prep section at the start is what decides whether any of it lasts.
What Makes a Pair Actually Work
For anyone who has not run into these before, decorated pants are what graduating students make to show school spirit through their last year. No rules beyond that.
Which is exactly the problem. Unlimited options plus no structure produces a lot of half finished denim sitting in closets.
Two things separate a pair that gets worn from a pair that gets abandoned. The design has to suit the base you started with, and the materials have to survive washing.
Most senior jeans inspo online skips the second half entirely. Photos get taken the day the paint dries and nobody posts the cracked version from February.
So the technique sections here matter as much as the design ones.
1. Start With a Cheap Pair That Still Fits Properly
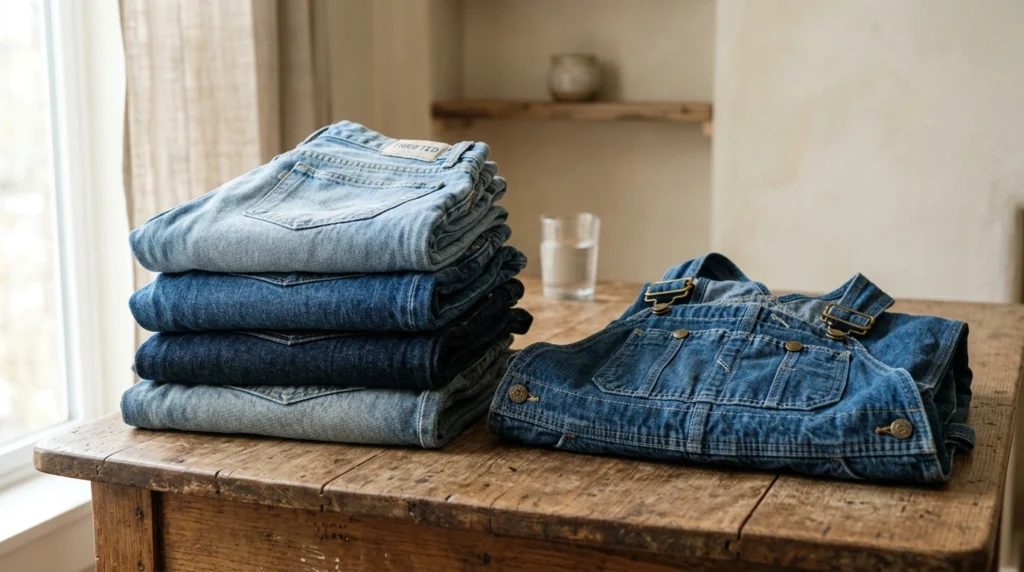
Do not decorate expensive denim. This is a year of wear, spills, and experiments that will not all work.
Thrifted pairs and clearance racks are the right hunting ground. Overalls belong in the same category and take decoration well because of the extra flat surface across the bib.
Fit still matters though. A pair you decorate but never wear because the waist digs in was wasted effort, so check the sit-down comfort before a single brush comes out.
The mistake here is buying something a size down with plans to grow into it. Senior year is not long enough for that gamble to pay off.
2. Pick Your Canvas: Light Wash, Indigo or Black Senior Jeans
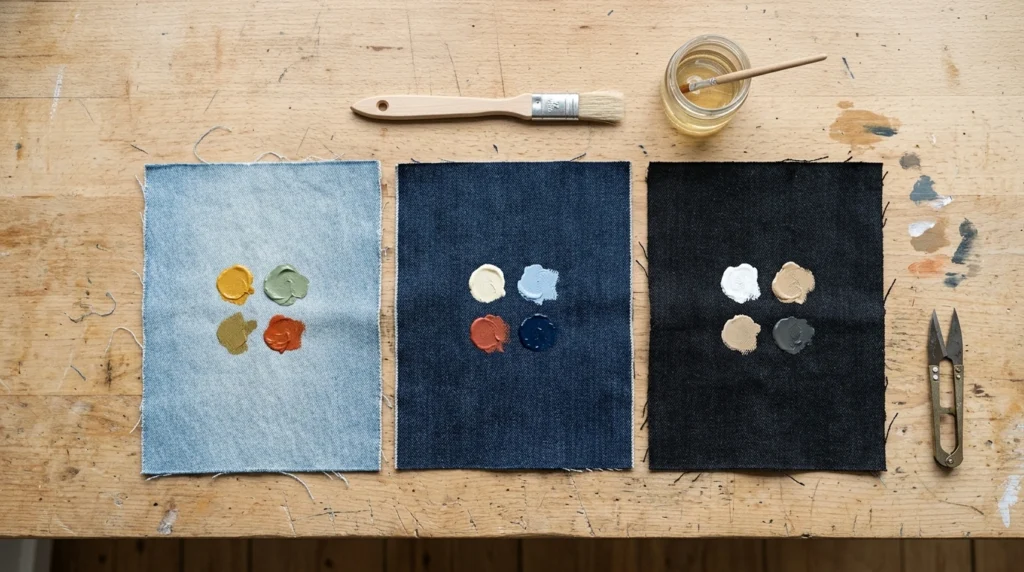
Base color changes everything about how a design reads.
Pale washes are the most forgiving. Almost any paint color shows up against them, which is why they suit detailed work and multi-color designs.
Darker denim needs a different approach. Metallics and highly saturated shades hold their own against a deep base, while pastels sink into it and vanish from a distance. Black senior jeans look sharp with gold, white, or neon, and poor with anything muted.
Blue is the default because most closets contain it. Nothing requires it though. Cargo pants, corduroy and khakis all take the same treatment.
3. Wash the Denim Before Any Paint Goes Near It
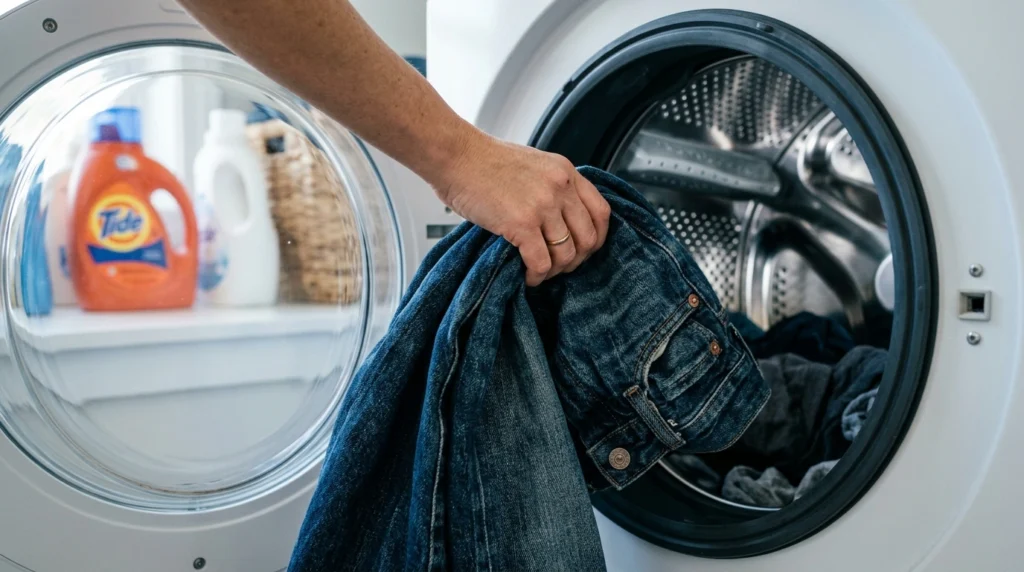
Skipping this ruins more projects than bad brushwork does.
New denim carries sizing chemicals from the factory, and anything already in your closet may carry fabric softener residue. Both form a barrier that stops paint bonding to the fibers. It will look fine while wet and flake within weeks.
Run the pair through a normal wash with regular detergent and no softener at all. Dry them fully.
Do not iron a crease into the leg before painting either. Paint applied over a pressed fold cracks along that line first, since it is the spot that flexes most.
4. How to Make Senior Jeans That Do Not Crack in the Wash
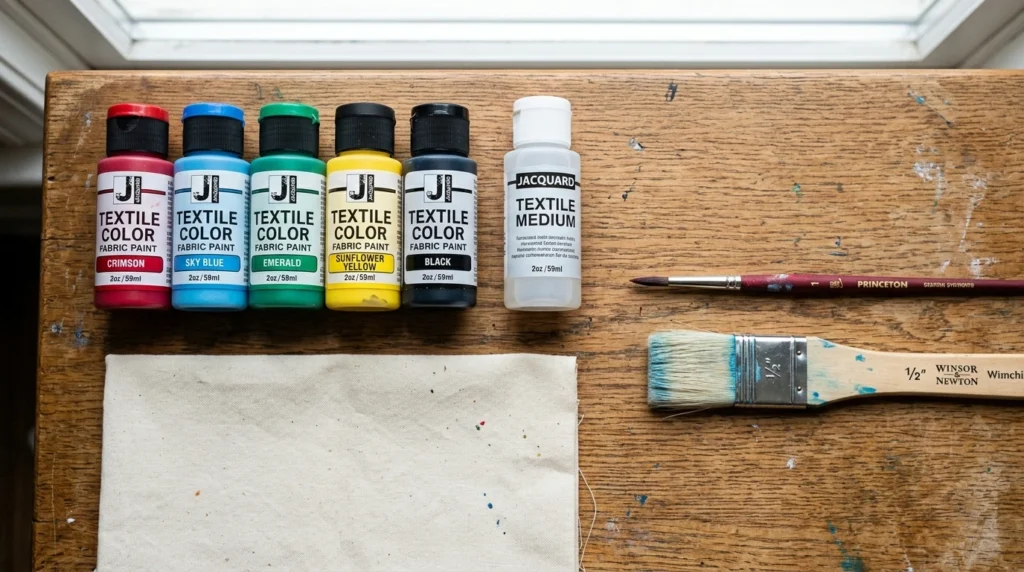
Material choice does most of the work here.
Standard craft acrylic is the usual culprit behind cracked and peeling designs, because it dries into a rigid film that cannot flex with denim. Fabric paint stays pliable instead.
If acrylic is what you have, a textile medium mixed in converts it. Follow the ratio on the bottle rather than eyeballing it, since too little medium leaves you back where you started.
Get two brush types while you are shopping. Fine tips handle outlines and lettering. Broader ones fill large areas without leaving visible stroke marks across the fill.
Thin coats beat thick ones every time.
5. Choose Colors That Read From Across a Hallway
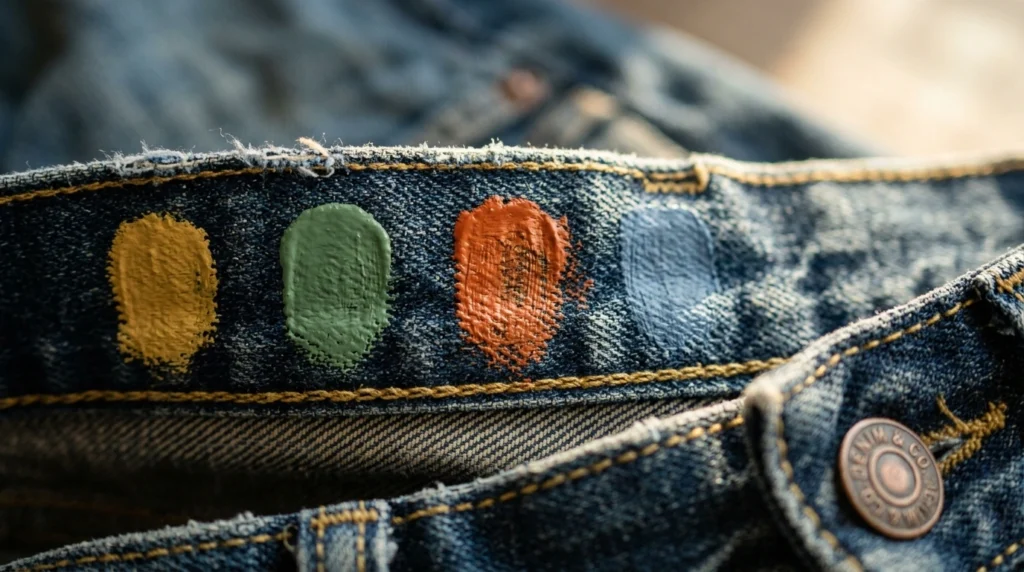
Most senior jeans ideas fail at the color stage, and subtle is the wrong instinct for this project.
Bright shades against denim are what make senior painted jeans visible in group photos and from the far end of a corridor. Anything close in tone to the base disappears at distance no matter how neat the work is.
School colors are the obvious starting palette and they photograph well at games. Nothing stops you going outside them though.
Test each color on the inside waistband first. Denim shifts pale shades noticeably, and yellow in particular can turn green against blue.
Hold the whole design to two or three colors. Past that, nothing reads clearly.
6. Fill the Lettering With Pattern Instead of Flat Color
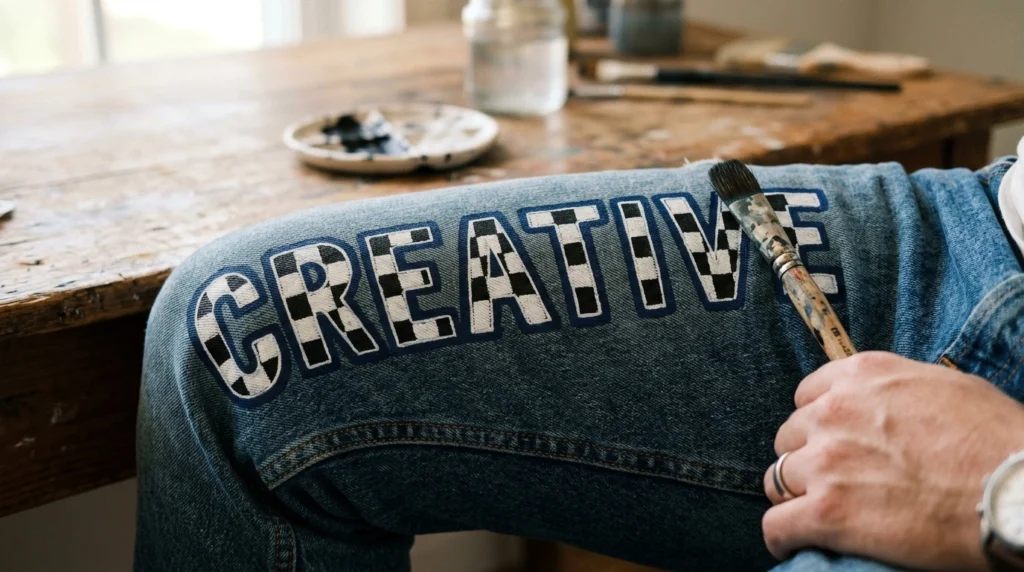
Here is the upgrade that costs nothing. Instead of solid painted letters, outline them and fill the inside with something.
Checkerboard. Stripes. Tiny flowers. Stars. The letter shape carries the message and the fill carries the personality.
Iron-on letters work as a shortcut if freehand lettering is not your strength. Press them down first, then paint pattern around and between them so the finished piece does not look purely store bought.
Draw the outline in pencil before committing. Graphite brushes off denim easily and paint does not.
Keep the pattern scale generous. Detail smaller than a fingertip turns to mush at photo distance.
7. Try Ice Dye Instead of the Standard Spiral
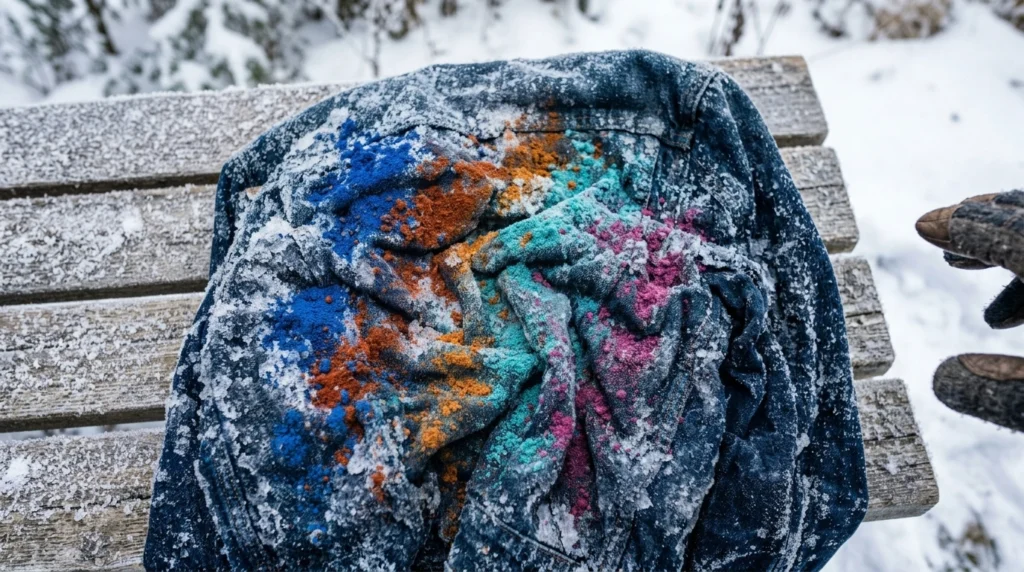
Tie dye on senior pants is common enough that it barely registers anymore. Ice dye is the version that still looks unexpected.
The method is different from regular dyeing. Scrunch the fabric, pile ice over the top, then sprinkle powdered dye onto the ice. As it melts, the dye travels unevenly and breaks into its component colors, which produces a marbled result no spiral pattern gets close to.
Jewel tones do this best. Emerald and plum over a pale base give depth that pastels cannot.
Wear gloves and work over a sink or outdoors. Powdered dye travels further than you expect.
8. Fade One Shade Into Another Down the Leg
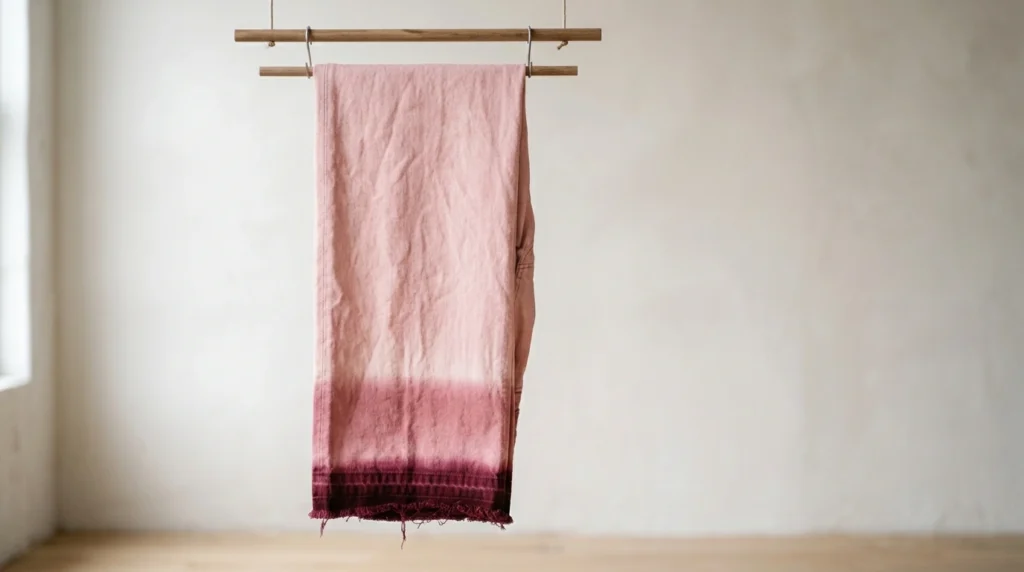
Ombre reads as effort even though it is one of the easier techniques on this list.
Skip the expected combinations. Burgundy melting into pale pink looks far better than the usual blue to white, and it suits fall photos when most of these get worn.
Work with the jeans hanging rather than flat. Dip the hem in the deeper shade first, then lift gradually so the color thins as it climbs.
The failure point is a hard line where the two shades meet. Keep the fabric moving and blend the transition zone while everything is still wet.
Rinse until the water runs clear or the darker shade will bleed into the lighter one later.
9. Distress on Purpose Instead of Randomly
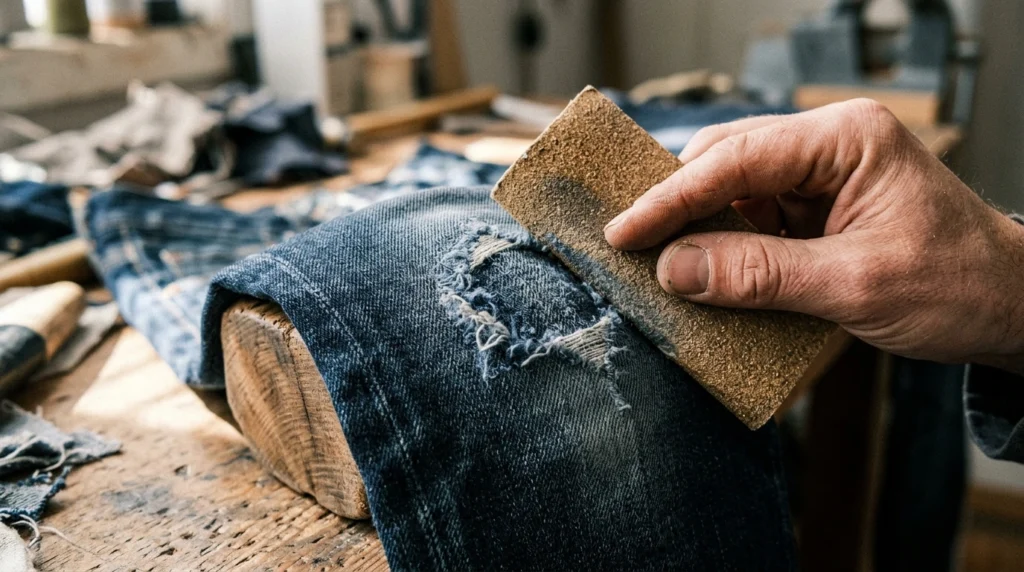
Random distressing looks like worn out jeans. Placed distressing looks like a design decision.
Think in shapes. Horizontal bands across one thigh. A star outline at the knee. A frayed patch just above the ankle.
Medium grit sandpaper is the safest tool and gives the most control, since it thins the surface gradually and lets you stop at the right moment. A seam ripper handles individual threads for a fringed effect.
If you use a blade, put a board inside the leg, cut away from your body, and never work on fabric you are wearing.
Wash the pair afterward. That is what turns scratched fibers into proper fray.
10. Add Cord and Hardware Without Sewing Anything
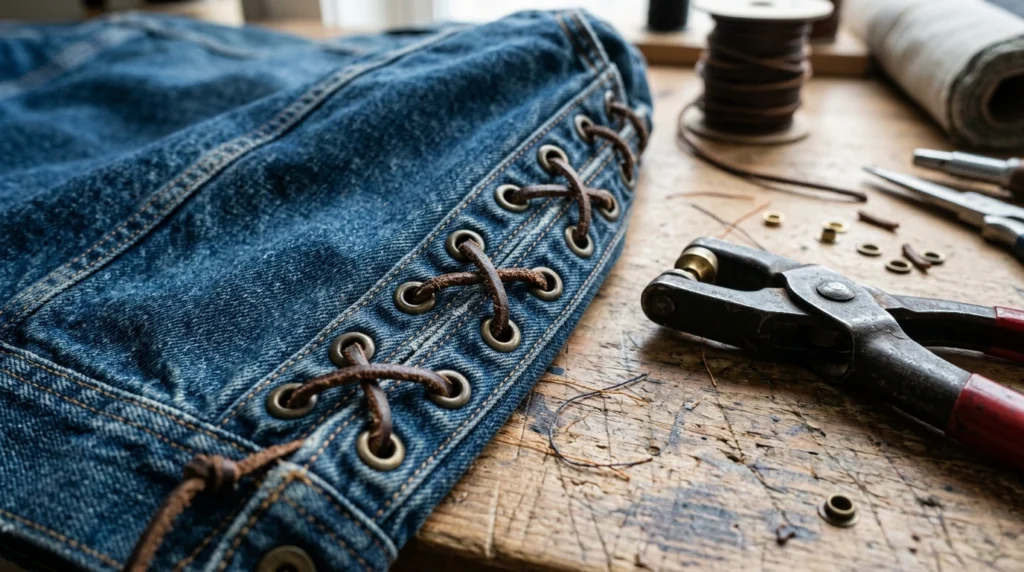
Two techniques here, neither needing a needle.
A grommet kit turns the outer seam into a lace-up panel. Punch holes evenly down both sides of the seam, set the grommets with the tool included, then thread satin ribbon or leather cord through and lace it. Space the holes with a ruler, because unevenness on a straight seam is glaringly obvious.
The second option takes five minutes. Thread a long sash through the belt loops as normal, then knot it at one hip instead of the front and let the tails hang down one leg.
Both add movement to an otherwise flat garment.
11. Change the Hem With Ruffles or Side Slits
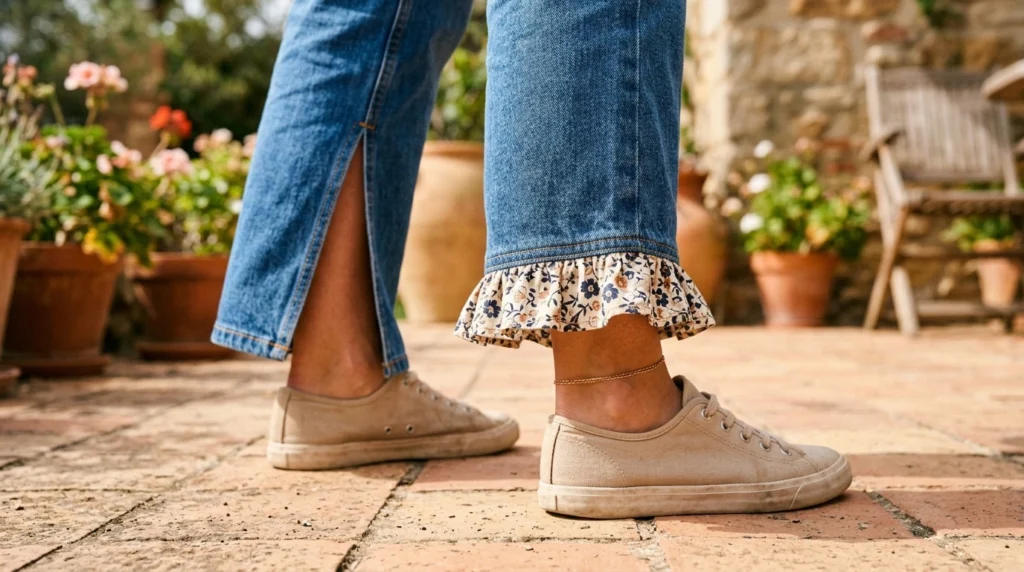
The bottom third of the leg is dead space in most designs.
Ruffles at the cuff fix that. A gathered strip of contrasting fabric stitched around each hem adds volume where the eye naturally travels down, and it works especially well over painted legs that already carry color higher up.
Side slits are the opposite approach. Opening the outer seam from ankle to mid calf changes the silhouette without adding anything, and it costs nothing but a seam ripper and patience.
Do not slit above the knee. Below that point it reads as intentional styling and above it starts reading as damage.
12. Embroider When You Want Texture Rather Than Color
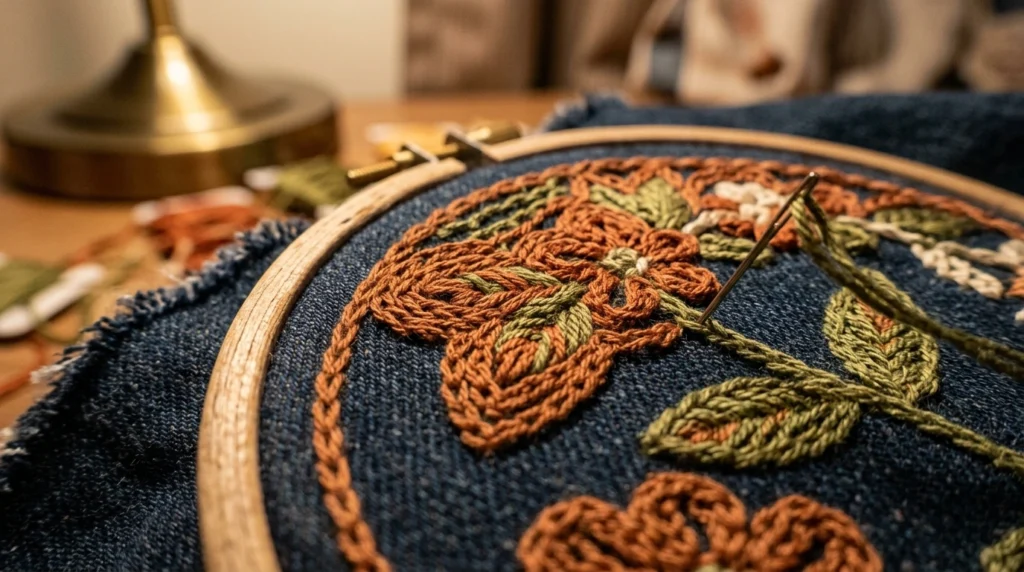
Thread sits above the surface in a way paint never does, and it does not crack.
Embroidery floss in three or six strands covers ground reasonably fast. Chain stitch handles lettering, satin stitch fills small shapes, and a running stitch outlines anything.
Use a heavier needle than feels necessary. Standard sewing needles bend against denim.
This is the slowest technique in the list by a wide margin. A single word takes an evening. So reserve it for something short and put it somewhere visible rather than trying to cover a whole leg.
Hoop the fabric if you can reach it. Unhooped denim puckers around every stitch.
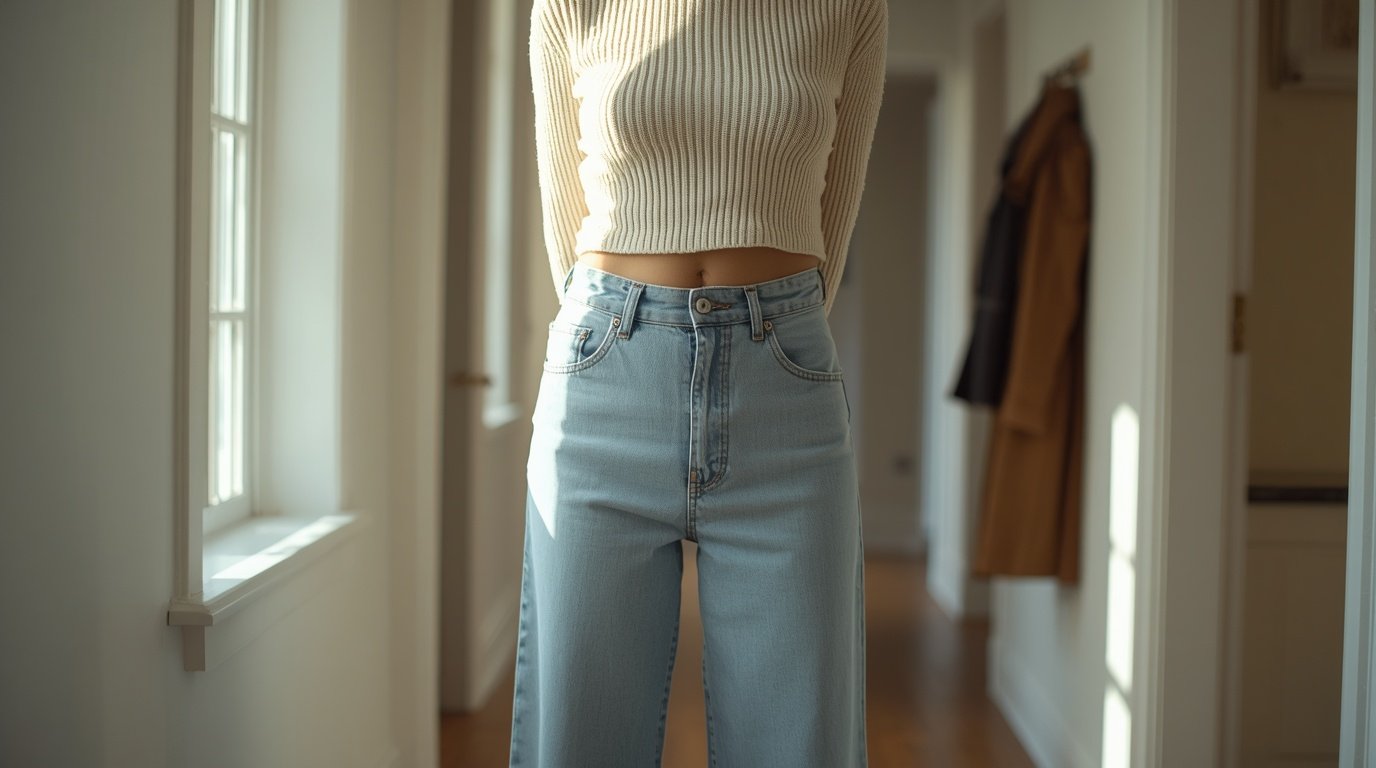
13. Collage Patchwork Across a Wide Leg Pair
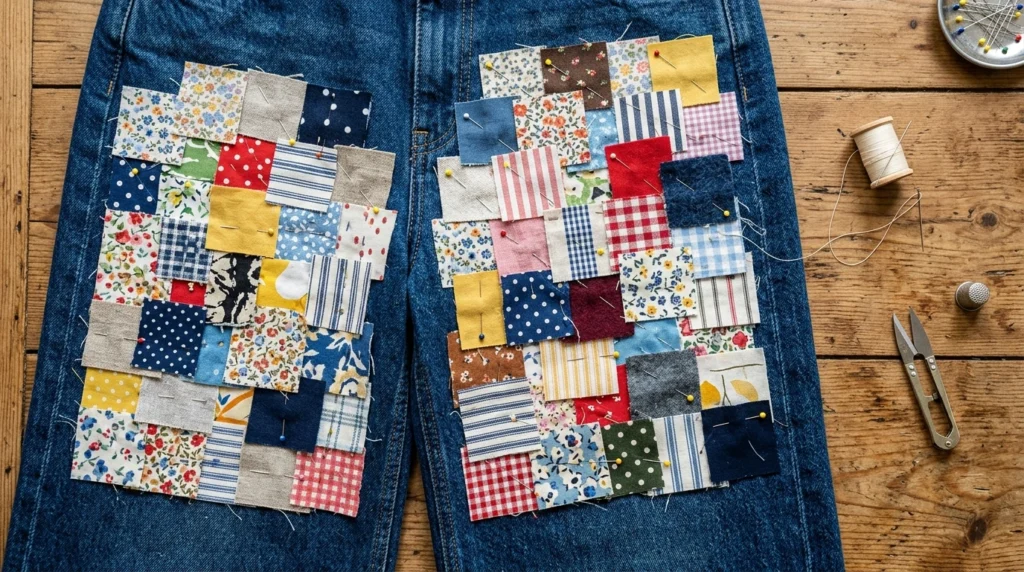
Patchwork is one of the few senior jeans designs that improves with mismatched material, and wide leg denim gives you the surface area to do it properly.
Collect squares from old shirts, bandanas, worn out jeans in different washes. Overlap them rather than butting the edges together, which hides raw edges and looks deliberate.
Attach with a running stitch for durability or fabric glue for speed. Glue is fine for decorative patches that will not take stress and poor anywhere near a seam or knee.
Balance the placement across both legs. All the weight on one side makes the whole pair look lopsided when you walk.
14. Cute Senior Jeans Ideas for a Group Without Matching Exactly
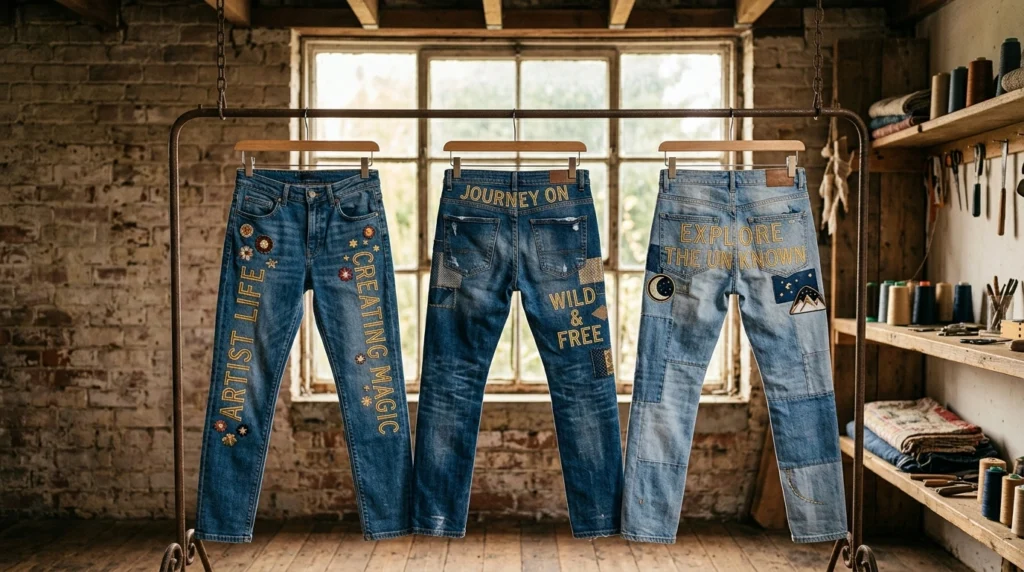
Matching sets look better in theory than in photos. Identical pairs flatten everyone into a uniform.
Coordinated works better. Pick one shared element and let everything else vary. A single lettering color across three pairs, for example, with each person choosing their own placement, font and denim style.
Themes hold a group together the same way. Stars on one pair, stripes on another, both on a third.
Matching shirts pull the whole thing together in group shots while the denim stays individual underneath.
Agree the shared element before anyone starts. Retrofitting coordination onto finished pairs does not work.
15. Overalls, Skirts and Jackets Count Too
Nothing says this has to be full length denim pants.
Overalls give you a bib panel that works like a canvas, which is why decorated pairs stand out in group photos even when everyone chose different designs.
A denim skirt takes every technique on this list and reads differently from the whole class. Same for a jacket, which has the advantage of being wearable long after graduation and does the heavy lifting on cold game nights.
Sourcing senior pants ideas from the wrong garment category is not a mistake. It is the fastest way to end up with something nobody else has.
Practical Tips Before You Start
Set up somewhere you do not mind ruining. Garage floor, back patio, or a folding table with a drop cloth under it. Dye and fabric paint find carpet with uncanny reliability.
Put cardboard inside both legs before painting anything. Denim is thinner than it feels and paint bleeds straight through to the back.
Let the paint dry fully before anything else, usually somewhere between 24 and 72 hours depending on what the bottle says. Then wash them inside out on a cold gentle cycle, always. Hot water and a normal cycle undo weeks of work in one load.
Accept that some of it will go wrong. Paint runs, glue shows, a letter comes out crooked. Any diy senior jeans project carries that, and the fix is usually working the error into a bigger shape rather than starting over.
Keep leftover paint sealed and labeled. Touch ups happen and matching a mixed color from memory does not work.
Frequently Asked Questions
How long does a full pair actually take? Plan on a weekend rather than an evening, spread across at least two days because drying between stages cannot be compressed. Painting is quick. Waiting is not. Techniques involving dye need a full day on their own since rinsing and air drying add hours before anything else can happen on top.
Can two people decorate one pair together? Yes, and it works well if you split by leg rather than by task. Two people painting the same area disagree constantly about placement. Give each person one leg and agree on the color palette beforehand so the finished pair still reads as one project.
What if my school does not allow decorated clothing on campus? Check the dress code before spending anything. Some schools restrict it to specific spirit days or events. That is not a reason to skip the project, since senior nights, games, photos and parties all still count. It just changes how much wear you get.
Is it worth buying a second pair as a backup? For a first attempt, honestly yes if the budget stretches. Practicing a technique on a throwaway pair removes the pressure that causes most mistakes. Otherwise practice on a scrap of denim cut from an old pair before touching the real thing.
How do I store them after graduation? Fold rather than hang, since hanging stretches decorated denim at the waistband over time. Keep them out of direct sunlight because painted areas fade faster than the denim around them. Interior closet shelf, not an attic or garage where temperature swings will stiffen the paint.
Picking Your First Technique
Choose one method and finish it before adding a second. Pairs that combine four techniques usually started as one good idea that nobody knew when to stop building on.
Prep first. Wash, dry, gather materials, test colors. That hour saves the whole project.
The senior jeans ideas that hold up all year are rarely the most complicated. They are the ones where somebody picked a direction, used the right paint, and let everything cure properly before wearing them out.
Then wear them constantly. That is the entire point.
Related reads: What to Wear with Black Jeans for Sharp Daily Outfits, 12 Tops to Wear With Wide Leg Jeans That Balance the Volume and Red Clay Strays Concert Outfit Ideas That Last the Whole Set.