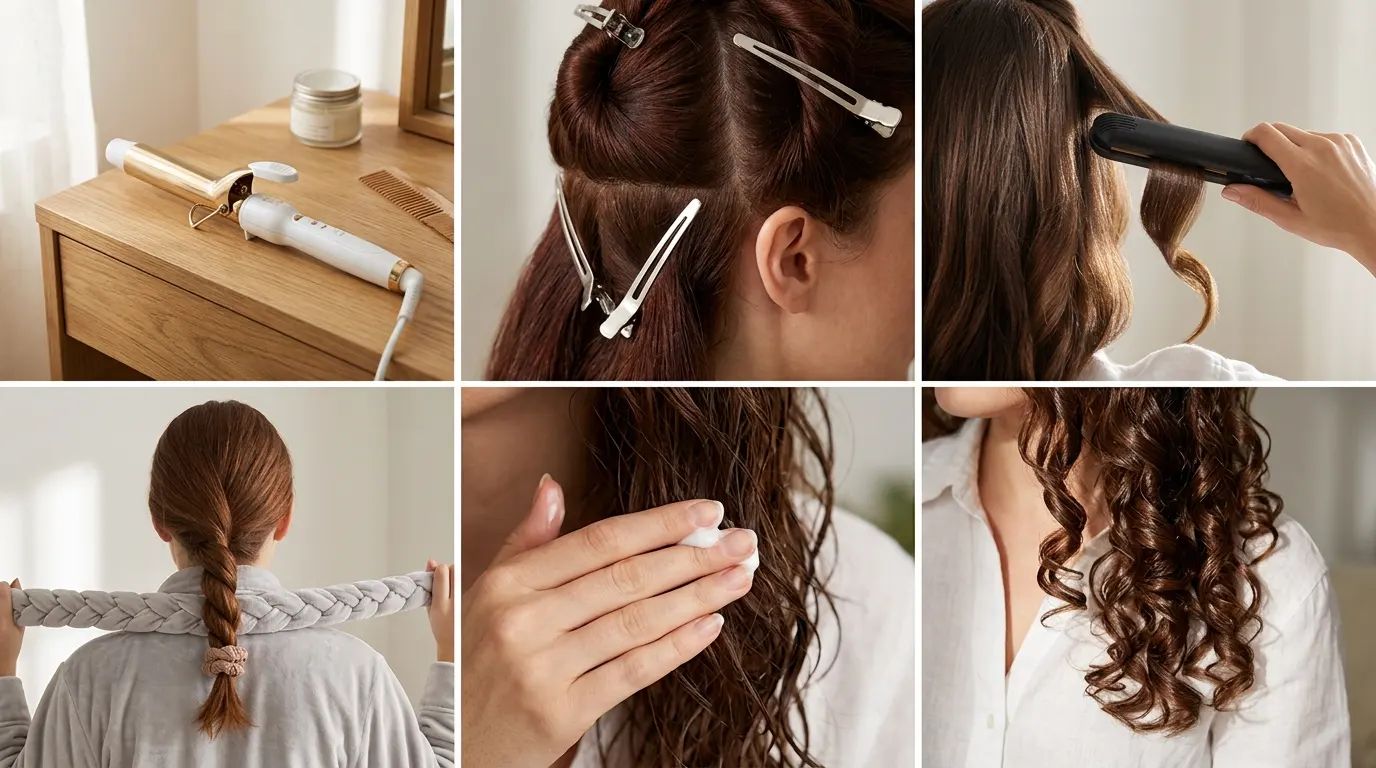

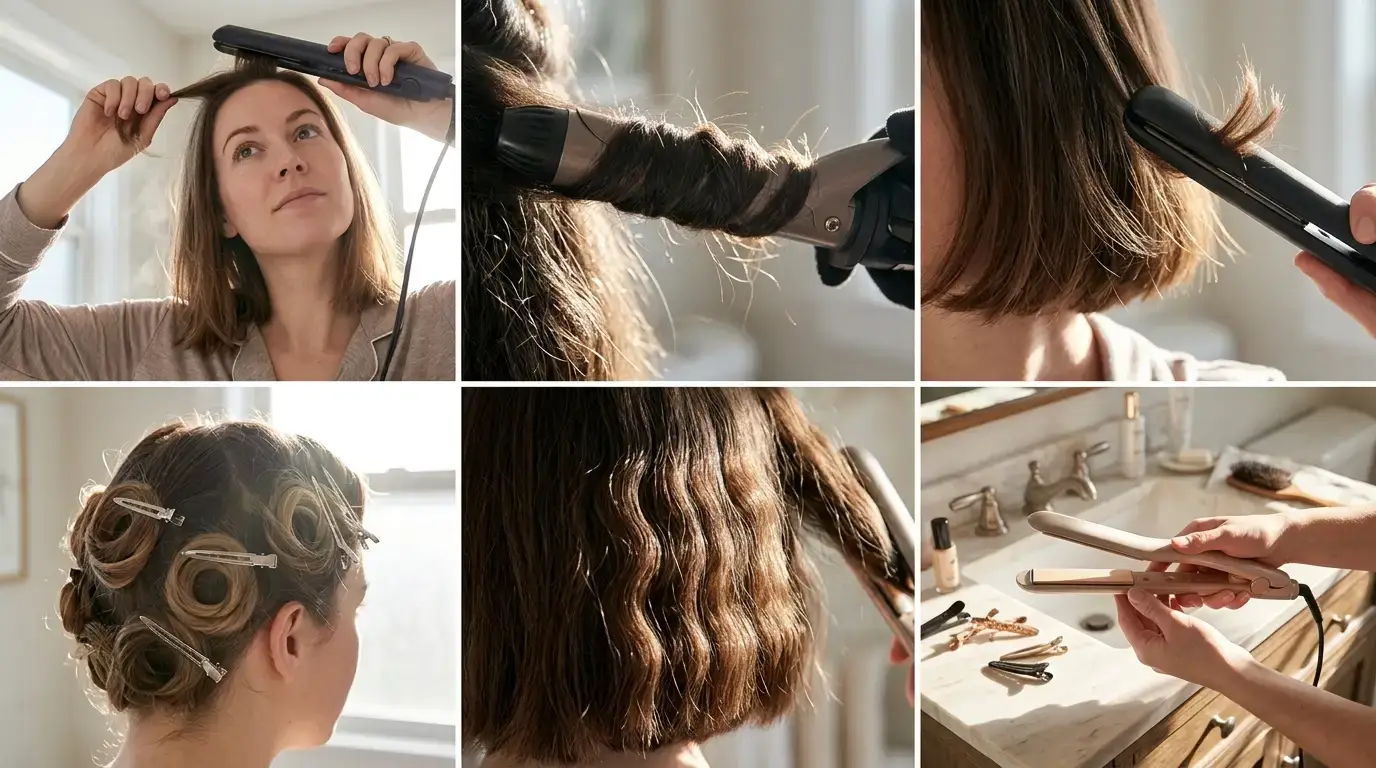
Fine hair collapses under heavy iron tension while thick strands require sustained heat to shift their hydrogen bonds. Using a flat plate tool to shape movement feels unnatural until you realize the outer casing does the shaping while the interior ceramic simply heats the core.
Mastering how to curl hair with straightener plates comes down to rotation geometry rather than pulling down with excessive force. Once you match your personal hair density to the right pass speed and iron profile, you can bypass dedicated curling irons completely.
Disclosure: This post contains affiliate links. If you purchase through these links, we may earn a small commission at no extra cost to you.
Fine Hair Requiring Low Heat and Fast Iron Glide
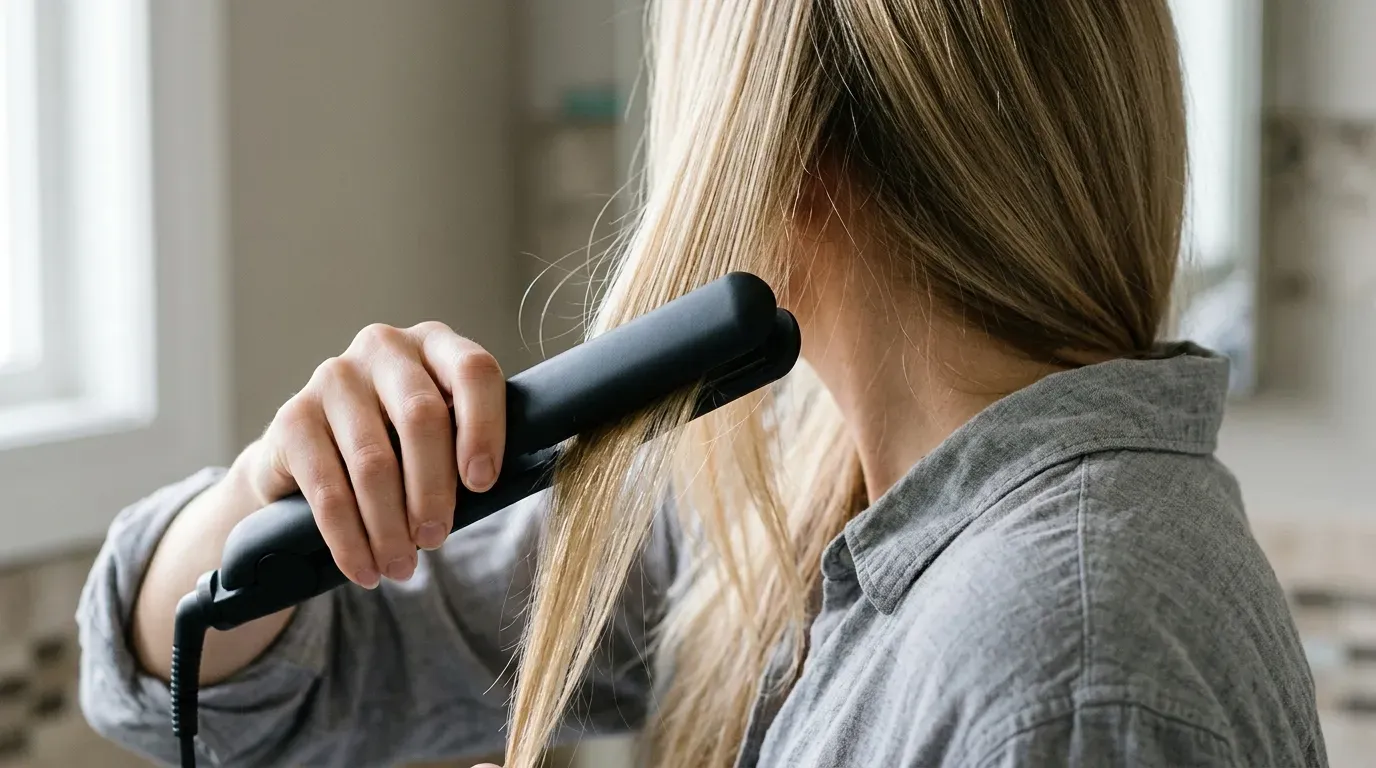
Fine hair strands measure less than 50 microns in diameter, which means their internal cortex heats through almost instantaneously. This profile belongs to anyone whose ponytail is smaller than the diameter of a quarter and whose strands feel like silk thread between two fingers. Anyone with dense, coarse textures must not pick this setting because the reduced contact time will leave the strand completely straight.
Set your temperature between 280 and 320 degrees Fahrenheit to prevent stripping the moisture barrier. Clamp an individual one-inch section near the root, flip the tool inward 180 degrees, and pull downward in a fluid three-second motion. Hesitating for even half a second creates a horizontal line indentation across the delicate shaft. Finish immediately with a light dusting of dry texture spray instead of aerosol hairspray to prevent the weight from dragging down the curl.
Thick Coarse Hair Needing High Thermal Mass
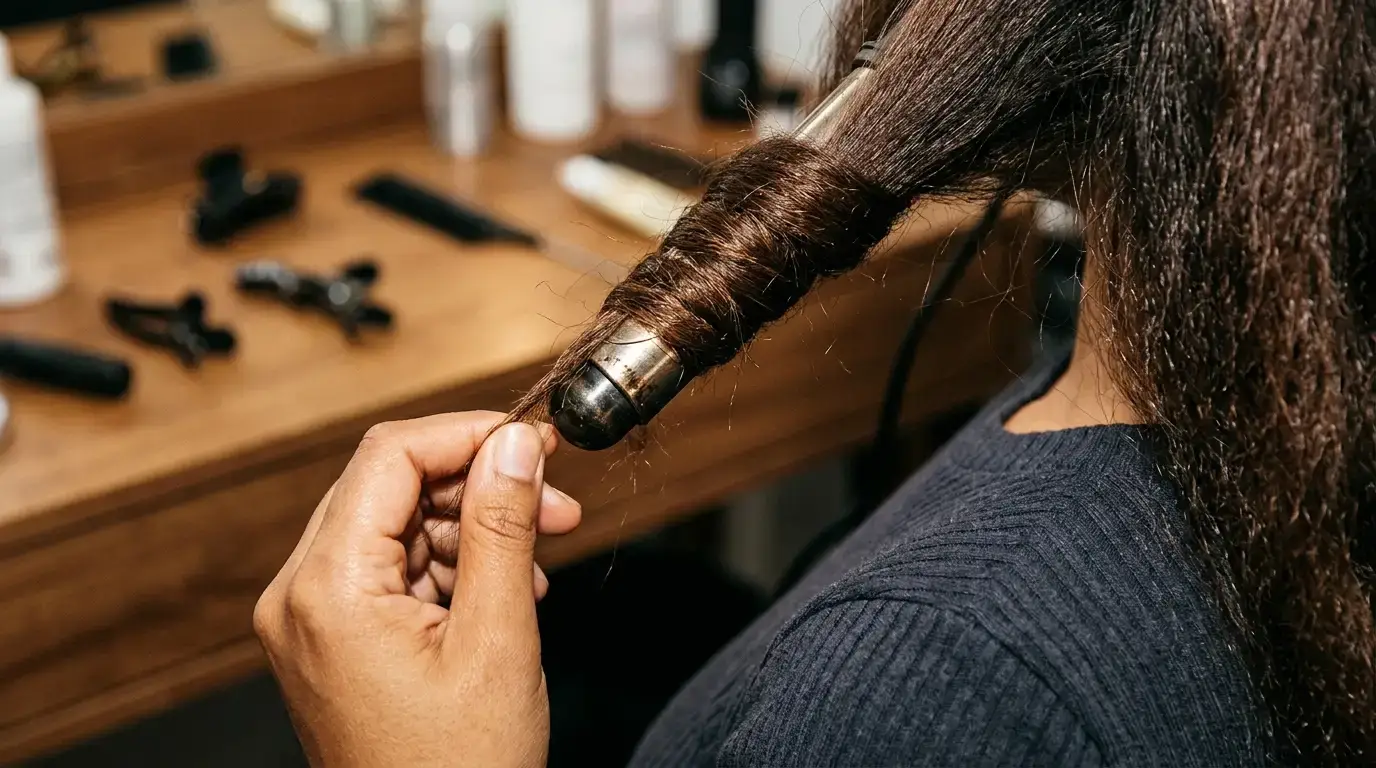
Coarse strands feature an intact, multiple-layer cuticle that resists thermal restructuring until the core reaches 380 to 400 degrees Fahrenheit. This method is built specifically for people whose individual strands feel stiff or wire-like and who struggle to get style retention from standard wand tools. People with chemically bleached or compromised fibers must avoid these elevated temperatures to keep from scorching the cuticular layers.
Work strictly in narrow half-inch ribbons rather than broad panels. Clamp the iron, turn it a complete 360-degree rotation so the strand wraps entirely over the hot outer casing, and pull downward at a deliberate eight-second pace. You must hear zero sizzling; if vapor rises rapidly, pause and dry the strand completely before resuming. The concentrated thermal pass sets a solid memory into the heavy cortex that resists humidity.
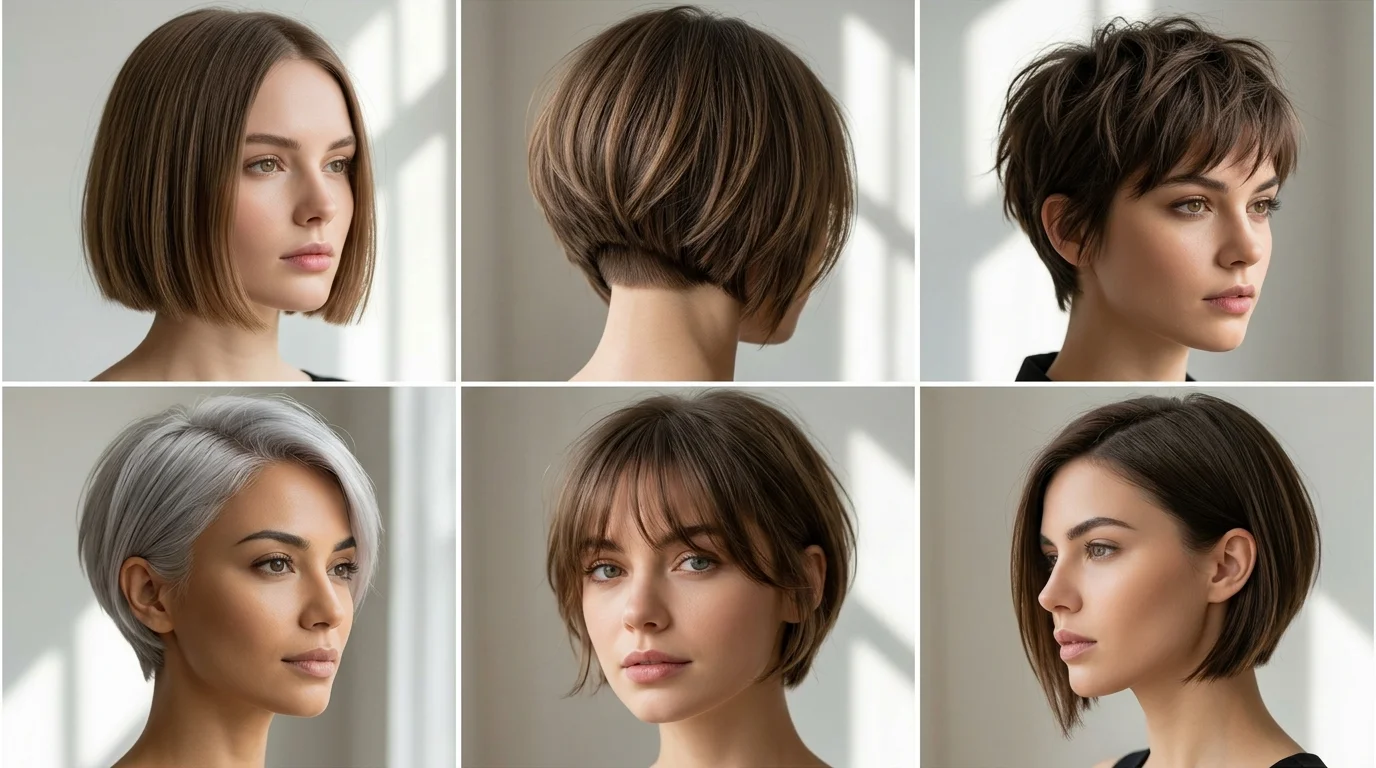
Short Bob Lengths Demanding Slim One-Inch Plates
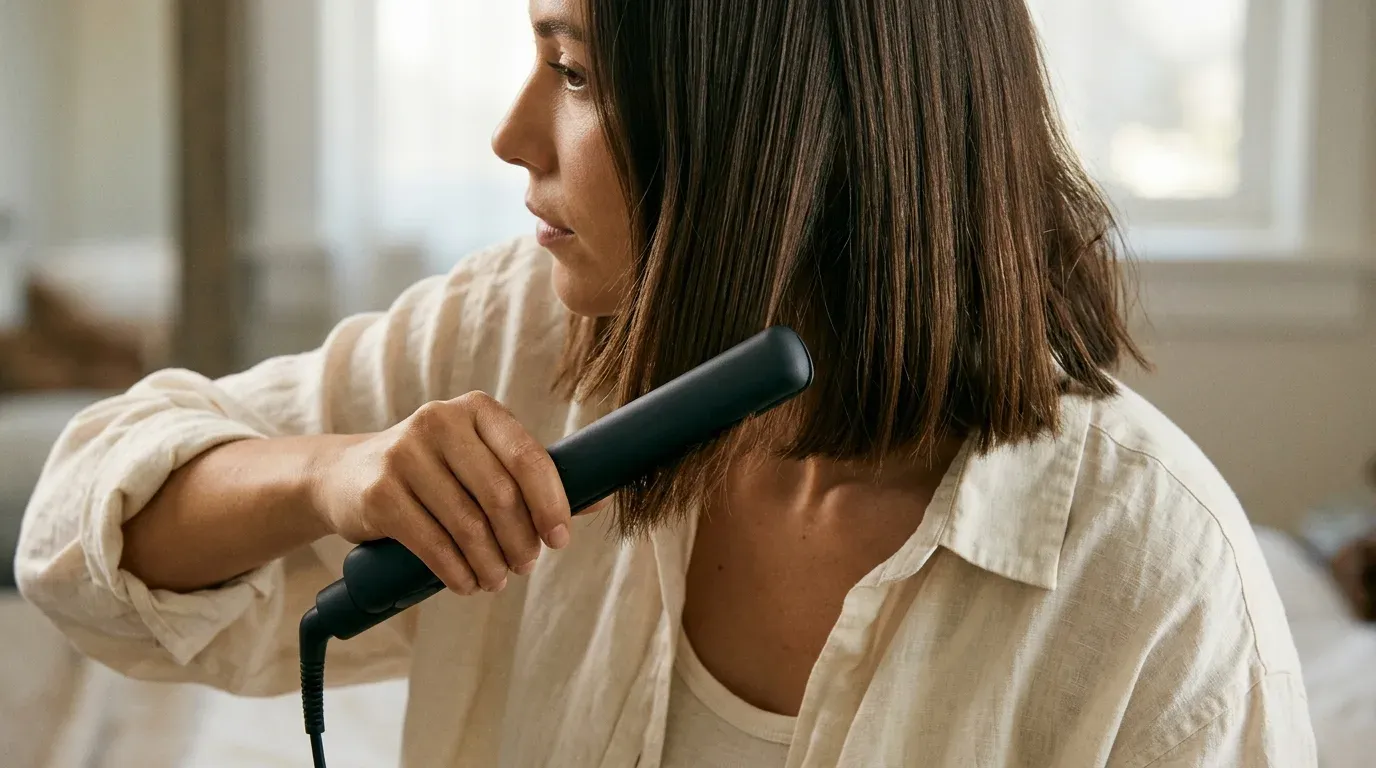
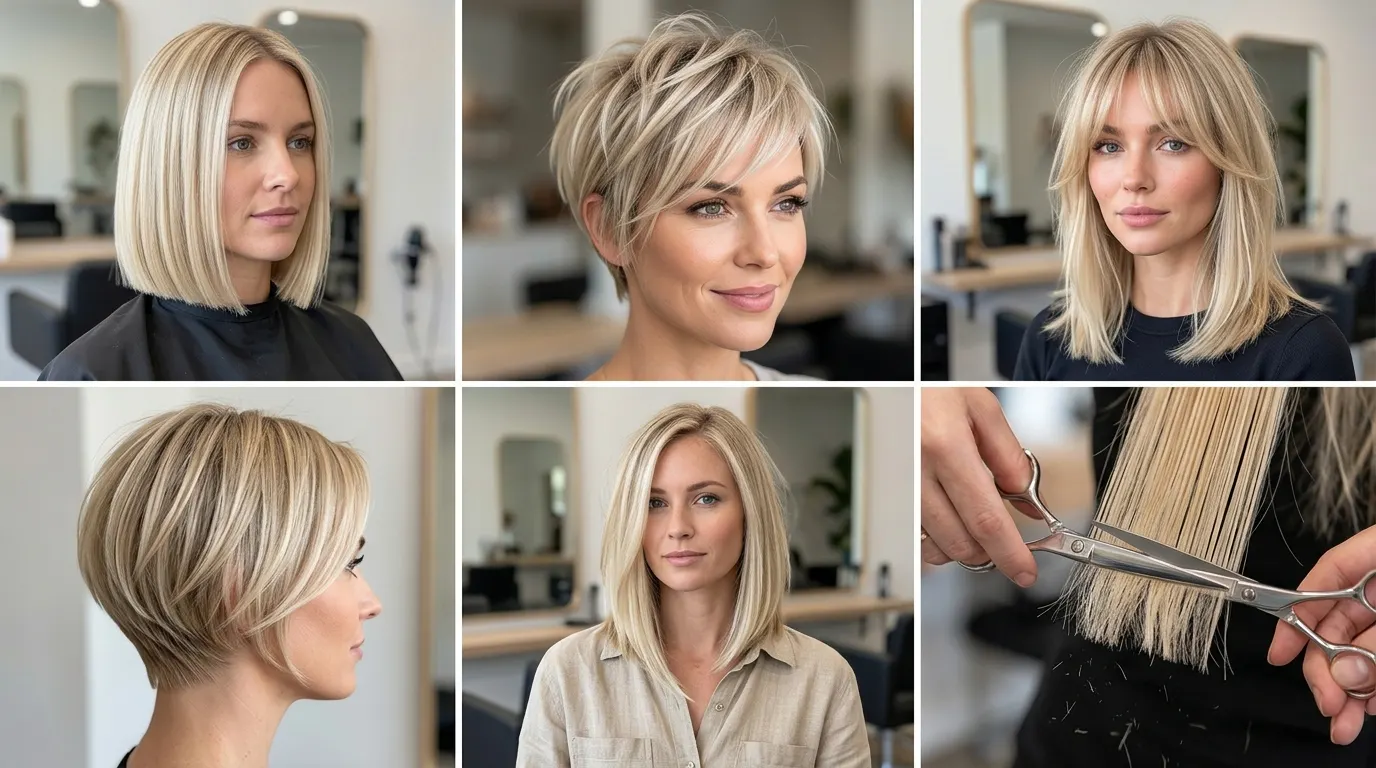
Styling hair cut above the jawline requires a tool with an exterior chassis no wider than one inch to prevent burning the scalp. This technique suits cropped cuts, inverted bobs, and pixie lobs looking for organic bend rather than ringlets. Long-haired individuals should not use this technique because winding extensive yardage around a compact barrel causes uneven heat distribution and tangled tail ends.
Angle the iron at a steep 45-degree slant pointing toward the floor. Clamp the mid-length of the lock, flick your wrist away from your face half a turn, and slide outward through the ends in two seconds flat. Leaving the bottom half-inch straight keeps the bob looking modern instead of rounded like a vintage roller set. Allow the hair to cool completely before touching it with your fingertips to lock the shape in place.
Long Chest-Length Strands Requiring Section Pinning
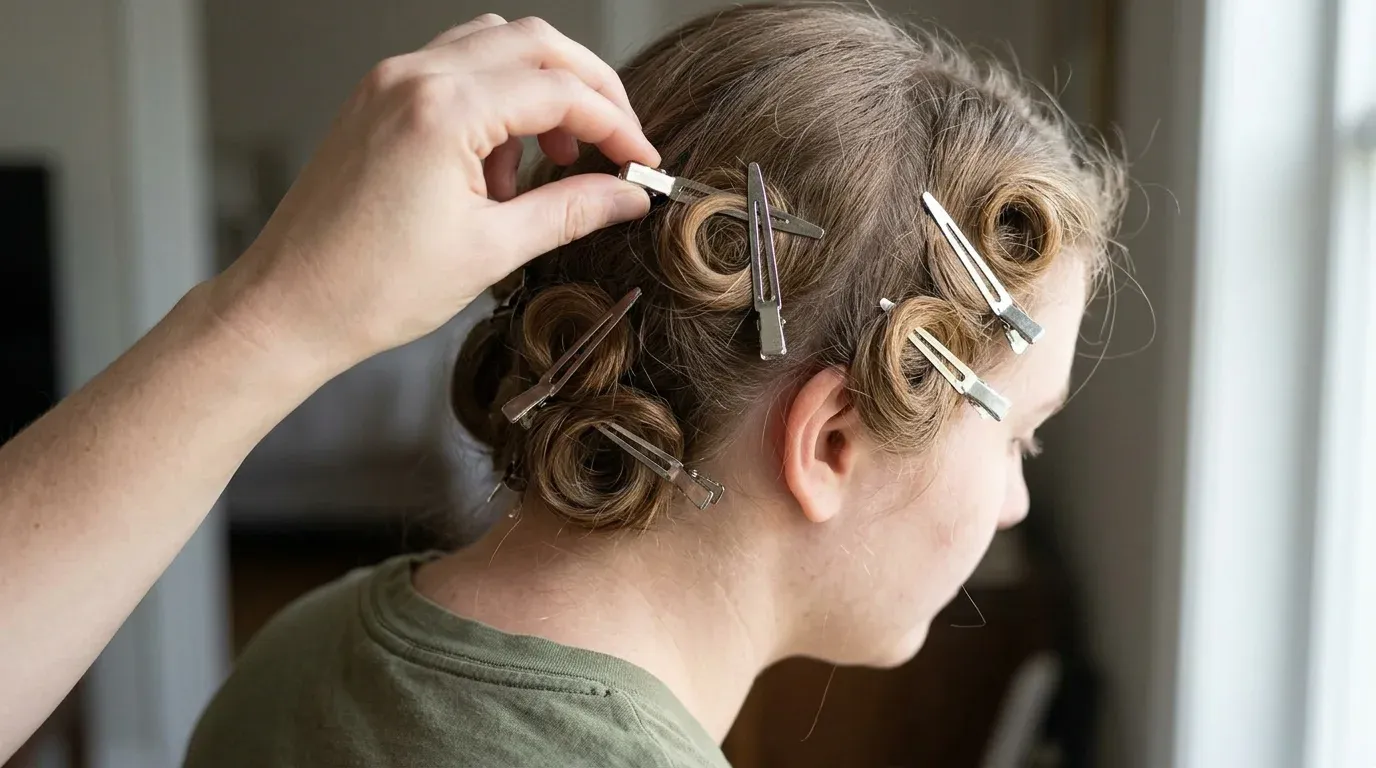
Long locks carry substantial natural weight that stretches fresh loops out before the keratin bonds can cool and solidify. This strategy is engineered for hair extending past the armpits where curls notoriously drop out within an hour of styling. Anyone sporting a short crop should skip this step, as pinning short strands causes unnatural crimps near the root zone.
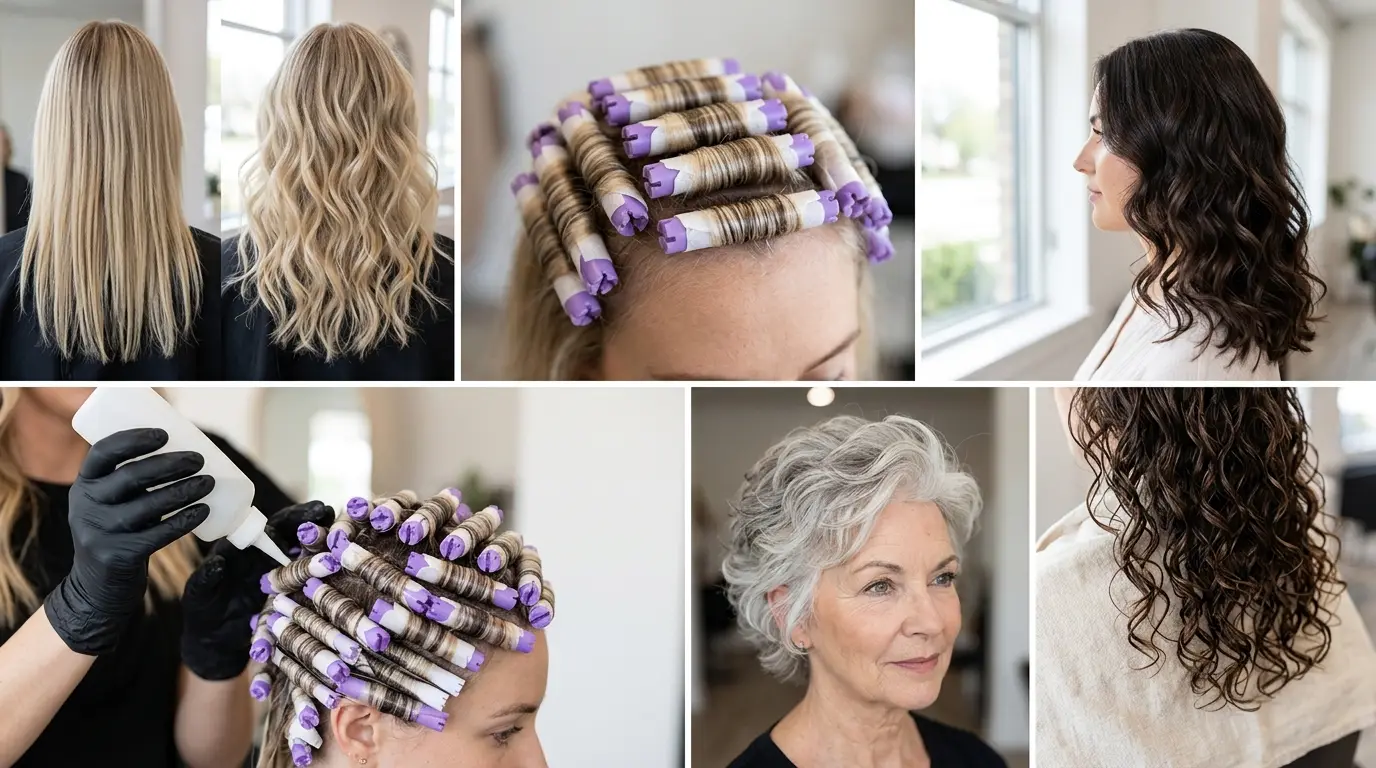
Curling long sections with a flat iron requires a full 360-degree turn followed by a slow glide toward the tips. The second the strand drops out of the plates, catch the hot coil in your palm, gather it up to your scalp, and secure it using a metal duckbill clip. Leave every coil pinned for ten full minutes until the hair registers cool to the touch. Releasing cooled keratin locks the structural curl memory against the downward pull of gravity.
Blunt Cuts Seeking Relaxed Flat Iron Waves
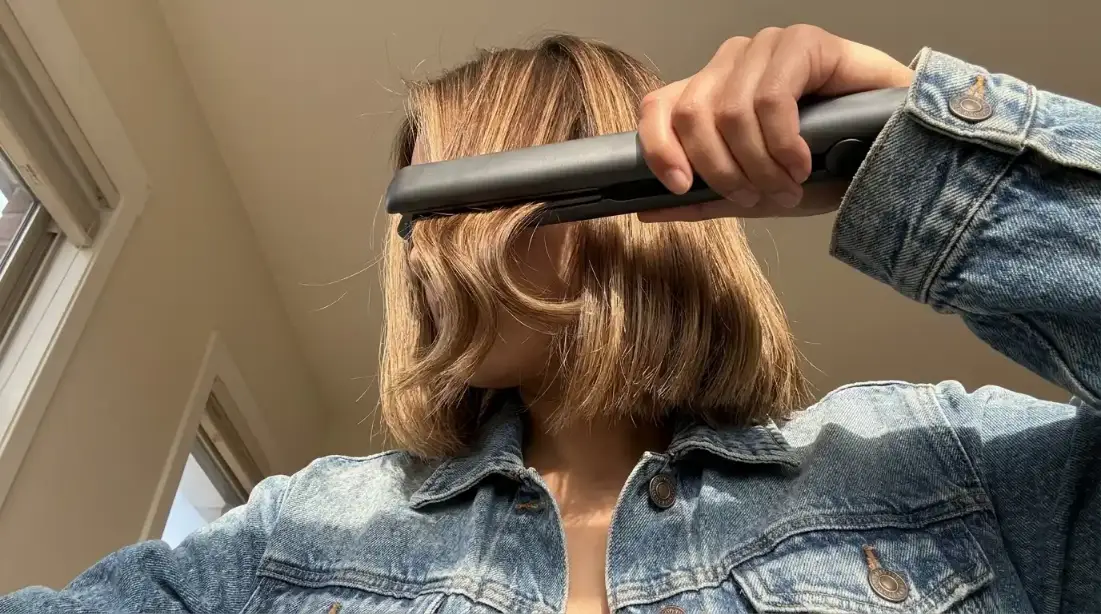
Blunt, one-length haircuts tend to flare out into an awkward triangle silhouette when given classic spiraled curls. This alternate waving method is for people sporting blunt perimeter cuts who want subtle texture without bulk. Individuals with heavy, face-framing shag layers should avoid this approach since wave bends on short, disjointed tiers can look disjointed and messy.
Use an alternating push-and-pull technique rather than a rotating twist. Clamp a two-inch section, angle the iron inward to create a small hump, hold for one second, slide down an inch, and bend the iron outward to form an opposing valley. Repeat this S-curve motion down the length while leaving the final inch untouched. This forms a flat ripple that sits close to the head rather than expanding outward into an unmanageable perimeter.
Bleached and Fragile Strands Using Coated Ceramic
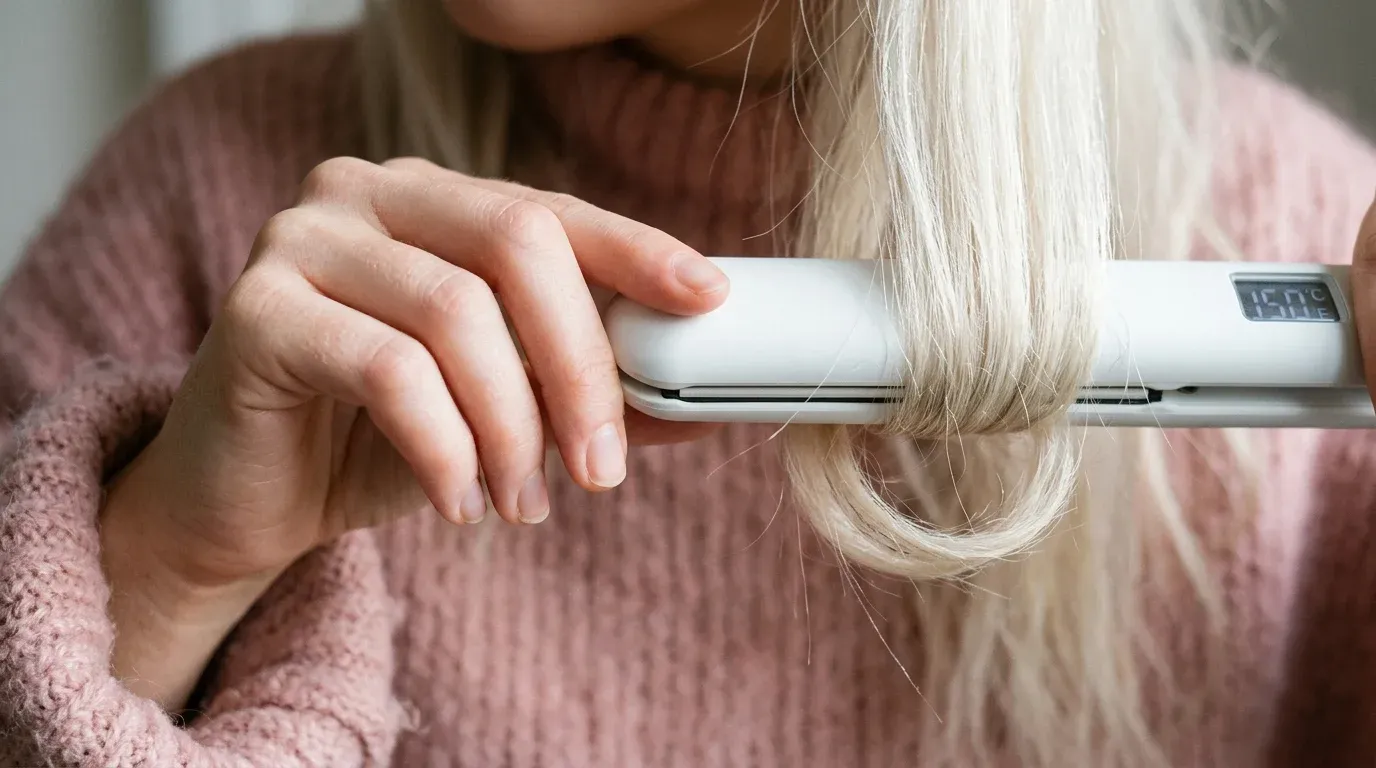
Chemical lightening dissolves internal disulfide bonds, making hair exceptionally vulnerable to mechanical plate friction. This method serves bleached, highlighted, or fragile textures that snap easily under pressure. Natural, untreated hair types should not use this approach because the low heat and gentle grip will fail to bend resilient virgin cuticles.
Select a flat tool featuring tourmaline-infused ceramic plates that distribute warmth without hot spots. Coat every section with a silicone-based cream protectant before styling, avoiding water-based mists that swell the damaged cuticle. Keep the heat strictly at 300 degrees Fahrenheit, squeeze the handles with light finger pressure, and pass down the strand once. The goal is passing through with minimal plate drag to shape the hair without tearing microscopic cuticular scales.
Resistant Virgin Strands Relying on Tension and Titanium
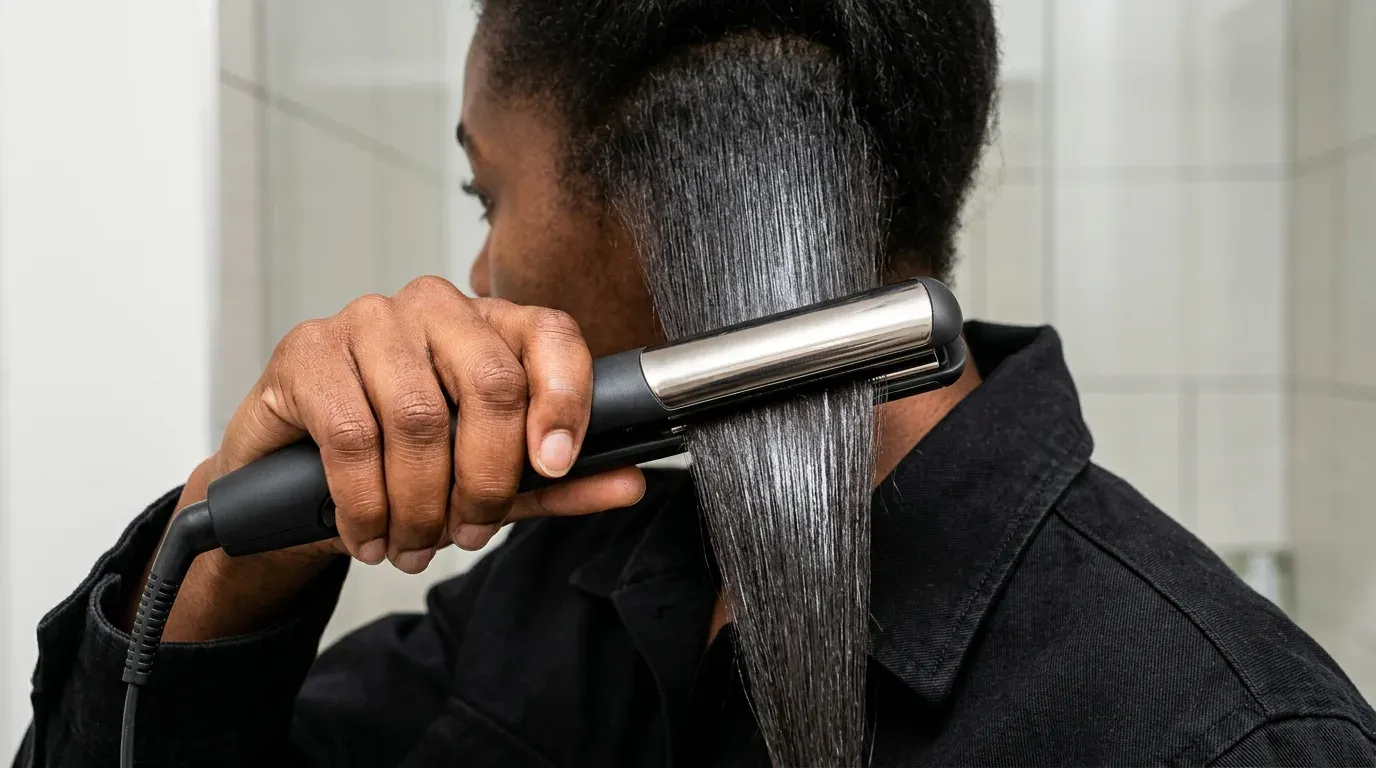
Unprocessed, non-porous hair features a tightly sealed cuticle that deflects heat and drops curl patterns in minutes. This heavy-tension routine belongs strictly to silky, untreated hair that repels styling products and slips out of curling barrels. Porous, color-treated hair must steer clear of titanium plates used this way due to the high risk of surface blister formation.
Titanium plates transfer raw thermal energy directly to the cortex with zero temperature loss during the pass. Set the tool to 375 degrees Fahrenheit, clamp a clean one-inch ribbon, rotate 180 degrees, and maintain firm thumb pressure against the cool tip. The mechanical tension forces the glassy cuticle to conform around the curved casing while the intense thermal output resets the inner core. Dust the finished coil with micro-fine aerosol styling clay to give slippery cuticles traction.
Frizzy Textures Needing Smooth Prep and Tension Control
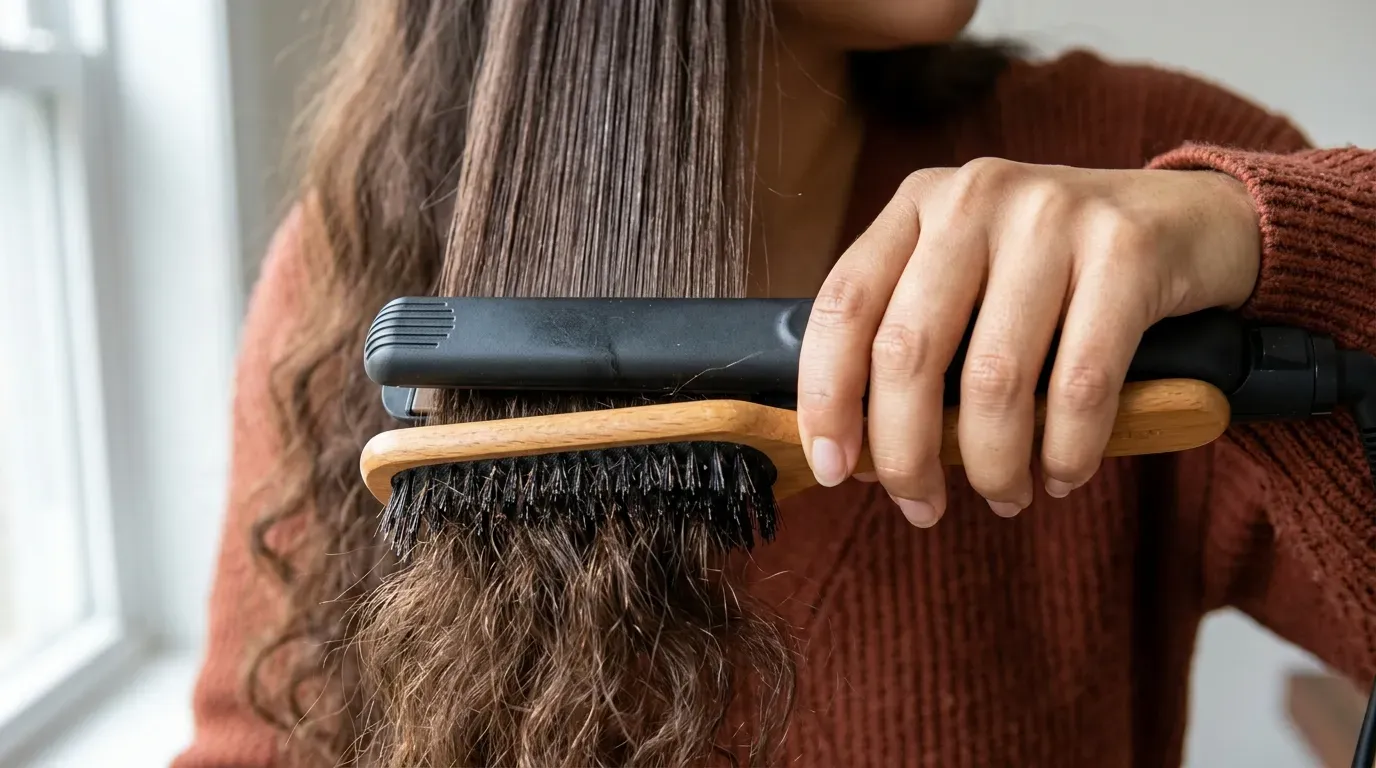
Naturally frizzy textures expand and lose definition if an iron clamps them before the cuticle is properly stretched and smoothed. This process is necessary for wire-textured, humidity-sensitive hair that develops halo flyaways the moment hot tools touch it. Fine, silky hair should avoid this intensive prep because heavy tension and smoothing serums will flatten all natural body at the roots.
Run a boar bristle paddle brush immediately in front of the flat iron as you execute the curl rotation. This chase method forces stray flyaways to align beneath the heat rather than splaying out over the edges of the plates. Turn the tool away from the face, keeping the brush teeth engaged in the hair right below the casing. Aligning the individual cuticle scales directly prior to the thermal turn creates a reflective surface that repels ambient atmospheric moisture.
Layered Shag Cuts Requiring Alternating Ribbon Turns
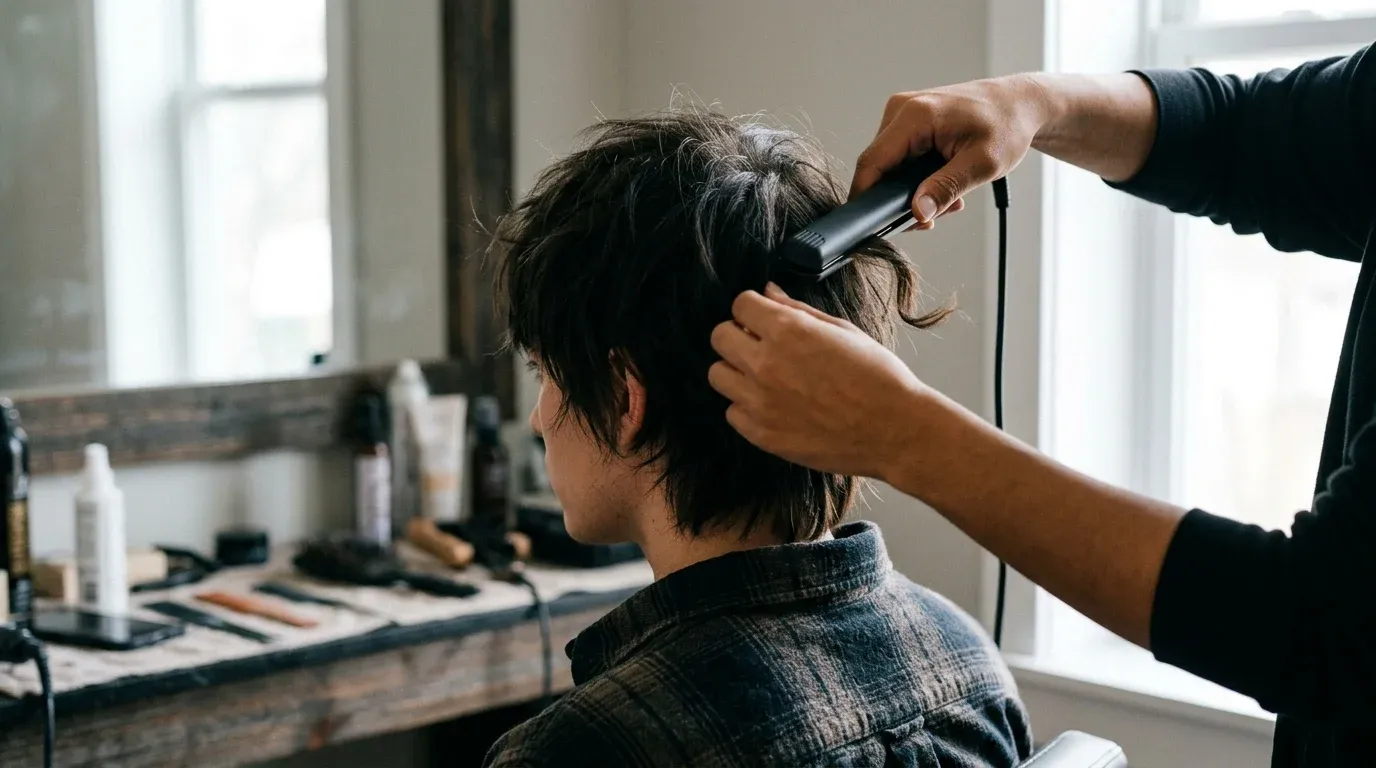
Modern layered shags rely on directional contrast to keep short crown layers from stacking into a bulky ringlet formation. This technique belongs to anyone with curtain bangs, choppy wolf cuts, or internal texturizing layers. Do not use this method on long, one-length hair, where alternating directions will create a tangled, messy mass rather than separated movement.
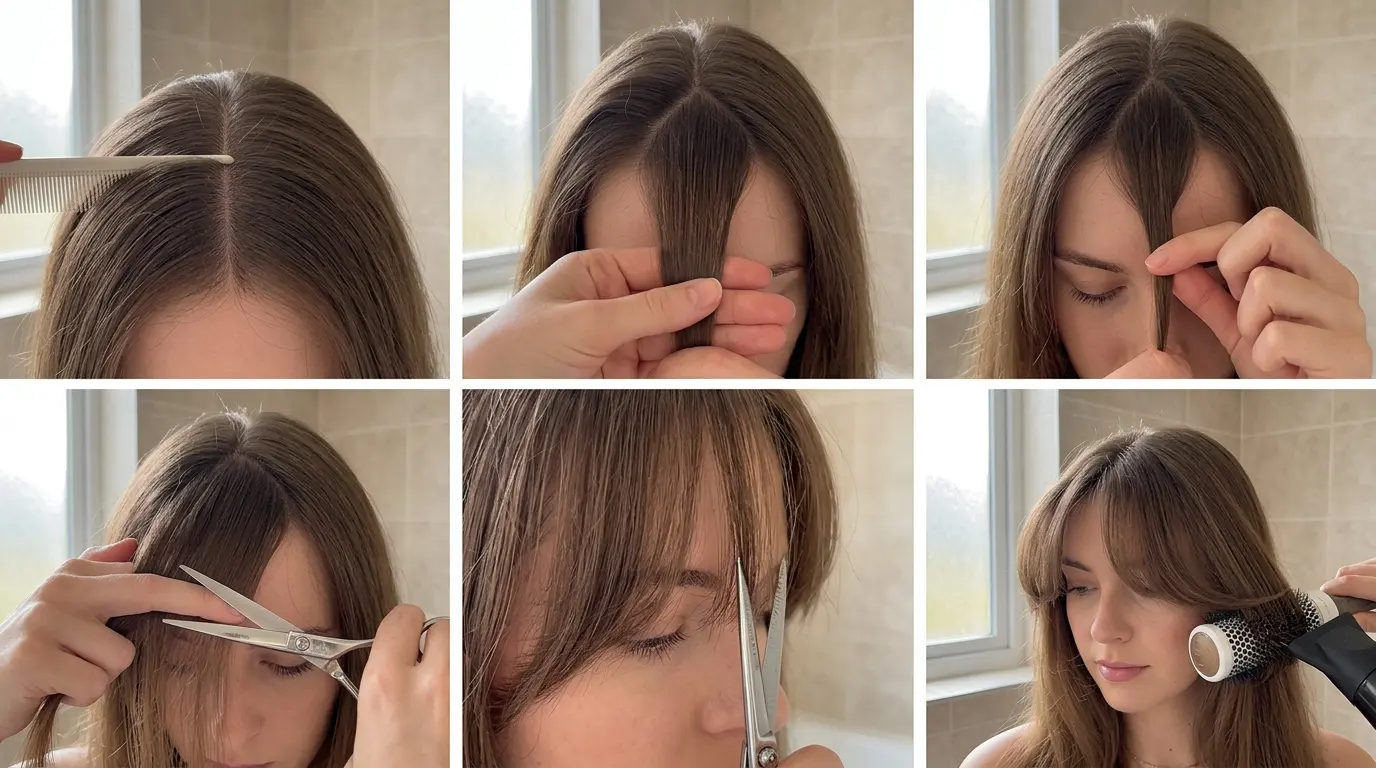
Grab random one-inch subsections and change your wrist rotation with every alternate piece. Rotate the first strand forward toward the nose, then rotate the neighboring strand backward toward the ears. When styling crown layers under four inches long, twist the iron only 90 degrees to produce a flick rather than a complete coil. This prevents the top layers from bouncing up into tight coils that disrupt the elongated silhouette of the haircut.
High Humidity Environments Requiring Setting Sprays
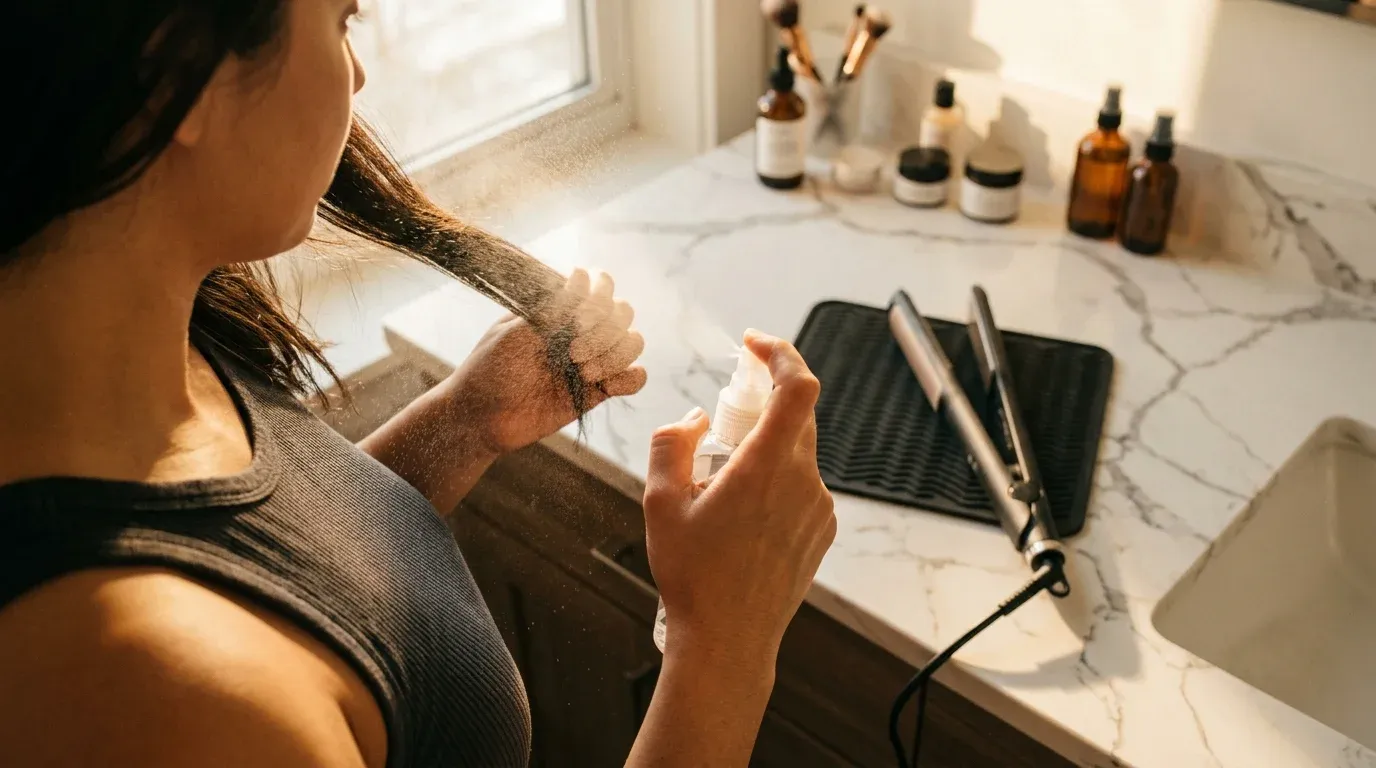
Midsummer moisture breaks down temporary hydrogen bonds, causing straightened or curled hair to revert to its natural state. This protective setup is mandatory for anyone living in coastal or high-humidity zones during warm months. People styling their hair in arid desert climates should avoid this heavy product barrier to prevent unnecessary product buildup and flaking.
Mist each dry section with an alcohol-free thermal setting spray before clamping down with the iron. Allow the liquid mist to evaporate fully for thirty seconds so the hair is bone dry before it contacts the plates. Clamp, rotate 360 degrees, and pull down slowly. The heat melts the setting polymers uniformly around the curved fiber, forming an invisible moisture-resistant shell that locks out humid ambient air for up to forty-eight hours.
Tight Five-Minute Morning Schedules Using Large Sections
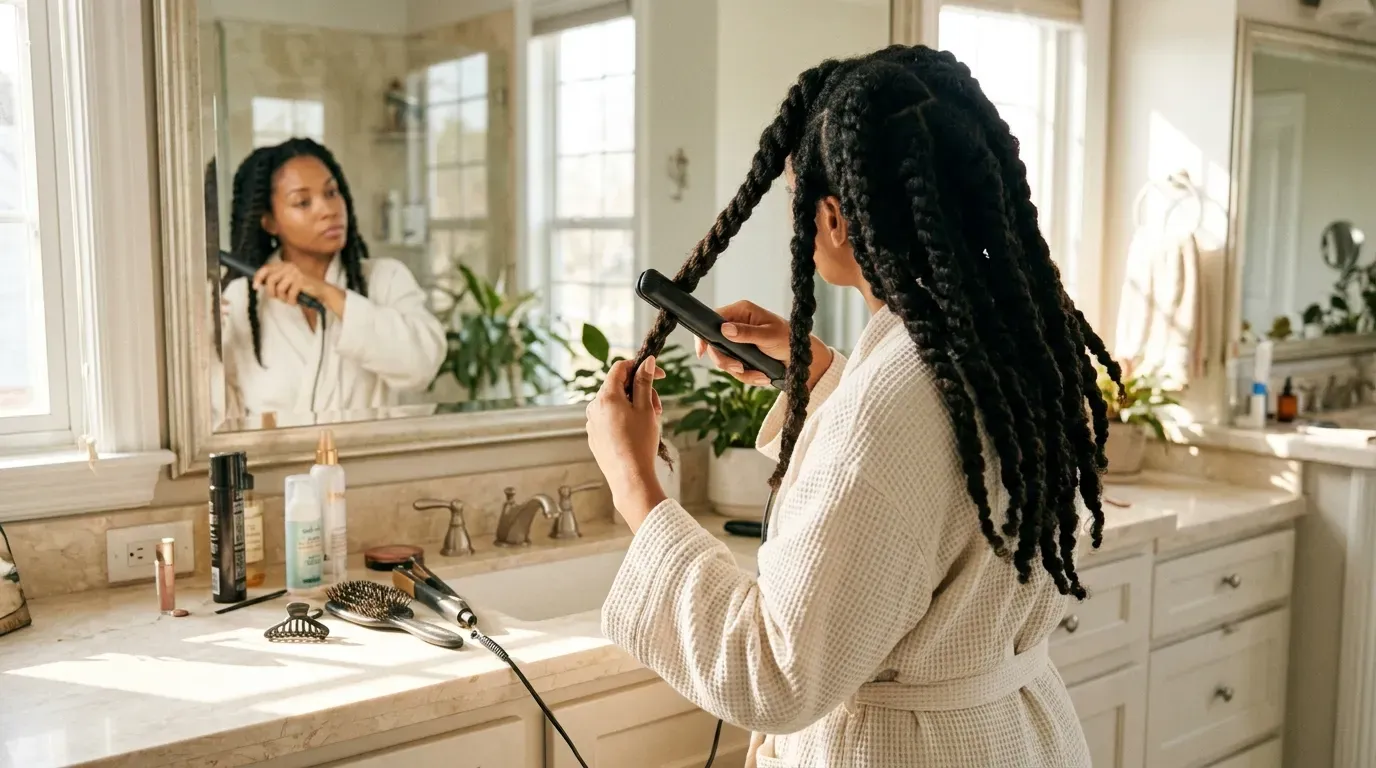
When morning schedules leave only five minutes for styling, curling individual one-inch sections across the whole head is impossible. This rapid process suits busy professionals who want deliberate movement through their lengths without setting aside half an hour. Anyone preparing for an all-day event or formal photography should skip this shortcut, as wide-section curls do not offer long-lasting hold.
Divide your entire head of hair into four quadrants: two in the front and two in the back. Twist each entire quadrant into a single thick rope, clamp the iron at the top, and glide down the twisted bundle at a very slow, ten-second crawl. The heat penetrates through the outer perimeter of the twist to yield loose, undone waves across large surface areas. Shake out the twists once they cool down to finish styling.
Beginner Flat Iron Users Focusing on Casing Geometry
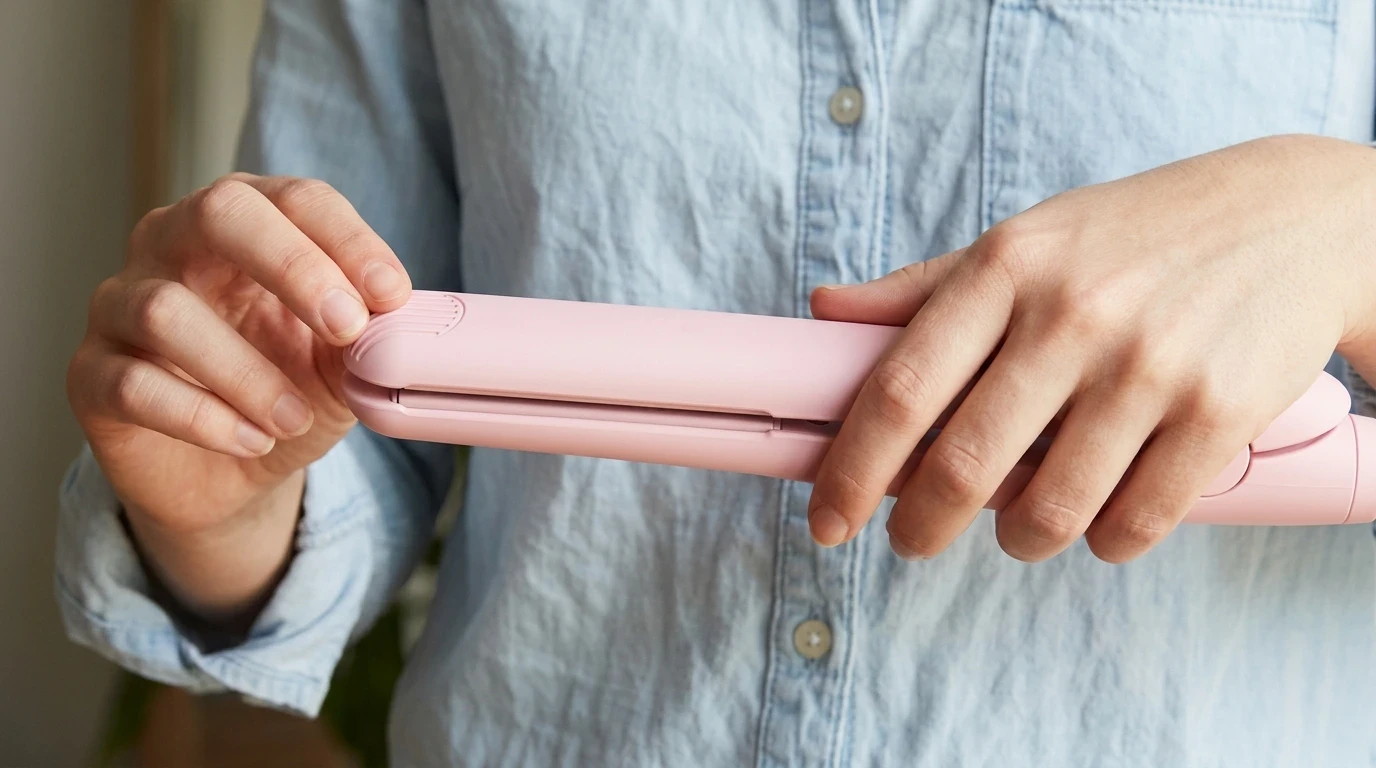
Beginners struggle with coordinating wrist rotations while simultaneously pulling downward, which often results in harsh clamp marks and pulled hair. This beginner protocol is designed for first-time flat iron users who lack muscle memory and get confused by mirror reflections. Experienced stylists should skip this basic drill since it produces a subtle, low-intensity wave rather than high-definition coils.
Practice the mechanics with the iron completely unplugged until your hands memorize the glide. When you plug the tool in, choose a straightener with a fully rounded, beveled barrel casing rather than sharp, rectangular corners. Clamp down lightly, rotate your hand half a turn away from your face, and let the hair glide effortlessly across the curved casing without squeezing the handles too tightly. Releasing clamp pressure is the secret to avoiding crimped stop marks.
Flat Iron Curling Parameters by Hair Situation
| Hair Situation | Plate Material | Ideal Temp (F) | Section Width | Wrist Rotation | Glide Speed |
|---|---|---|---|---|---|
| Fine and fragile | Ceramic | 280-320 | 1.0 inch | 180 degrees | 3 seconds |
| Coarse and resistant | Titanium | 380-400 | 0.5 inch | 360 degrees | 8 seconds |
| Short bob cut | Slim Ceramic | 320-350 | 0.75 inch | 90-180 degrees | 2 seconds |
| Long and heavy | Tourmaline | 360-380 | 1.0 inch | 360 degrees | 5 seconds |
| Blunt perimeter | Ceramic | 340-360 | 2.0 inches | Alternating push-pull | 4 seconds |
| Bleached or damaged | Tourmaline | 280-300 | 1.0 inch | 180 degrees | 3 seconds |
| Virgin non-porous | Titanium | 375-390 | 1.0 inch | 180 degrees | 4 seconds |
| Naturally frizzy | Ceramic | 350-375 | 1.0 inch | 180 degrees (brush chase) | 5 seconds |
| Layered shag | Ceramic | 340-360 | 1.0 inch | Alternating directions | 3 seconds |
| Humid environment | Titanium | 360-380 | 1.0 inch | 360 degrees | 6 seconds |
| Five-minute rush | Tourmaline | 380-400 | 3.0 inches (twisted) | Twist pass | 10 seconds |
| First-time beginner | Beveled Ceramic | 300-330 | 1.0 inch | 180 degrees | 4 seconds |
Flat Iron Selection Questions
What casing shape should I choose if I primarily want to curl with my straightener?
Look for a housing with a fully curved, cylindrical outer perimeter instead of flat edges. Square-edged irons leave sharp horizontal crease lines across the hair during the rotation phase, whereas rounded housings allow the strand to wrap smoothly around the exterior without catching.
Should I choose floating plates over fixed plates for curling techniques?
Select floating plates mounted on small internal springs. These flexible plates tilt slightly to adjust to varying hair density across a section, keeping uniform tension down the entire shaft so the strand does not slip free midway through a downward pass.
Is a one-inch plate width better than a one-and-a-half-inch plate for styling curls?
A one-inch plate is the universal sweet spot for curling because it allows you to get close to the root and turn the tool a full revolution without running out of clearance. Wider plates are clumsy to rotate and fail to create tight loops on short to medium lengths.
Can I use a wet-to-dry straightener to style curls?
Never use wet-to-dry straighteners for rotational curling methods. Vaporizing moisture under direct plate contact boils trapped water inside the hair cortex, causing permanent bubble hair shaft deformities that shatter during wrist turns.
Which iron cord design helps prevent wrist fatigue while styling?
Prioritize a tool featuring a 360-degree ball-joint swivel cord that measures at least eight feet in length. Fixed or stiff power cords twist up during rotation passes, restricting wrist mobility and forcing you to release tension on the hair section.
Matching Iron Hardware to Your Skill and Hair Profile
If you are still undecided, check the edge of your current flat iron against a countertop. If the plastic edge forms a sharp 90-degree corner, stop attempting curls with it; you will only end up frustrated by stubborn crease marks down your hair. Invest in a dedicated one-inch straightener with rounded casing borders and variable heat dials. That single hardware switch fixes most styling challenges before the iron even touches your hair.