
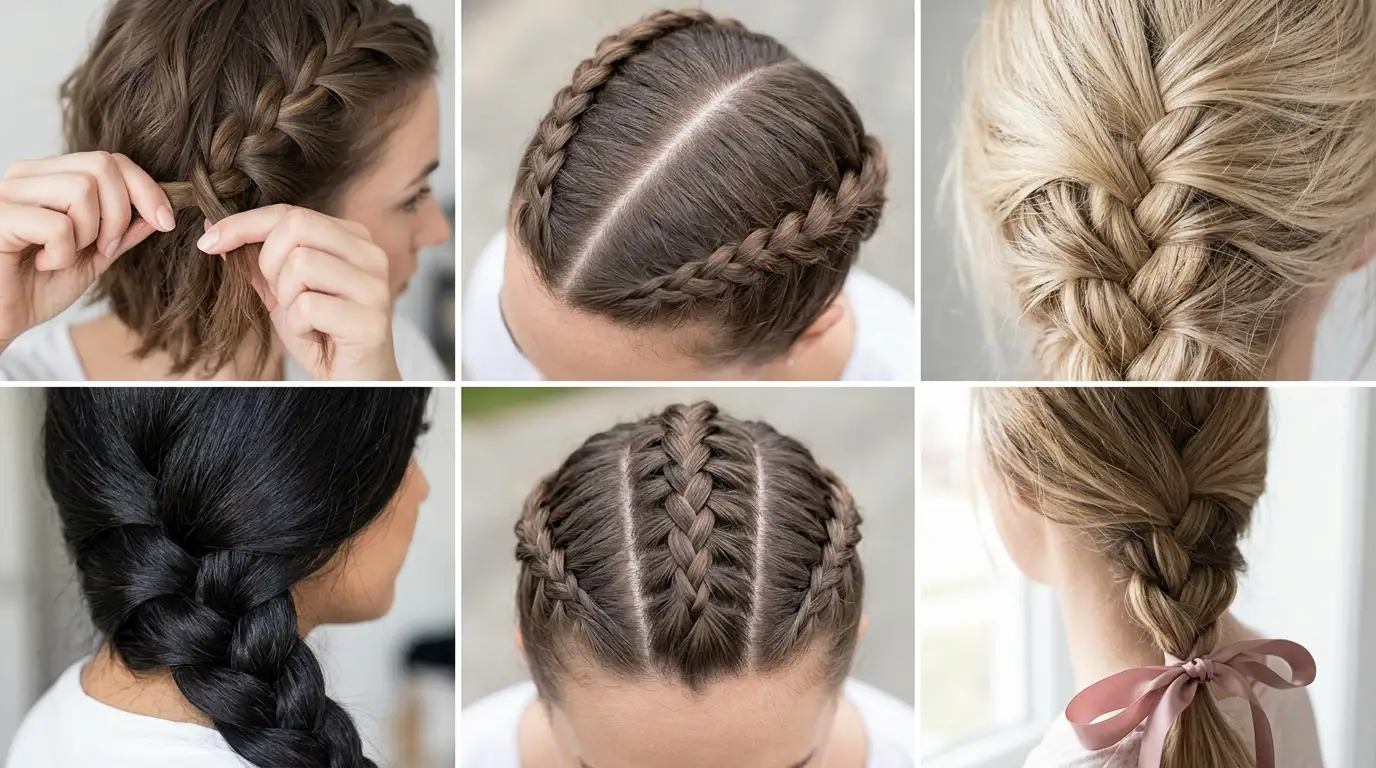
Braiding your own hair comes down to managing arm fatigue and strand tension rather than copying salon mannequins. Beginners attempting intricate back-of-the-head styles often abandon the attempt within minutes because their shoulders lock up and their sections tangle.
This guide provides practical techniques tailored to your hair length, density, and prep time. Whether you have chin-length layers, hip-grazing strands, or ten minutes before heading out the door, picking the method suited to your exact setup guarantees success.
| Hair Situation | Recommended Braid | Key Tool | Time Required | Hold Level |
|---|---|---|---|---|
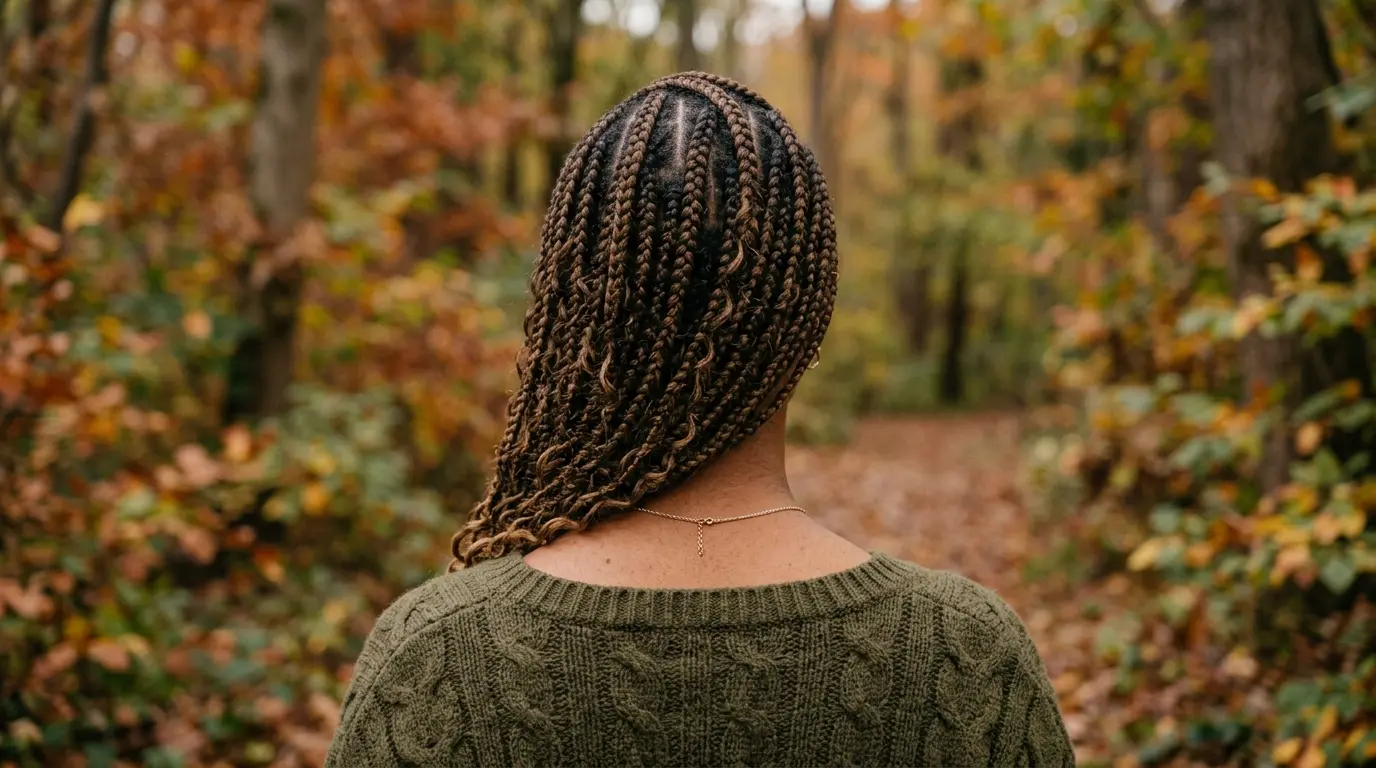
| 2 to 3 Inches | Scalp Micro Plaits | Metal tail comb | 35 mins | High |
| 3 to 5 Inches | Templed French Accent | Matte styling paste | 15 mins | Moderate |
| Bob Length Layered | Double Crown Plaits | Tiny clear elastics | 20 mins | High |
| Fine Slippery Strands | Textured Grip Plait | Dry texture spray | 12 mins | Moderate |
| Thick Heavy Density | Split Twin Plaits | Sectioning duckbill clips | 18 mins | High |
| Coarse Coiled Strands | Stretched Butter Twist | Shea pomade | 25 mins | High |
| Curly Pattern Strands | Moisture Lock Braid | Leave-in cream | 15 mins | High |
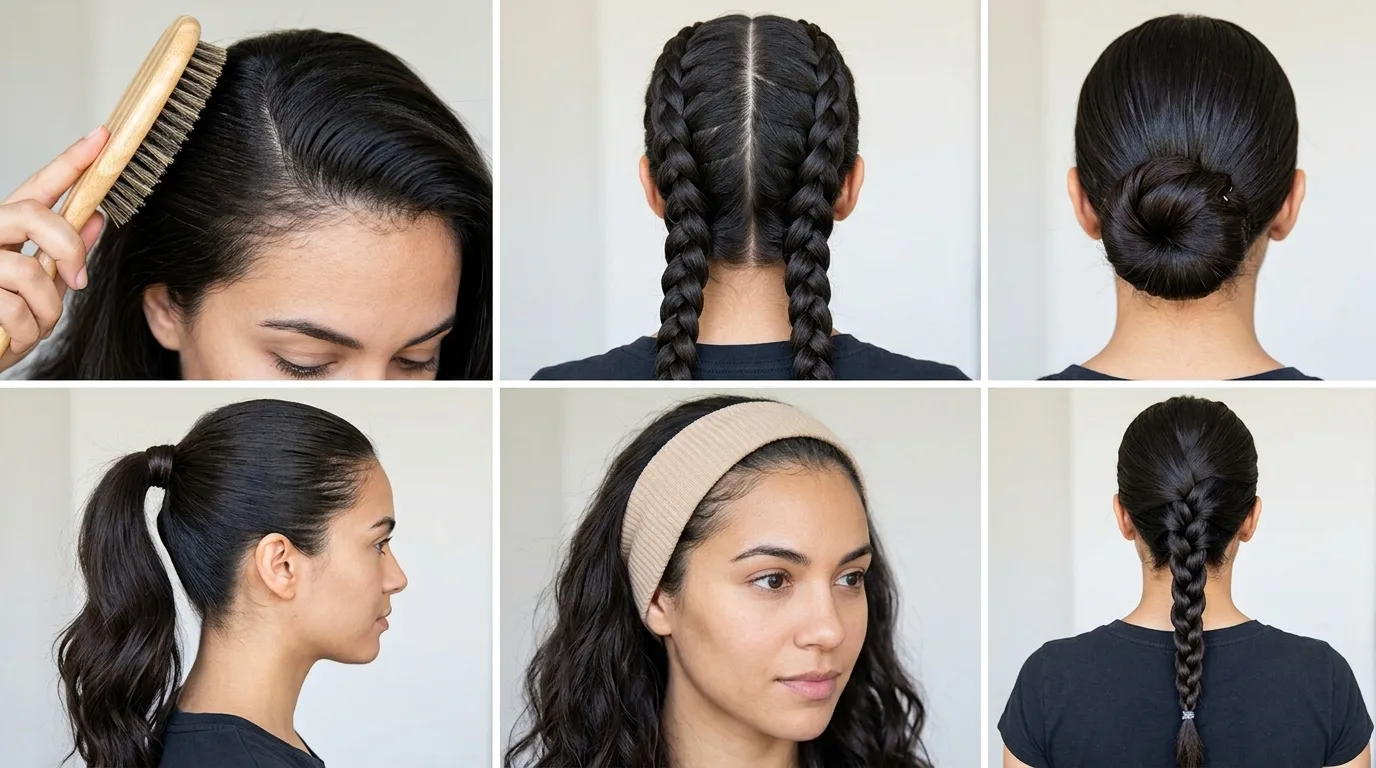
| Shoulder Length Baseline | Classic 3-Strand Braid | Boar bristle brush | 8 mins | Moderate |
| Waist Length Strands | Over-Shoulder Side Plait | Wide tooth comb | 10 mins | Moderate |
| Sweaty Workout Session | High Tension Dutch Plait | Snagless polyband | 14 mins | High |
| Rushed Morning Routine | Low Nape Twist Plait | Silk scrunchie | 4 mins | Light |
| Bedtime Hair Protection | Loose Slumber Plait | Satin ribbon tie | 5 mins | Light |
| Active Scalp Sensitivity | Floating Tension Plait | Soft cloth band | 7 mins | Light |
How to Braid Your Own Hair Step by Step for 2 to 3 Inch Lengths
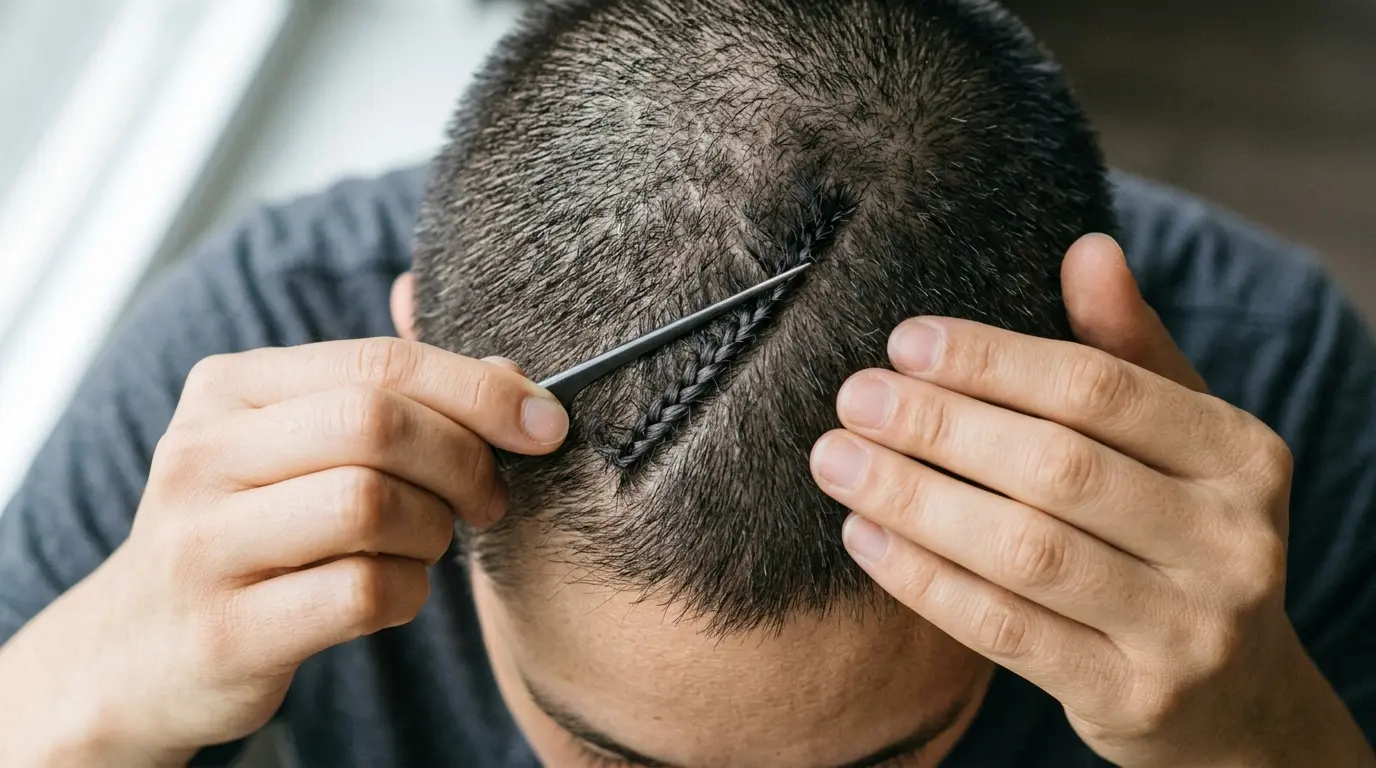
Very cropped crops require micro placement along the scalp line. Pick this method when your strands measure between two and three inches from the root. Skip this option if your scalp has active sunburn or psoriasis flare-ups since exposed parts will sting.
Start by carving a crisp part line with a metal tail comb. Scoop a half-inch subsection right against the hairline. Divide this into three micro ribbons. Pinch the center ribbon firmly between your index pad and thumb. Cross the outer right strand beneath the middle, then cross the outer left strand beneath.
Anchor the braid against the skin by picking up a flat quarter-inch sliver of hair using each subsequent pass. Secure the tail with a mini rubber band coated in oil.
The Side Sweep Plait for 3 to 5 Inch Hair
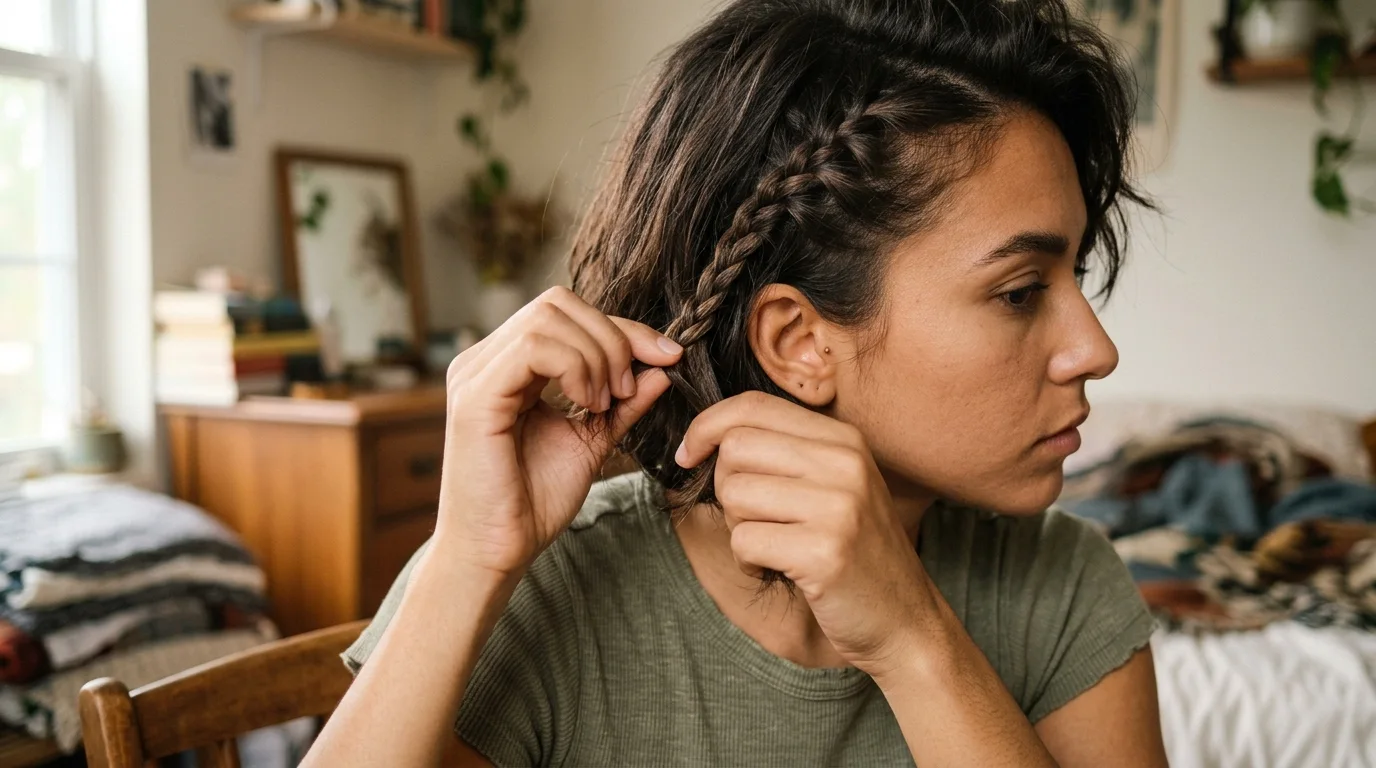
Asymmetrical side plaits suit grown-out pixie cuts and short bobs. Choose this technique if your hair sits between three and five inches long and you want fringe control. People with blunt blunt bangs cut straight across should avoid it because the short pieces poke outward.
Work a dime-sized amount of styling paste between your fingertips before touching your hair. Comb your front fringe at a 45-degree diagonal angle toward your left ear. Part a two-inch triangle above the arch of your brow.
Divide the triangle into three equal ribbons. Weave the front strand over the center, then bring the back strand over. Add a pencil-thin ribbon from your hairline into each front pass to form an anchor along your temple. Stop adding hair behind your ear and secure the mini tail flat against your head using two crossed bobby pins.
Double Crown Braids for Short Layered Hair
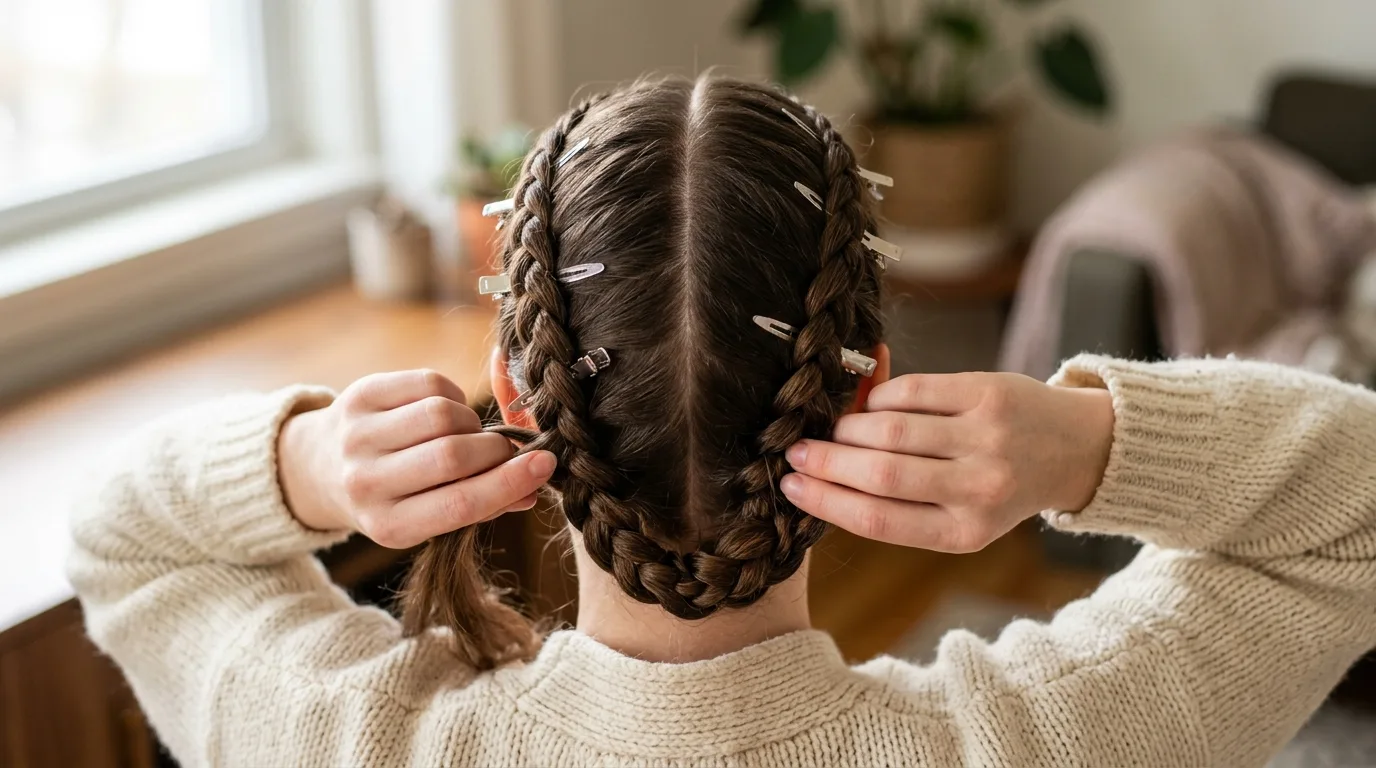
Short layers frequently slip out of a single plait down the back. This twin-rail system works for uneven bob cuts where the bottom layers fail to reach past the nape. If your hair is cut to one uniform blunt length at your mid-back, this method adds unnecessary steps.
Split your scalp directly down the center from forehead to nape with a rattail comb. Clip the entire left half out of the way. Take a one-inch slice at the right front hairline. Divide it into three pieces.
Braid along the curvature of your skull, pulling small horizontal slivers from above and below into each pass. Keep your hands flat against your head to stop bulges from forming. Band the right tail at the neck, then repeat the process on the left side.
Textured Three-Strand Method for Fine Slippery Hair
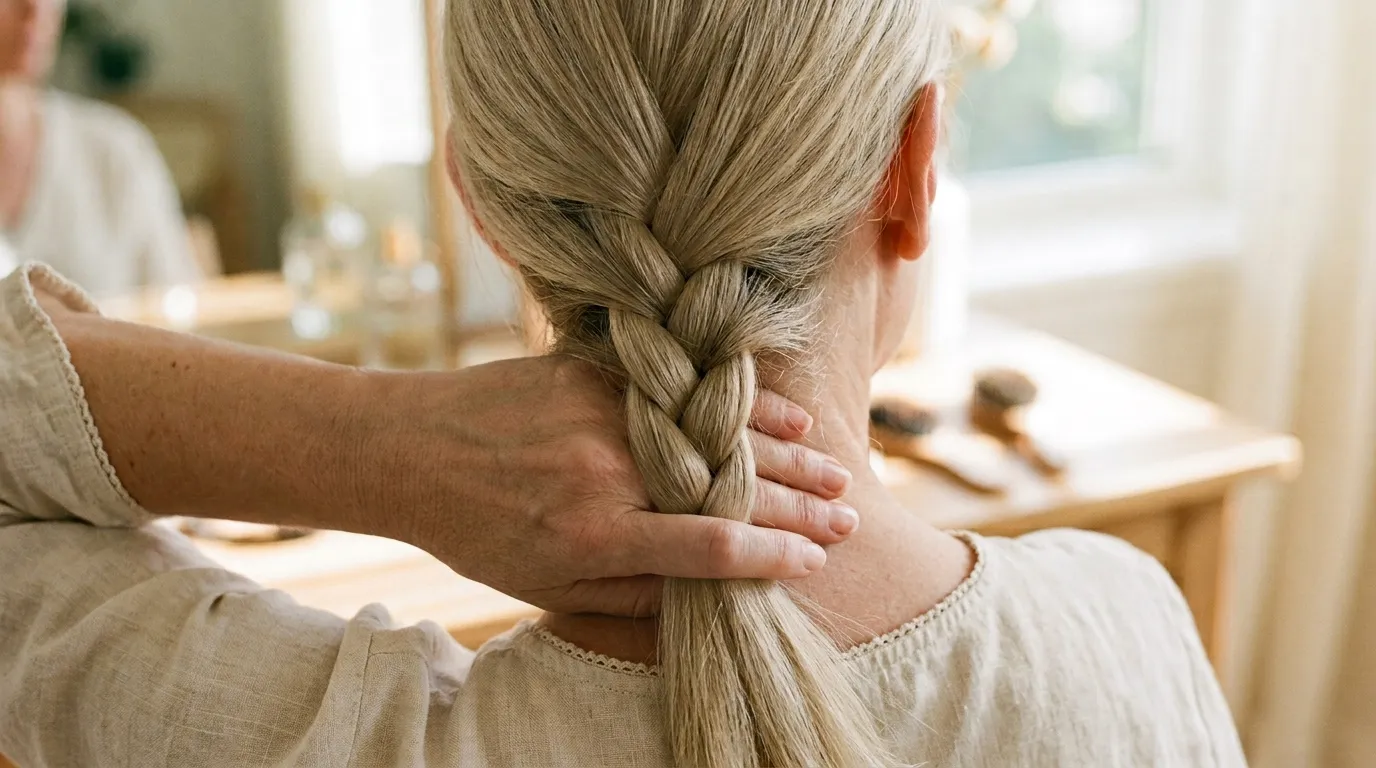
Clean, silky strands slide out of woven patterns within an hour. This friction-building setup solves that slip for straight, fine textures. Thick, highly porous hair types do not need this extra grit.
Dust your mid-lengths with a starch-based volumizing powder or sea salt mist. Brush through with a boar bristle brush to distribute the grit evenly. Direct all hair back into a single low bundle.
Split the bundle into three equal sections. Hold the left strand in your left fist, the right strand in your right fist, and cradle the middle with your index fingers. Cross the right strand over the middle, pulling outward horizontally to lock the weave. Cross the left strand over the new middle. Continue alternating down to the final two inches. Fasten the bottom with a clear elastic.
Twin Side Plaits for Thick Heavy Hair
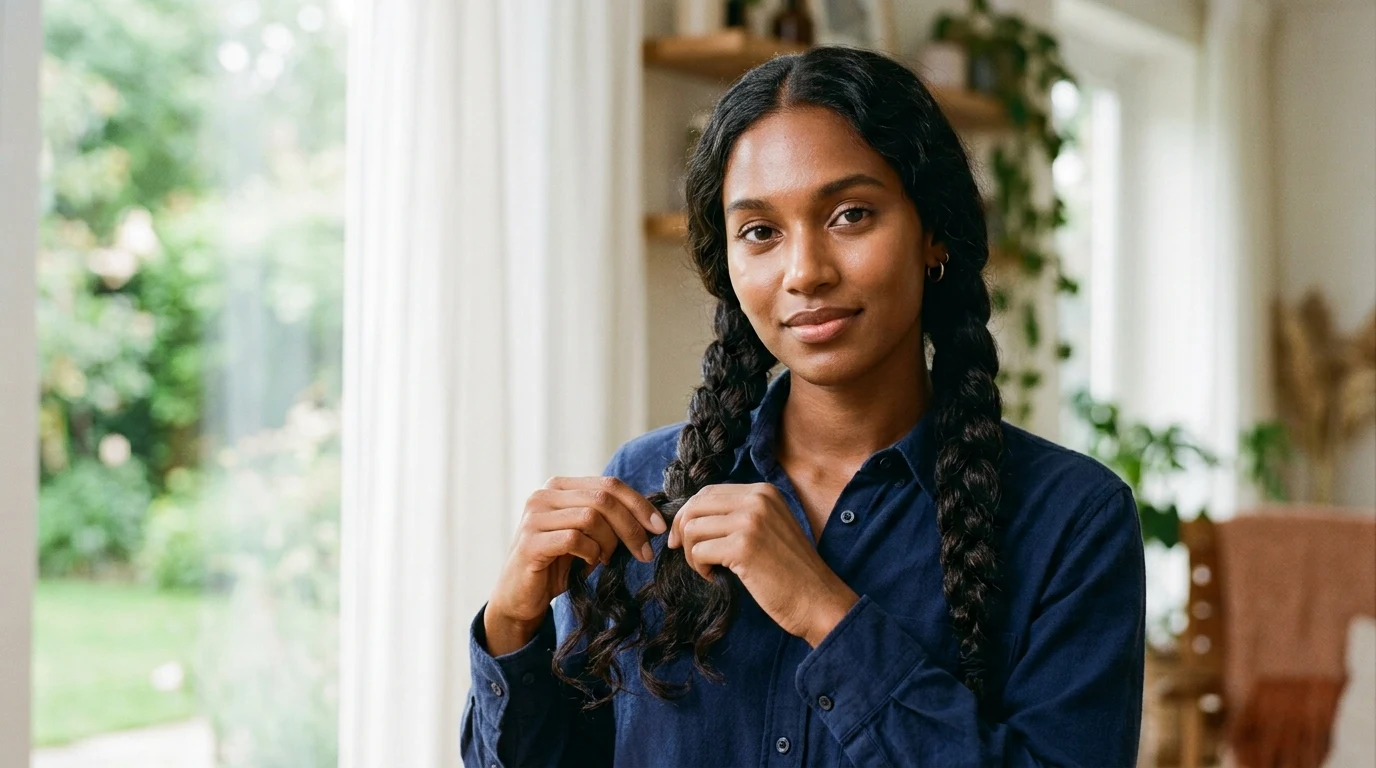
Dense manes create extreme neck strain when gathered into one bulky rear plait. Opt for twin plaits if your ponytail circumference measures over three inches. Thin hair types will find that splitting their volume makes the plaits look sparse.
Divide your hair down the spine of your skull into two equal bundles. Throw the left side over your left shoulder and the right side over your right shoulder. Working on the right side first, divide the bundle into three balanced pieces.
Keep your chin tilted slightly downward to maintain tension at the nape. Weave the outside strands over the center, angling the braid forward over your collarbone rather than behind your shoulder. Secure the tip with an elastic band, then complete the opposite bundle.
Stretched Butter Twists for Coarse Coiled Strands
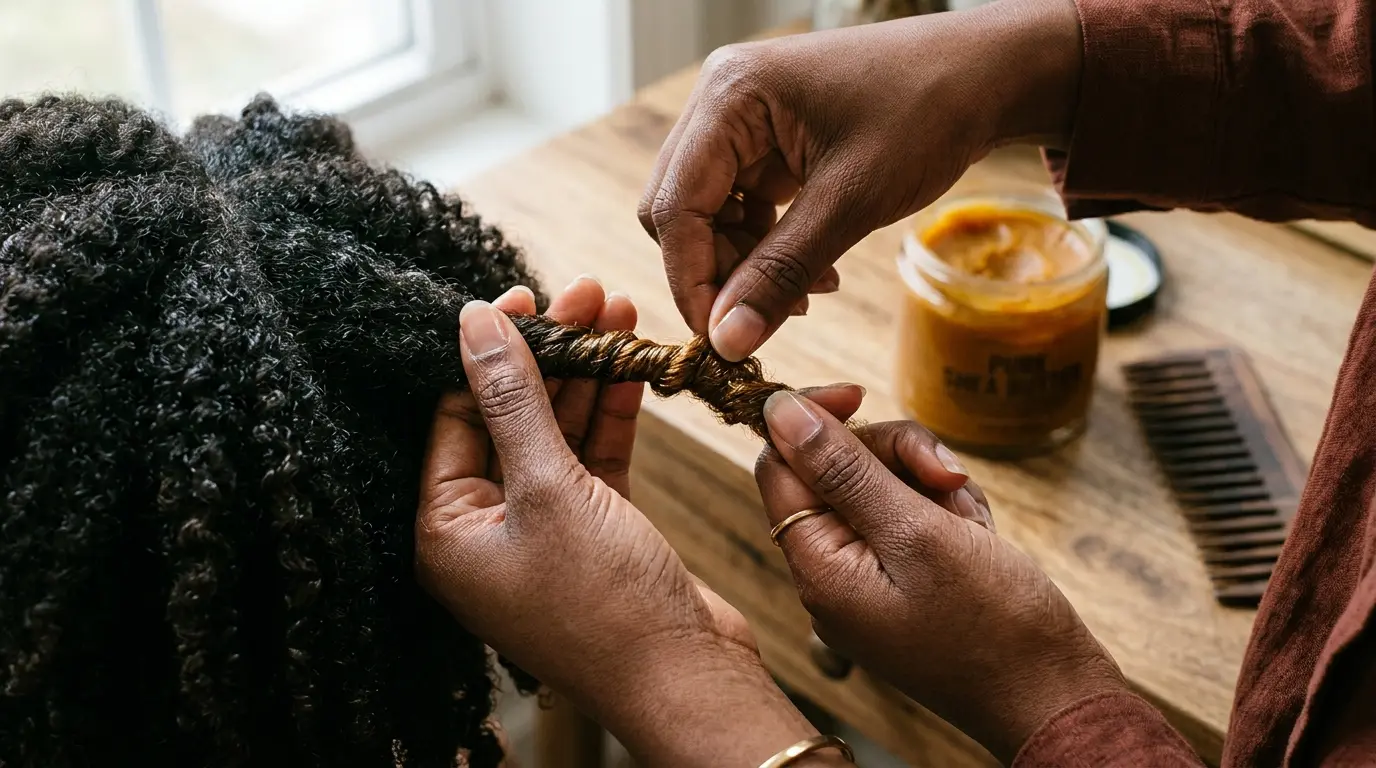
Coiled textures achieve sharp definition when plaited damp with rich emollients. Choose this setup for tight curl patterns seeking multi-day shape retention without heat damage. Straight or relaxed strands should pass on this style because the coils provide the natural spring that holds the twist closed.
Section damp hair into four manageable quadrants using wide clips. Rub a quarter-sized scoop of raw shea butter and castor oil between warm palms. Smooth the product through the first quadrant from root to ends.
Divide that quadrant into three thick ropes. Braid firmly, keeping your thumbs pressed flush against the base to prevent root buckling. The coarse texture will grip itself naturally down the shaft. Once you reach the dry ends, twirl the tip around your index finger to set the natural curl without needing an elastic.
Moisture Lock Plaits for Springy Curly Hair
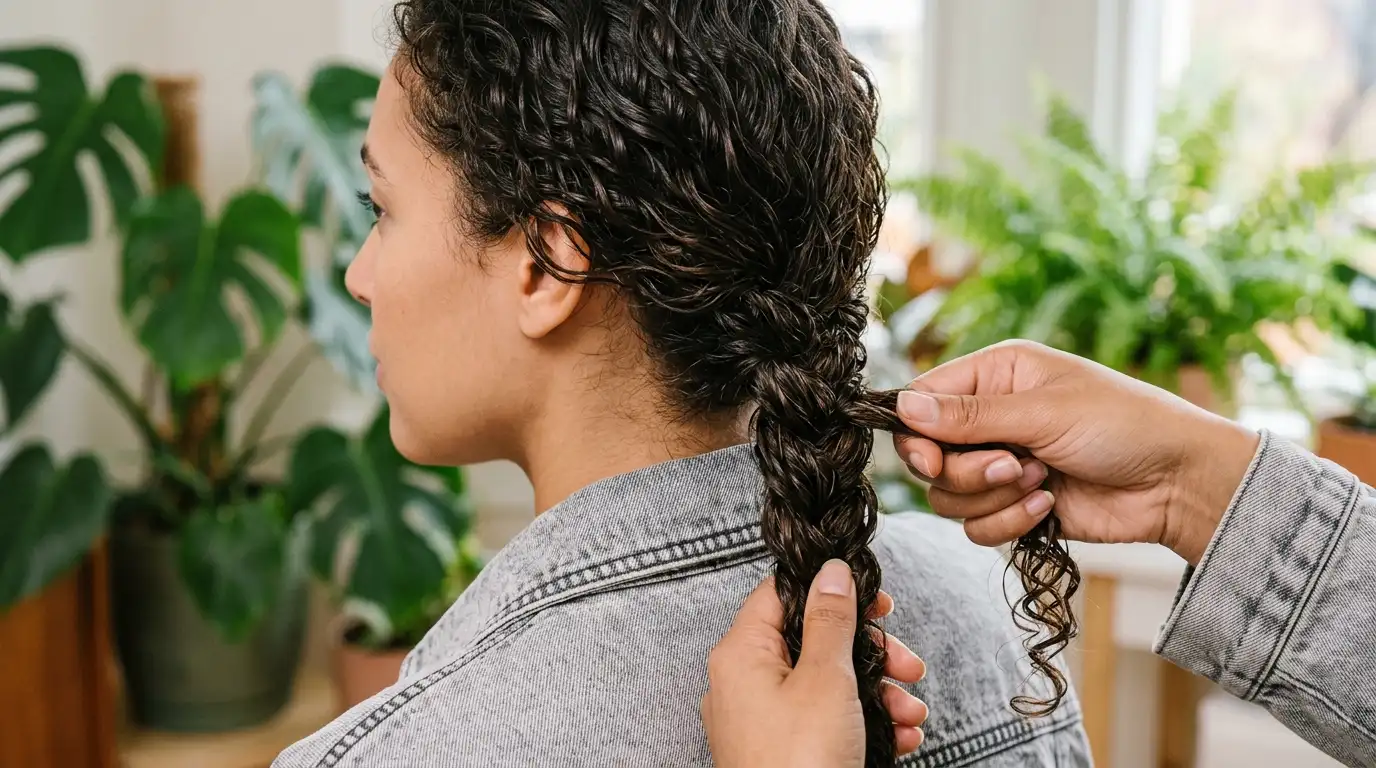
Natural curls often frizz when braided dry due to disrupted curl clusters. Select this routine if your strands form definite S-patterns and you want stretched definition. Avoid this method if you plan to wear straight heat-styled looks immediately after.
Mist clean curls with water until they are damp to the touch, not dripping. Work a botanical leave-in cream through the length using wide rake fingers. Divide the hair into three balanced sections down your back.
Braid down the length by sliding your fingers down the shaft without raking or separating individual curl groupings. Keeping the curl clumps intact prevents halo fuzz. When you reach the bottom, mist the entire length with an alcohol-free setting spray to lock the moisture seal.
Classic Center Plait for Shoulder-Length Hair
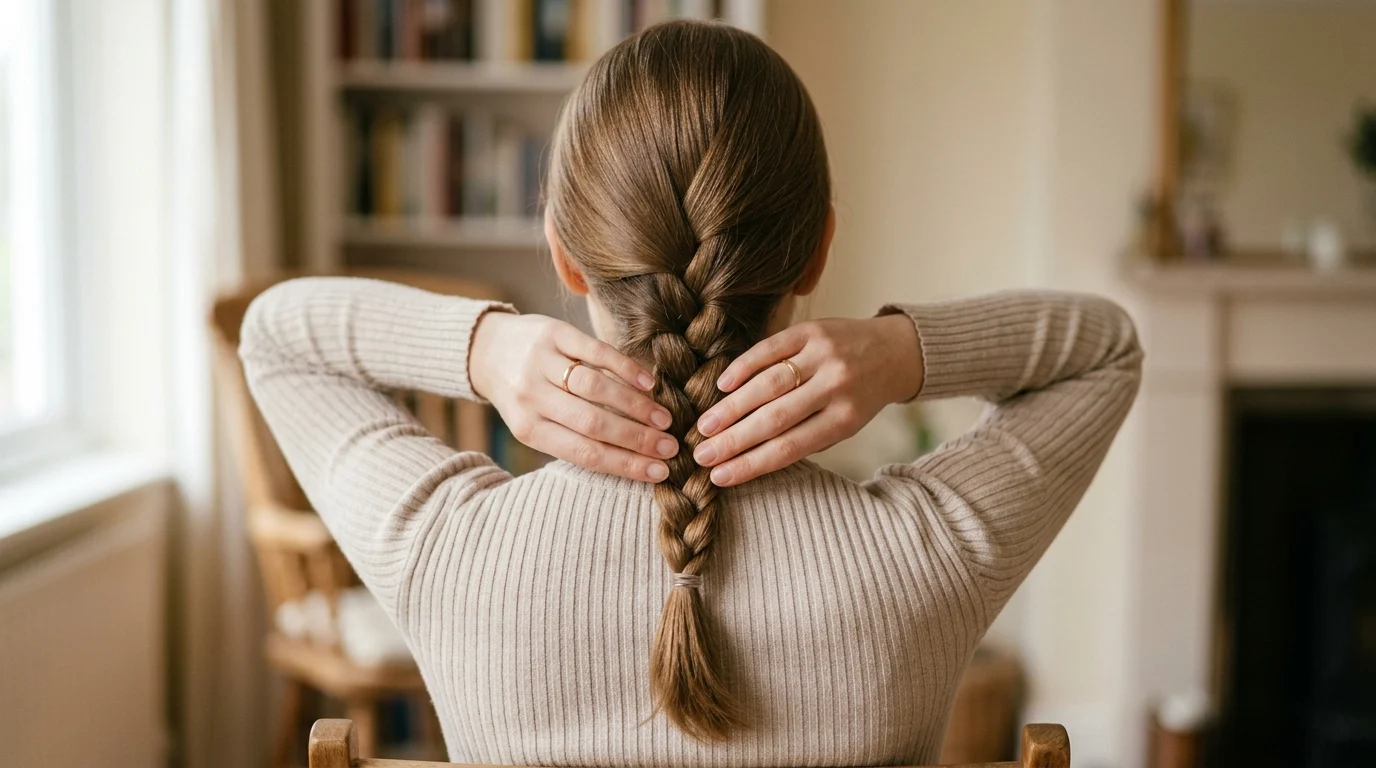
Shoulder-length hair is the standard canvas for basic plaits. Pick this classic style if your ends clear your collarbone by at least two inches. If your hair brushes your ears or shorter, the bottom strands will pop free within minutes.
Tilt your head backward roughly twenty degrees to gather your strands without bunched fabric getting in the way. Sweep everything straight back from your forehead with a paddle brush. Divide the hair at your nape into three equal ribbons.
Bring the left ribbon over the center ribbon. Bring the right ribbon over the new center. Maintain steady, moderate tension so the braid stays flat against the neck base. Work down until three inches of tail remain, then slip a nylon band around the ends.
Over-the-Shoulder Side Plait for Waist-Length Strands
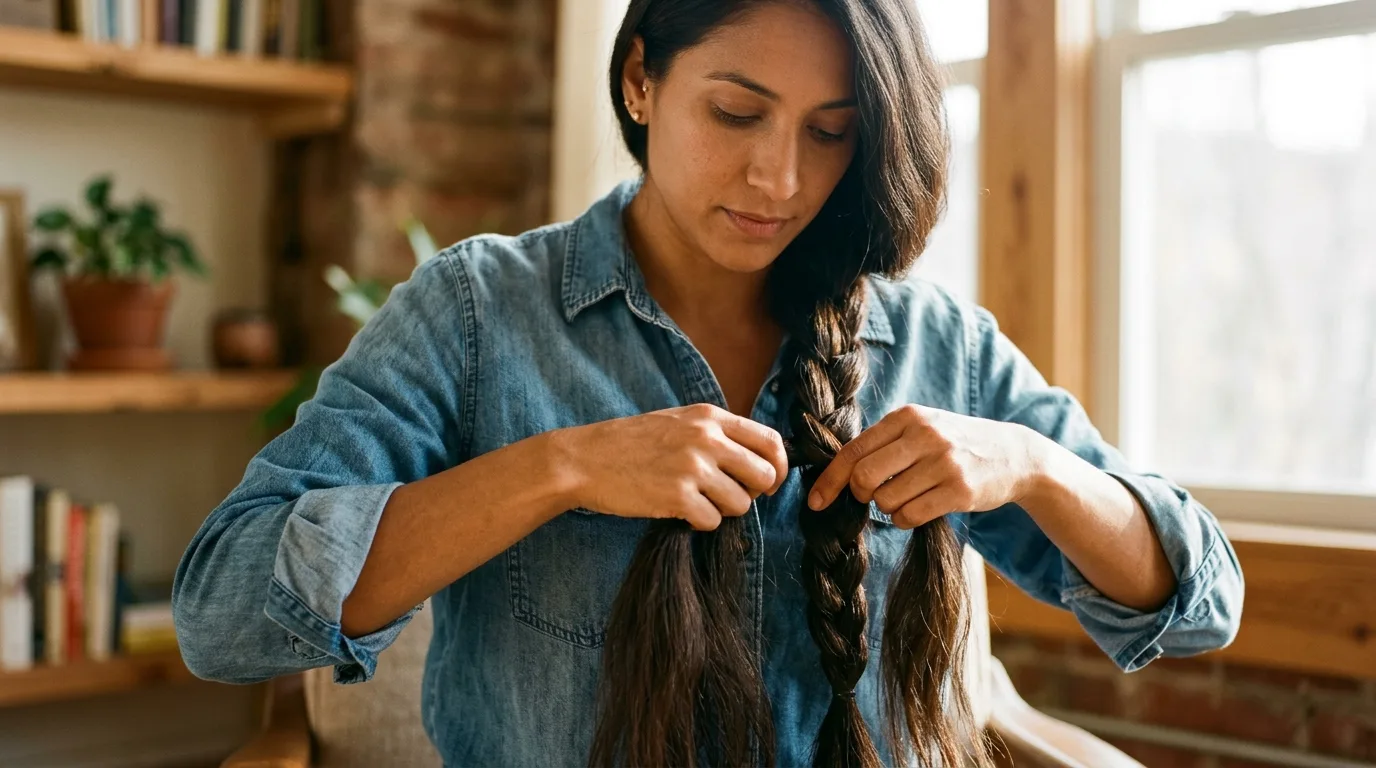
Reaching behind your back for four feet of hair causes severe shoulder cramps. This forward-draped technique is meant for hair reaching past the lower ribs. Do not attempt this on hair shorter than armpit level because the front angle will pull the opposite side too tight and create painful scalp pulling.
Sweep your entire mane over your dominant shoulder. Comb through the lengths with a wide tooth comb to remove underlying tangles. Divide the hair into three thick sections resting flat against your chest.
Weave the outer strands over the central strand in front of your eyes where you can monitor section balance directly. Maintain a downward diagonal pull rather than pulling straight out from your chest. Tie off the tassel with a fabric hair tie two inches from the natural ends.
High Tension Dutch Plait for High Impact Workouts
Cardio and heavy lifting shake traditional plaits apart quickly. Choose inverted Dutch plaits when you need hair completely immobilized off your neck and face for running or gym routines. Skip this if you suffer from tension headaches, as the scalp grip is uncompromising.
Carve a neat horizontal parting across the top crown. Split this crown piece into three sections. Instead of crossing pieces over the top, cross the right strand underneath the center, then the left strand underneath the center.
Gather a new half-inch horizontal stripe of hair from the side scalp and merge it into each strand before tunneling it under the middle. Keep your knuckles skimming your scalp continuously. Stop at the nape and finish off the tail with an inverted weave, binding it with an industrial silicone band.
Low Nape Twist Plait for Five-Minute Mornings
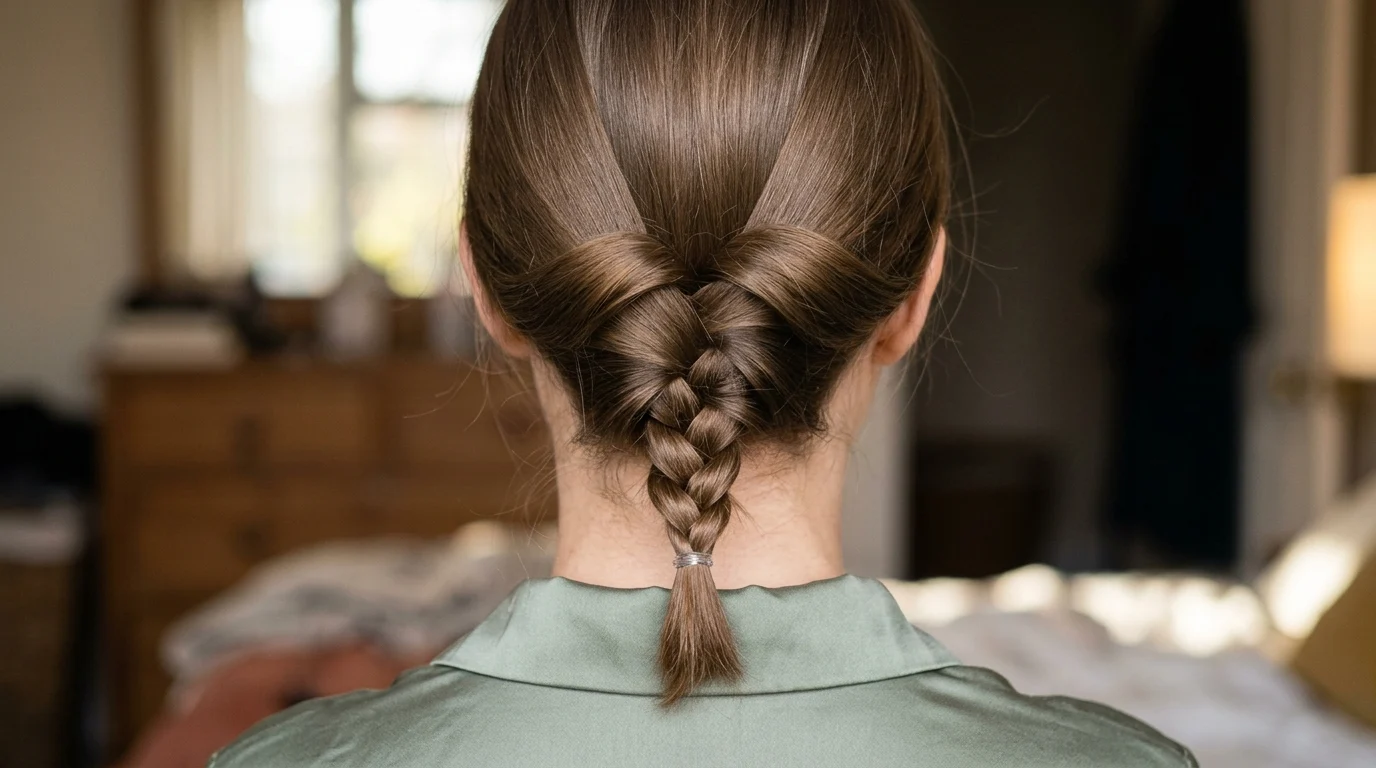
When time is limited before work, this four-minute shortcut delivers a tidy finish. Choose this whenever you have under five minutes to leave the house. Avoid this if your hair has jagged, stepped layers shorter than chin length because they will poke through the loose weave.
Gather your hair into a low ponytail at the base of your skull using a snag-free clear band. Push your index finger through the hair directly above the elastic band to create a small vertical opening. Flip the ponytail up and push it down through the opening to produce a self-rolled edge.
Divide the hanging tail into three sections. Cross the outer pieces over the middle piece four or five times. Fasten the bottom with a small silk scrunchie to protect the ends from split friction.
Loose Slumber Plait for Nighttime Friction Control
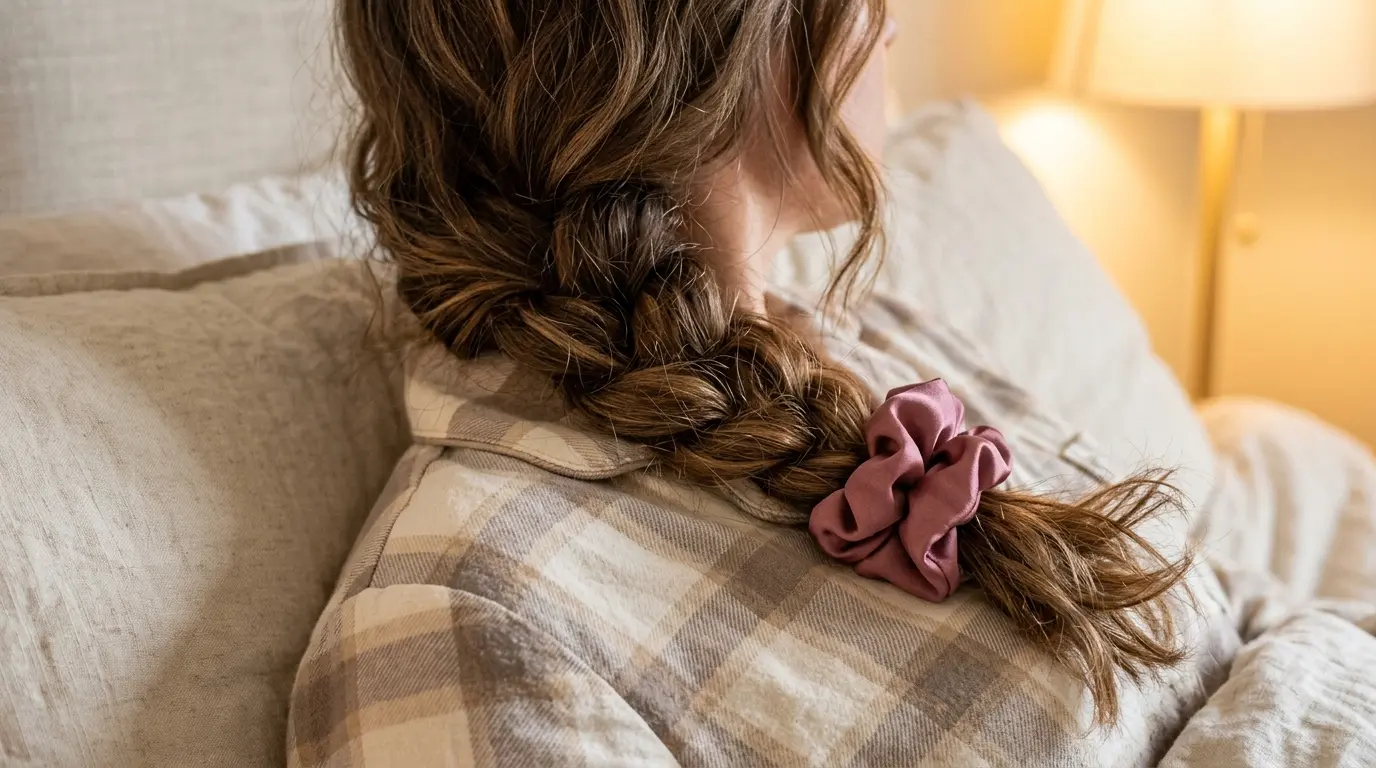
Sleeping on unbound hair causes matting, breakage, and morning frizz against pillowcases. Use this gentle plait before bed to protect your ends and generate loose heatless waves. Skip this if your scalp requires nightly medicated foam applications that need open airflow to dry.
Apply two drops of jojoba oil across your ends to seal dry cuticles before sleep. Comb everything back loosely without using a brush that flattens natural volume. Divide into three loose, thick sections starting at the middle of the neck rather than the scalp.
Weave the sections together very loosely, maintaining barely enough tension to keep the three pieces distinct. Stop four inches above the ends. Fasten with a wide satin ribbon or a scrunchie made of mulberry silk. The relaxed tension prevents pulling along your hairline while you turn in bed.
Floating Scalp Plait for Tender Heads

Traction alopecia and scalp tenderness occur when plaits pull hair follicles at extreme angles. This zero-tension method is ideal for sensitive scalps, fine roots, or postpartum shedding phases. People looking for sharp, slick athletic plaits should avoid this because the weave sits loose.
Tilt your head downward slightly and smooth your hair back with your palms instead of a firm brush. Separate the crown area into three wide, soft bundles. Weave the strands by crossing them gently without pulling your hands away from your head.
Leave half an inch of slack at the scalp so the hair roots can pivot without strain. Feed side hair into the braid only by letting it drape naturally into the weave without stretching it tight. Fasten the tail loosely at your back using a soft bamboo-cotton band.
Choosing the Right Braid for Your Routine
If you are stuck between styles, let your hair length and prep window make the call. For lengths past your shoulders with ten minutes to spare, the classic side sweep is the most dependable option. If your hair is short or cropped close, work on small front accent plaits where your fingers have full leverage.
Frequently Asked Questions
Which braid holds best for someone who has never braided their own hair?
The over-the-shoulder side plait is the most reliable starter option. You can see the strands directly in front of your chest without twisting your arms behind your neck or relying on tricky rear mirrors.
What should you pick if your hair is thin and shows wide scalp gaps?
Choose a low nape twist plait or a soft floating braid. Both styles conceal broad scalp parts by letting the hair drape naturally over parting lines rather than pulling sections tightly against the skin.
Which style lasts longest on second-day unwashed hair?
The high-tension Dutch plait performs exceptionally well on unwashed strands. Natural scalp oils provide friction and grip that keep flyaways sealed along the scalp for up to thirty-six hours.
Should you pick a French braid or a Dutch braid for active sports?
Choose the Dutch braid. By crossing the hair underneath rather than over, the braid forms a raised, rigid spine that locks external flyaways against your head during heavy jumping and sprinting.
Which braid causes the least breakage on bleached or fragile hair?
The loose slumber plait causes the least mechanical damage. It eliminates root tension, leaves the hair shaft relaxed, and avoids tight elastic pressure on fragile, chemically processed cuticles.