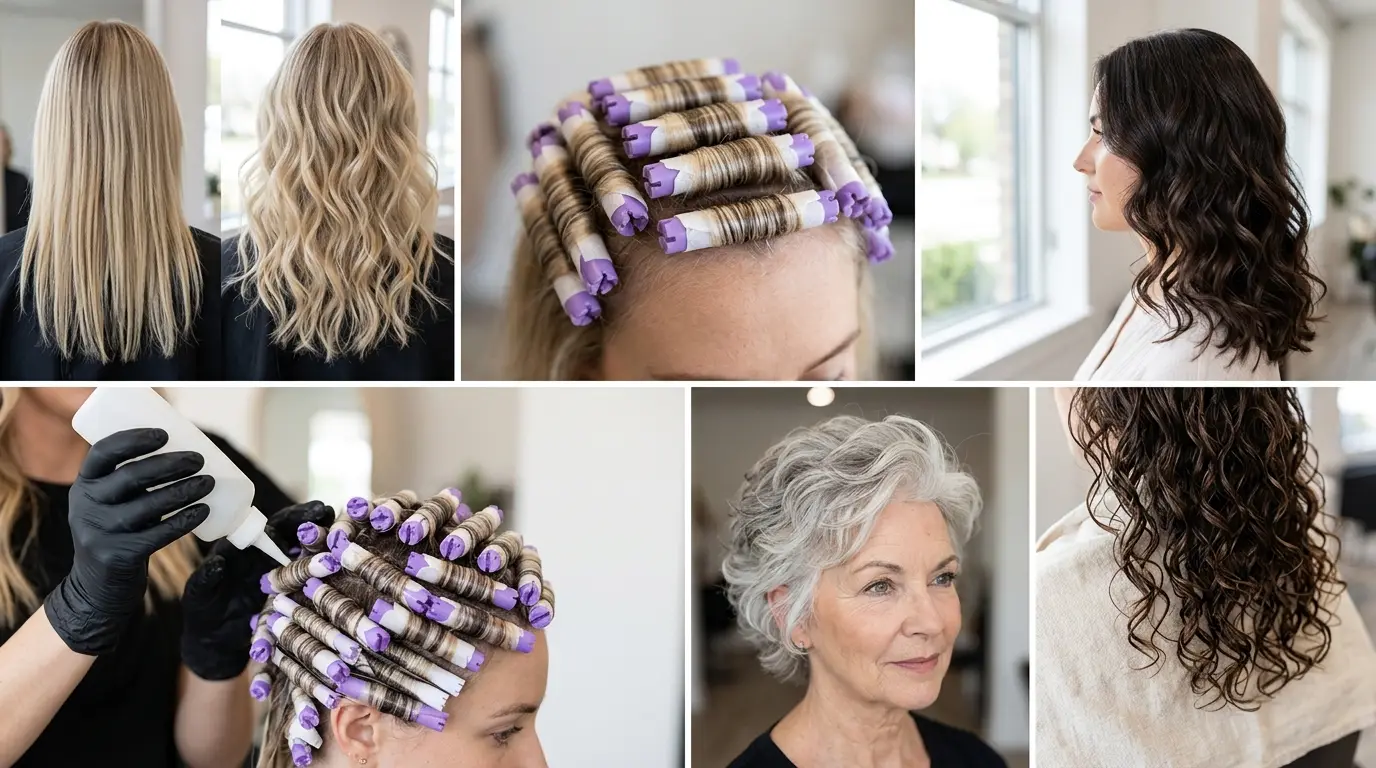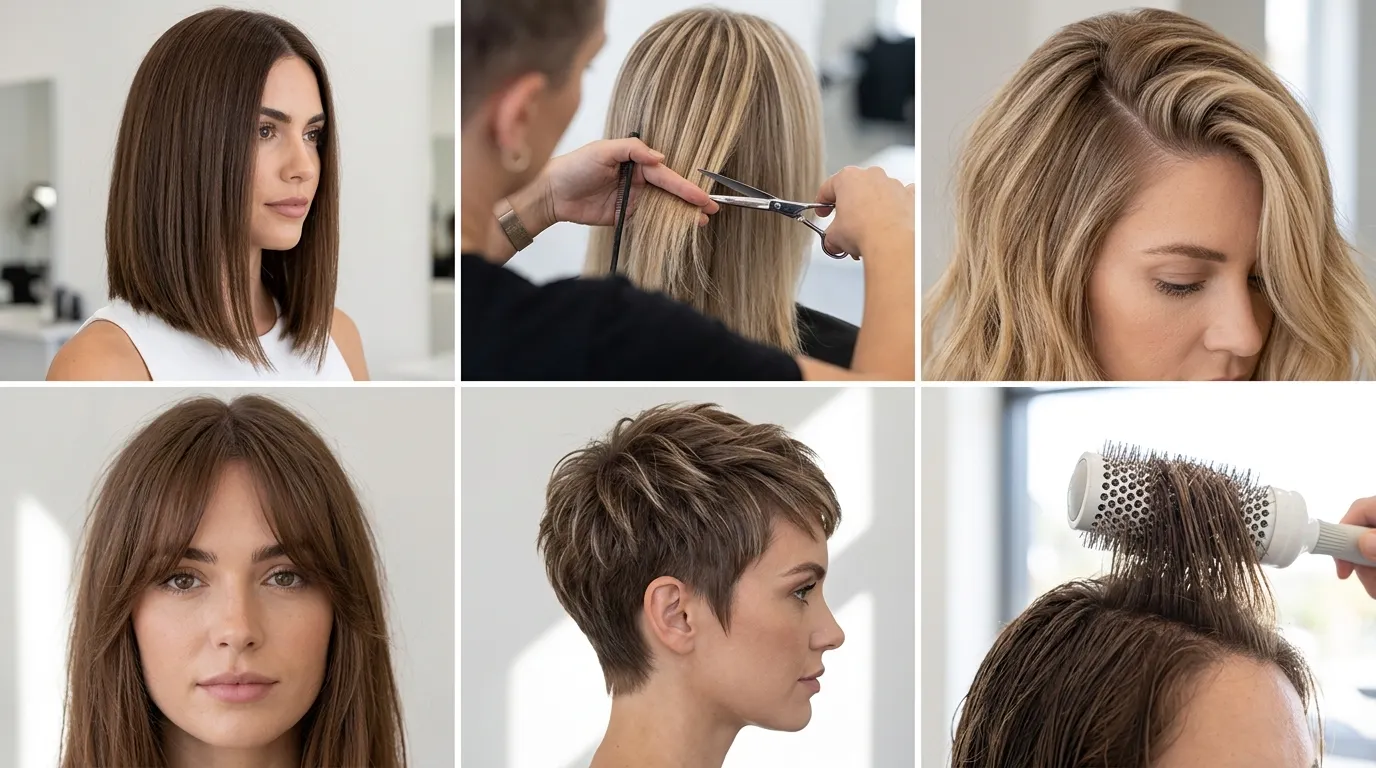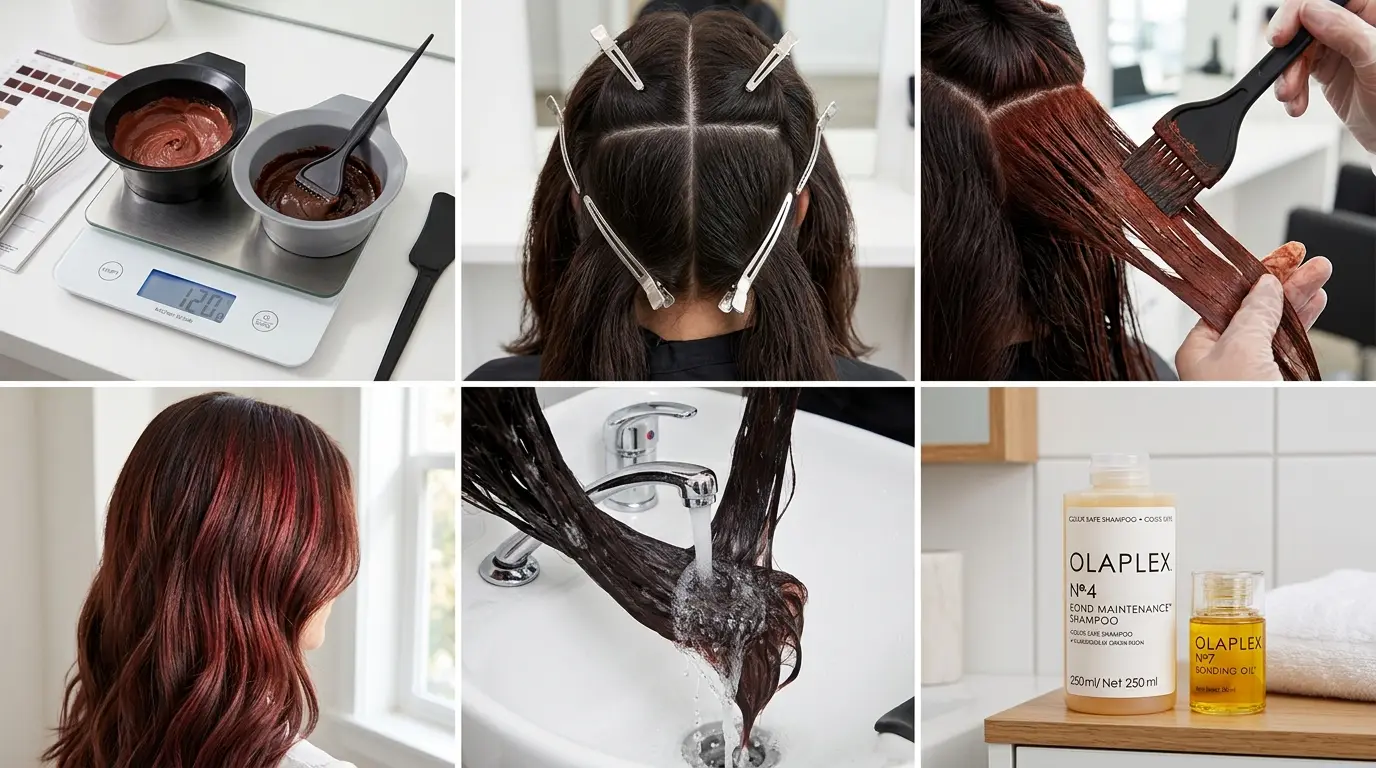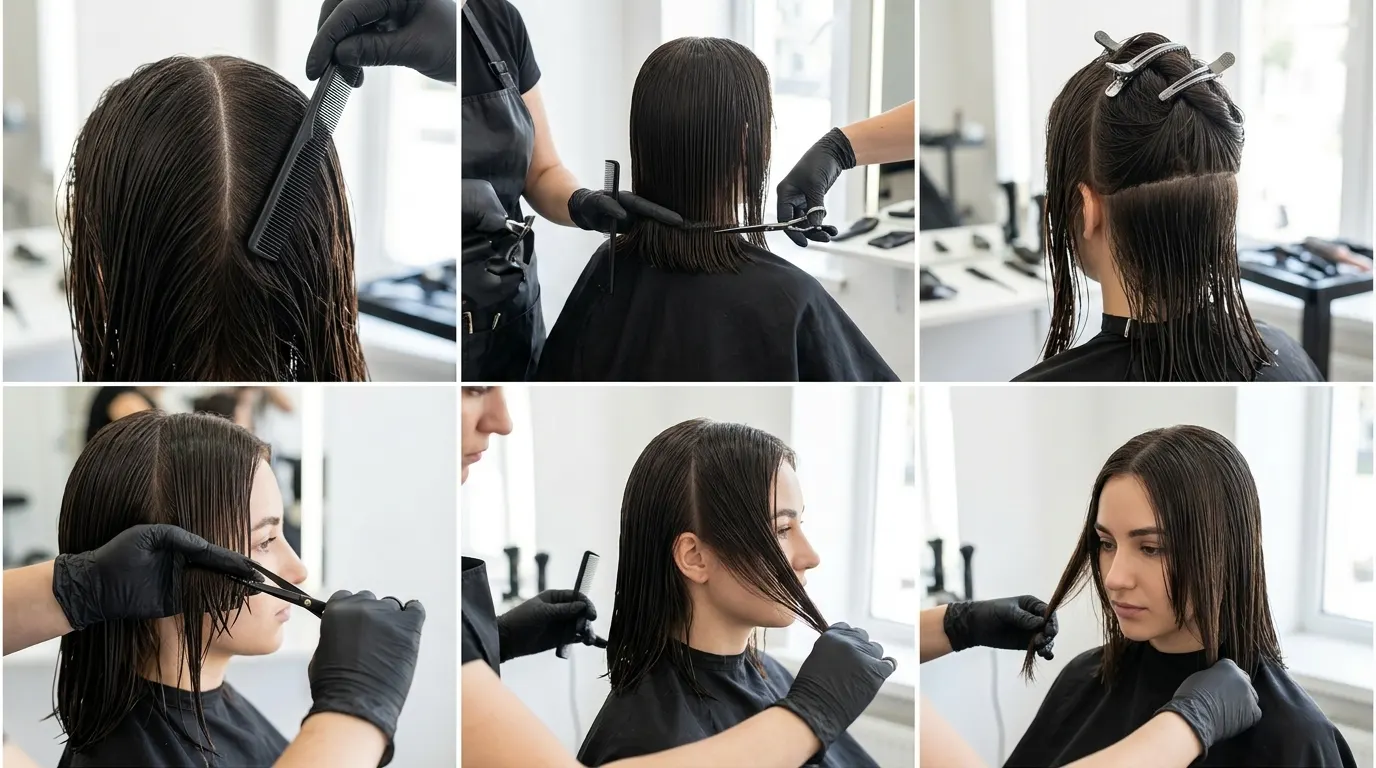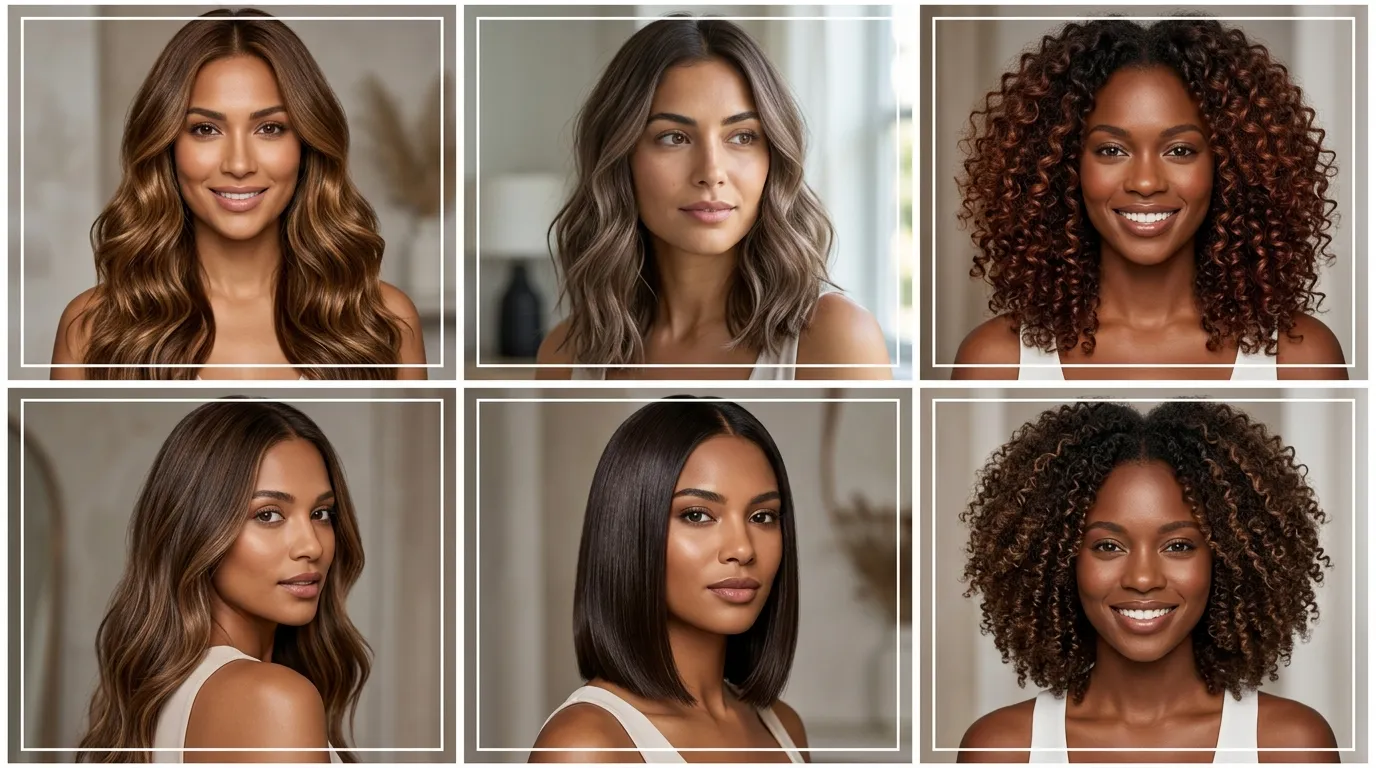

Standing in front of the mirror with soaking wet hair, wondering why viral social media tutorials promise that twenty dollars worth of dense curl cream will turn naturally smooth strands into springy ringlets, is a familiar frustration. The reality is simple. Genetic follicle shape dictates whether hair emerges round or elliptical, which means a curly hair routine on straight hair cannot rewrite your DNA or permanently reshape your hair fiber.
What this regimen can deliver is lifted volume, defined bends, and textured body that flat hair rarely displays on its own. Using the right sequence of water weight, lightweight styling foam, and controlled airflow coaxes stubborn strands into holding a wavy shape for days. Here are thirteen distinct steps to execute this method without leaving your roots coated in grease.
1. Reset Smooth Strands with a Hard Water Clarifying Wash
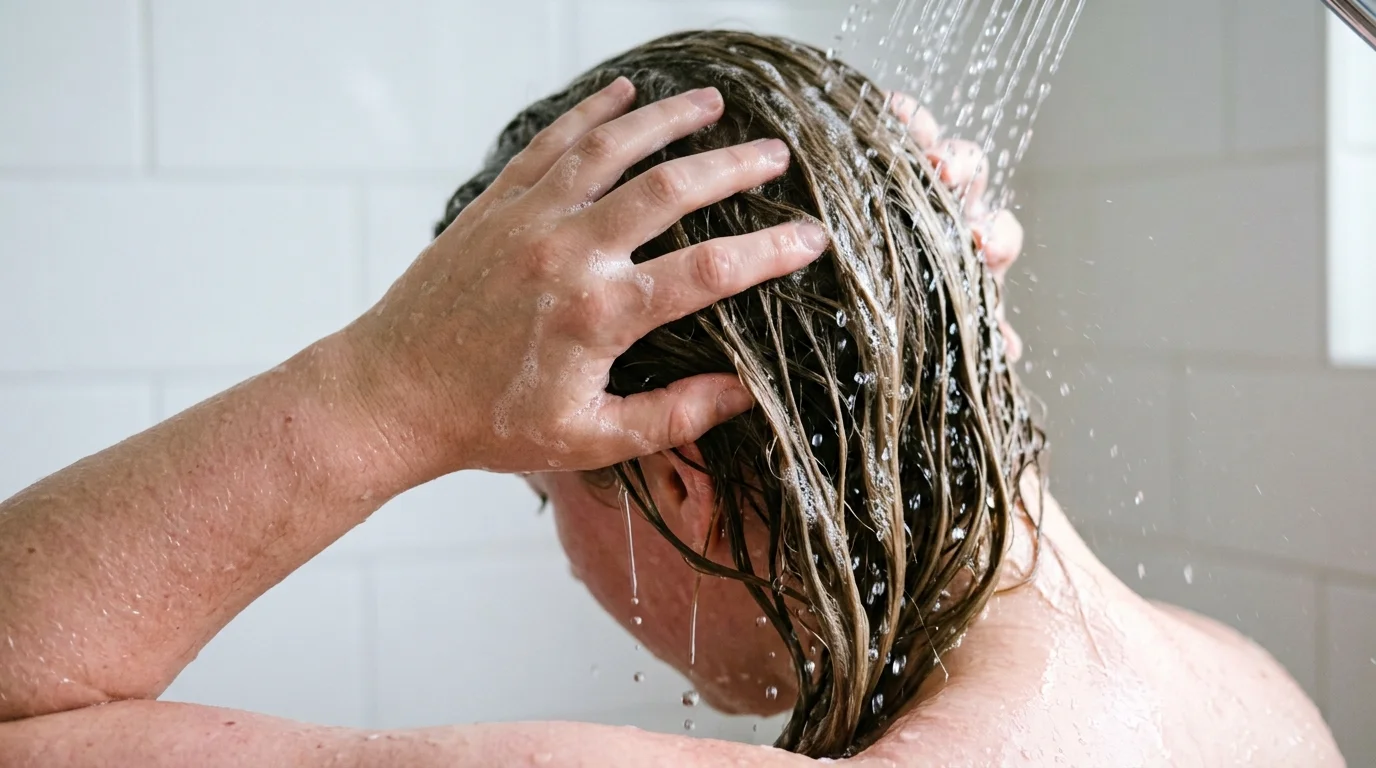
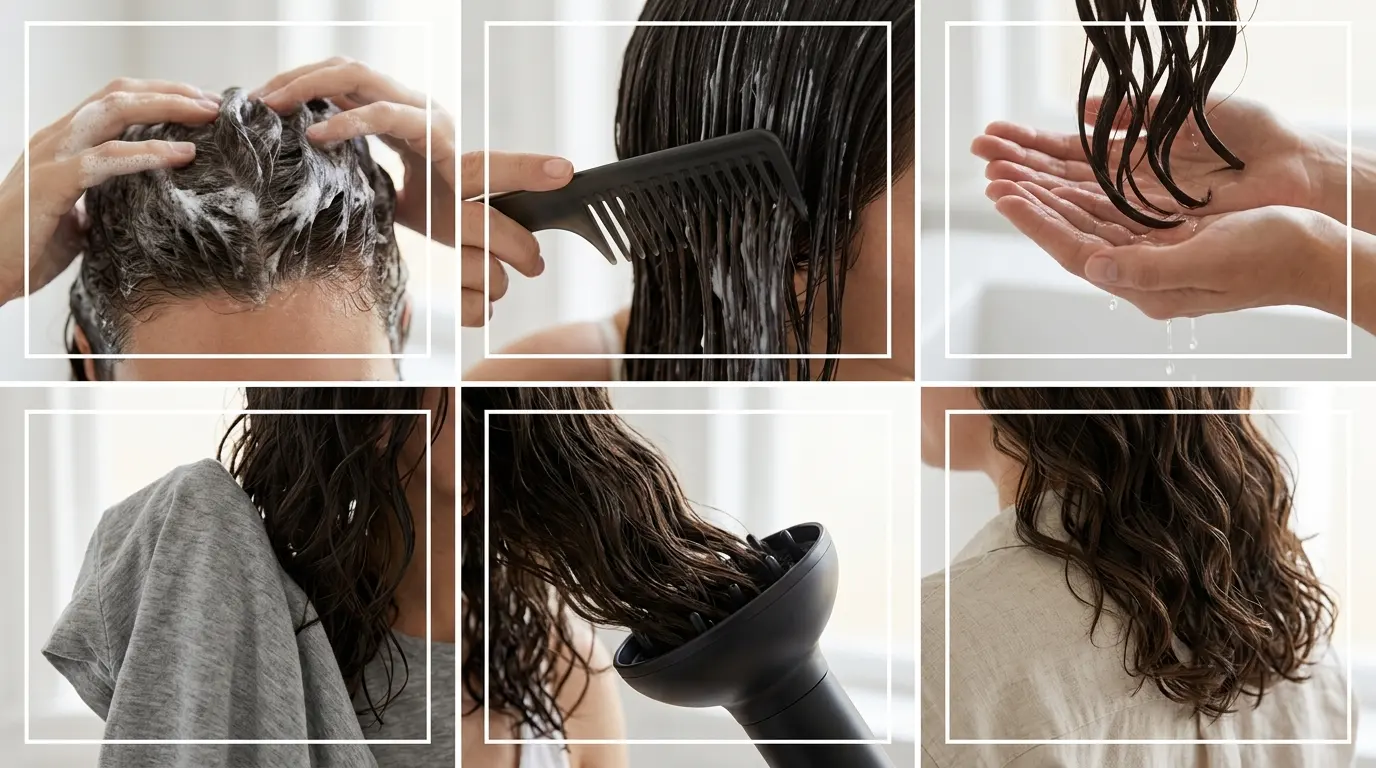
Straight hair collects sebum and mineral buildup far quicker than textured patterns do because natural scalp oils travel unimpeded down smooth cuticle shafts. Start by washing with a chelating clarifying cleanser priced around twelve to sixteen dollars in 2026, working it directly onto the scalp with firm circular motions for sixty seconds. Rinsing away dimethicone residues and tap minerals gives the cuticle enough natural grip to hold a wave pattern. If your hair feels slick rather than clean after rinsing, the buildup remains. This cleansing reset provides the rougher surface profile that fine to medium straight strands require to cling to styling polymers.
2. Distribute Weightless Rinse Conditioner Only Below the Ears
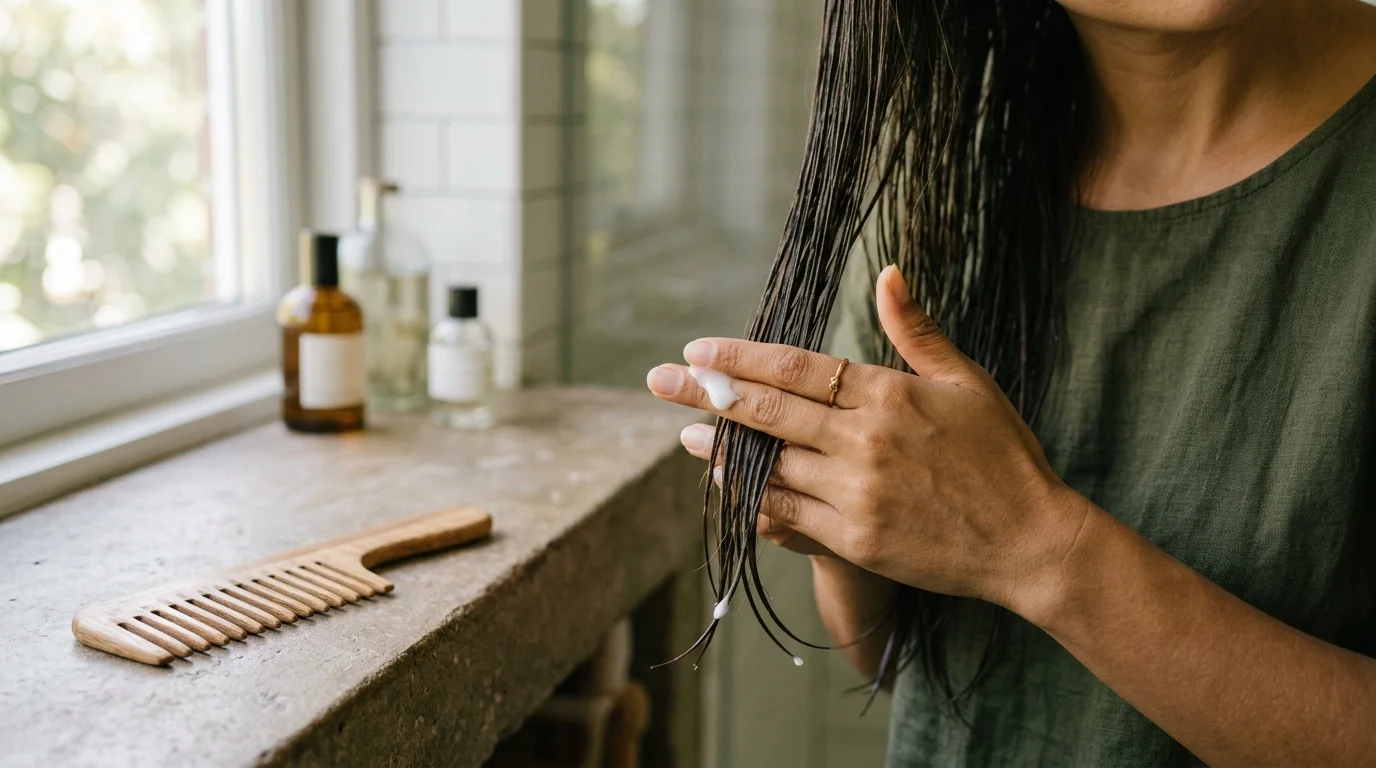
Applying dense creams directly to your crown will collapse any attempt at bounce before you even leave the shower. Work a dime sized pool of lightweight, glycerin based rinse conditioner strictly from mid lengths to ends, detangling with a wide tooth comb while water runs through. A basic curly hair routine built for coily textures leans heavily on leave in creams, but straight strands buckle under that heaviness. Rinse with cool water until the slippery coating disappears entirely. Anyone dealing with severely dry bleached lengths can leave a tiny trace behind, but untreated hair needs a thorough rinse to maintain natural strand buoyancy.
3. Squeeze Out Surface Water Using a Dense Cotton Weft
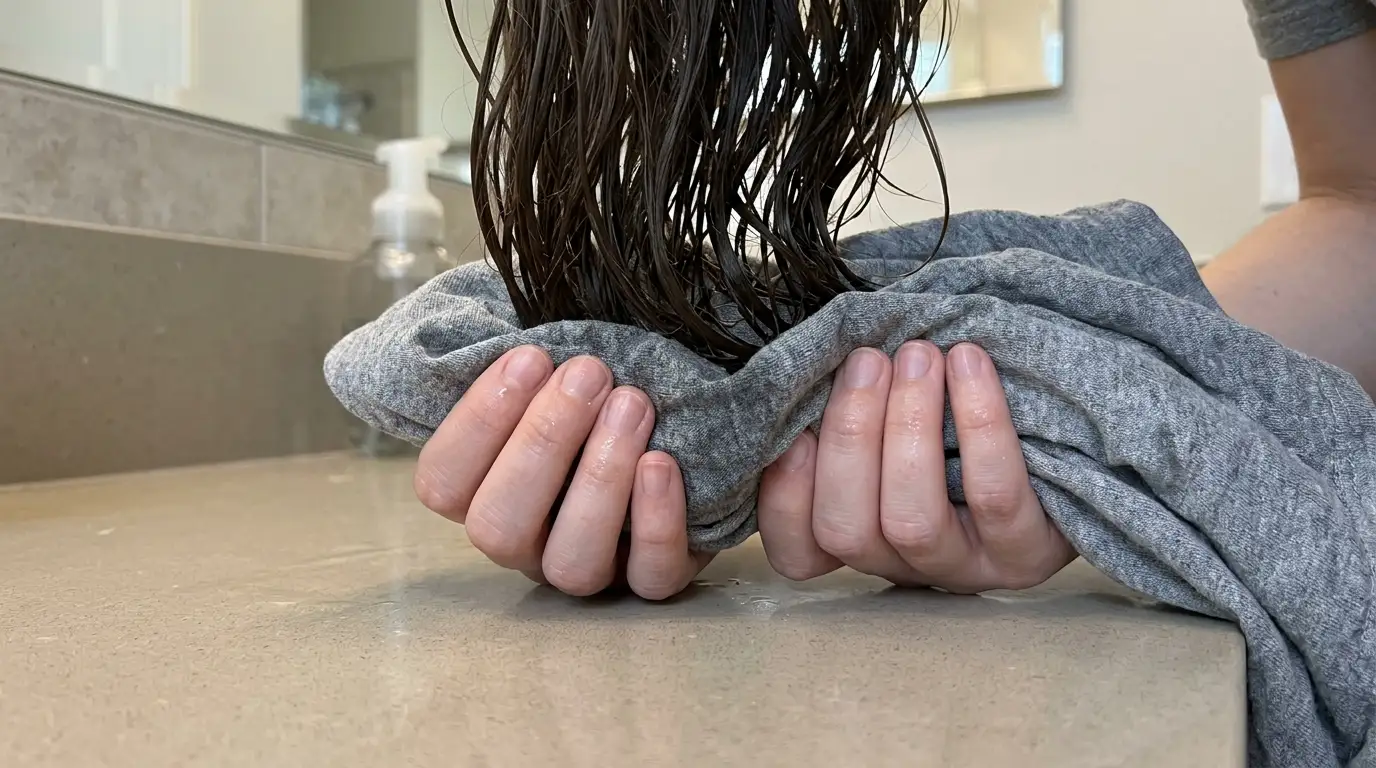
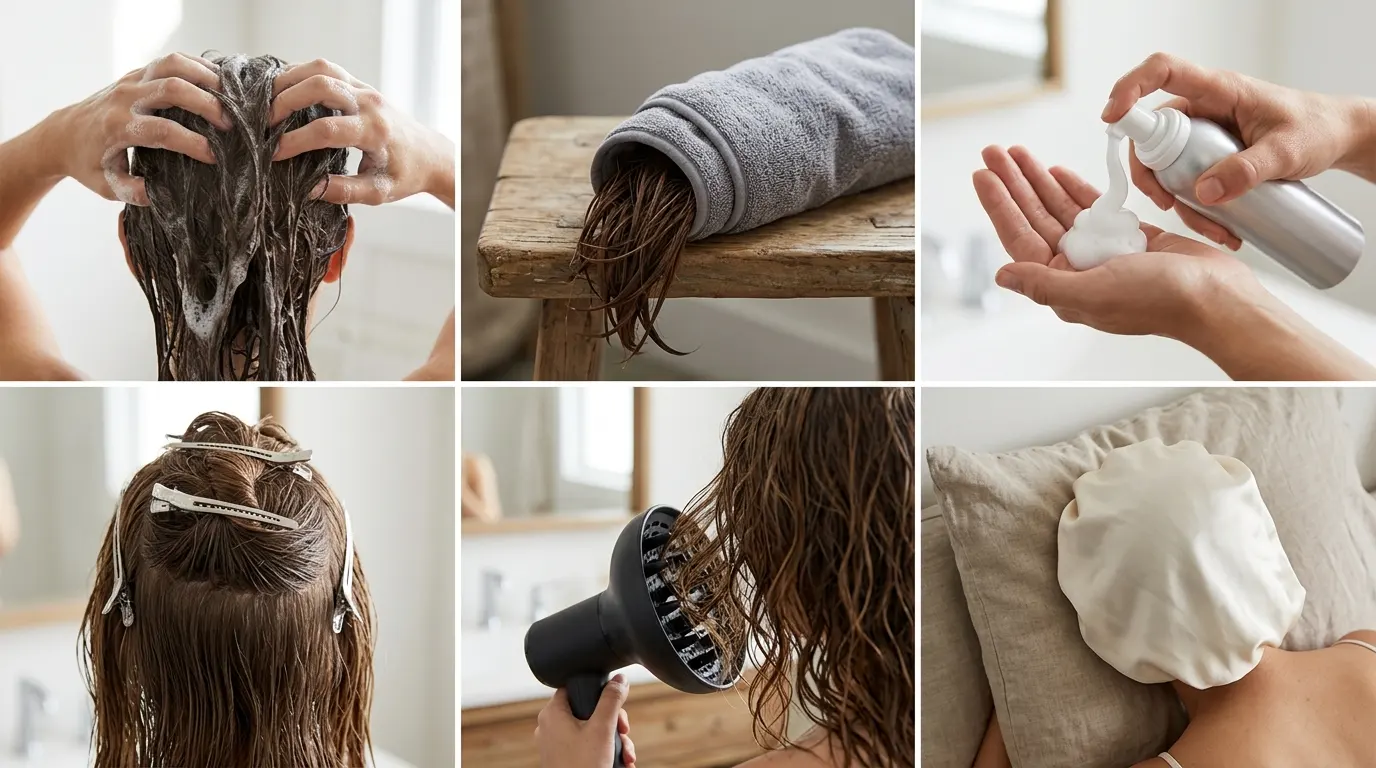
Standard terry cloth bath towels feature large fiber loops that snag wet strands, disrupting the fragile groupings you need to form cohesive waves. Lean forward, flip your lengths upside down, and press a flat woven cotton jersey cloth upward against the ends. A quick ten minute session of plopping inside a cotton wrap absorbs excess moisture while keeping the root canopy suspended off the scalp. Avoid rubbing or twisting the fabric down the length. This gentle pressing step is where an effective wavy hair routine on straight hair starts, preserving the initial clump alignment that rough friction instantly unravels.
4. Rake Lightweight Styling Foam Through Soaking Strands
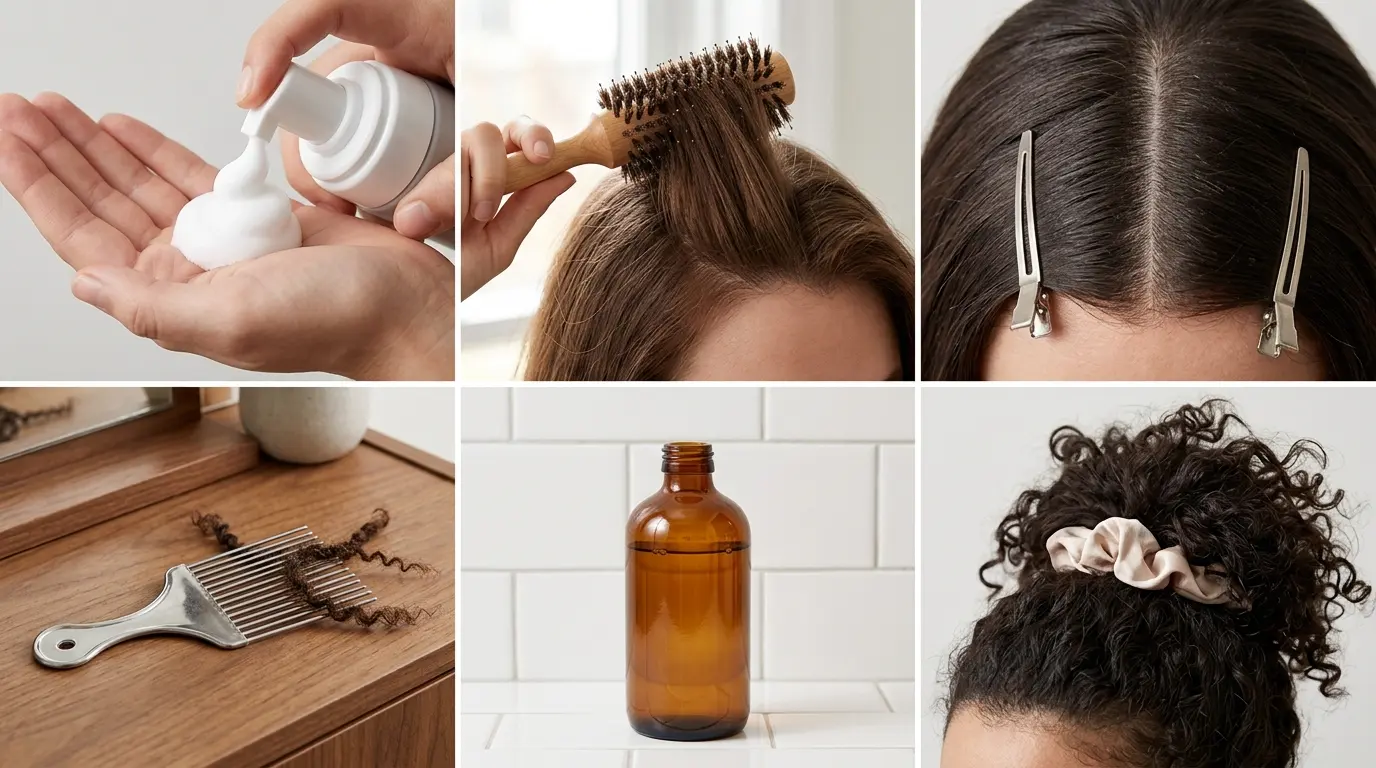
Heavy butter based gels cause smooth strands to hang like greasy needles, so swap them for a water based styling mousse containing polyquaternium polymers. Dispense two golf ball sized clouds of foam onto damp palms, rubbing them together before raking through the under layers and surface panels. At this stage, trying curly hair products on straight hair only succeeds if the chosen formula relies on film forming resins rather than heavy plant butters. Distribute the foam evenly with your fingers, ensuring every strand carries a thin layer of product from an inch below the root down to the perimeter tips.
5. Scrunch Upward to Lock In Grouped Strand Clumps
Cup your open palms beneath the damp ends and slowly squeeze upward toward your ears, listening for a wet squishing sound with every compression. Holding each scrunch for four seconds allows the styling polymers to set the bent shape while the hair remains pliable. When practicing a straight curly hair girl routine, skipping this mechanical molding step leaves the strands drying in their natural vertical lines. Keep your fingers loose and avoid breaking apart the formed sections. If the hair stops producing that damp compression sound, mist a small amount of warm water over the surface before continuing.
6. Clip Your Crown Sections for Mechanical Root Height
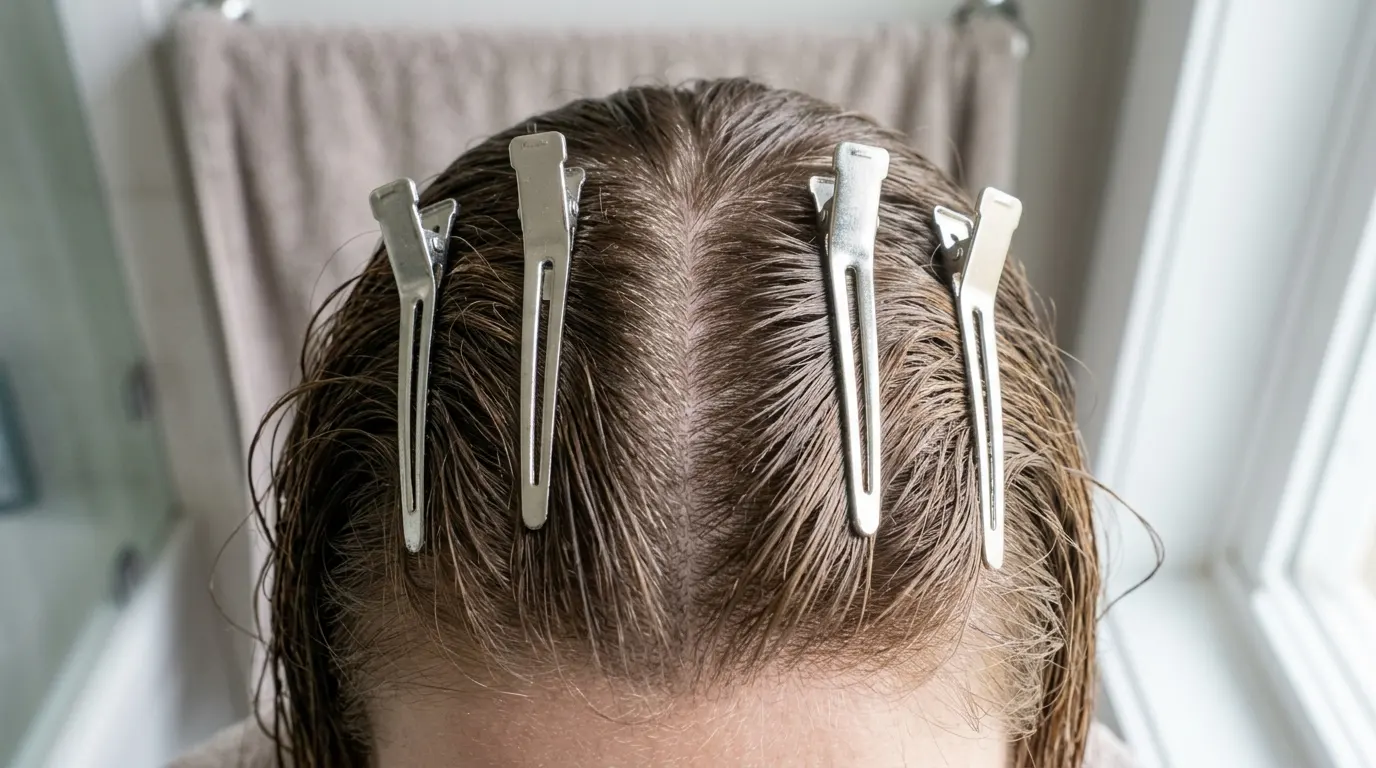
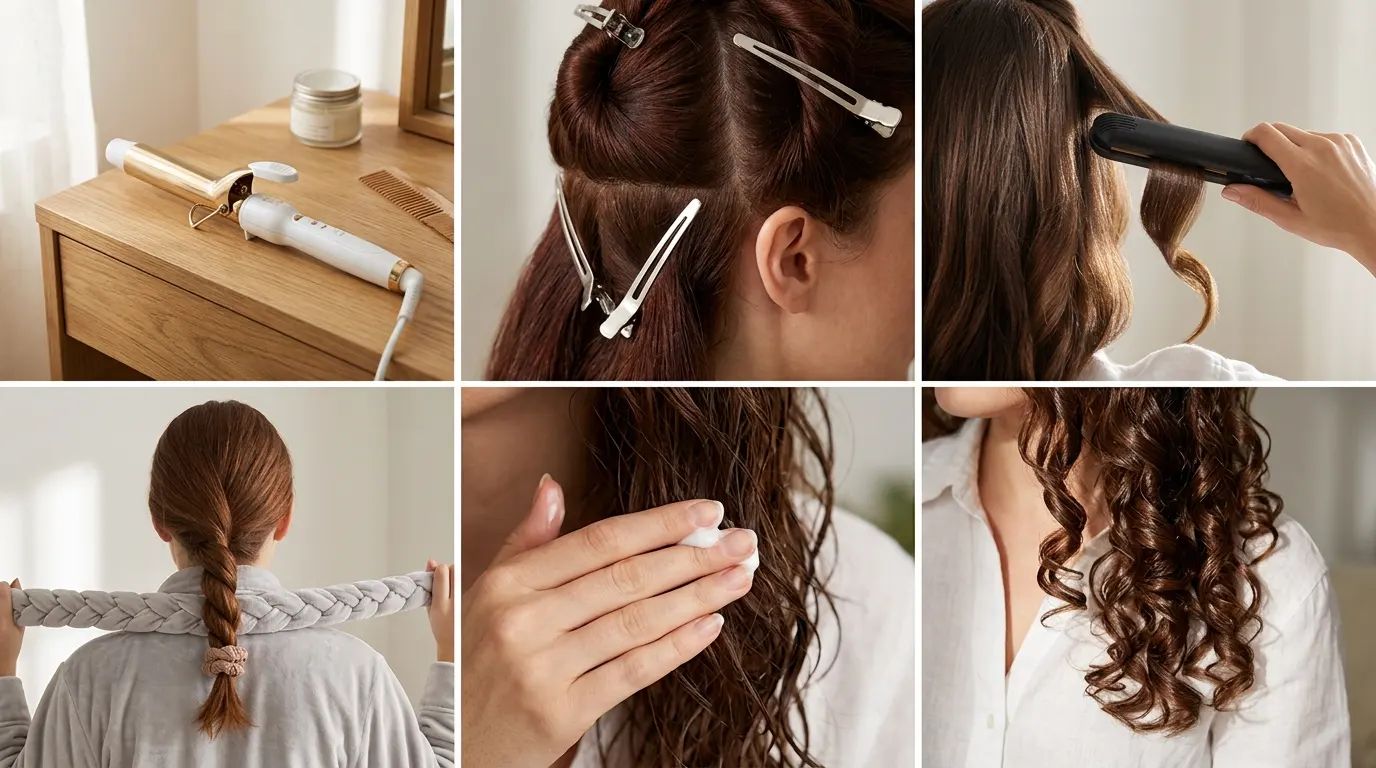
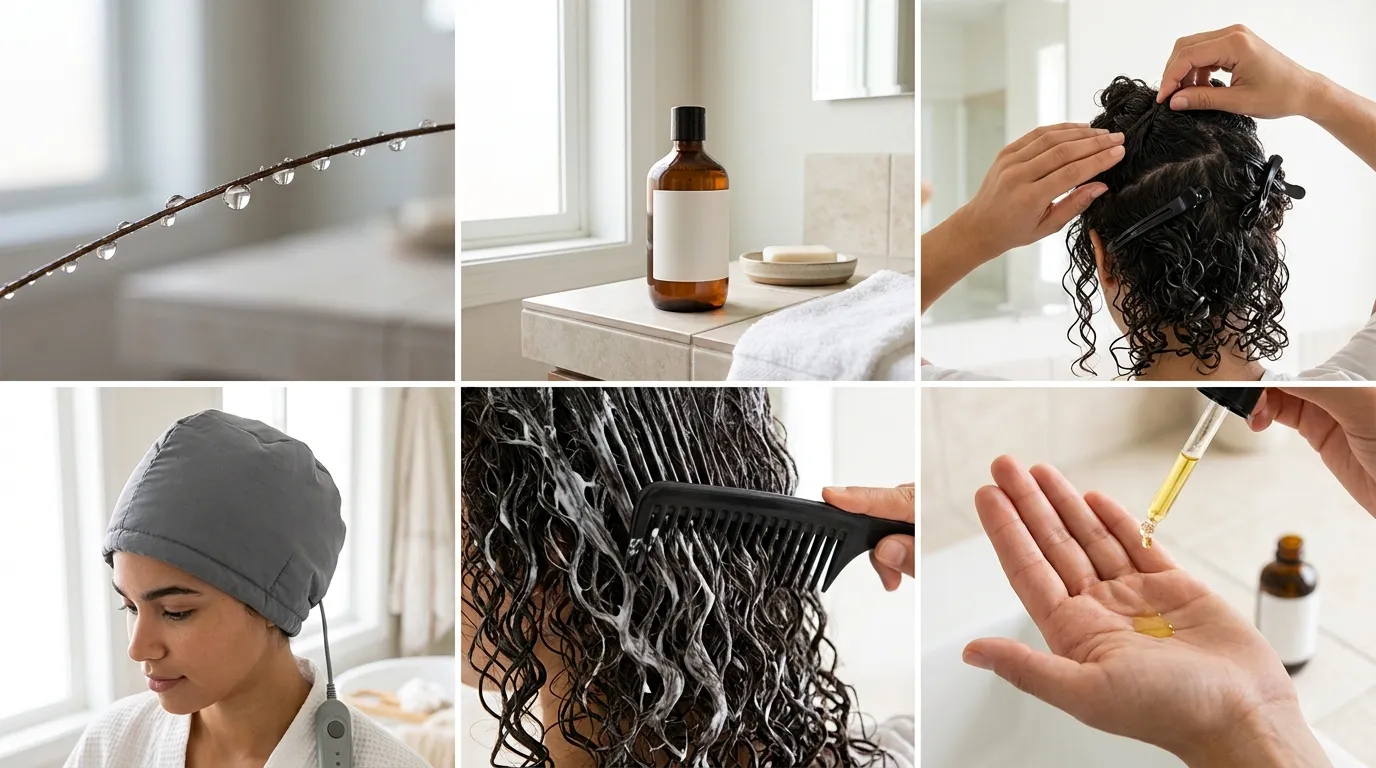
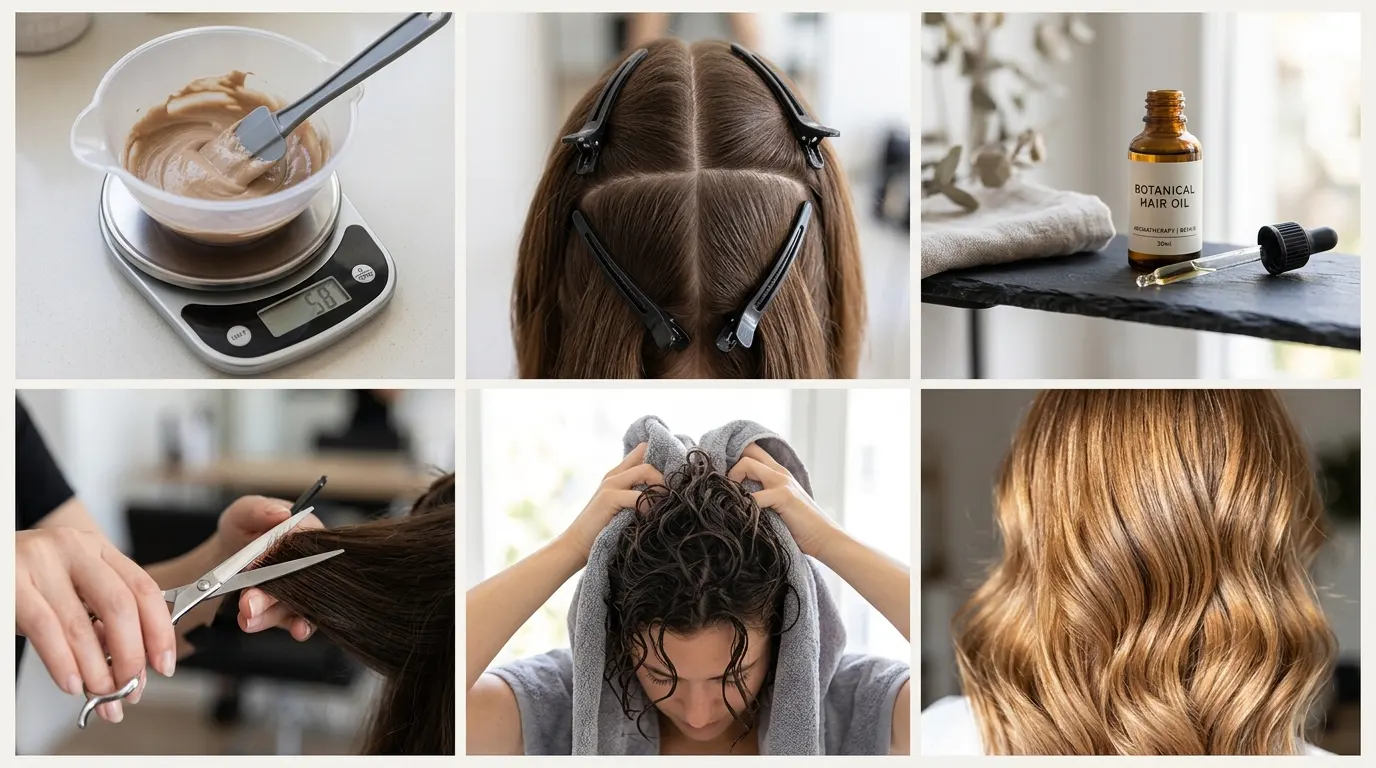
Straight roots lie parallel against the skull under the gravitational pull of wet hair, which flattens the top of the style. Insert small metal alligator clips horizontally at the root base along your central parting, pinching two inch sections upright. This physical support keeps the root cuticle drying at a ninety degree angle from the head, generating natural lift without needing stiff backcombing. Leave four to six clips secured across the crown while the lengths dry. Anyone with extremely short layers can skip this step, but medium and long hair requires this structural scaffolding to prevent flat top syndrome.
7. Establish the Difference Between Inherent and Molded Texture
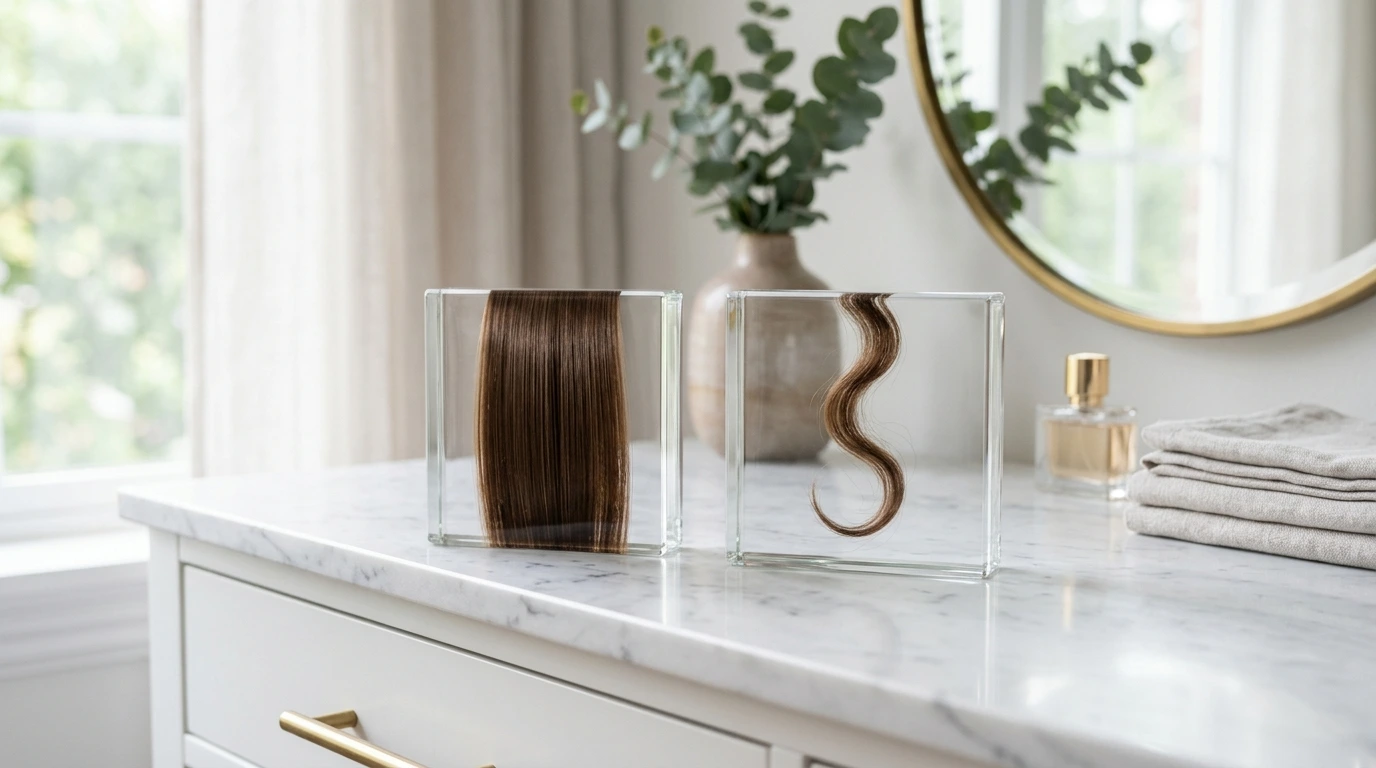
Straight strands emerge from circular follicles and possess an even distribution of keratin bonds, whereas naturally curly hair grows from asymmetrical oval follicles with uneven structural tension. Understanding curly hair vs straight hair prevents the disappointment of expecting wash and go ringlets without external support. Mechanical tools and styling polymers can force temporary bends into smooth fibers, but the core structure remains straight the moment humidity breaks the temporary bonds.
8. Hover Diffuse on Medium Heat to Freeze Wave Shapes
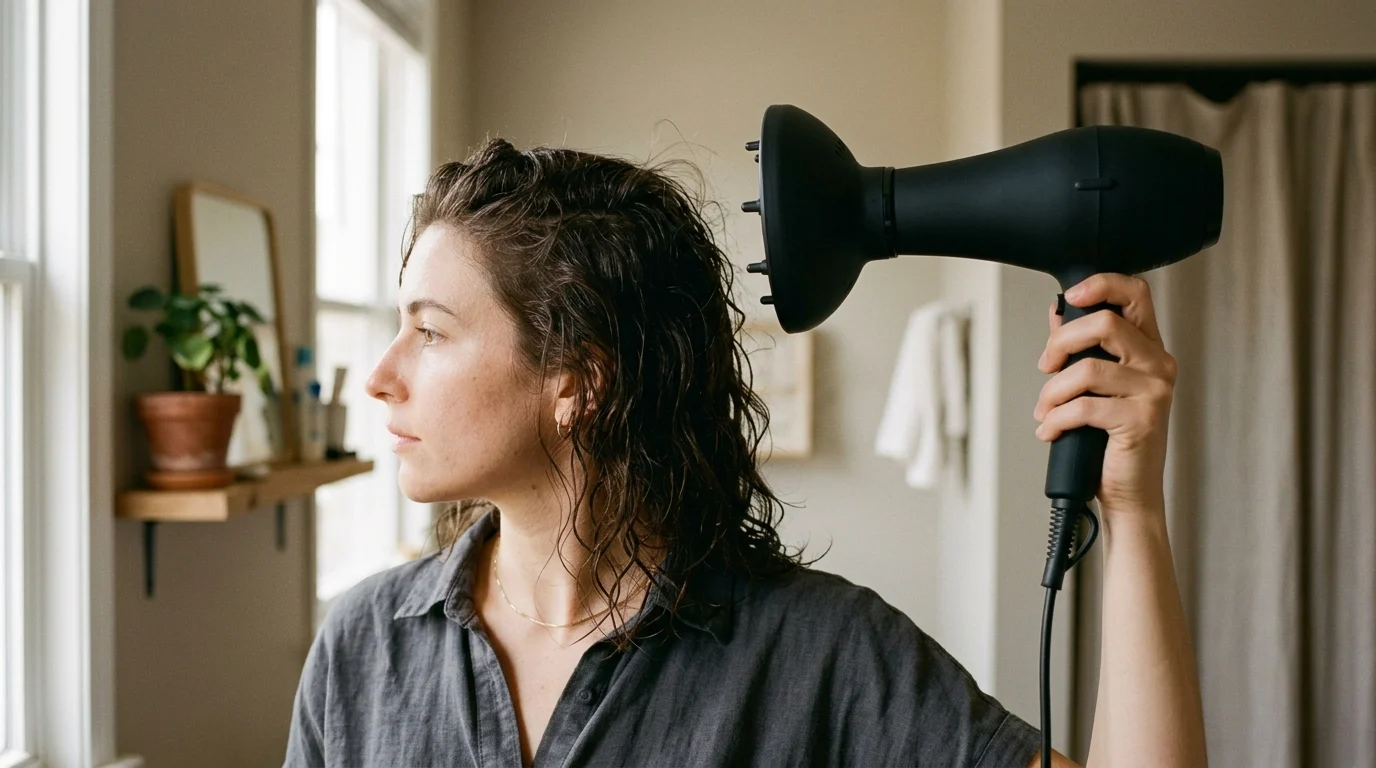
Hanging wet hair to dry without airflow lets gravity pull the bend straight before the styling resins can cure. Fit an eight inch bowl diffuser onto your blow dryer, set the controls to medium heat and low airflow, and hover the nozzle two inches away from the roots without touching them. Keeping the airflow steady around the perimeter establishes an external crust without causing friction flyaways. Spend roughly eight minutes circling the head during these curly hair routine steps for straight hair, moving only when the outer layer feels slightly firm to the touch.
9. Cup and Dry Lengths in Short Diffuser Intervals
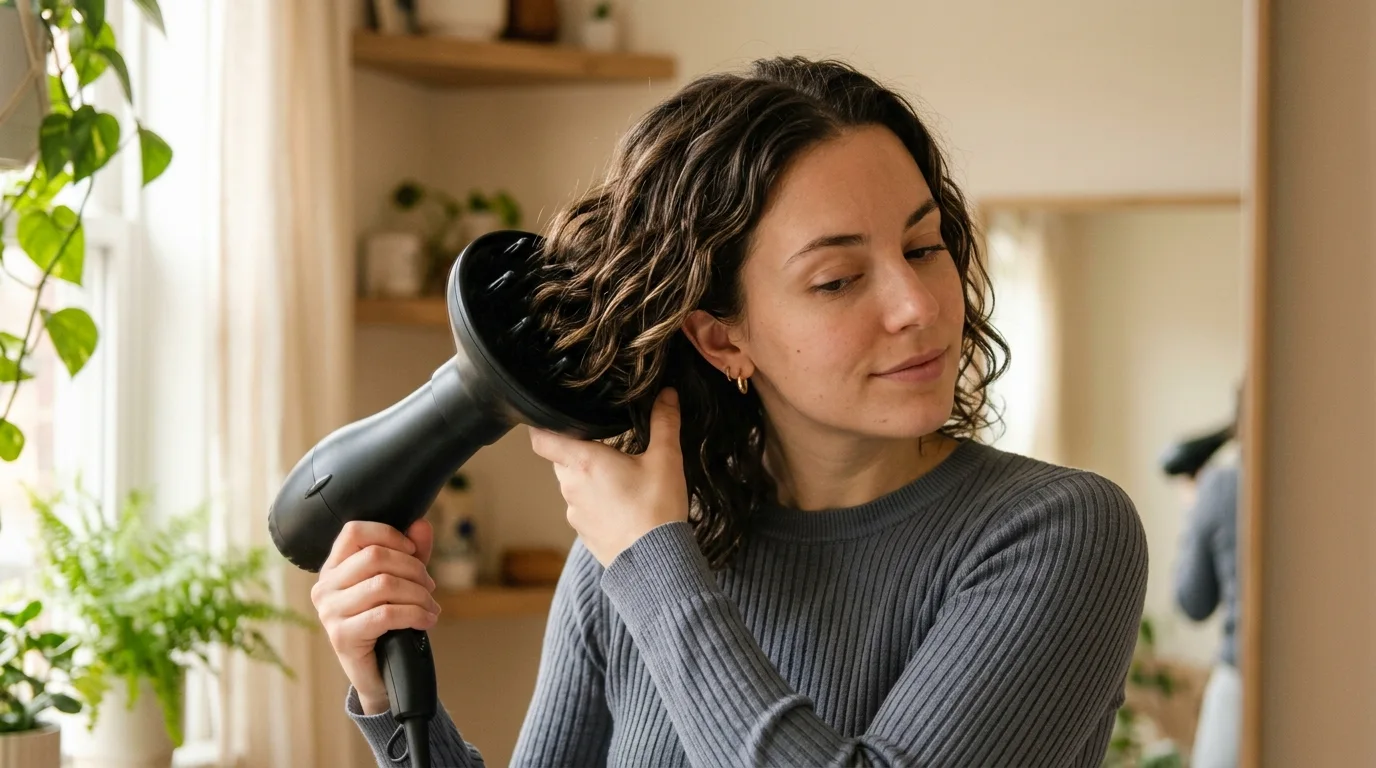
Once the roots and outer crust feel set, scoop four inch sections of hair into the diffuser bowl and gently raise the attachment toward your scalp. Hold the dryer completely still for twenty seconds per section before powering the unit down and gently releasing the hair. Moving the dryer while hair sits inside the bowl creates immediate flyaways and separates the wave bundles. Expect to spend twenty to thirty minutes on this drying phase depending on hair density. This patient thermal shaping represents the core curl routine for straight hair, locking the bend into place before gravity intervenes.
10. Understanding Curly vs Straight Hair Routine Step-by-Step Differences
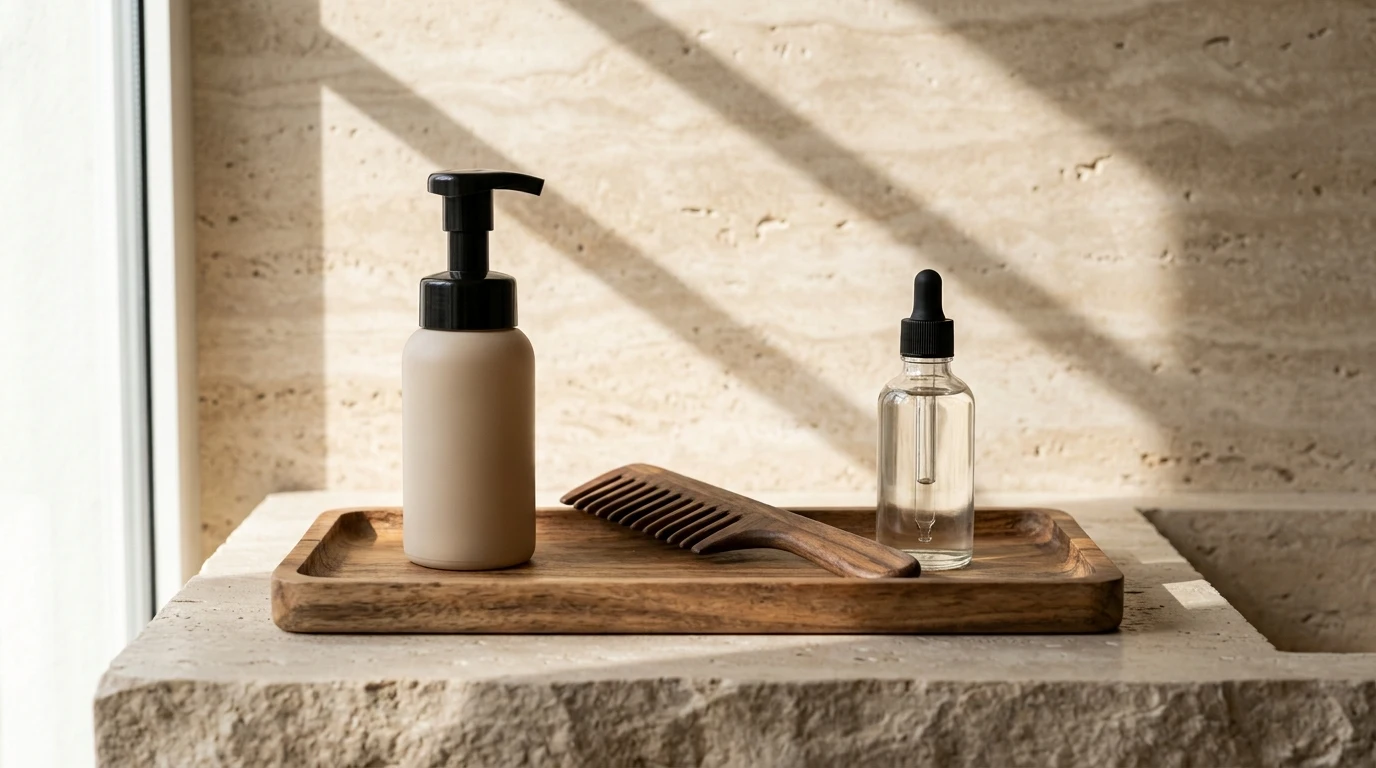
Cleanser choices split dramatically between naturally textured hair and smooth textures. Naturally textured hair relies on gentle hydrating cream cleansers, whereas straight hair requiring wave definition demands a deep clarifying wash to eliminate weight. Product formulation carries that same contrast. Curly hair thrives under heavy flaxseed butter or rich shea cream, while straight hair instantly collapses under those ingredients and requires a light polyquaternium volumizing mousse.
Water levels during product application also diverge completely. Natural curls require soaking wet strands to distribute thick slip, but straight hair holds waves best when molded at a damp, towel pressed stage. Drying methods finalize the separation. Natural curls can easily air dry with minimal shrinkage, but molded waves on straight strands collapse under their own damp weight unless locked in place with stationary diffuser heat.
11. Allow the Polymer Cast to Harden Fully to Room Temperature
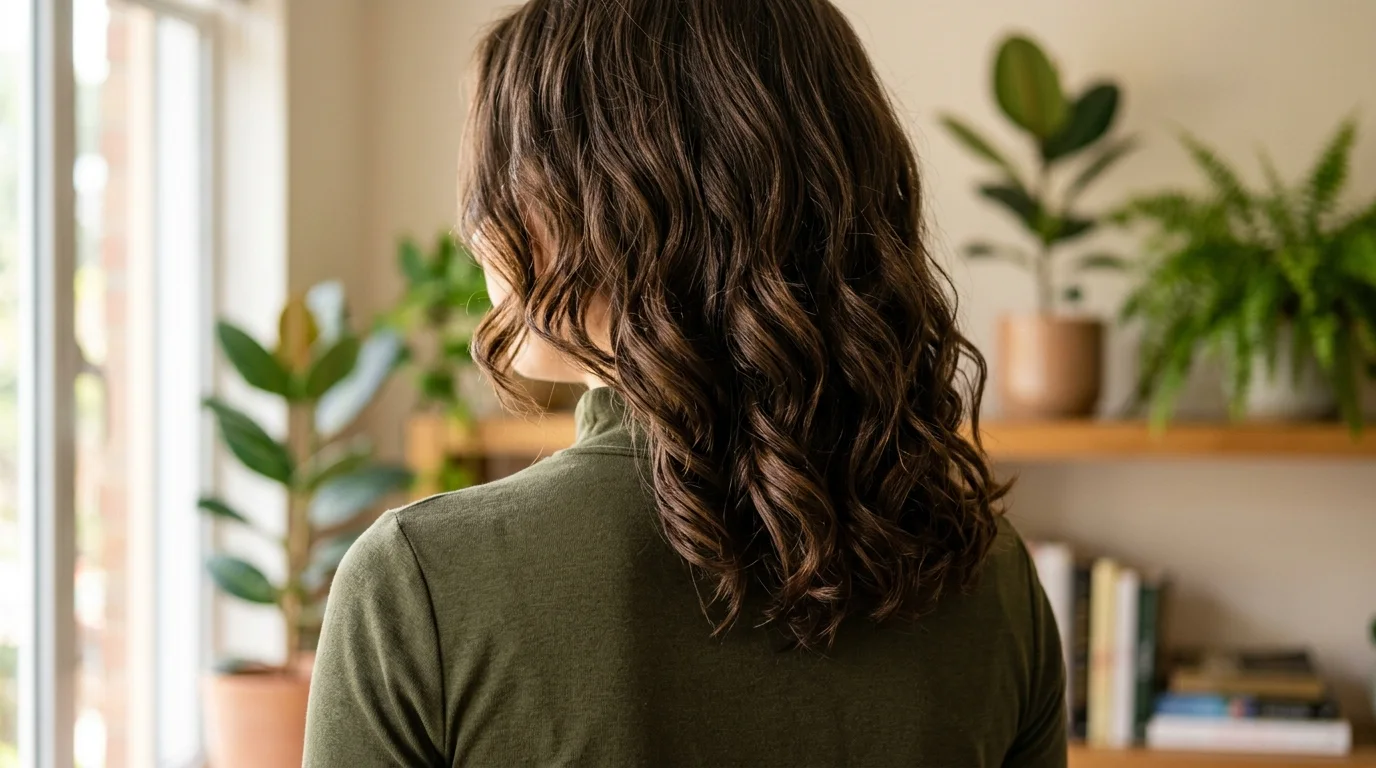
Touching hair while it remains warm from the blow dryer causes the forming bonds to collapse instantly. Once the hair is fully dry, switch your dryer setting to cold air for two minutes to cool the set, then walk away completely for twenty minutes. The crust should feel slightly crunchy and firm under your palm. This protective shell holds the internal fibers in their compressed state while moisture levels balance out. If you disrupt the hair during this cooling window, the wave pattern loosens into undefined frizz within an hour.
12. Break the Crunchy Cast Using Two Drops of Squalane
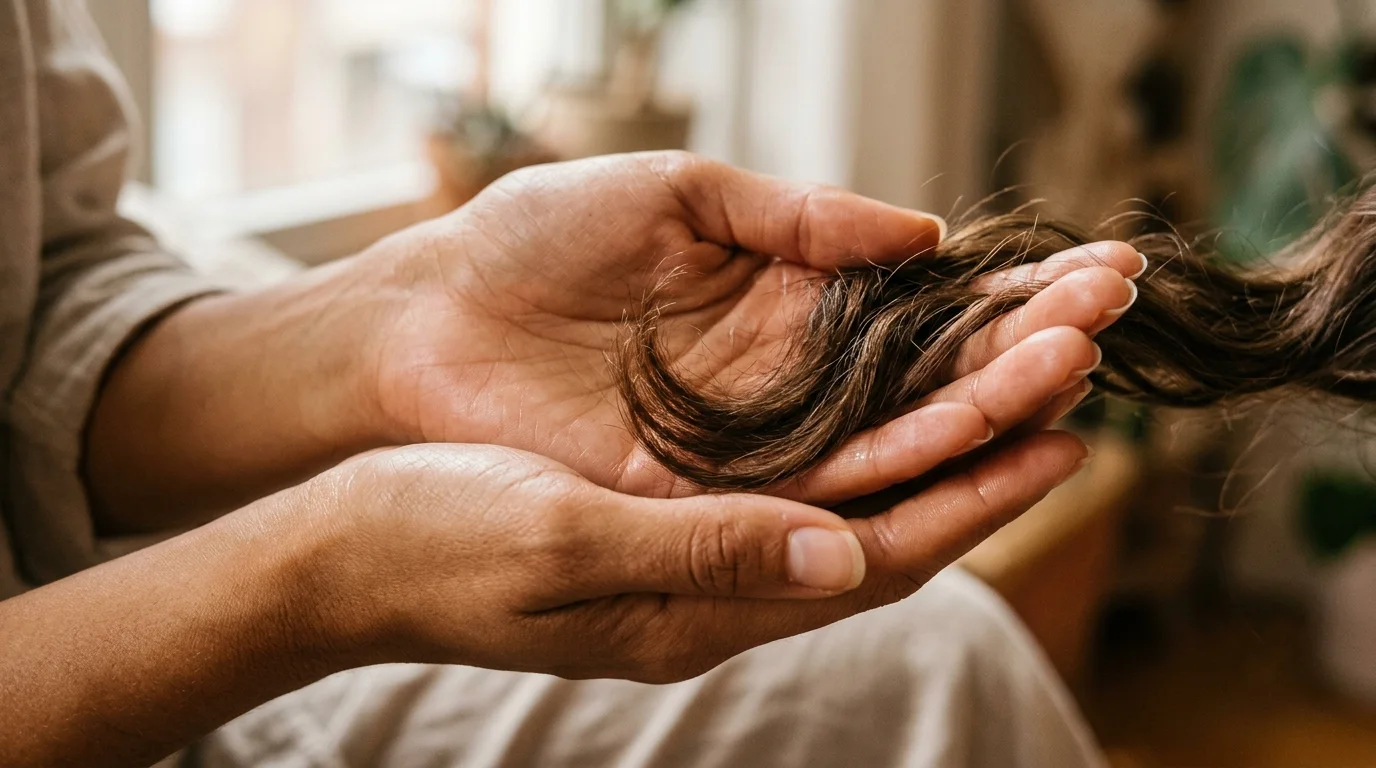
Pour two drops of pure plant derived squalane oil into your hands and rub your palms together until warm. Cup your hands around the hardened wave bundles and gently squeeze upward, releasing the stiff crust to reveal soft, moving bends underneath. A proper curly hair routine on pin straight hair relies on this light oil to soften the styling polymers without dissolving them. Avoid combing your fingers through the lengths or pulling downward on the ends. Squeezing upward breaks the brittle outer layer while keeping the internal bend intact for the rest of the day.
13. Maintain Shape Overnight with a High Silk Wrap

Sleeping directly on cotton bedding creates friction that smooths out molded waves within a single night. Gather your dry lengths at the very top of your head using a loose silk scrunchie, wrapping it only once so it leaves no band indentation. Cover the gathered hair with a silk bonnet or sleep on a 22 momme mulberry silk pillowcase, which costs roughly twenty five to thirty five dollars in 2026. In the morning, remove the tie, shake your head gently upside down, and let the waves settle naturally into place.
Is It Possible to Turn Straight Hair Curly Without Chemicals?
No amount of scrunching, salon masks, or cold water rinses will permanently alter naturally smooth strands into authentic curl patterns. Perming lotions rely on ammonium thioglycolate to break internal disulfide bonds and reset them around rods, which remains the only chemical method to turn curly hair to straight or vice versa permanently. What home styling methods achieve is temporary mechanical manipulation, which holds only until the next wash or rainy afternoon.
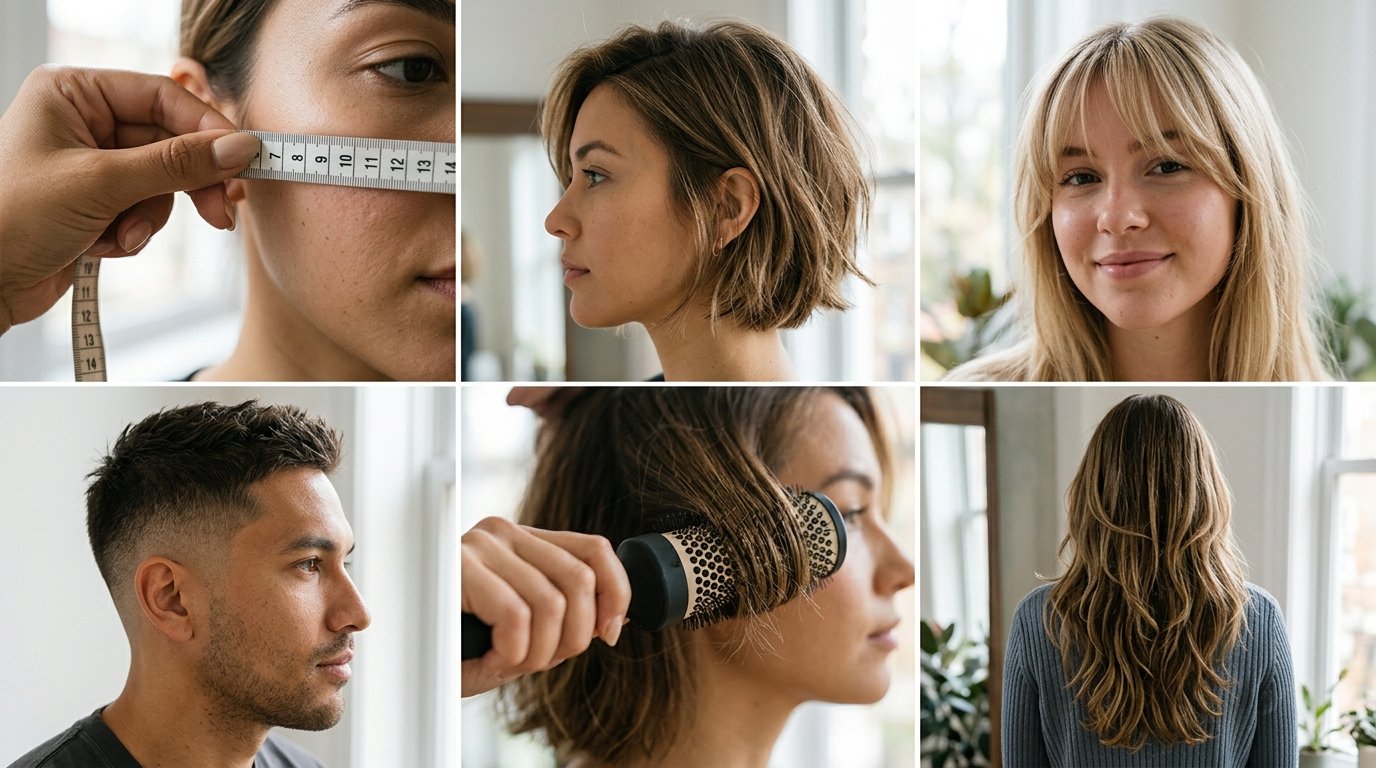
Men working through a curly hair routine for guys will find that shorter hair holds these styled bends with greater resilience, simply because short strands carry less gravitational weight. Similarly, executing a curly hair routine without products rarely succeeds on smooth textures, because straight strands require artificial polymer glue to resist their natural desire to hang flat.
What to Do When Your Molded Waves Fall Flat
When waves drop out within two hours of drying, the culprit is almost always excess water weight or heavy conditioning residue left on the cuticle. If you notice your style collapsing, mist the mid lengths lightly with a sea salt spray to introduce gritty texture, then scrunch the ends upward using clean, dry hands.
Avoid layering more oils or silicone serums over drooping sections, as extra weight accelerates the flattening process. Smooth hairstyles for straight and curly hair succeed on different principles, and straight strands require rigid structural support rather than deep nourishment to maintain movement.
Five Common Questions About Styling Waves on Straight Hair
What is the best way to prepare pin straight hair before styling waves?
Wash the hair with a residue free clarifying shampoo to strip away heavy conditioning agents, and avoid applying thick masks to the root area.
Can naturally straight hair dry into waves without a blow dryer?
Straight strands almost always pull flat under water weight during air drying, which makes stationary diffuser heat essential for locking in the bent pattern.
How much mousse should someone apply to fine straight hair?
Two golf ball sized portions provide adequate resin coverage across the full head without causing the greasy clumping associated with heavy gels.
Why does my hair feel sticky and stringy after diffusing?
Sticky strands mean the product contained heavy oils, or the gel cast was broken before the hair fibers had completely dried and cooled.
How long can styled waves last on naturally smooth textures?
With proper nighttime silk wrapping and zero comb interference, molded waves typically hold their shape for thirty six to forty eight hours before dropping into soft bends.
Starting Your Textured Styling Routine with the Right Tool
If you only invest in one piece of equipment from this entire regimen, make it an eight inch deep bowl diffuser attachment. Expensive styling mousses and texturizing sprays cannot perform their jobs if wet straight hair is left to air dry under the pulling force of gravity. A sturdy diffuser cradles the physical bend, evaporates moisture without violent air currents, and bakes the polymer shell into place within twenty minutes.
Begin with clean, clarified strands, work in a modest pump of lightweight mousse, and practice the cupped drying technique on your next free evening. Embracing the limits of your natural hair while mastering the mechanics of heat and hold gives you bouncy, reliable texture whenever you want a break from smooth styling.
Related reads: How to Curl Your Hair With Lasting Shape and Minimal Friction, The Complete Step-by-Step Wavy Curly Hair Routine for All-Day Clumps and Curly Hairstyles for Natural Curls: Choosing One Your Hair Can Actually Hold.