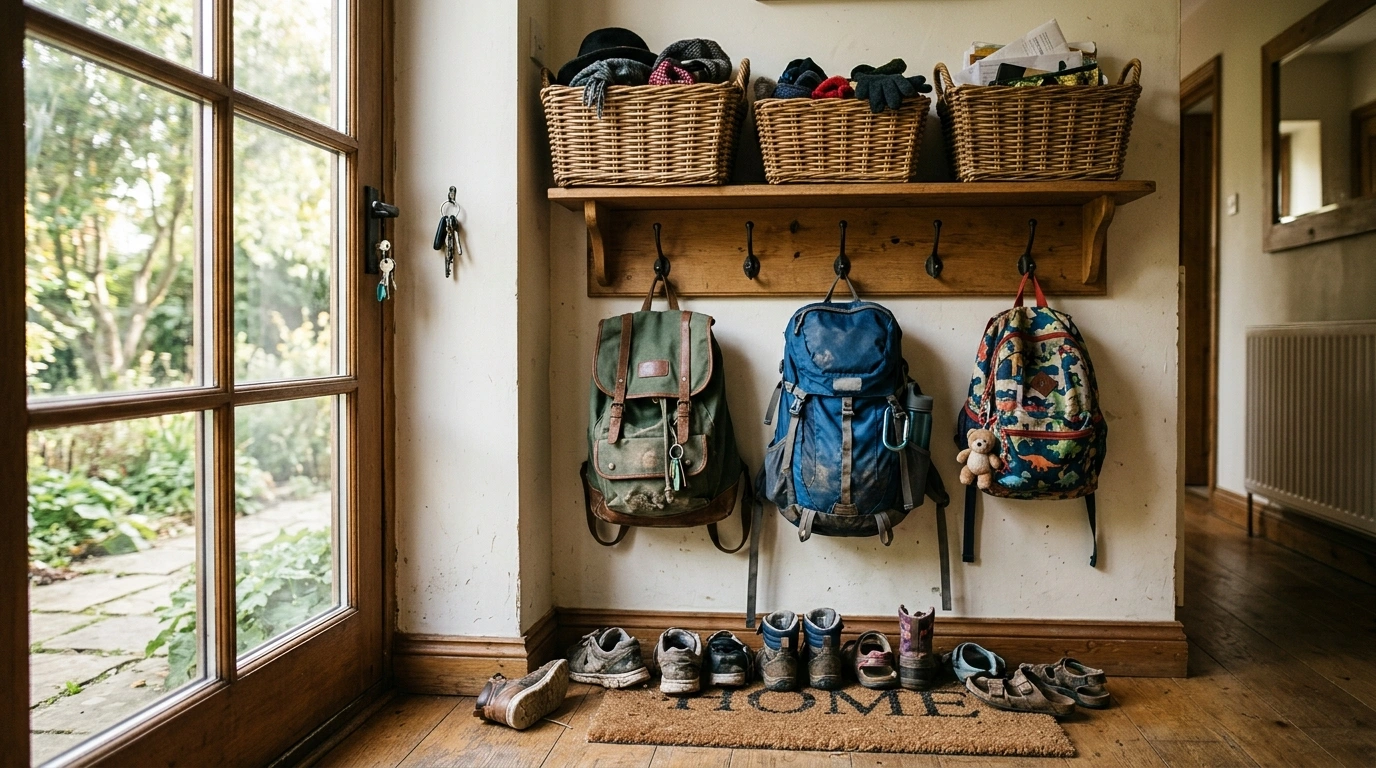

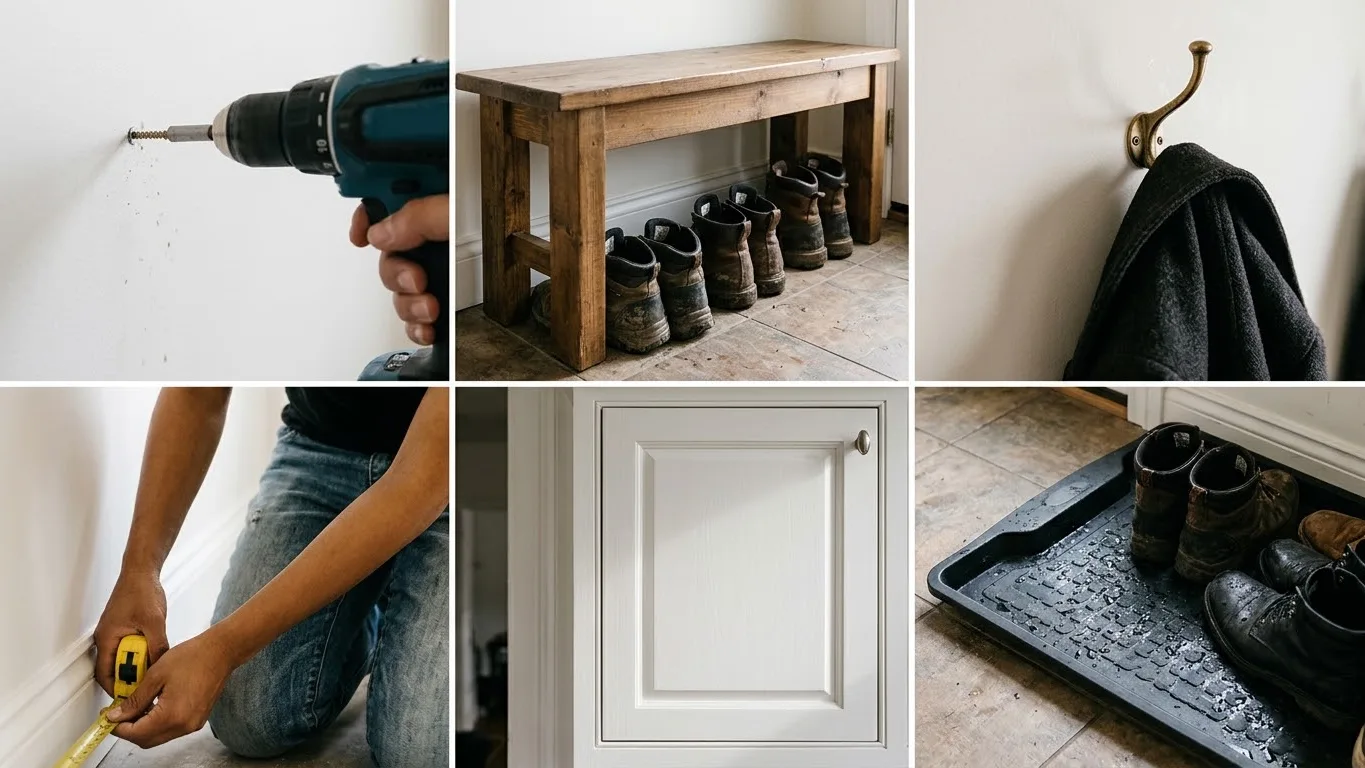
Mapping out your entry drop zone requires more than just buying woven baskets. Implementing functional hallway storage ideas means planning your wall clearances, securing wooden furniture to the structural timbers, and calculating the exact shoe depth required before driving a single screw. Building a layout that handles wet boots and winter coats without blocking the front door swing relies on exact measurements and correct anchoring hardware.
What You Need
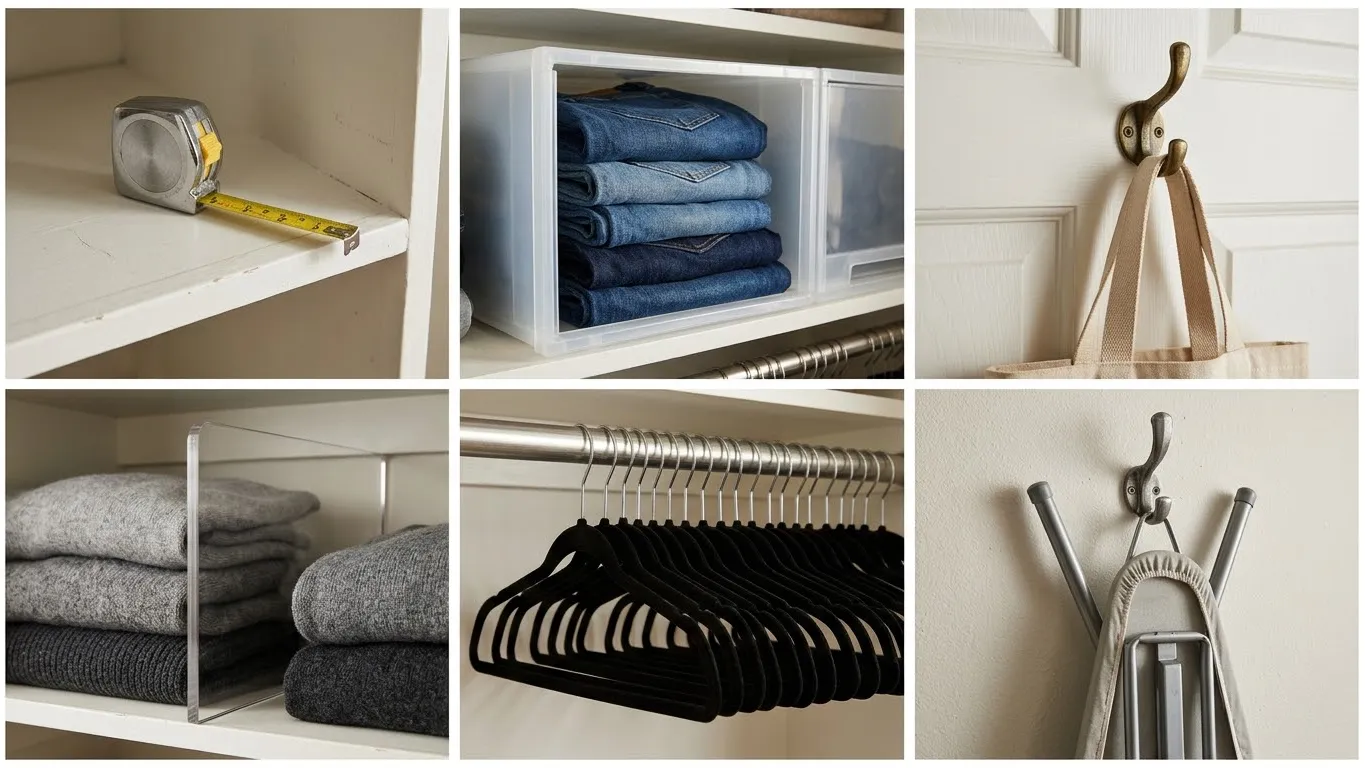
- Tape measure and electronic stud finder
- Power drill with masonry and wood bits
- 2.5 inch steel cabinet screws
- Toggle bolts rated for 50 pounds
- Roll of painter’s tape
- Spirit level at 24 inches long
Measure The Footprint And Locate The Structural Studs
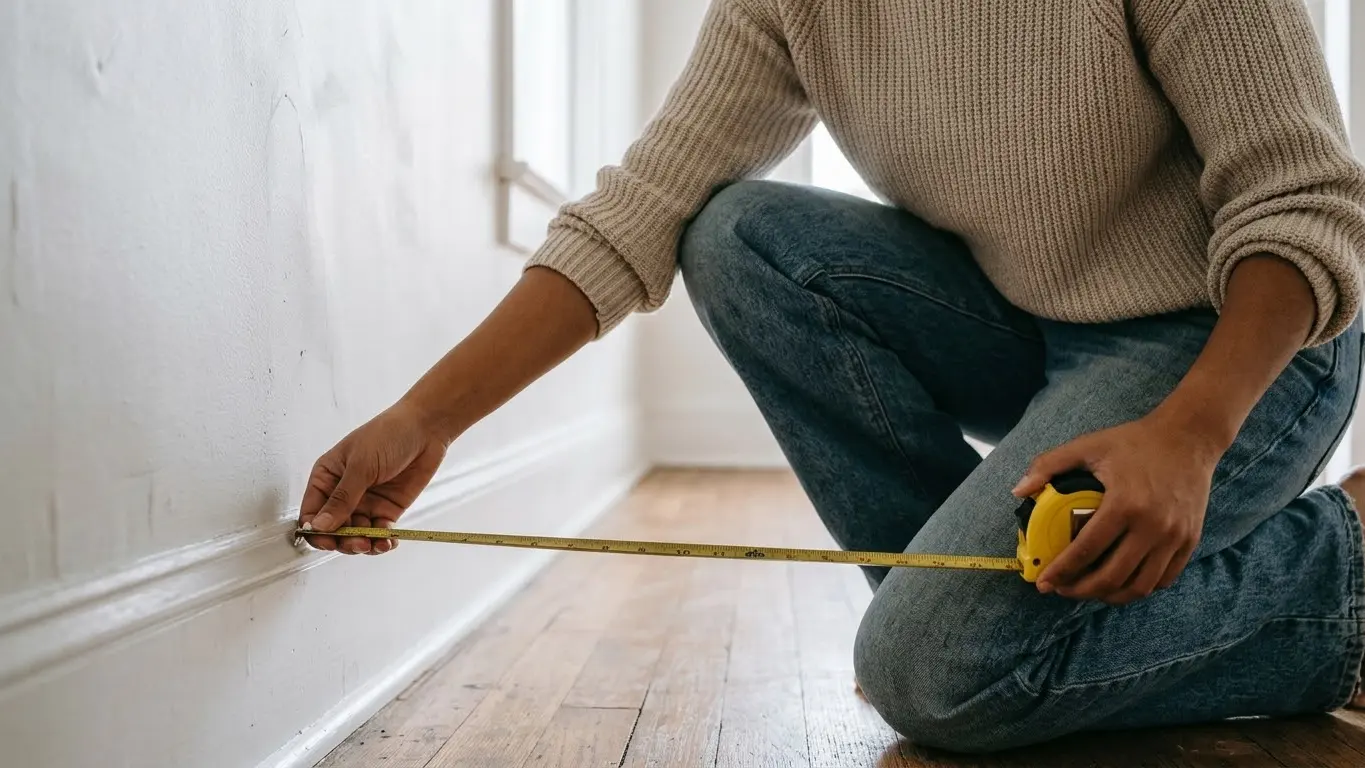
Start with the specific walking path. You need exactly 36 inches of clear floor space beyond any furniture you place in a corridor. If your space measures 48 inches wide overall, your coat storage ideas narrow hallway setup cannot exceed 12 inches in depth.
Use a stud finder to mark every vertical timber support. They typically sit 16 inches apart on center behind the plaster.
Wrap a piece of painter’s tape around your drill bit exactly 1.5 inches from the tip. This acts as a depth stop so you do not puncture hidden wiring. Marking everything first prevents buying a large unit that blocks the front door swing entirely.
Mount Floating Cabinets For A Tight Footprint
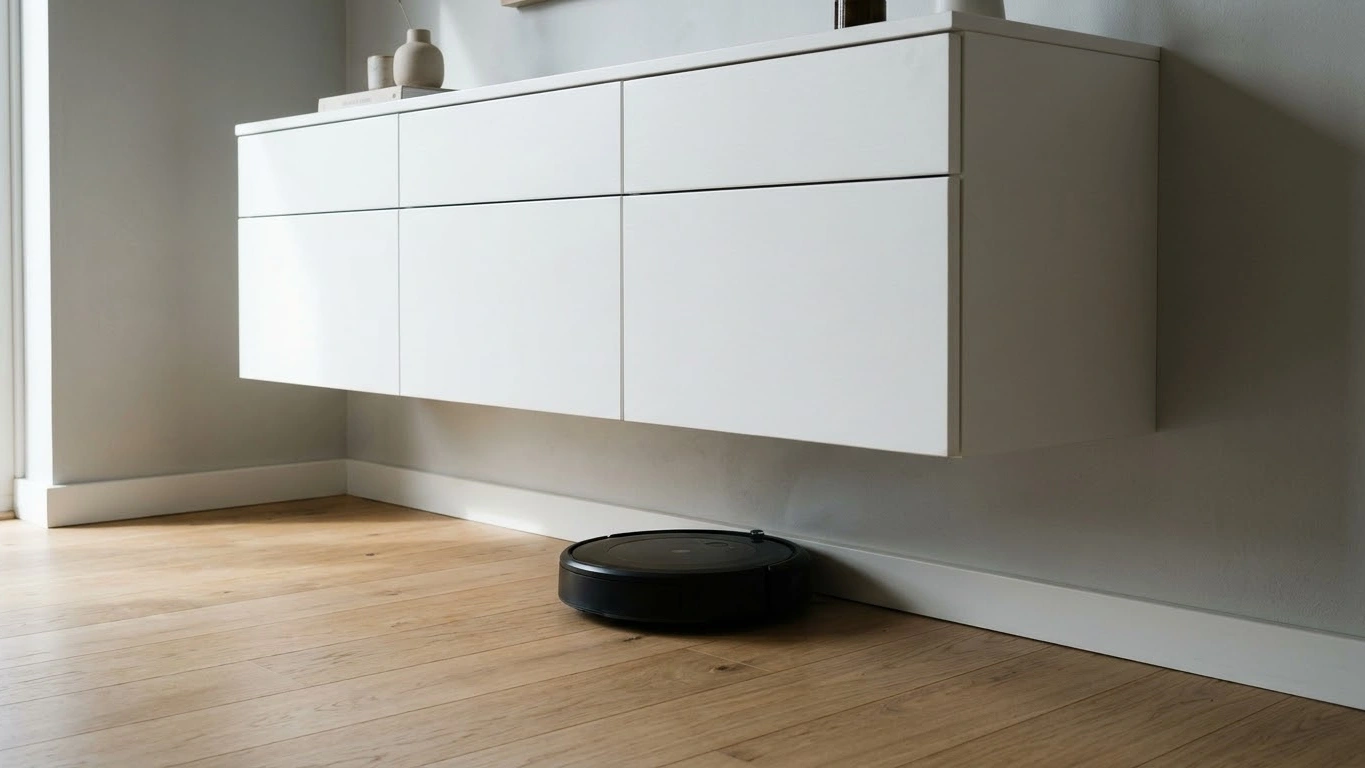
Lifting units off the floor creates an illusion of a larger space while providing room for wet boots underneath. For wall mounted hallway storage ideas, position the bottom edge exactly 10 inches above the baseboard.
This height allows a standard robot vacuum to pass underneath without getting wedged.
Secure the back mounting rail directly into the studs you marked using 2.5 inch cabinet screws. If you rely on hollow wall anchors for a floating console, limit the internal loaded weight to 15 pounds. This prevents the unit from tearing the drywall when someone leans on it to tie a lace.
A hardwood piece like the TRANHULT shelf requires industrial brackets rated for 45 pounds.
Assemble A Seating Area For Boots And Shoes
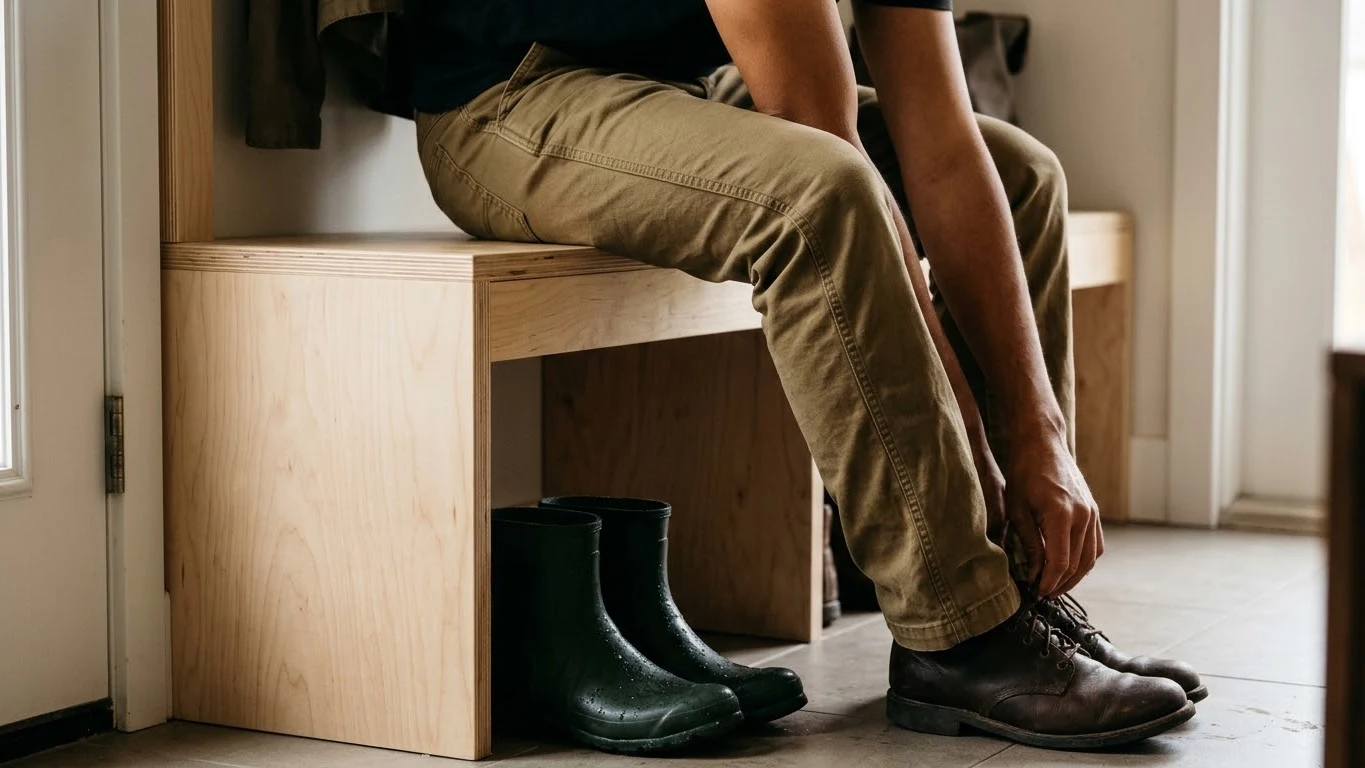
Sit at a comfortable height of exactly 18 inches from the floor to tie laces without straining your back.
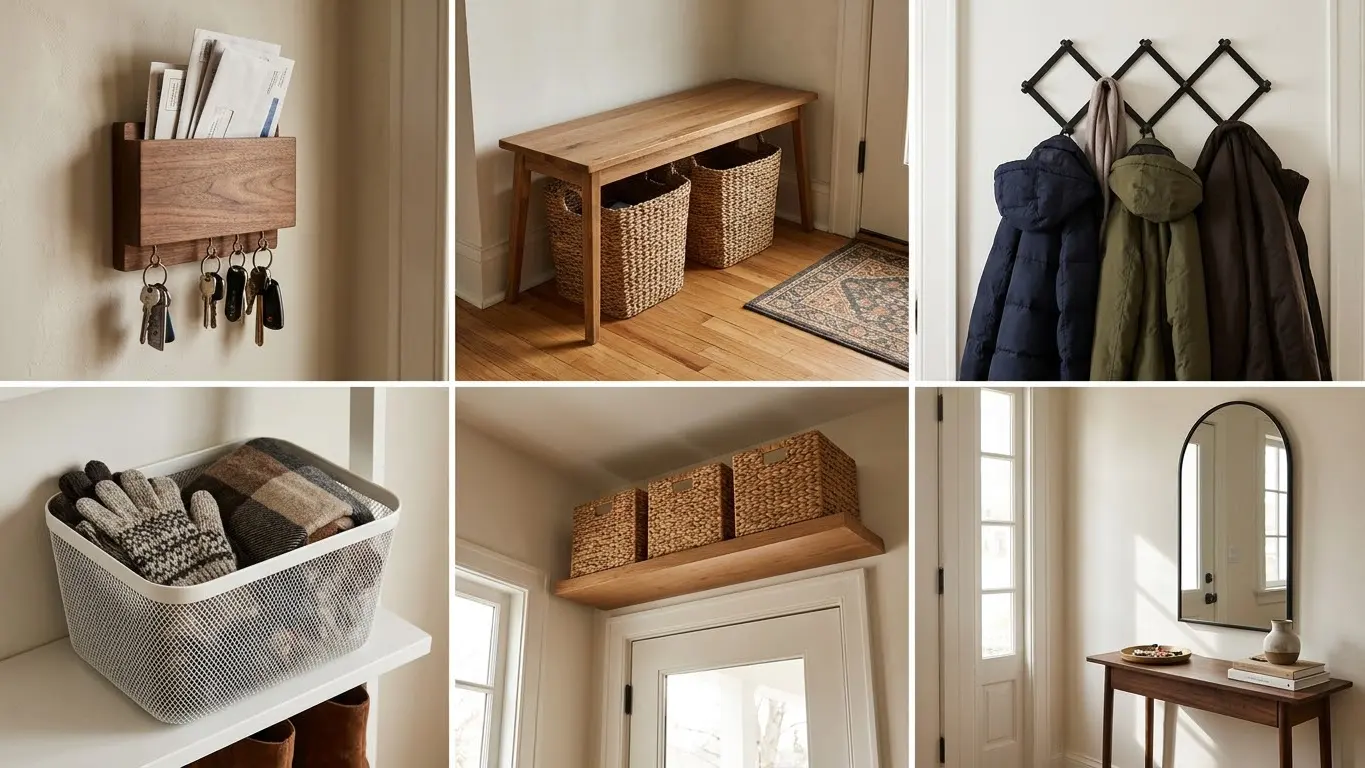
When planning hallway shoe storage bench ideas, allow 13 inches of internal depth. Men’s size 12 sneakers fit straight in this way without crushing the heels against the back panel. A temporary base like the BEKVÄM step stool works for quick changes. But a dedicated bench requires a 3/4 inch thick birch ply top to support a person weighing 200 pounds safely.
Screw the wooden frame together using carpenter’s glue and pocket holes. Avoid using pneumatic nails. The joints will pull apart and squeak after just three months of daily sitting.
Install Staggered Hooks To Handle Winter Outerwear
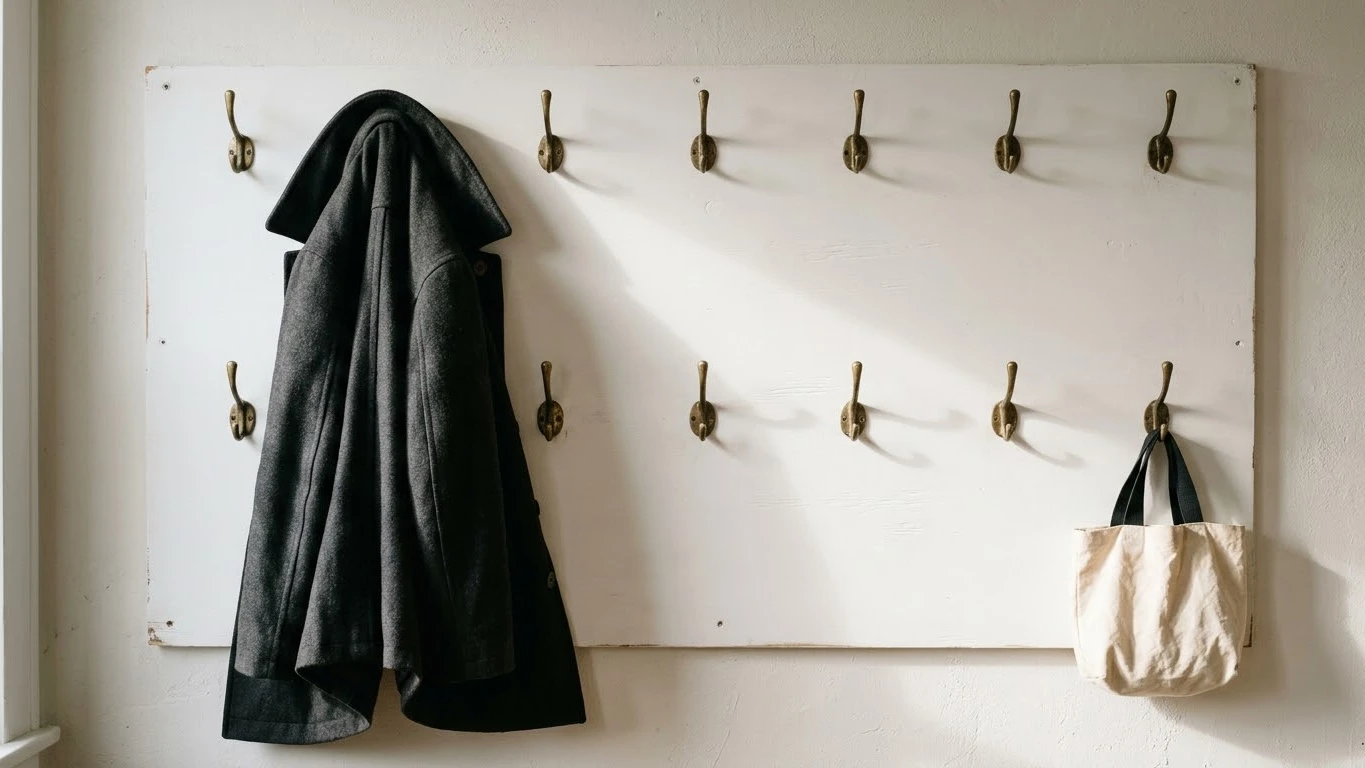
Hang the top row of pegs exactly 60 inches from the finished floor. Long trench coats stop dragging on the ground at this height.
When working out hallway storage ideas for coats, add a second staggered row at 42 inches high for children’s jackets and canvas tote bags. Space each individual hook at least 8 inches apart on the mounting board. Packing them tighter means wet wool overlaps and never dries properly overnight.
Attach a wooden BUMERANG coat hanger to the highest hooks to maintain the shoulder shape of thick winter garments. Driving the HÖGAFFEL wall hook directly into plaster without hitting timber guarantees it will rip out the first time a loaded backpack gets yanked off.
Frame Out Custom Cabinetry For A Flush Finish
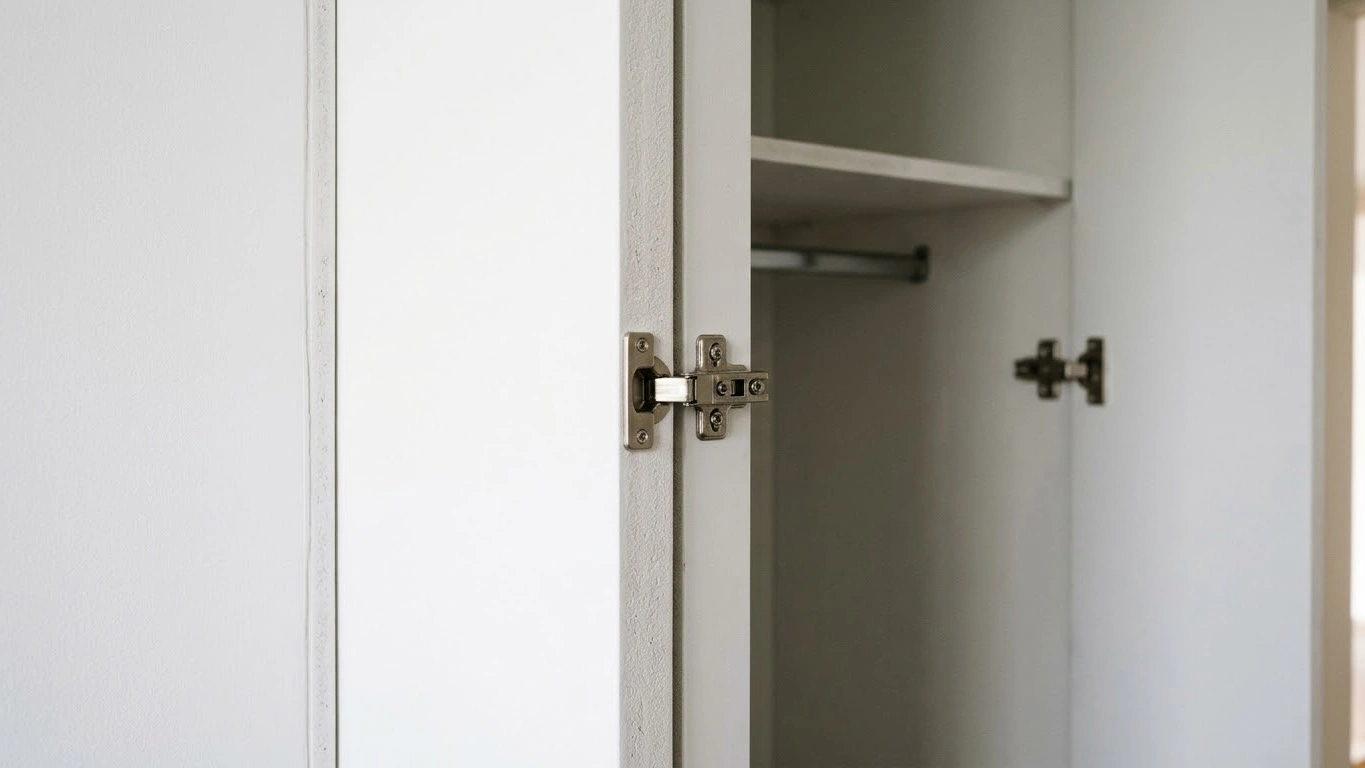
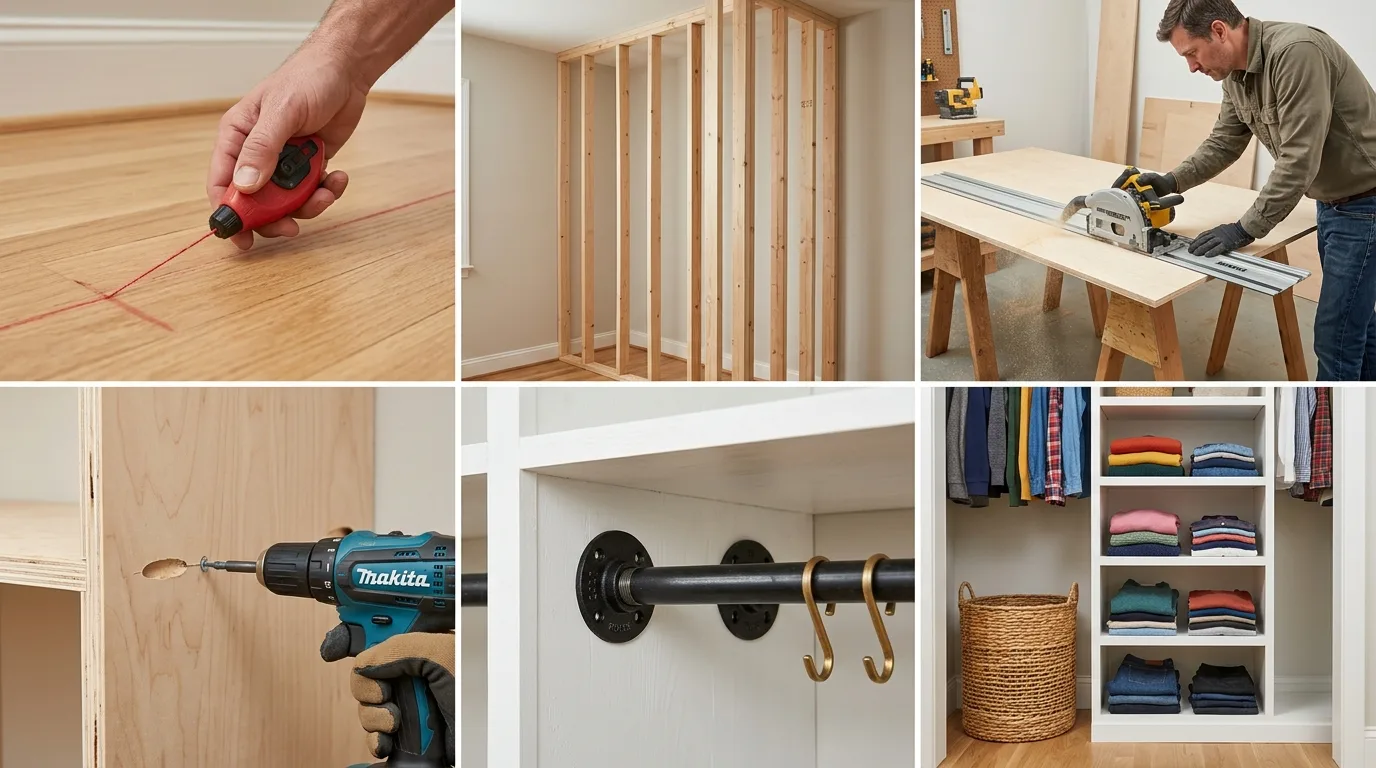
Building floor to ceiling creates a seamless look that hides visual clutter behind doors. Constructing hallway storage ideas built in requires cutting the existing baseboards away with an oscillating multi-tool. The MDF sides sit completely flush against the wall this way.
Frame the inner carcass using 3/4 inch cabinet grade plywood. Keep the overall internal depth to exactly 15 inches. This specific dimension accommodates adult coats hung sideways on a pull out rail.
Prime the raw MDF edges with two coats of shellac primer. A water based paint will soak straight into the porous ends and cause them to swell by 2 millimeters. This ruins the painted face completely.
Slide Deep Pull Outs Underneath The Bench Seat
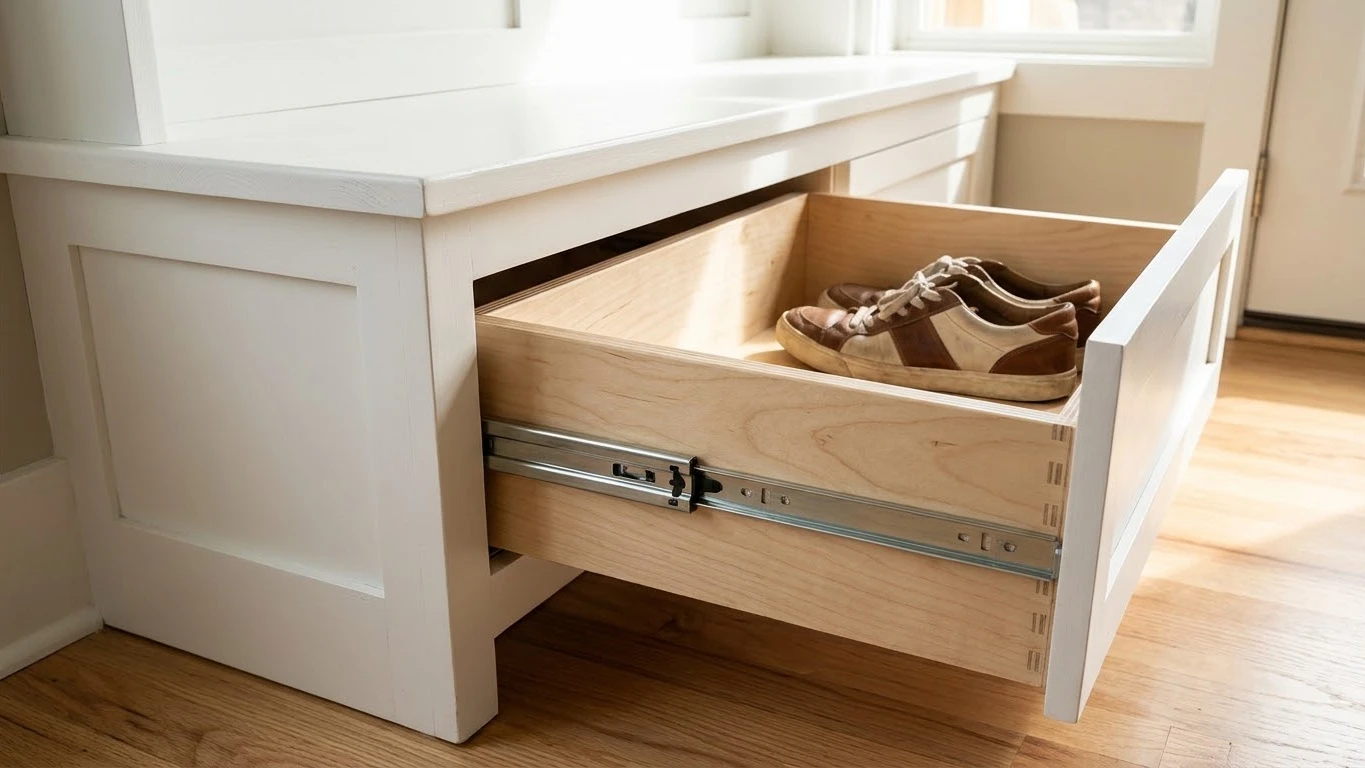
Open cubbies collect dust quickly. They look messy the minute muddy shoes are thrown inside them carelessly.
Implementing hallway storage ideas with drawers conceals the chaos and utilizes the full 18 inch depth of the lower bench structure. Mount 16 inch steel ball bearing drawer glides to the internal framing. Ensure they are perfectly level so the loaded box does not roll open on its own.
Construct the actual drawer boxes from half inch thick birch plywood for durability. Add KNAGGLIG wooden crates on the lower open shelves if you prefer a removable tote option. Size the shelf opening 1 inch wider than the crate to avoid scraping the freshly painted sides.
Maximize The Dead Zone At The Far End
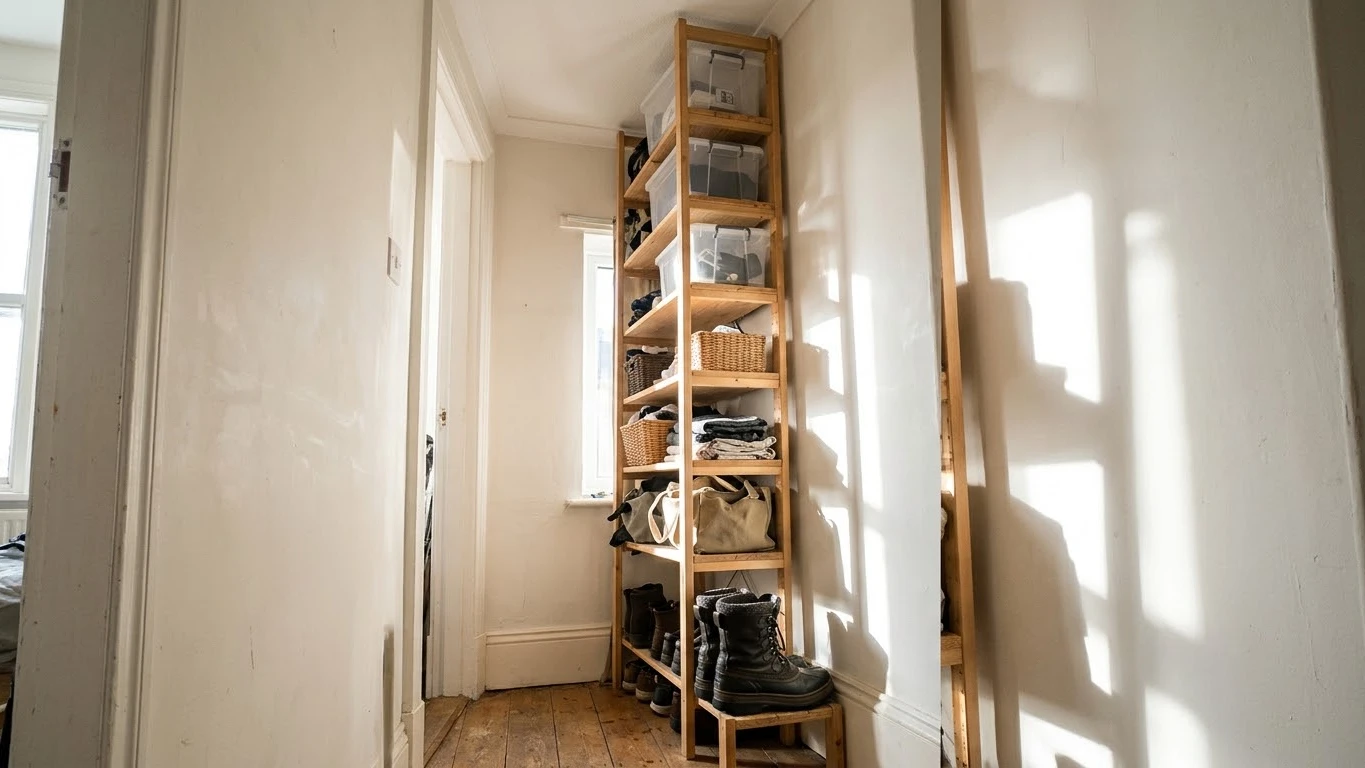
The blank wall of a corridor often sits entirely empty because it lacks passing traffic.
Dedicate end of hallway storage ideas to off season gear. Set up an 80 inch tall shelving unit that houses items you only grab a few times a year. Space the top three horizontal shelves exactly 12 inches apart to hold lidded HEMMAFIXARE shoe boxes.
Keep the thick leather boots on the lowest floor tier to prevent the tall unit from becoming dangerously unbalanced. Anchor the top metal plate to the ceiling joists using 3 inch lag screws. Leaving a tall unit freestanding invites a severe tipping hazard if a child tries to climb the shelves to reach a winter hat.
Adapt European Layouts For A Cramped Entryway
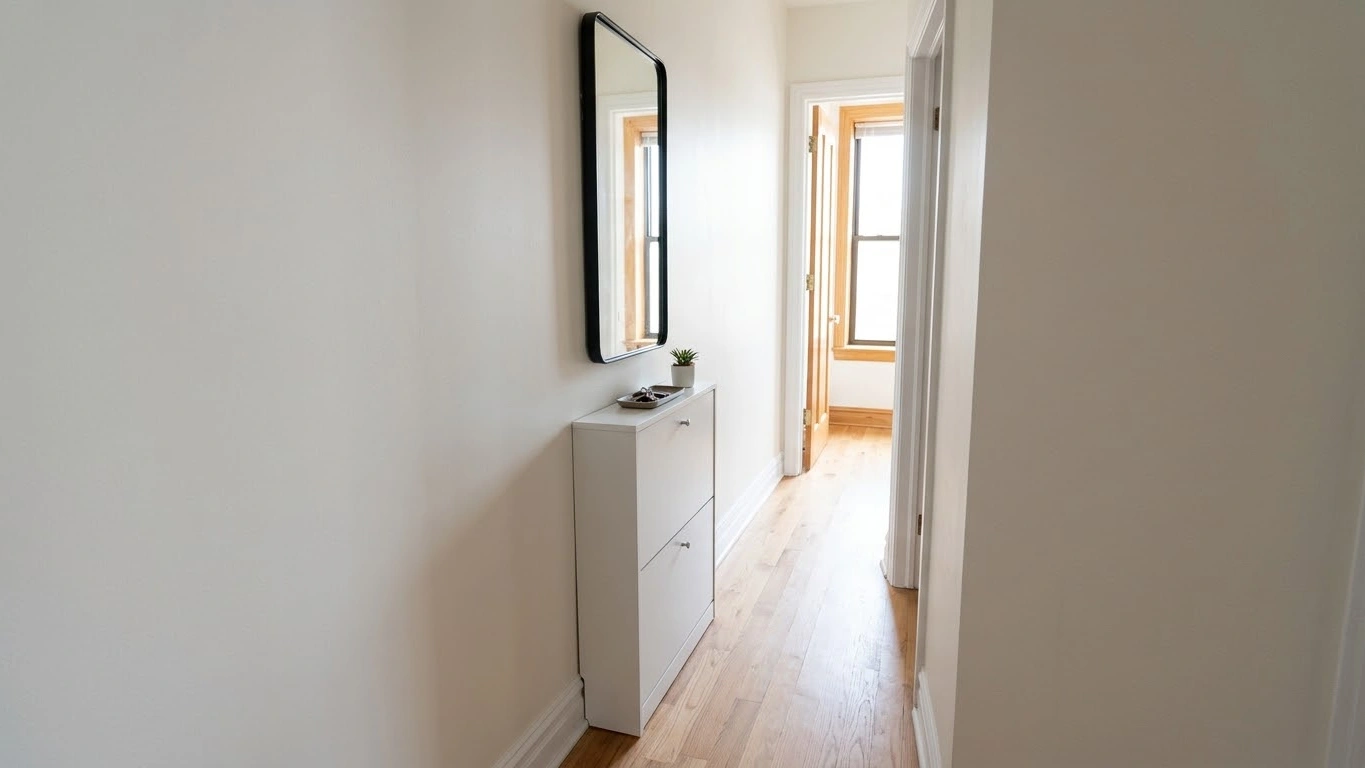
British and Dutch homes frequently deal with extreme architectural space constraints right at the front door. Adopting small hallway storage ideas uk layouts means utilizing tilting shoe cabinets that only consume 6 inches of floor depth.
These specific tilt-out plastic mechanisms hold footwear vertically against the closed door face. To make this hardware work, the shoes must drop in toe down. Anything taller than a 5 inch ankle boot will jam the closing mechanism.
Pair this ultra slim profile with a tall NISSEDAL mirror mounted directly above it. The glass reflection bounces daylight back down the dark corridor. This combats the claustrophobic feel of a windowless pass.
Rescue The Drywall When Steel Anchors Pull Loose
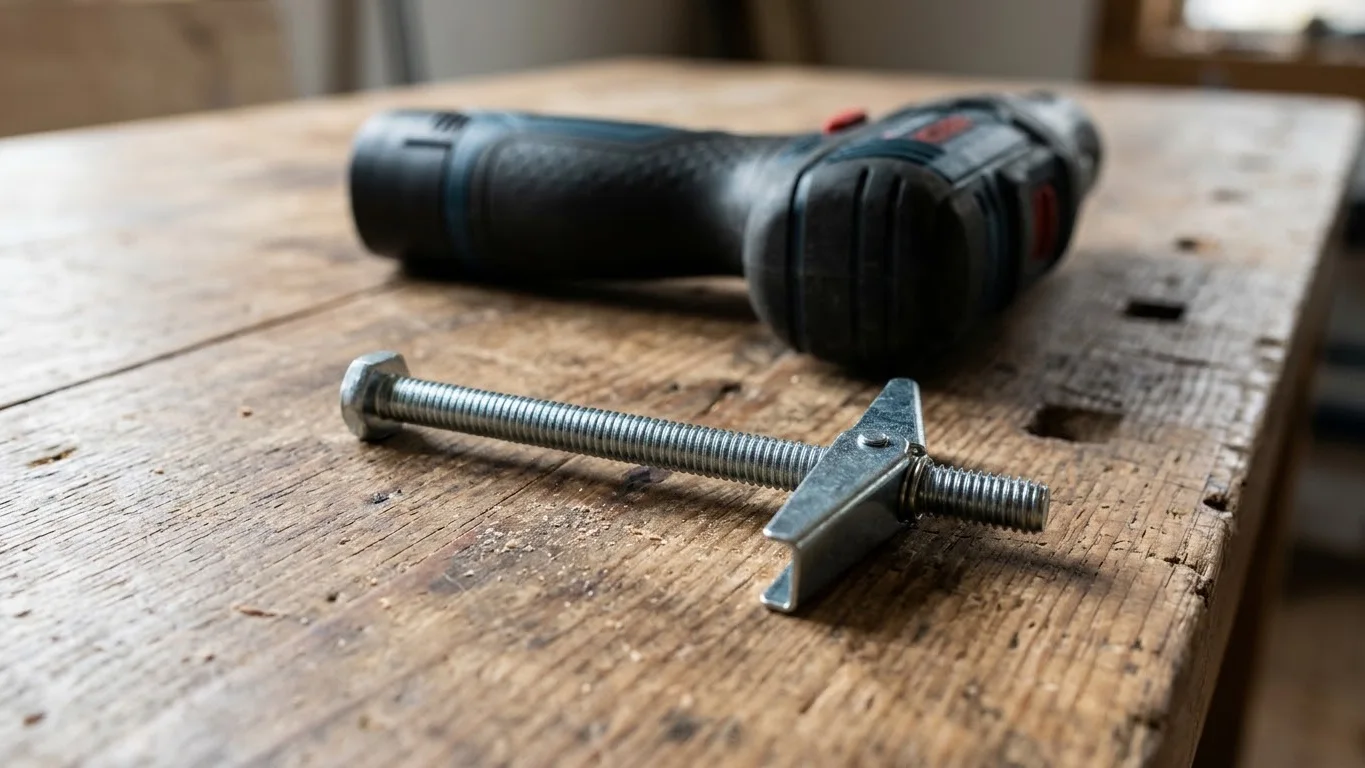
Sometimes a metal hook gets overloaded and tears a jagged hole right through your delicate sheetrock.
Do not try to patch it with lightweight spackle and drive a new screw into the exact same spot. The drying compound has zero structural holding strength. To fix this mistake properly, drill the damaged hole cleanly out to exactly 1/2 inch wide.
Insert a steel toggle bolt that features spring loaded metal wings. Push the folded wings through the wall cavity until they snap open inside. Then tighten the machine bolt against the back of the plasterboard. This specific hardware spreads the hanging load over a 2 inch internal area. It holds up to 50 pounds securely where a cheap plastic plug failed entirely.
Place Waterproof Liners Inside The Drop Zone
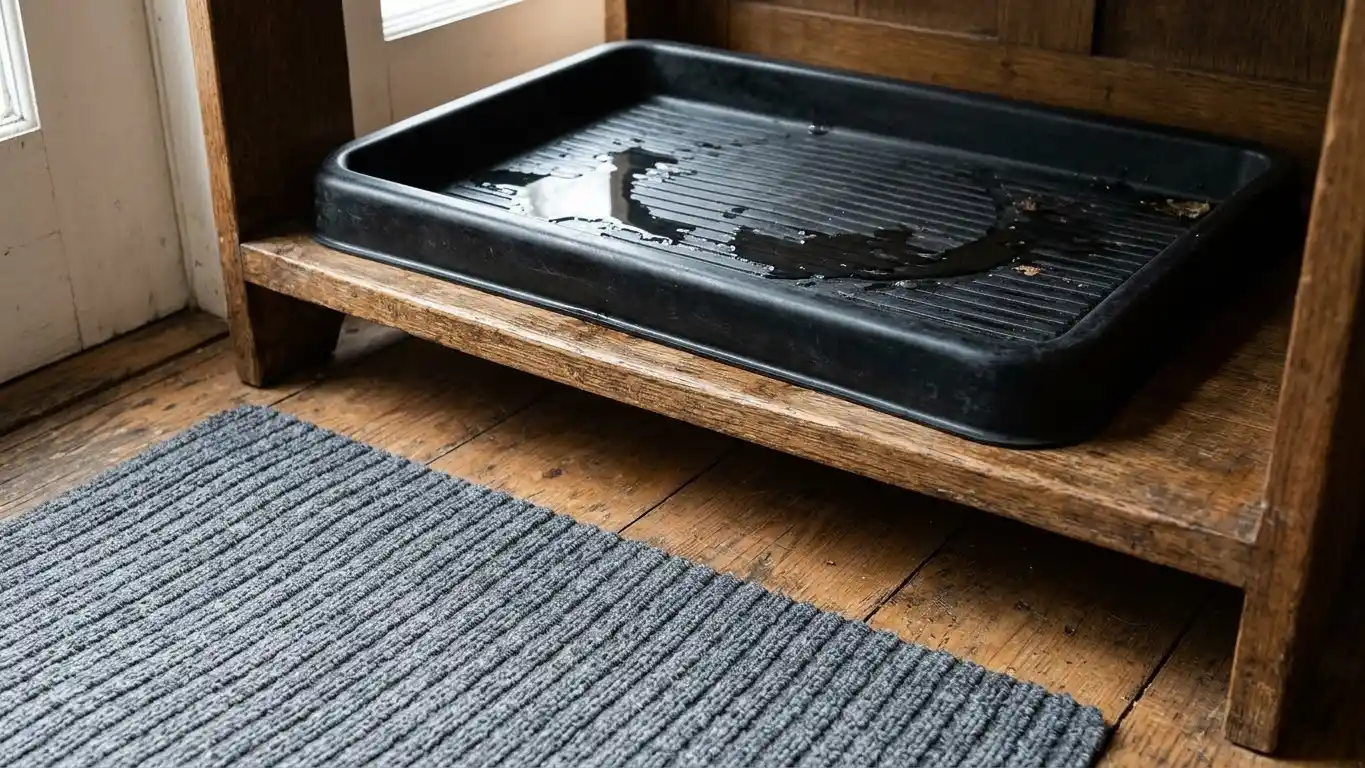
Wet rubber soles ruin painted MDF base panels in under a single month of winter use.
Protect your hallway boot room storage ideas by laying a vulcanized rubber boot tray on the base shelf. Choose a tray featuring a 1.5 inch raised outer lip to contain melting snow and liquid mud safely. Slide a textured SINDAL door mat just inside the main threshold to catch the worst dirt before it reaches the white cabinetry.
Treat any raw wooden shelves with three heavy coats of marine grade polyurethane. Sand lightly with 220 grit paper between every layer. This chemical process creates a hard plastic shell that repels standing water for at least five full years.
FAQ
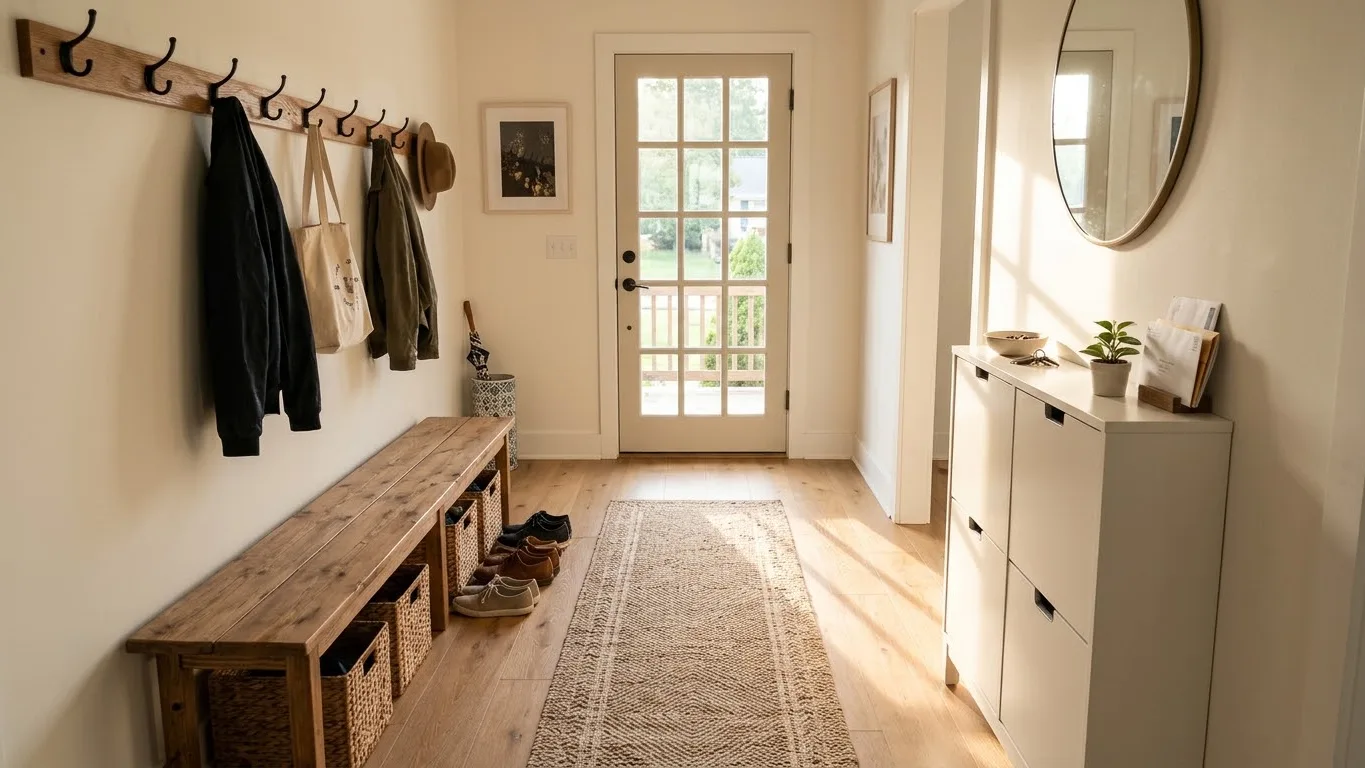
- How do you build a drop zone in a tight corridor? Start by removing the floor baseboard so your furniture sits entirely flush against the plaster. Mount floating cabinets 10 inches off the floor to keep the pathway clear for feet and vacuums. Use a 6 inch deep tilt-out cabinet if the remaining walking space drops under 36 inches.
- What is the best way to maximize vertical space here? Take the wooden shelving all the way to the ceiling line using 80 inch tall freestanding units. Store off season items at the very top in enclosed plastic boxes. Install two rows of staggered hooks at 42 and 60 inches to double the capacity for hanging thick garments.
- How can you hide shoes without using deep closets? Employ hallway storage ideas ikea products like the slim HEMNES shoe cabinet. It holds adult pairs vertically against the door face. This specific design keeps the floor footprint under 9 inches while still hiding the visual clutter behind a solid panel.
- How much clearance is needed in a high traffic entryway? You must leave exactly 36 inches of unobstructed width for a person to walk through comfortably carrying groceries. If the main door swings inward, ensure no bench or peg sits within the 32 inch arc of the door swing.
Securing Your Hallway Storage Ideas

The order of physical work dictates the final strength of the setup. Always start by locating the hidden studs and marking the 36 inch walkway clearance on the floor. Move on to anchoring the wooden benches and flush cabinetry before hanging the staggered wall hooks at 42 and 60 inches. Finish the project by waterproofing the internal wooden shelves and laying down the rubber containment trays. Skipping straight to the decorative metal hooks without reinforcing the drywall guarantees pulled plaster and damaged jackets within the very first month of daily use.