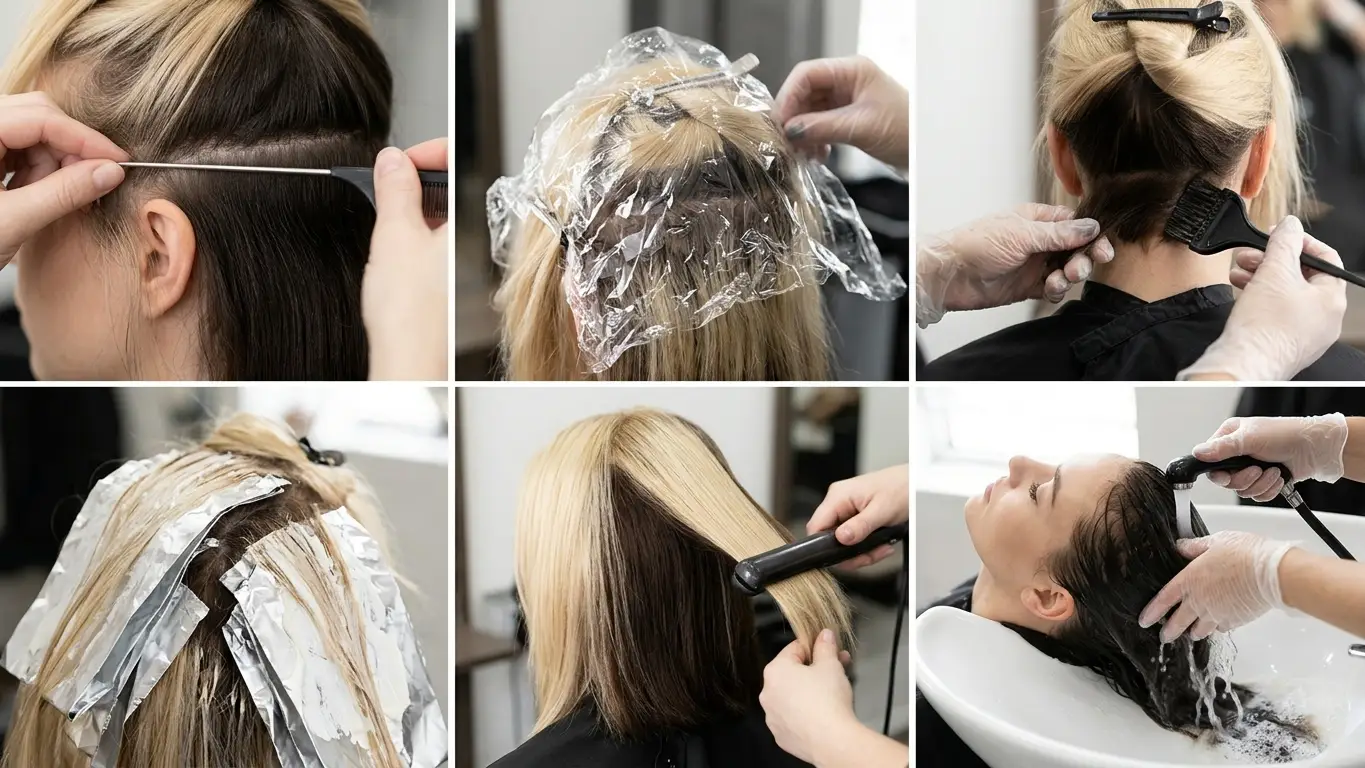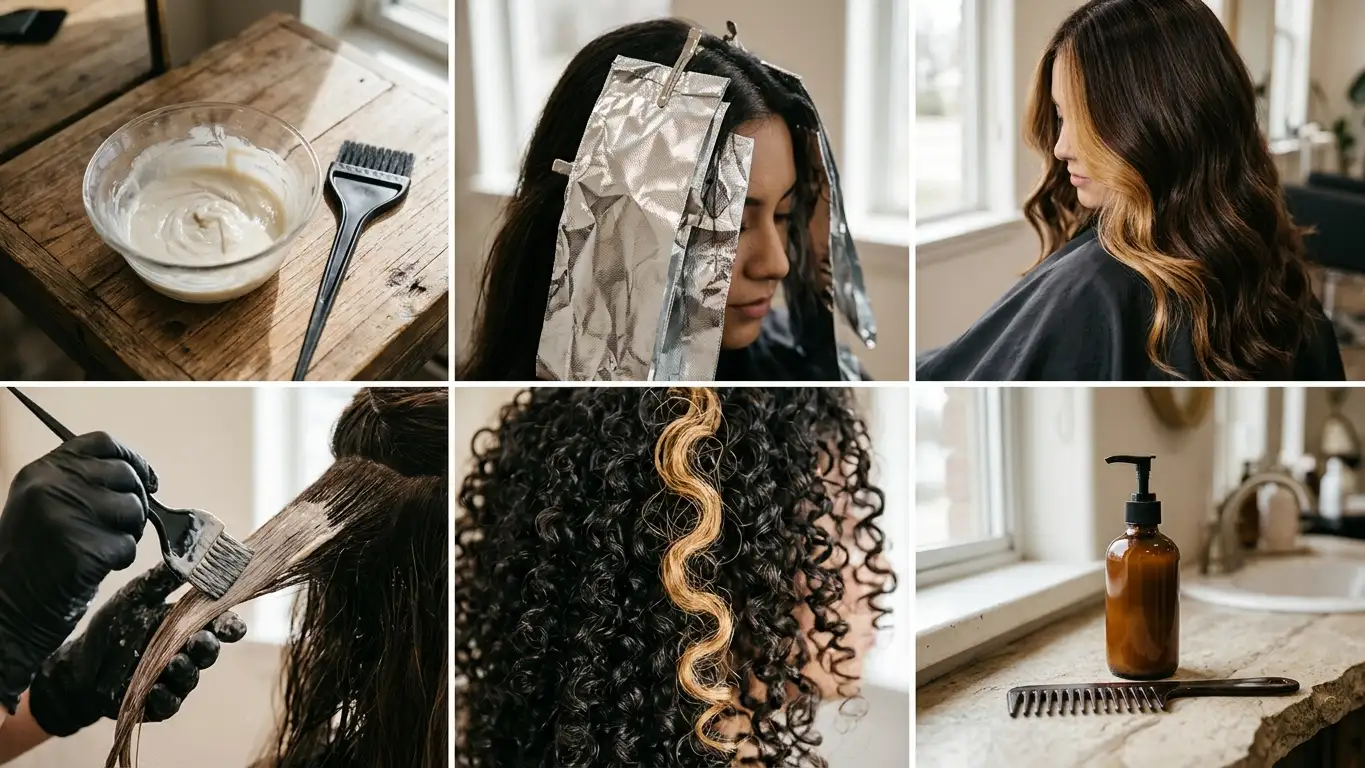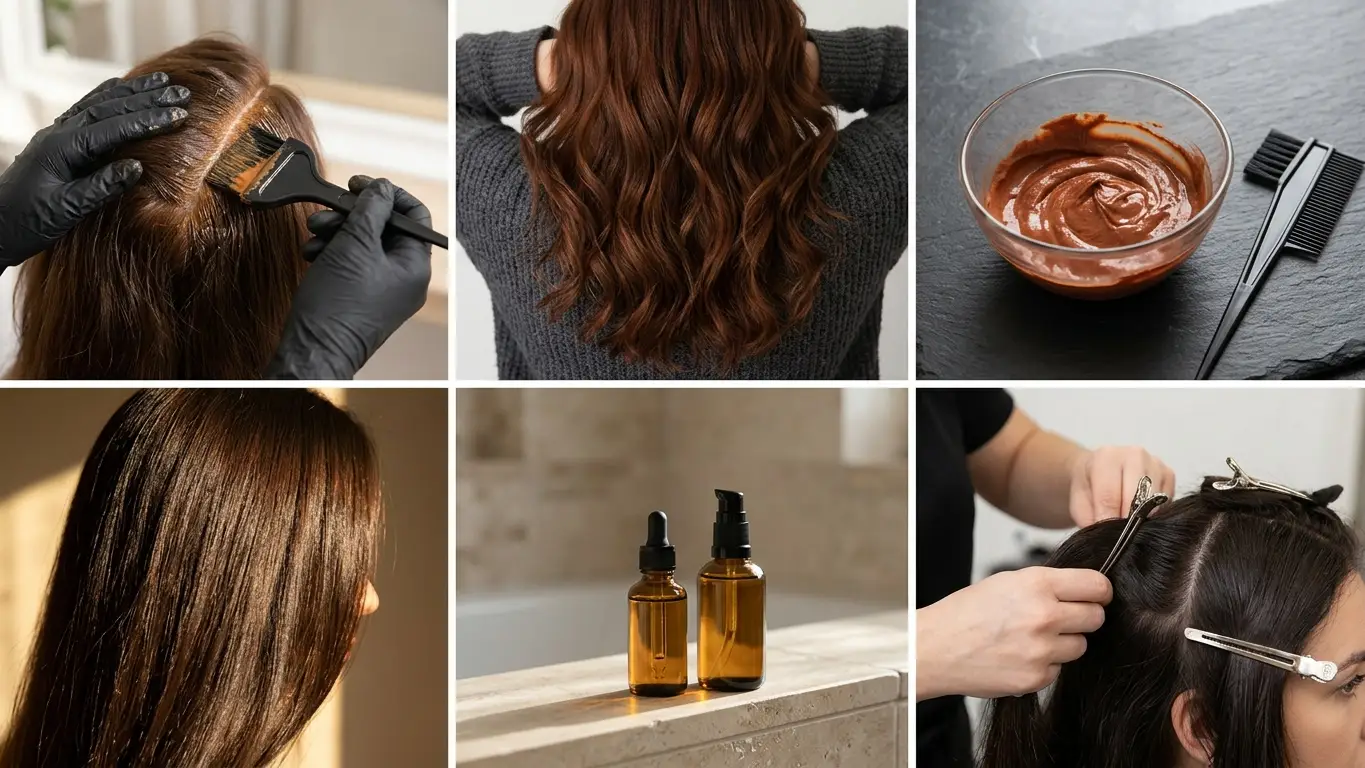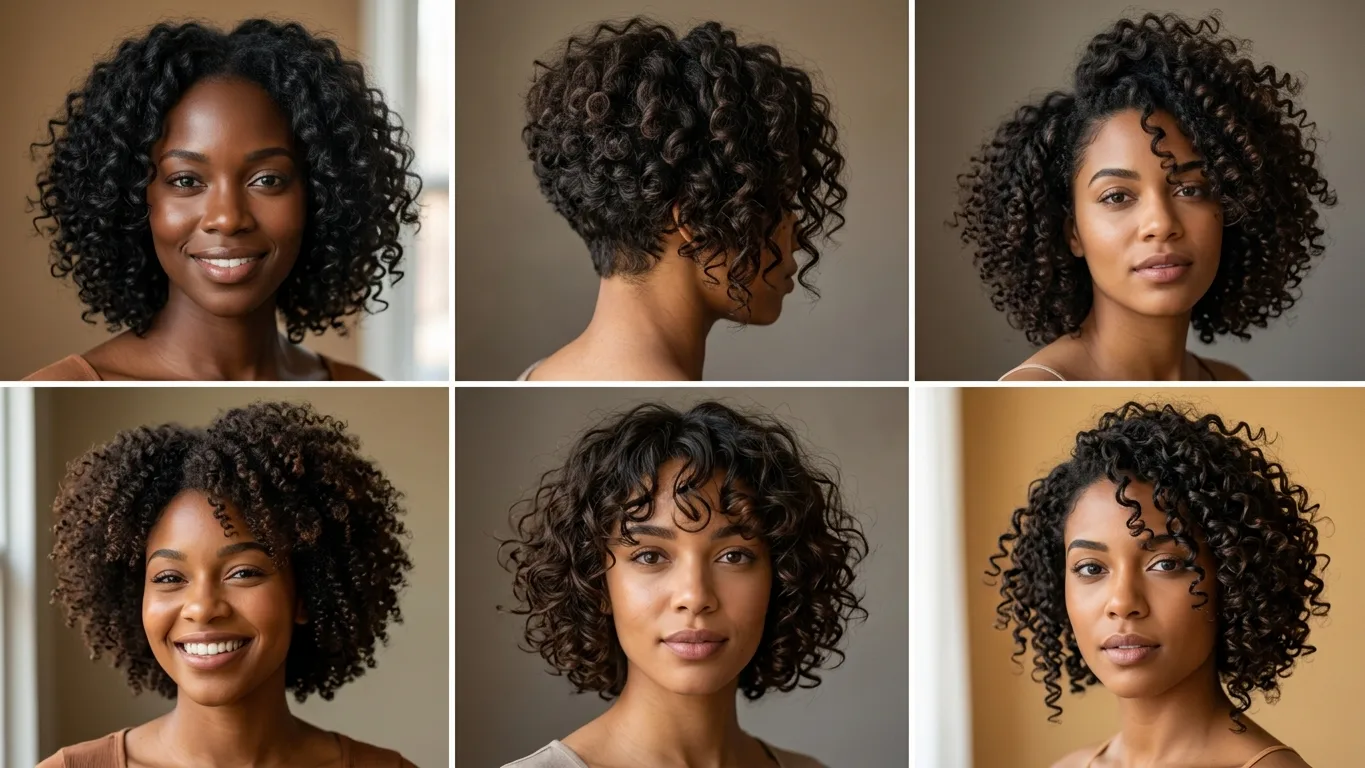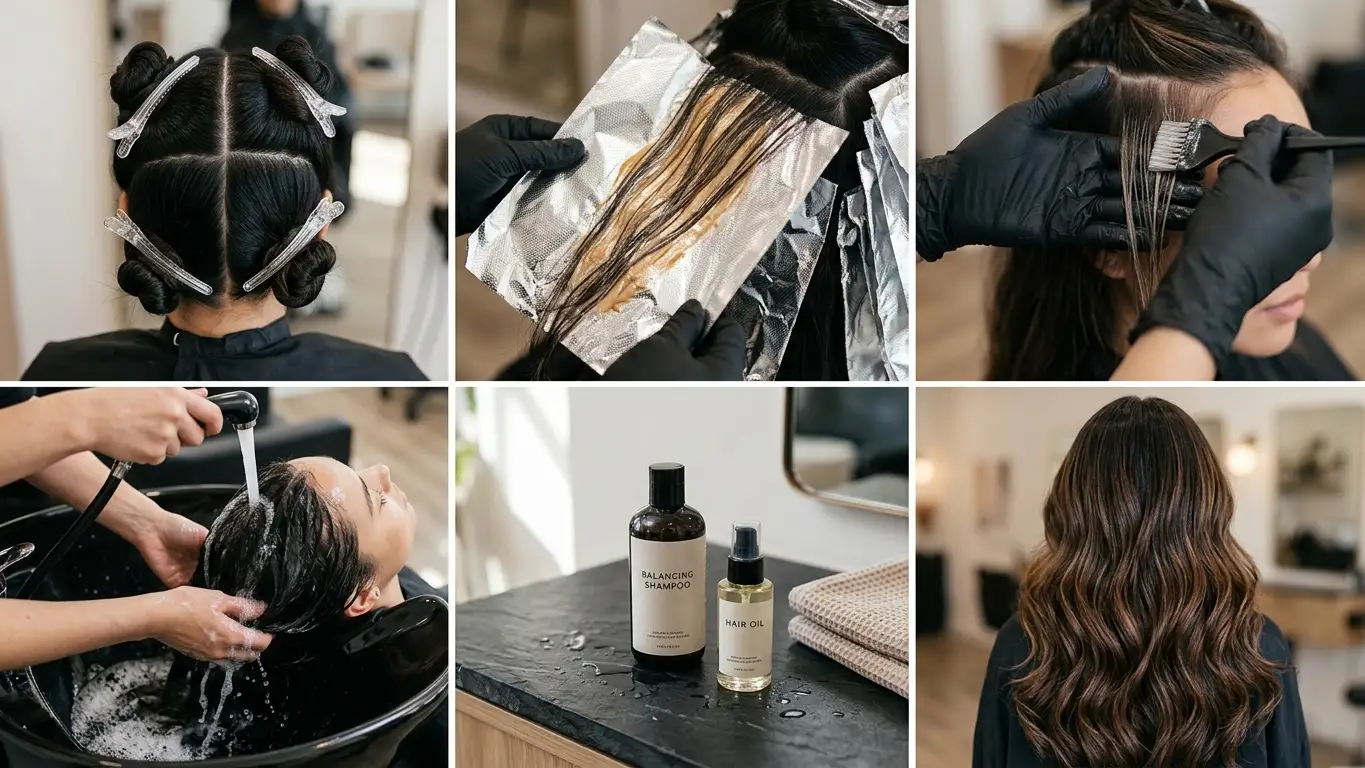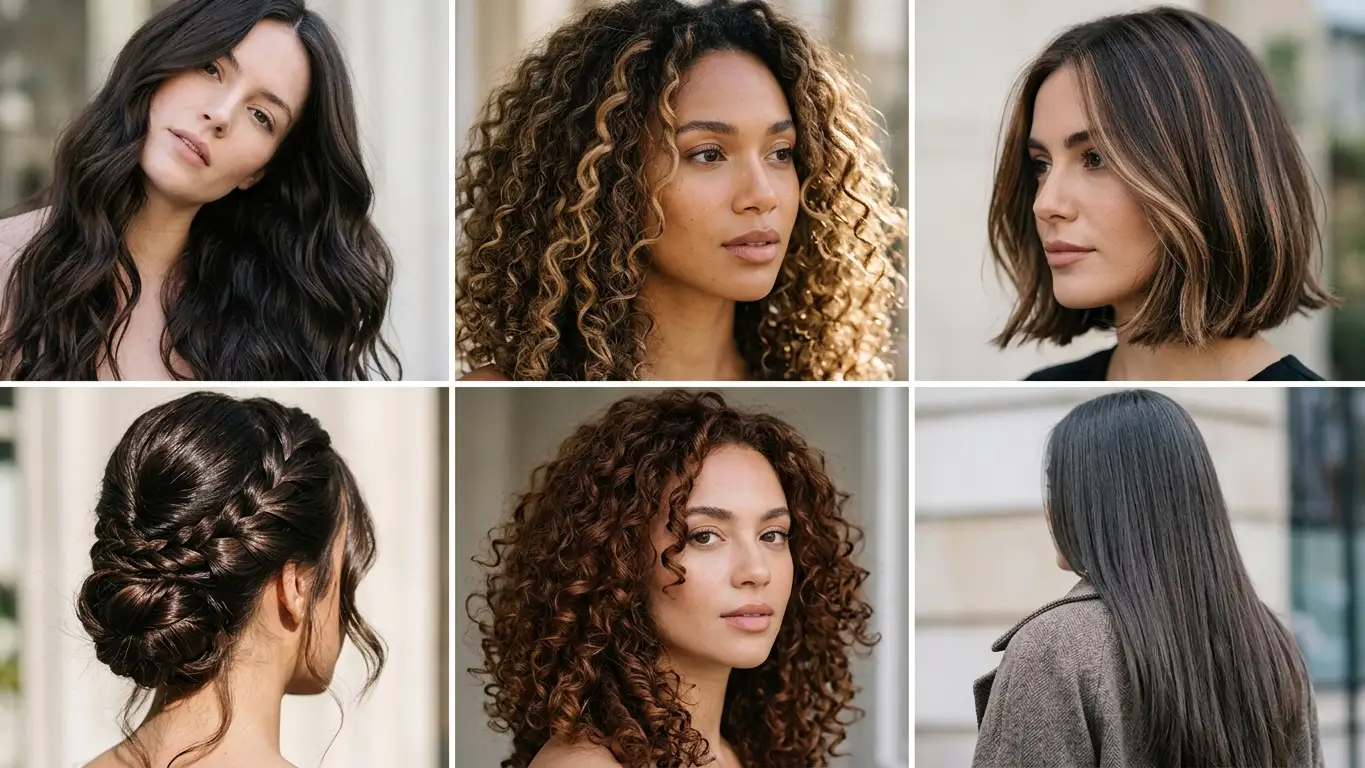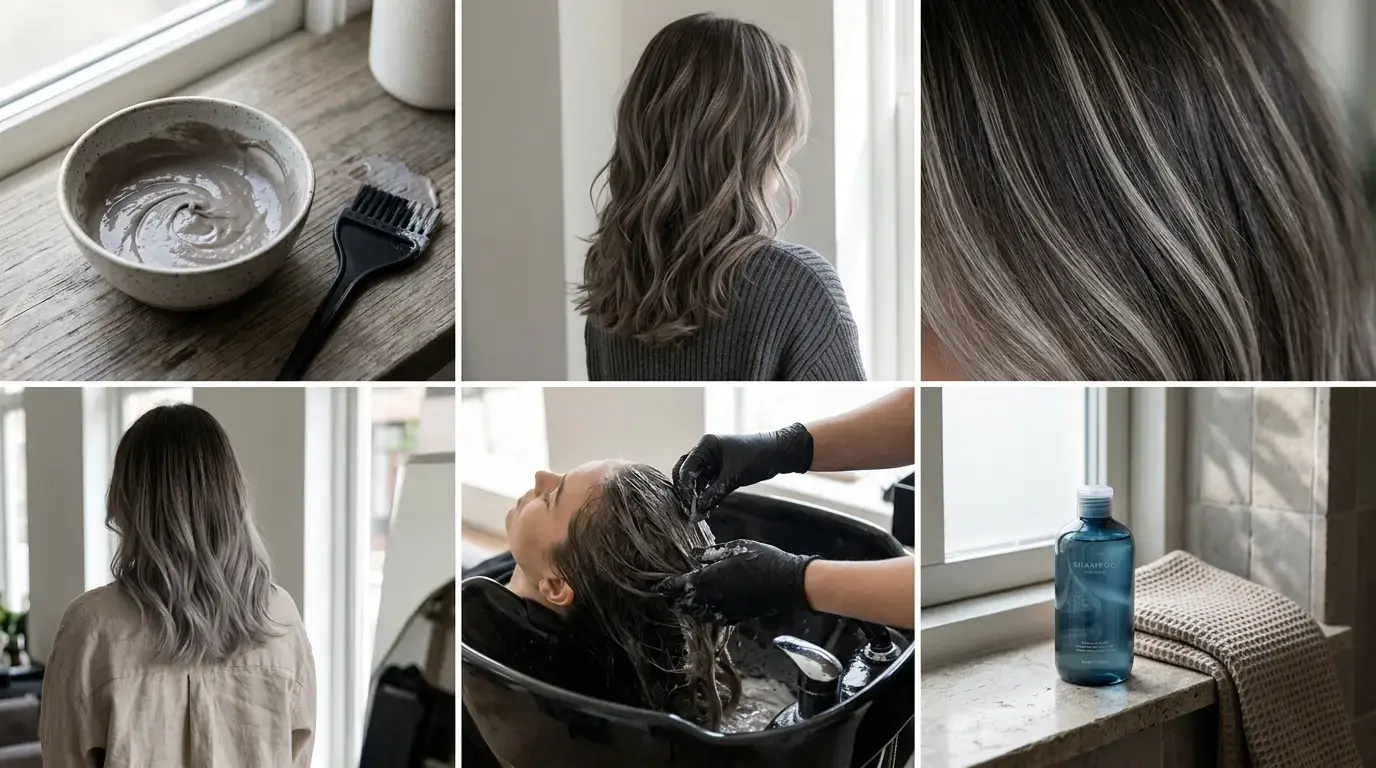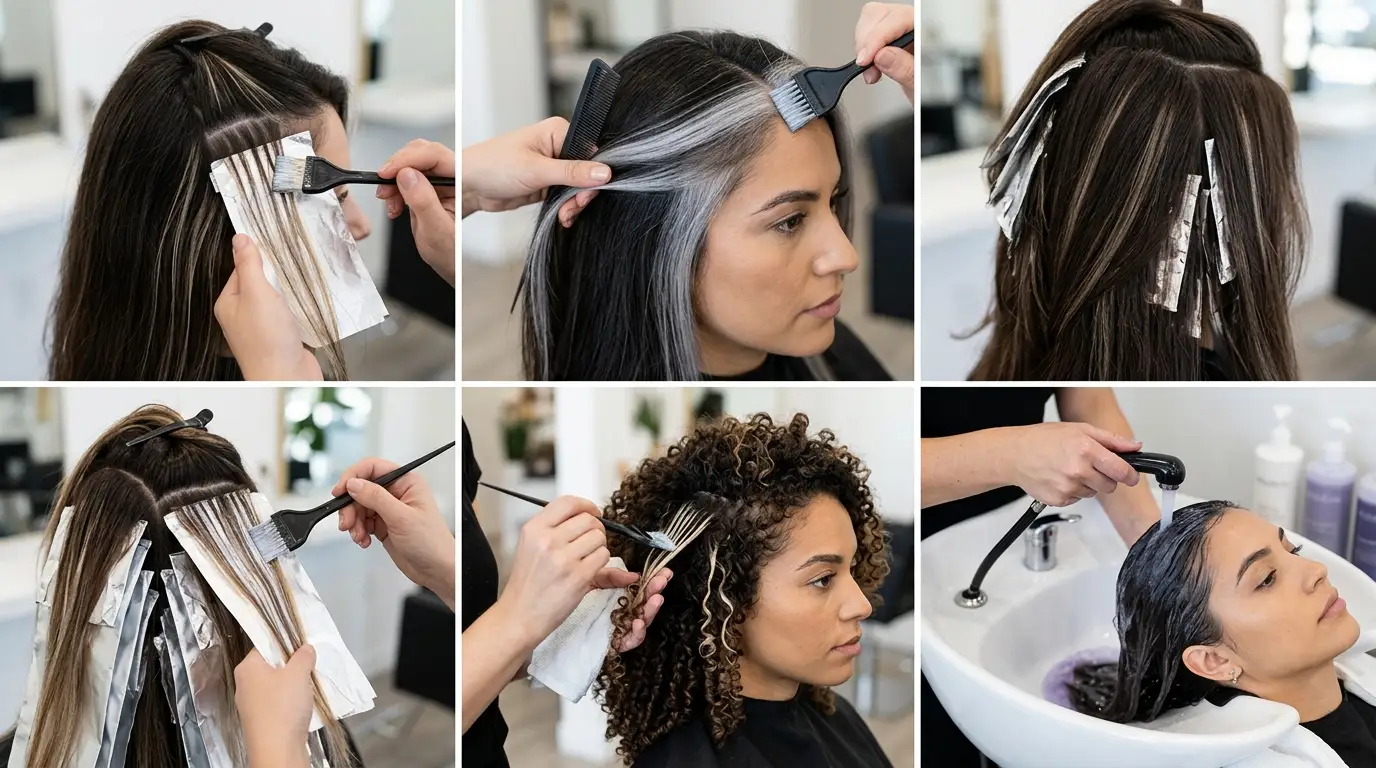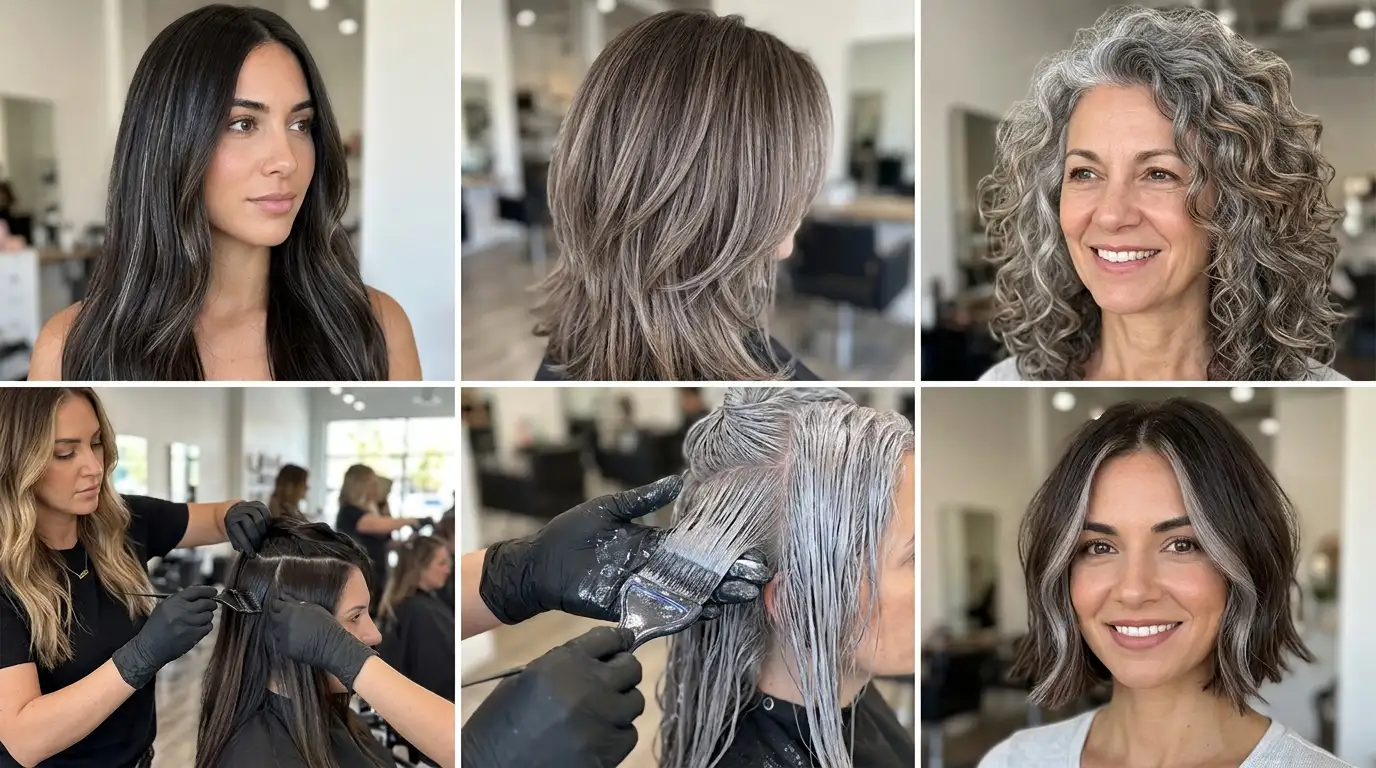

Getting black hair with caramel highlights right comes down to lifting dark strands through stubborn red undertones without frying the cuticle. Black hair sits at a level one or two, which means raw pigment exposes hot copper the moment bleach touches it. If you want a golden ribbon instead of orange brass, your colorist needs a controlled developer, a neutralizer for heavy underlying minerals, and an exact toning formula.
Assessing Your Undertone Before Selecting Caramel Tones

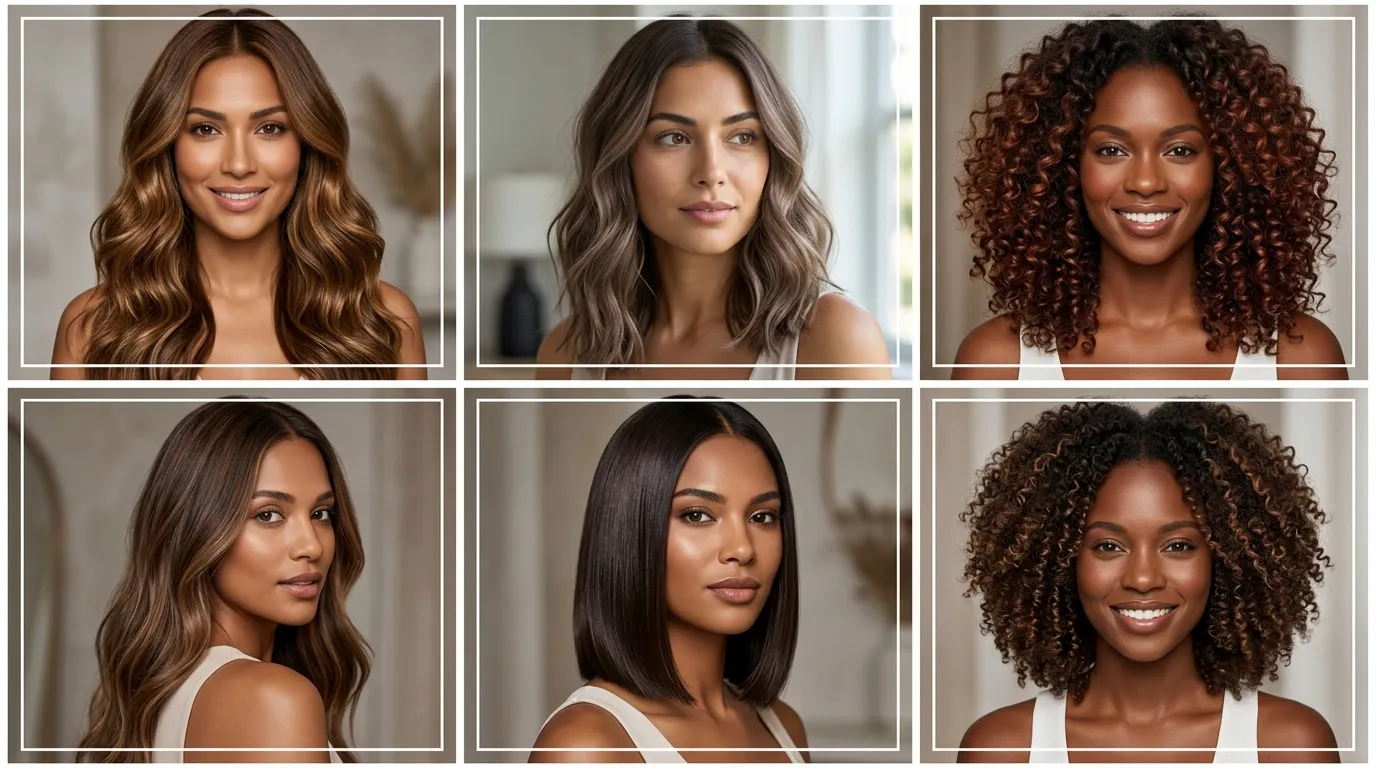
Working with Olive and Deep Complexions
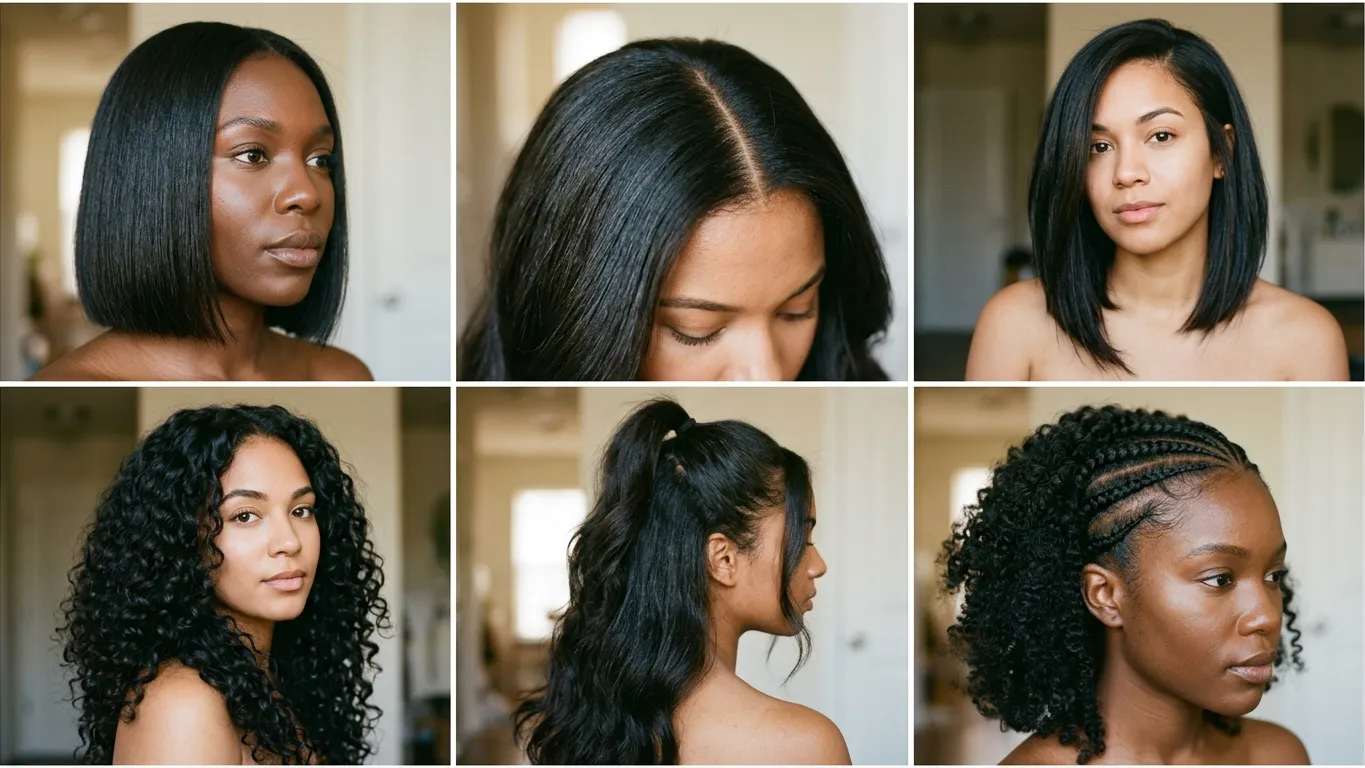
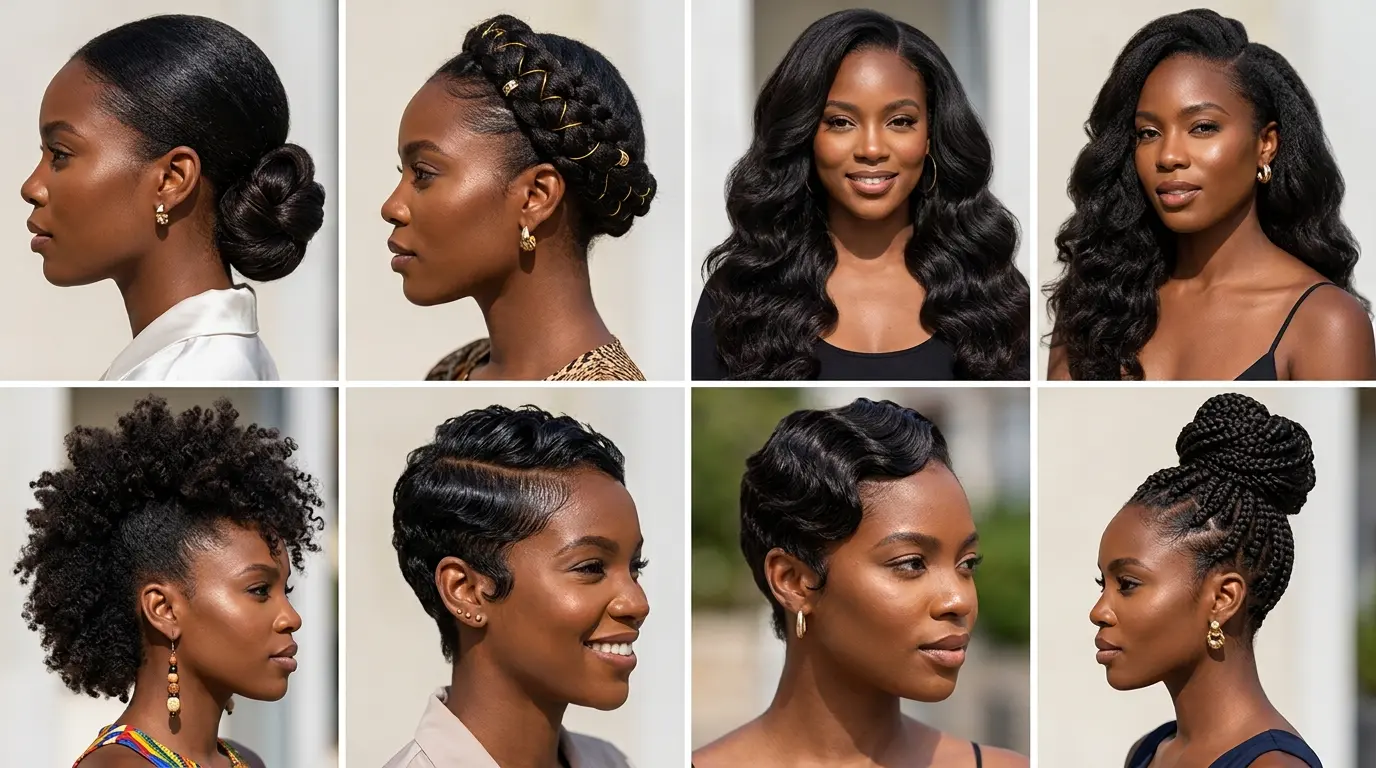
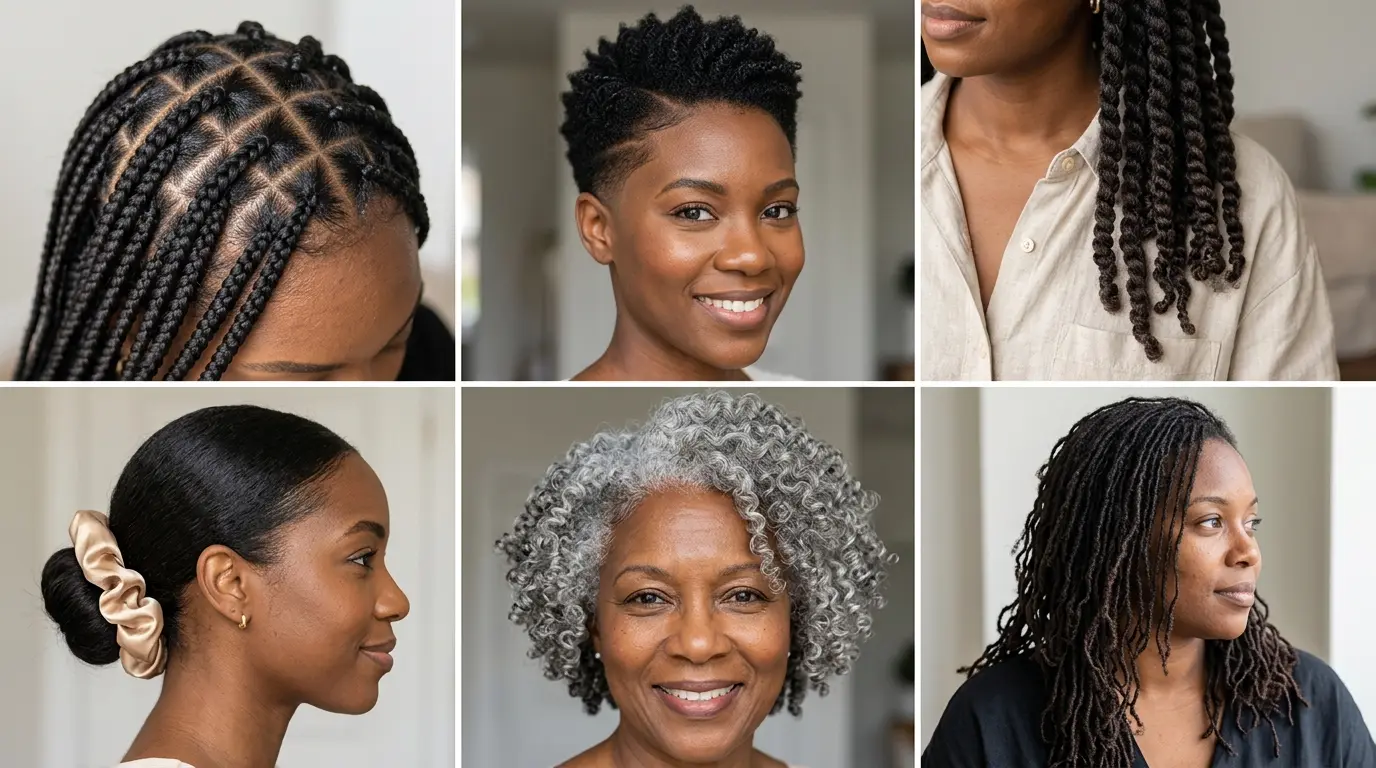
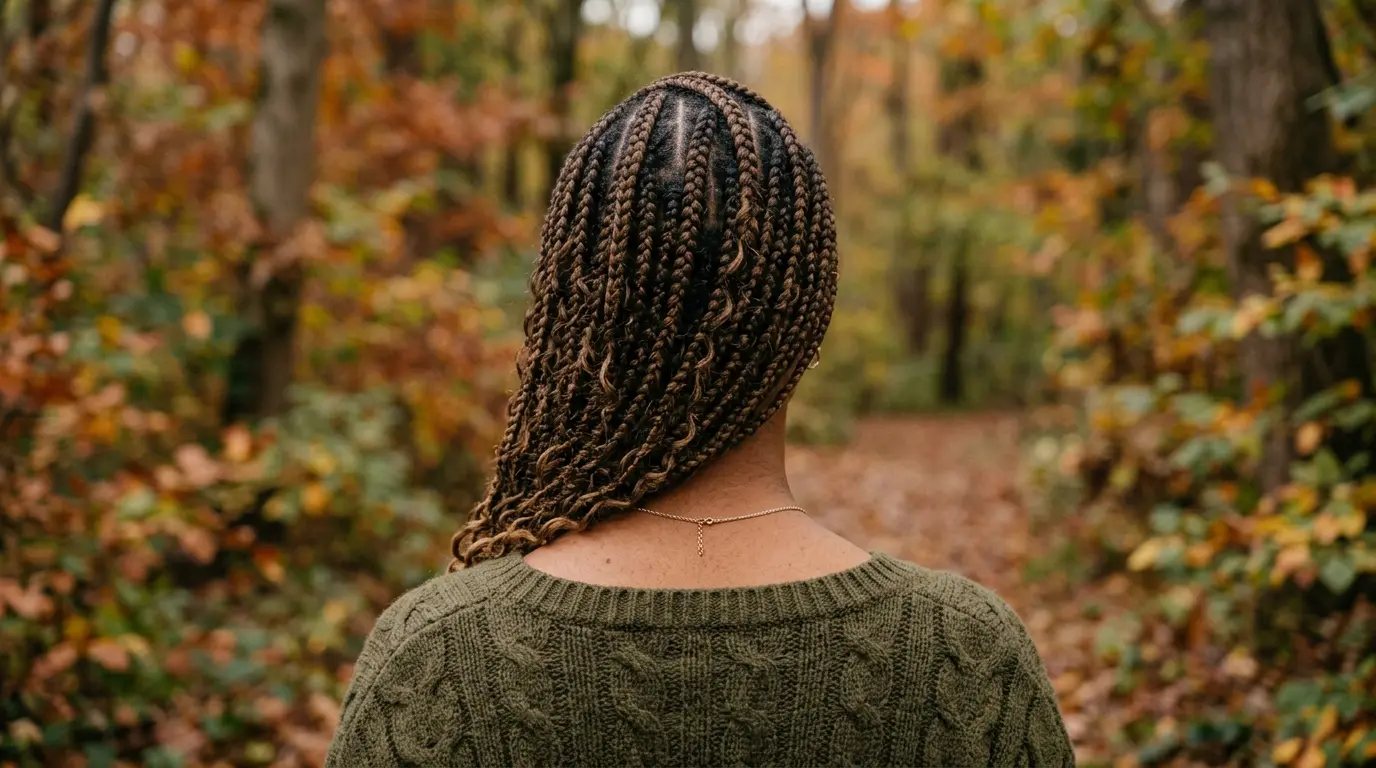
Skin with yellow or green undertones pairs best with toasty, amber-leaning ribbons. When designing black hair with caramel highlights black girl textures require special attention to moisture balance, as coiled strands lose elasticity faster during chemical lifting. Selecting a shade with balanced warmth keeps the contrast soft against rich skin rather than reading as stark or chalky.
Calibrating for Cool and Neutral Skin
Cool complexions demand a formula adjusted with ash or beige to prevent the caramel from pulling muddy orange in direct sunlight. A pure golden ribbon against fair, cool skin can wash out your features. Ask your stylist to mix a drop of mushroom brunette or violet-based toner into the glaze so the final shade reflects light without competing with pink skin undertones.
To check your match, press a piece of yellow gold and a piece of brushed silver foil against your bare collarbone under morning light.
Choosing the Right Lift Method for Your Base

Assessing Natural Versus Box-Dyed Bases
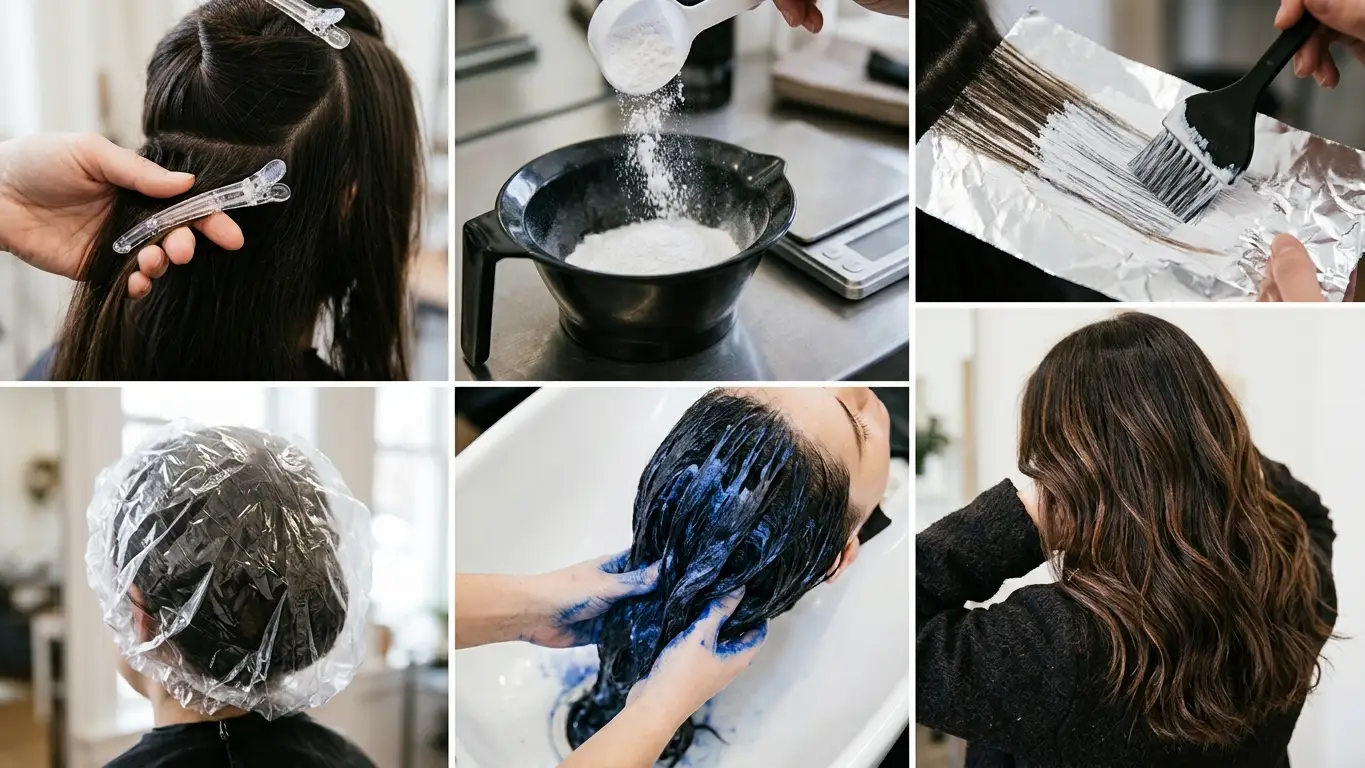
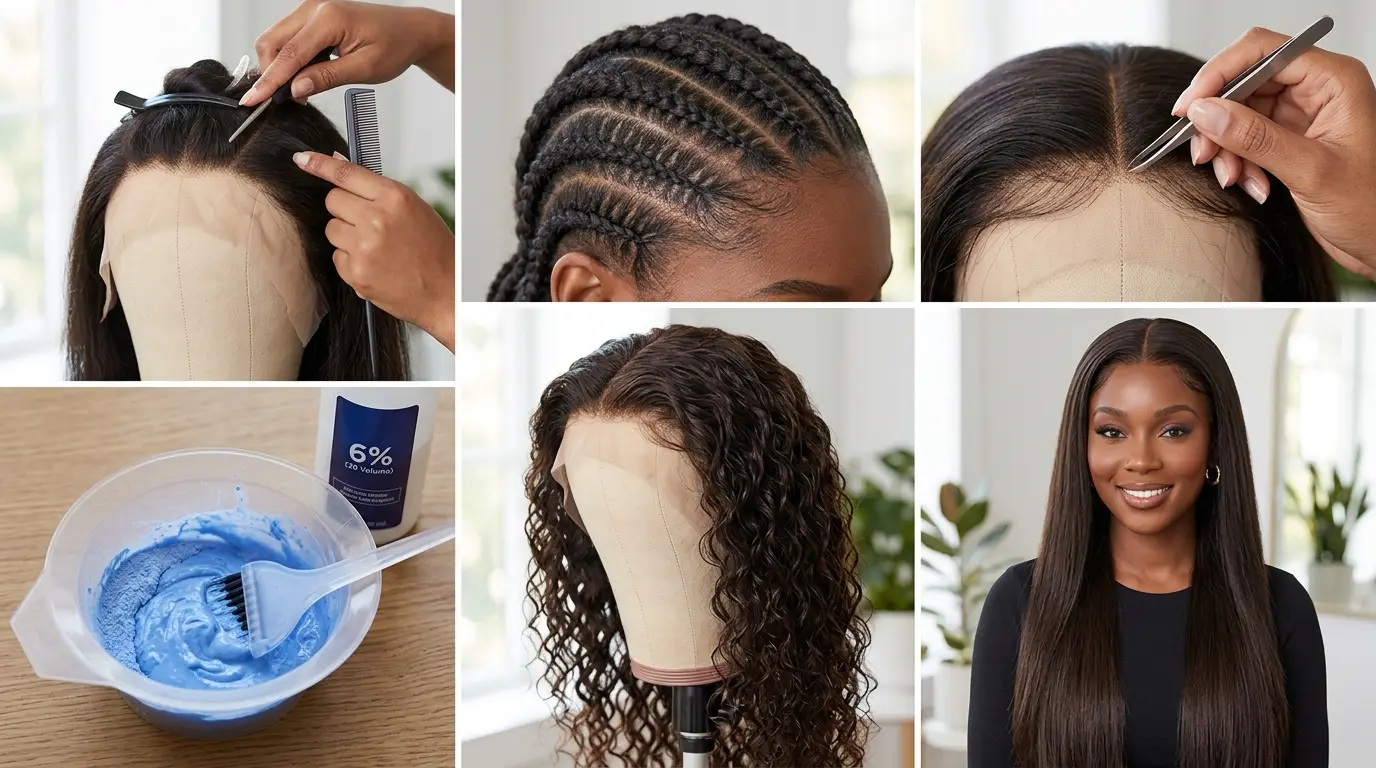
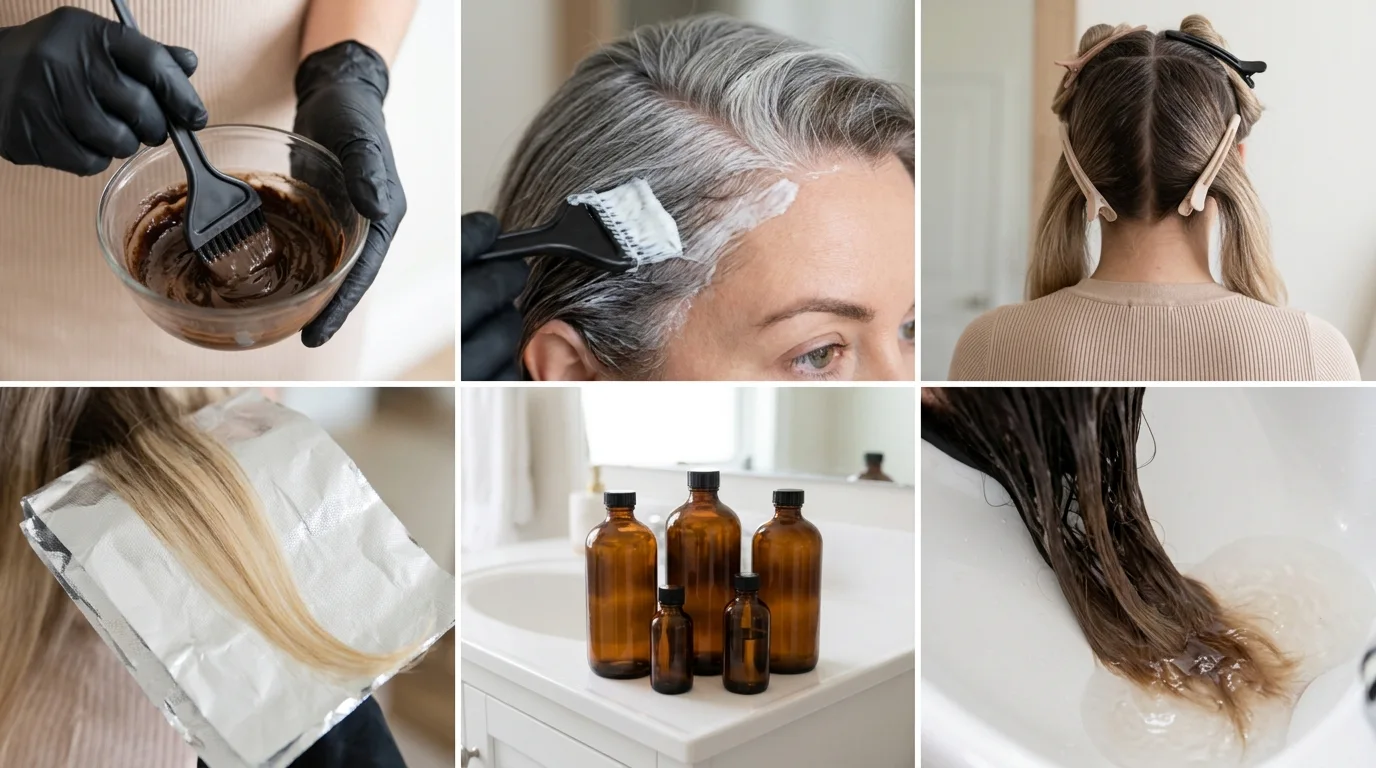
Natural black locks lift predictably, but artificial black dye holds stubborn metallic salts and synthetic pigments that resist bleach. If your base comes from boxed color, lifting past red requires a slower session using a 20-volume developer to stop uneven banding. A colorist must formulate differently for each zone, giving the mid-lengths extra processing time while sparing virgin roots.
Deciding on Bleach Alternatives
Getting caramel highlights on black hair without bleach works only on virgin, untreated strands through high-lift permanent color. High-lift creams use concentrated ammonia to raise the cuticle and deposit pigment simultaneously, shifting a level two base to a level five toffee. On hair with previous dye, this route fails completely, leaving hot roots and dark, untouched ends.
Expect high-lift dye on virgin hair to process under heat for roughly 45 minutes to achieve clean lift.
Strategic Placements for Maximum Dimension

Framing the Face with Targeted Strands
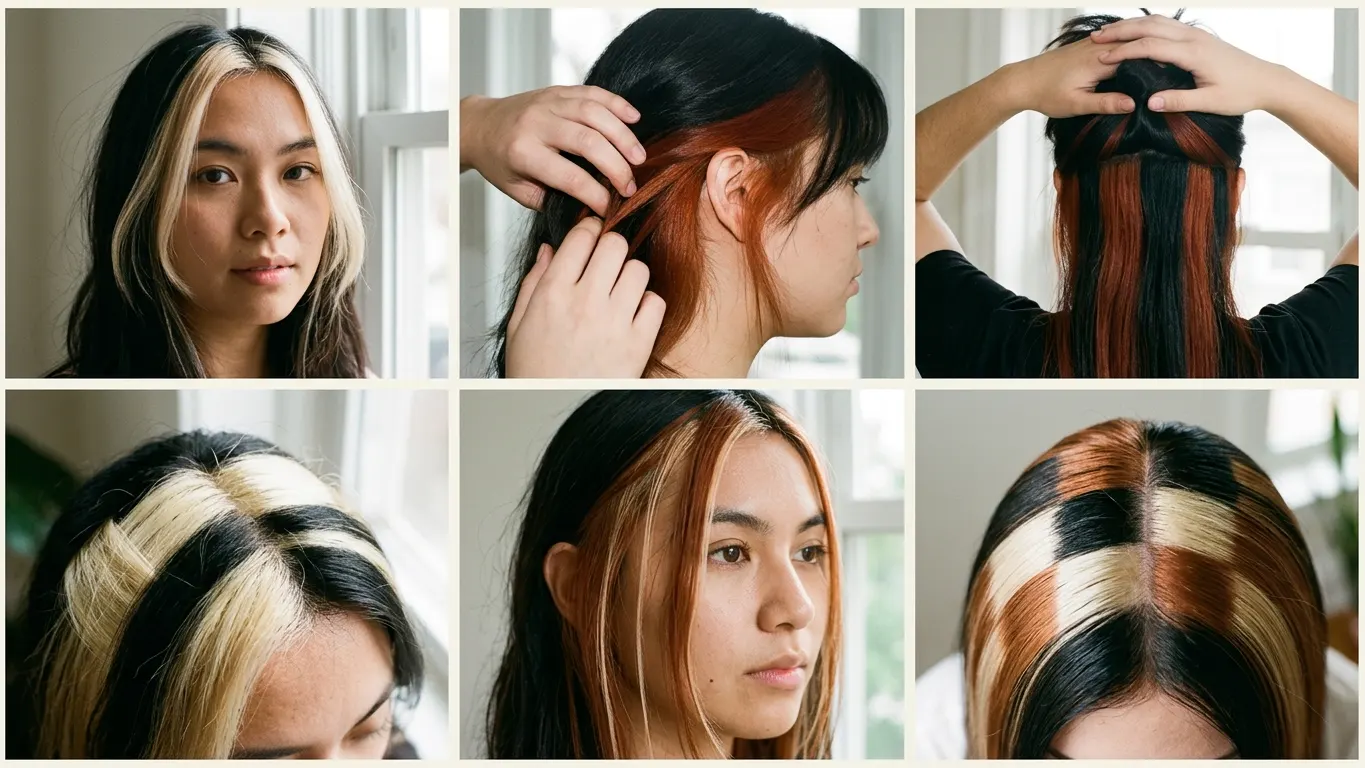
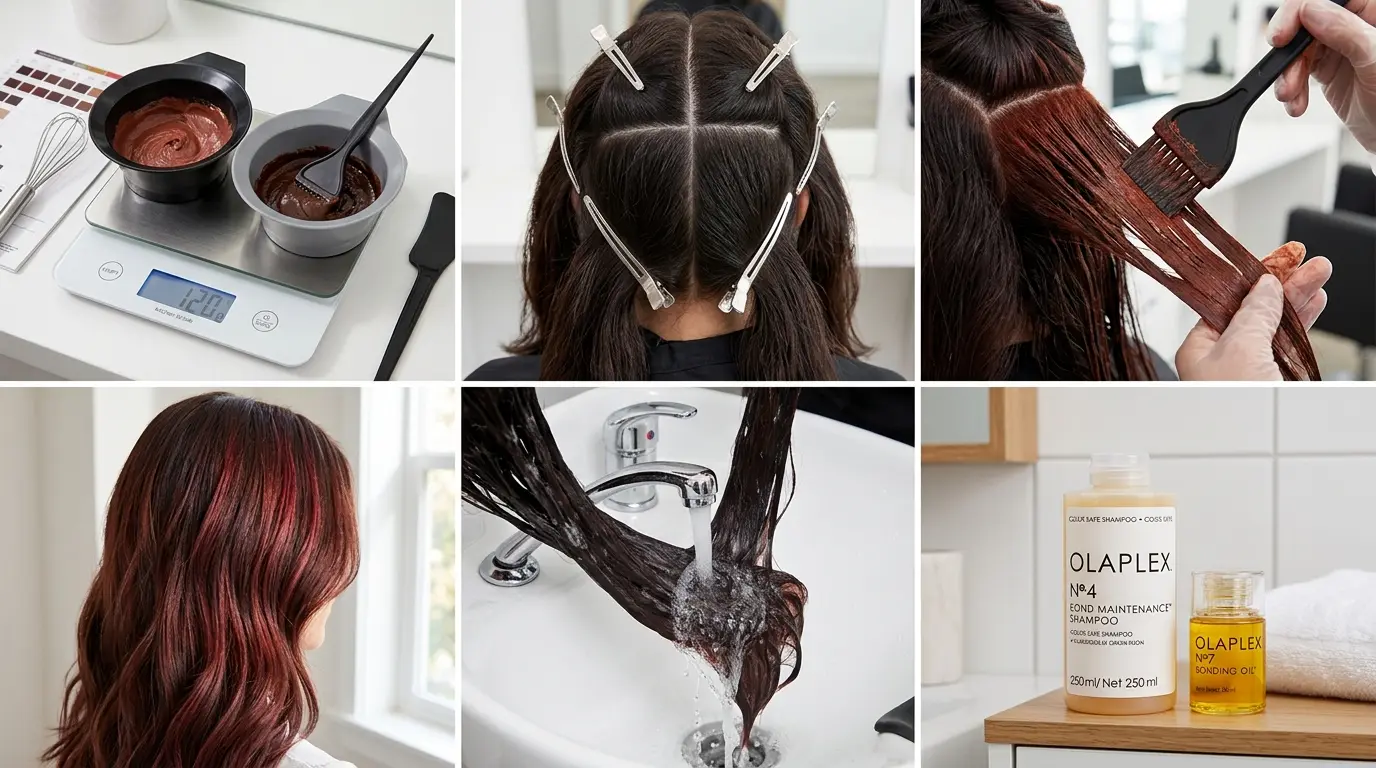
Concentrating light around the cheekbones brings immediate brightness without requiring an entire head of processing. Placing black hair with caramel face framing highlights involves hand-painting two thin sections along the front hairline, starting half an inch back from the forehead. This placement shields fragile baby hairs along the temples from chemical breakage while drawing visual focus to your eyes.
Adding Minimal Accents Through the Crown
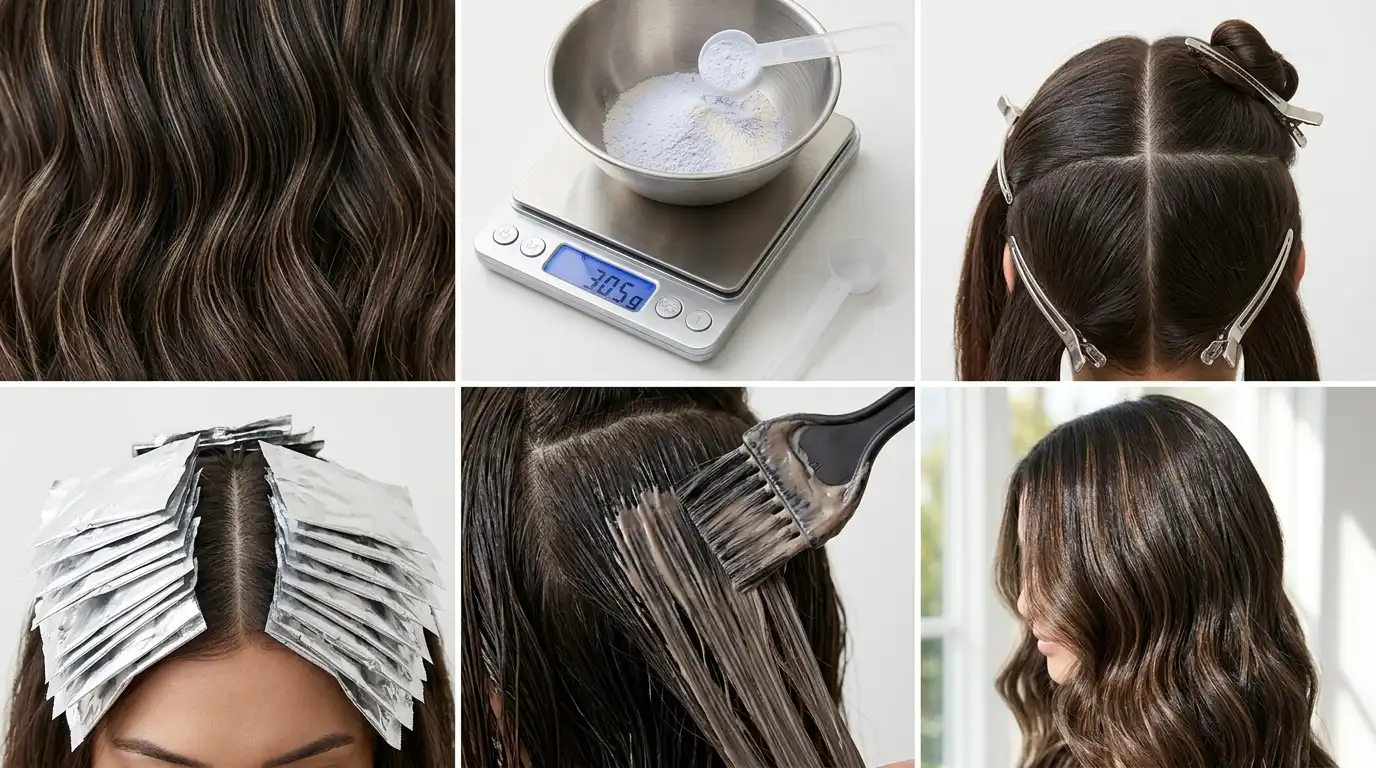
Scattered placement suits anyone who wants noticeable movement without an obvious line of regrowth. Weaving black hair with caramel highlights straight down through the interior layers creates ribbons that appear only as the hair separates and swings. Spacing five to seven foil packets across the crown gives enough contrast to break up a solid dark base.
When brushing straight textures, keep the lightened ribbons at least two inches away from the center part to prevent striping.
Weaving Multi-Tonal Ribbons into Dark Bases
Blending Red and Golden Undertones
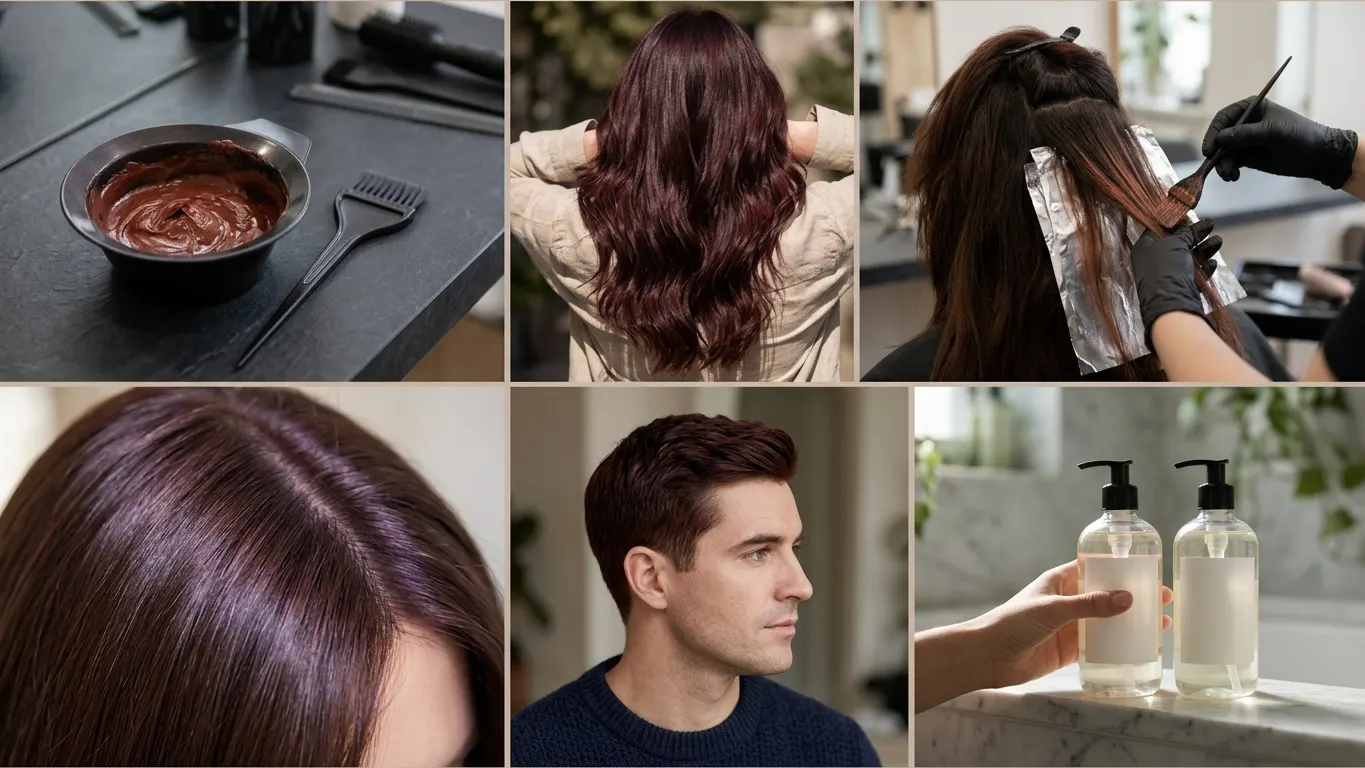
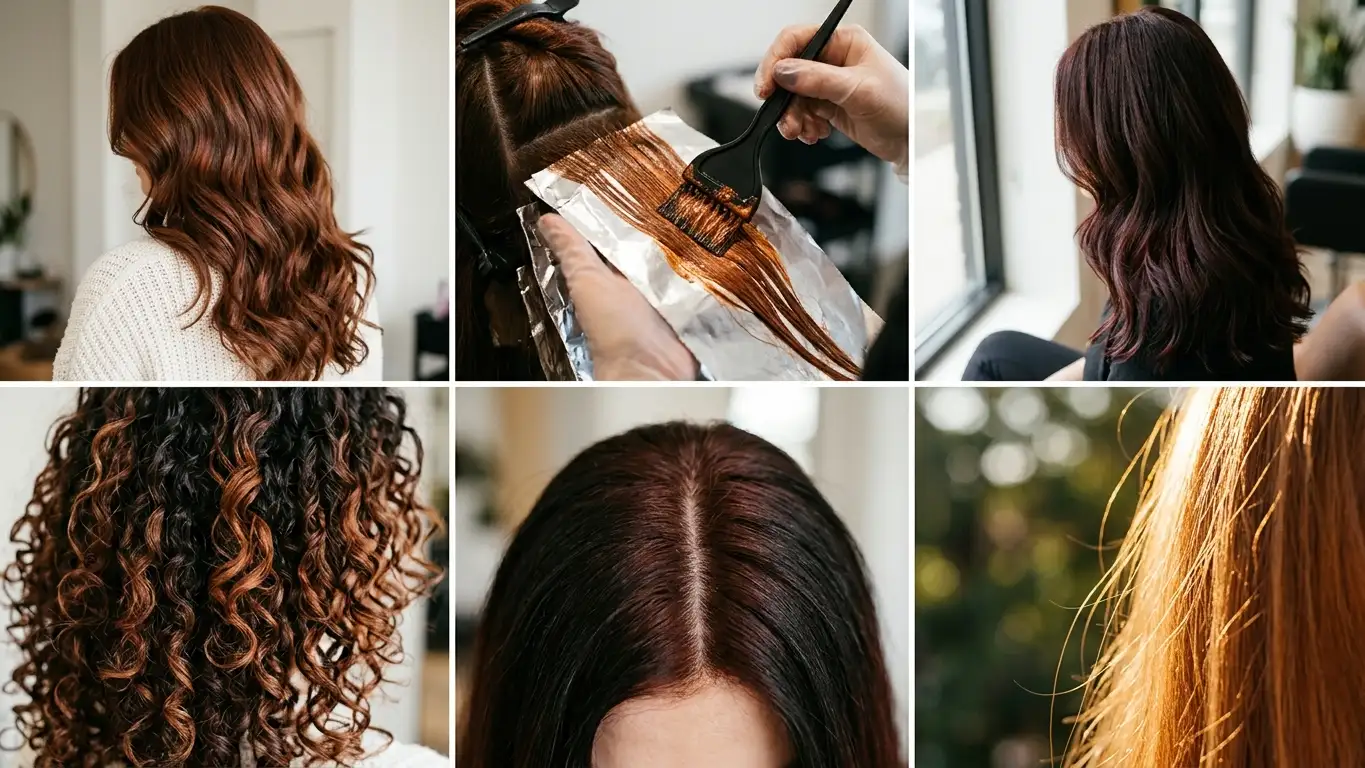
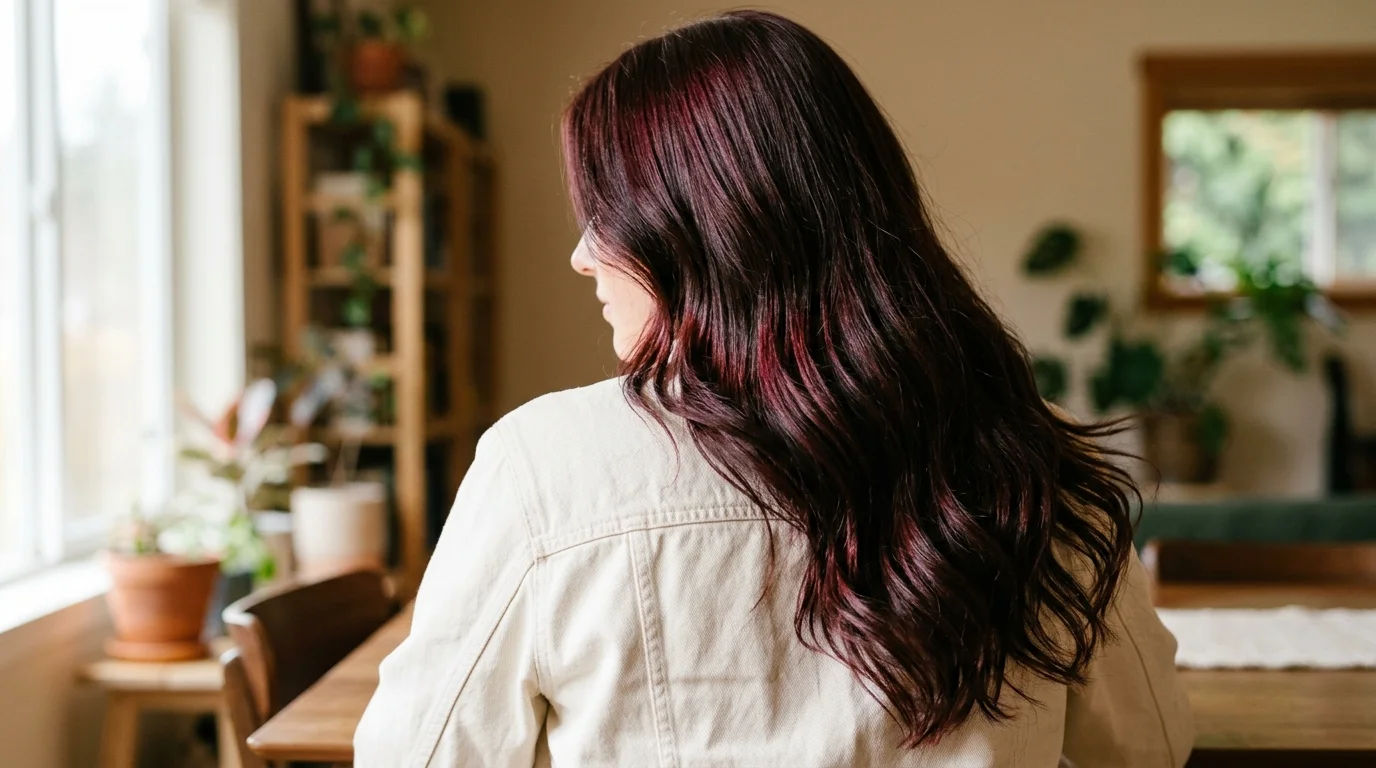
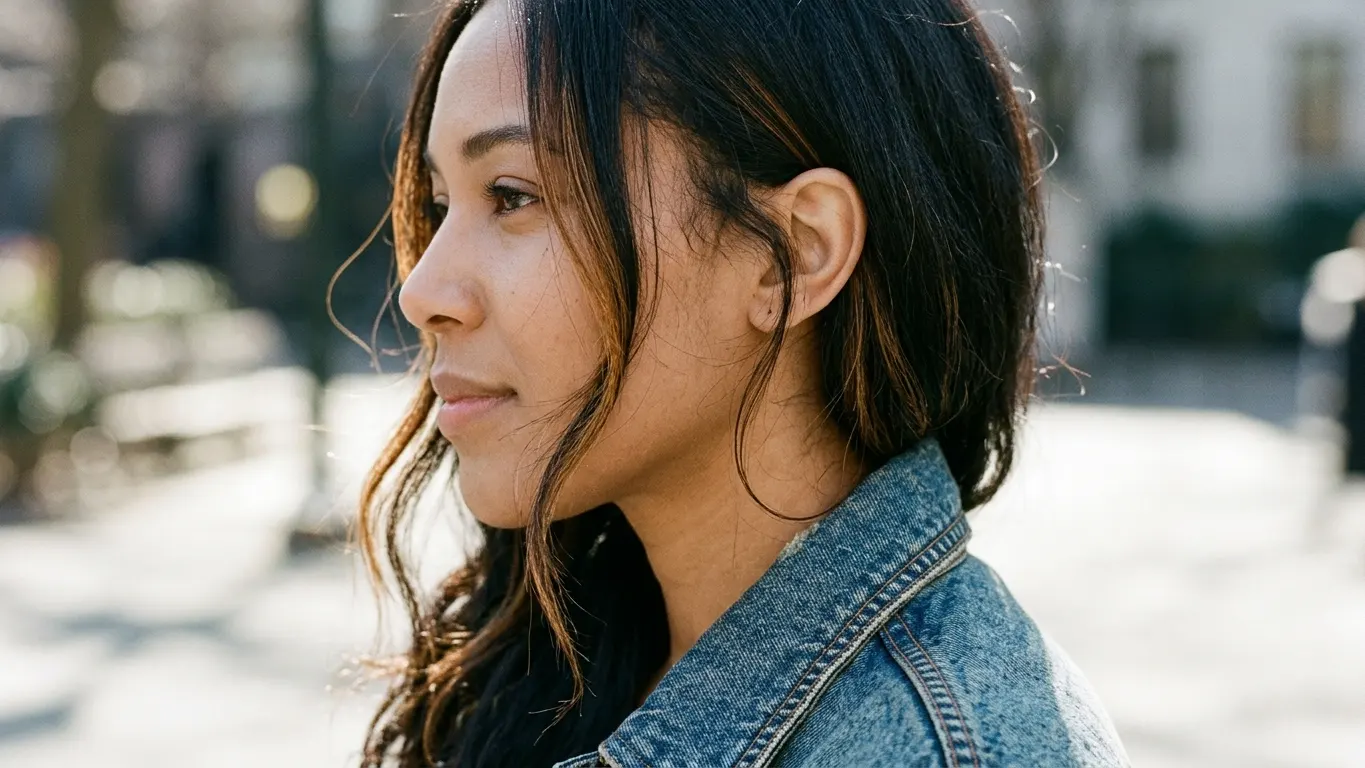
Combining two distinct shades prevents dark strands from appearing flat under office lighting. Weaving black hair with caramel and burgundy highlights creates a balanced distribution where deep wine pieces anchor the root area while lighter toffee accents catch the perimeter. This dual-tone method works exceptionally well on thick, coarse strands that otherwise swallow subtle color shifts.
Integrating Golden Blonde Accents
Paring black hair with blonde highlights directly against an ink-black base often looks harsh and disconnected. A seasoned colorist bridges that extreme jump by laying down caramel as a transition zone between the level two background and the level eight blonde tips. This buffering technique mimics the natural fading caused by sun exposure over time.
Test the balance by ensuring the lightest strands make up no more than 15 percent of the overall head of hair.
Adjusting Lightness Across Different Lengths

Working with Medium and Shoulder Cuts
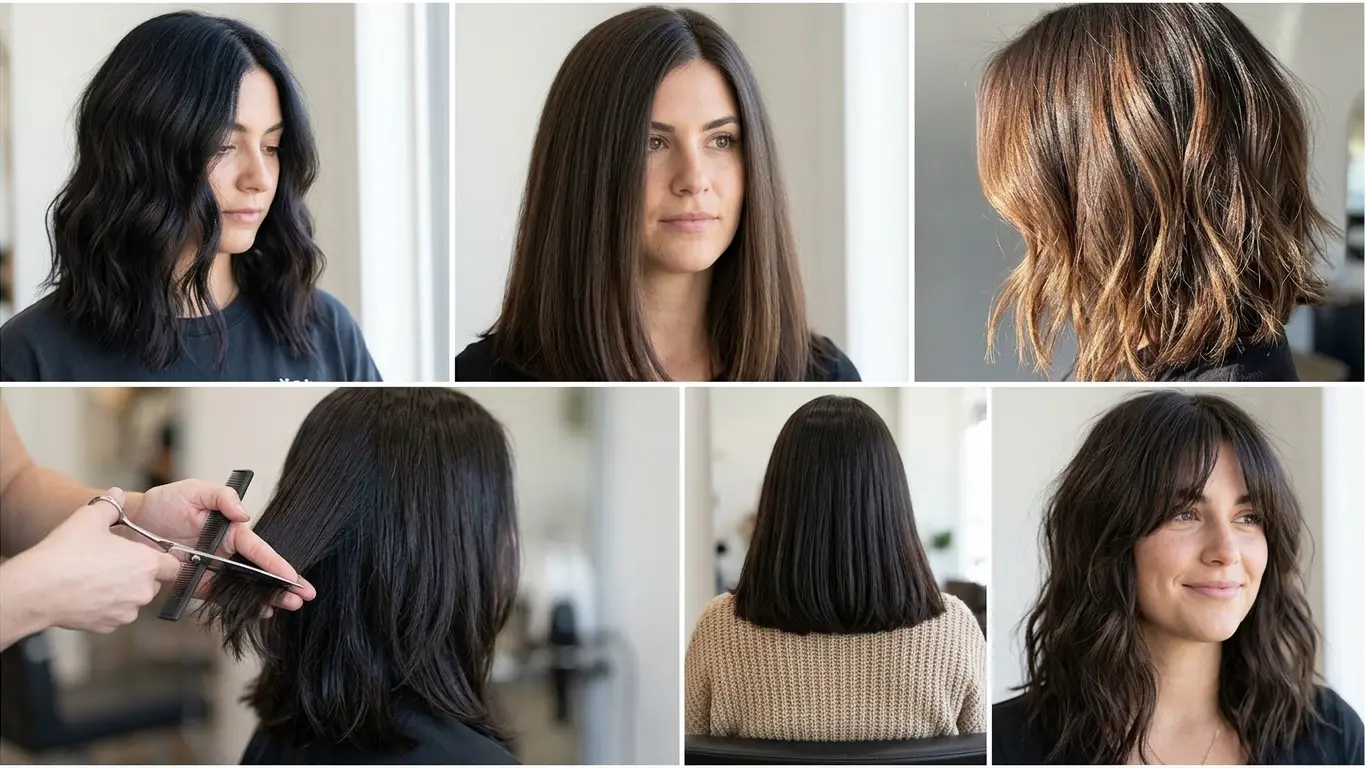
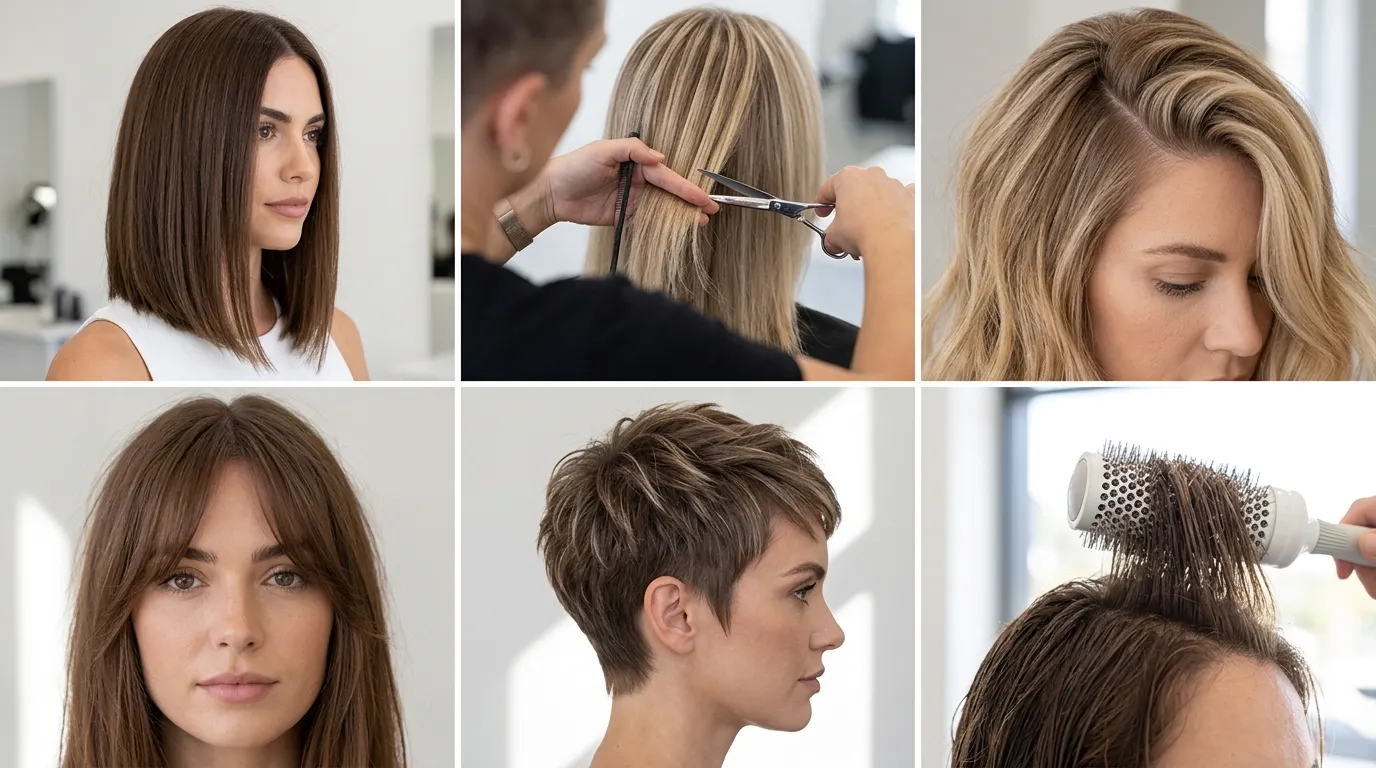
Mid-length cuts need precise vertical spacing so the lightened ribbons do not bunch up awkwardly around the jaw. On medium length black hair with caramel highlights, painting should start roughly two inches below the scalp, widening into soft brush strokes toward the collarbone. This tapering keeps the perimeter looking dense while breaking up the heavy shelf line common to blunt lobs.
Balancing Short Crops and Long Layers
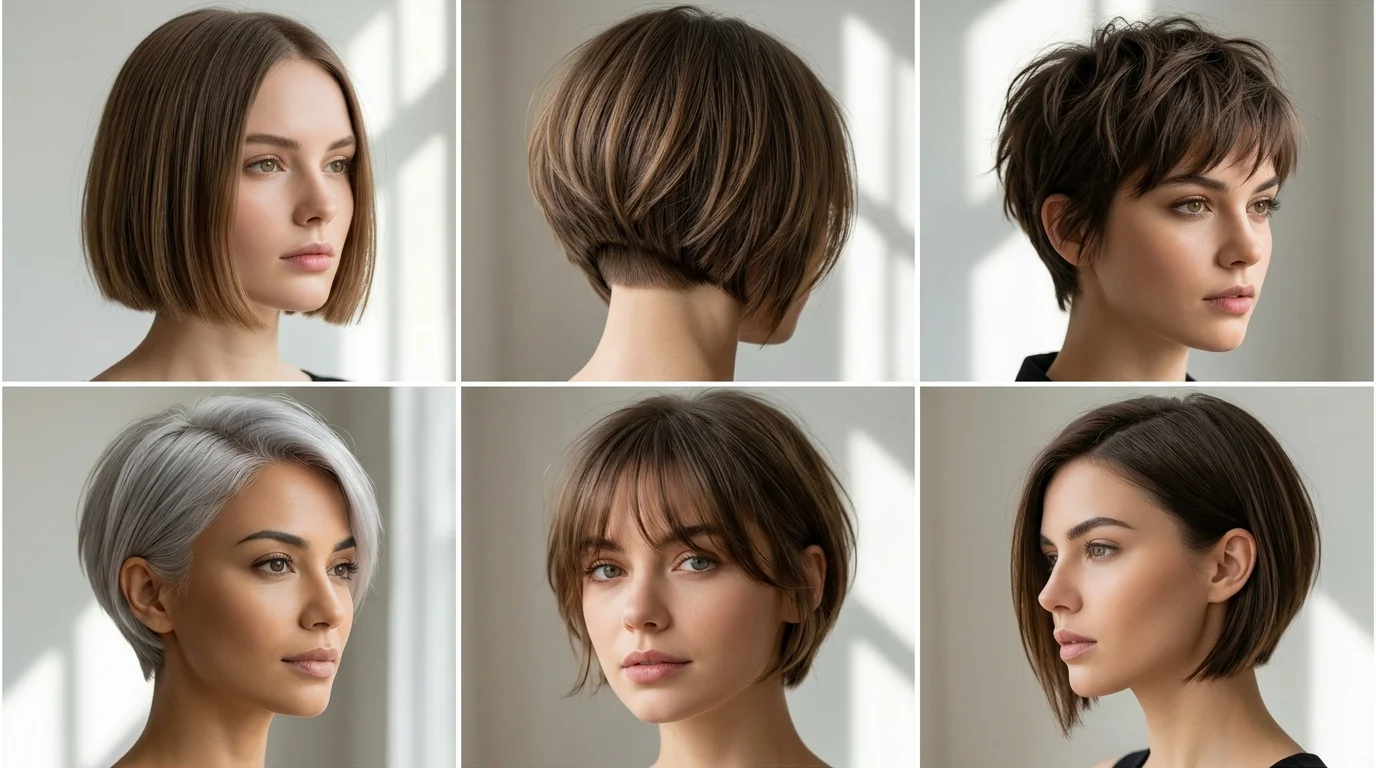
Short pixies require micro-fine weaves applied with a mini paddle, keeping the lighter pieces on top where natural movement occurs. Long layers allow for a stretched balayage where the color sweeps down the back, pooling into concentrated amber ends. If your hair reaches your shoulder blades, keep the highlights concentrated on the bottom six inches to avoid an unmanageable root touch-up schedule.
Check your profile in a three-way mirror to ensure the back layers carry equal density to the front.
Determining Application Style and Ribbon Width

Choosing Between Balayage and Traditional Foils
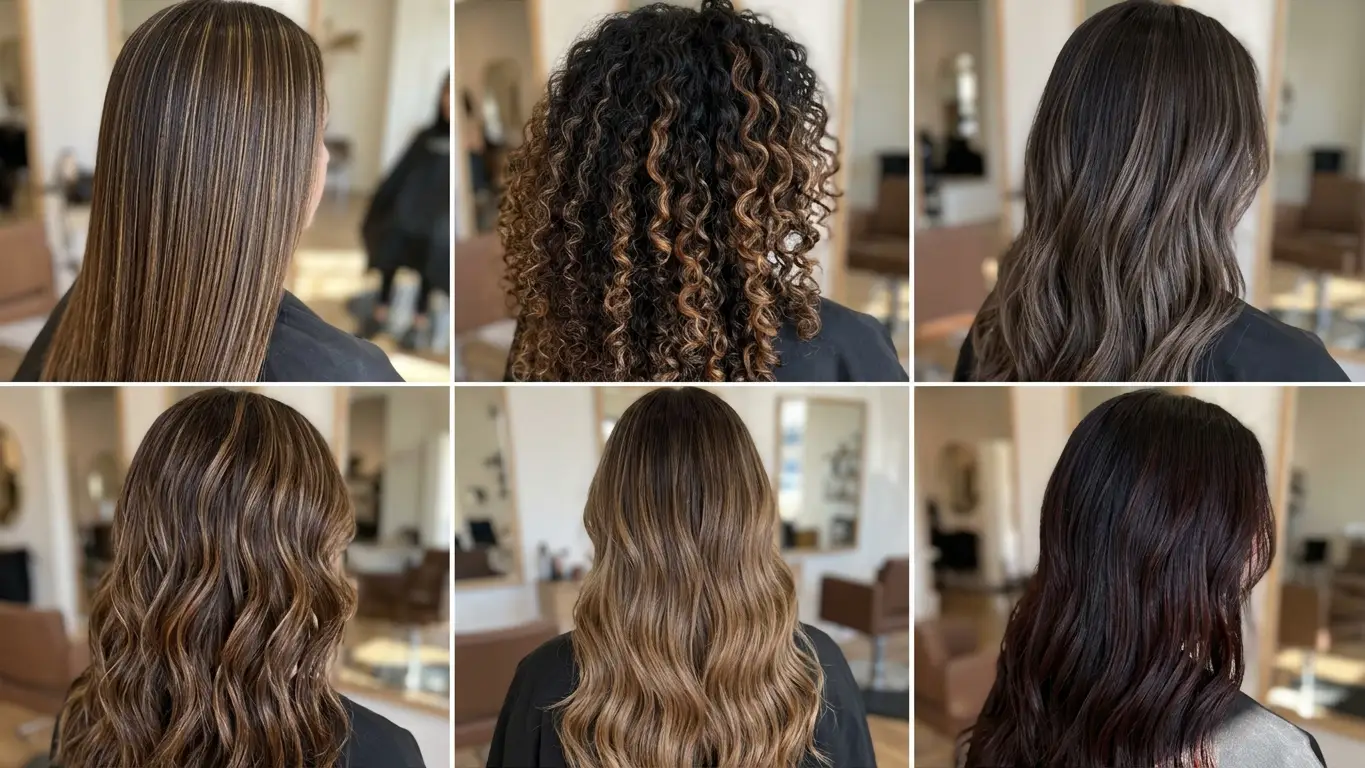
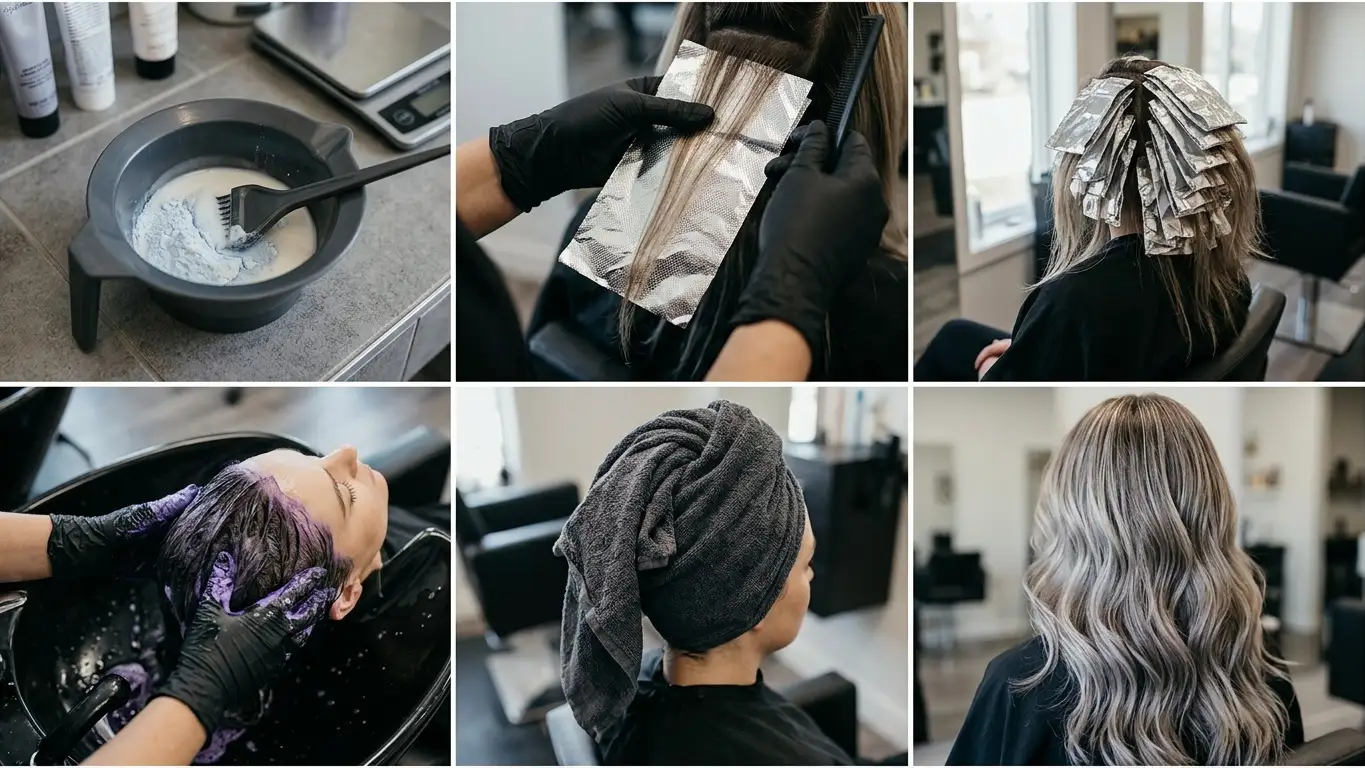
Traditional foil packets trap heat, driving the bleach to lift four to five levels for crisp, defined ribbon borders. Balayage involves sweeping lightener onto the surface of the hair in open air, yielding a diffused, sun-kissed edge with lower contrast. If you want sharp definition against an ink base, foils are mandatory; if you prefer lived-in softness, open-air clay lightener is the correct pick.
Applying Very Subtle Babylights
Weaving microscopic, paper-thin sections creates the impression of an overall glow rather than distinct streaks. Scattering black hair with a few caramel highlights throughout the interior mimics natural pigment variation without altering your overall dark identity. Because these sections take up minimal surface area, regrowth appears virtually seamless over twelve to sixteen weeks.
Fine weaves should never exceed the thickness of a standard sewing thread at the root zone.
Salon Investment and Scheduling Realities
Understanding True Service Costs
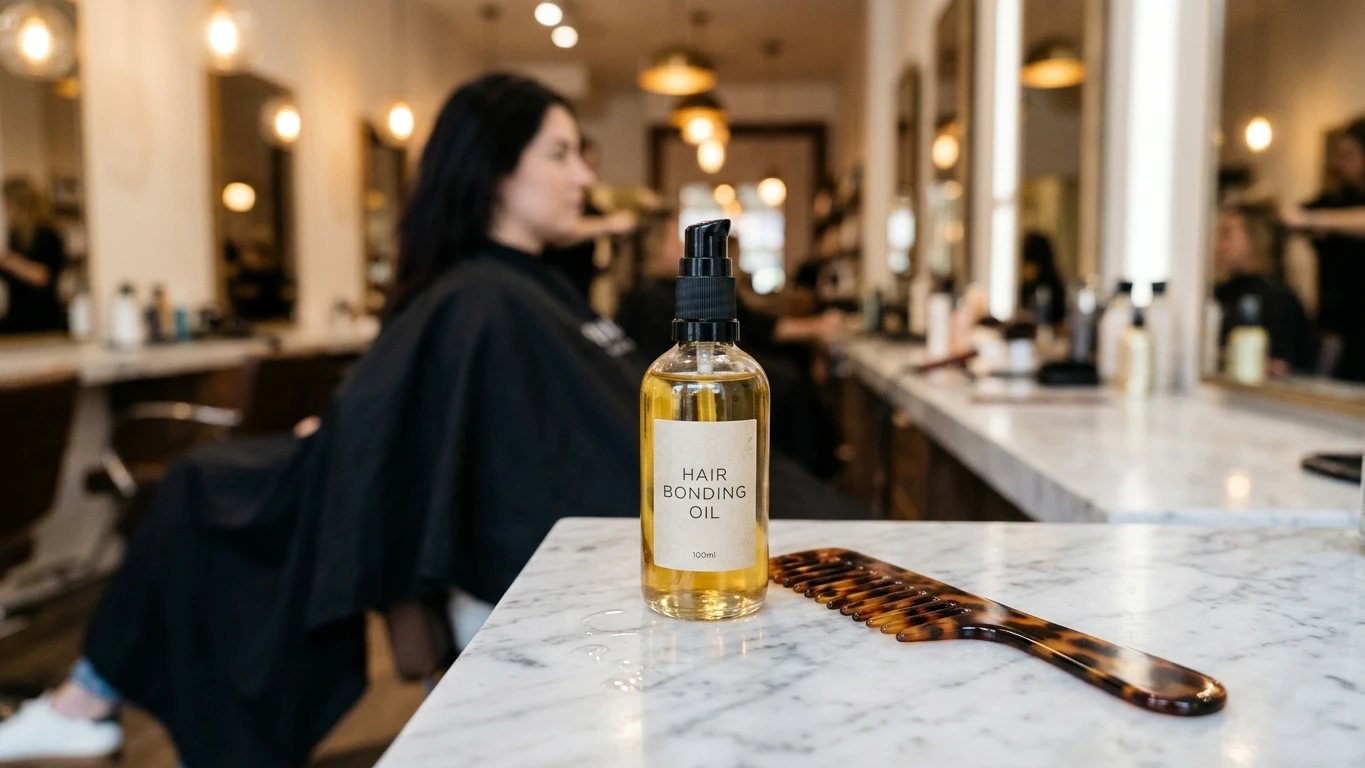
Quality lightening on dark pigments is a multi-step chemical service that demands significant time. In 2026, expect to spend between 220 dollars and 450 dollars at a professional salon for a partial foil, lightening bond builder, and custom gloss. If your hair contains existing dark dye that requires color correction, the price regularly climbs past 600 dollars due to hourly labor.
Factoring the Time in the Stylist Chair
Lifting dark pigment safely cannot be rushed with high heat without causing permanent structural damage. A standard appointment for black with caramel highlights on dark hair spans three to five hours from consultation to final blowout. Rushing the lift results in brassy undertones because the colorist must pull the bleach before it passes through the raw orange stage.
Always request an allergy patch test on your inner arm or behind your ear 48 hours before chemical application.
Styling Methods to Show Off Dimension

Curling to Showcase Contrast
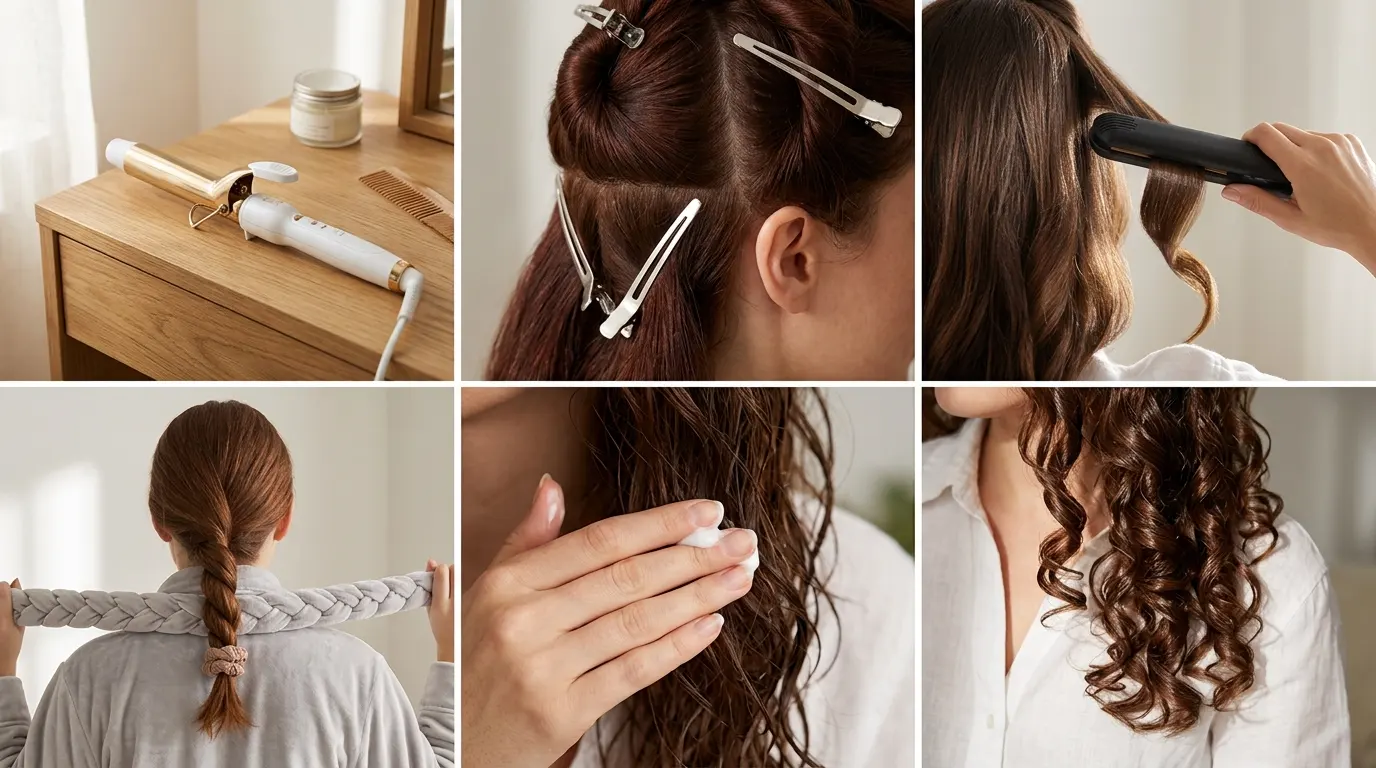
Curling wraps the hair around a barrel, rotating the hidden underside ribbons up to the surface alongside the dark base. Using a 1.25-inch curling iron on medium heat creates loose bends that catch the light across every color shift. Flat, unstyled hair tends to conceal interior highlights, making curling the fastest way to showcase multi-tonal handiwork.
Maintaining Straight Looks Without Striping
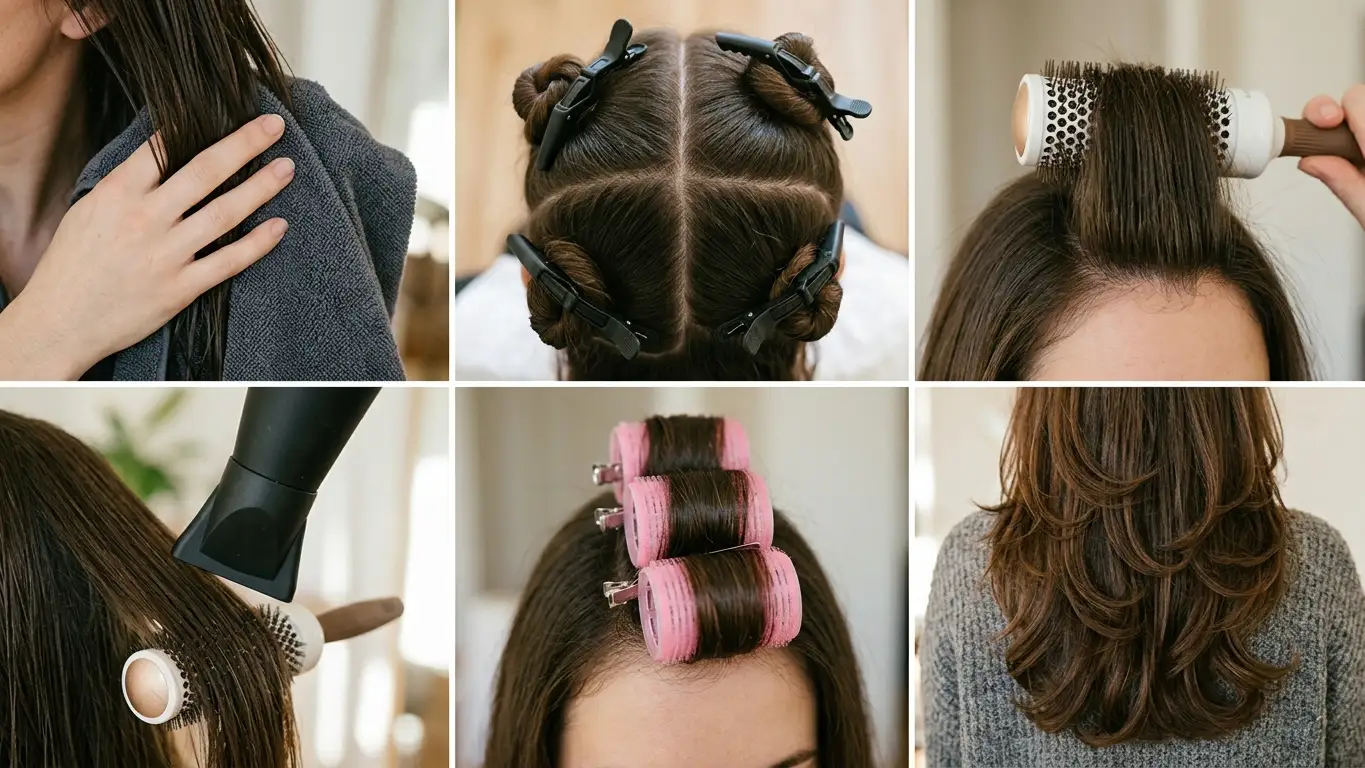
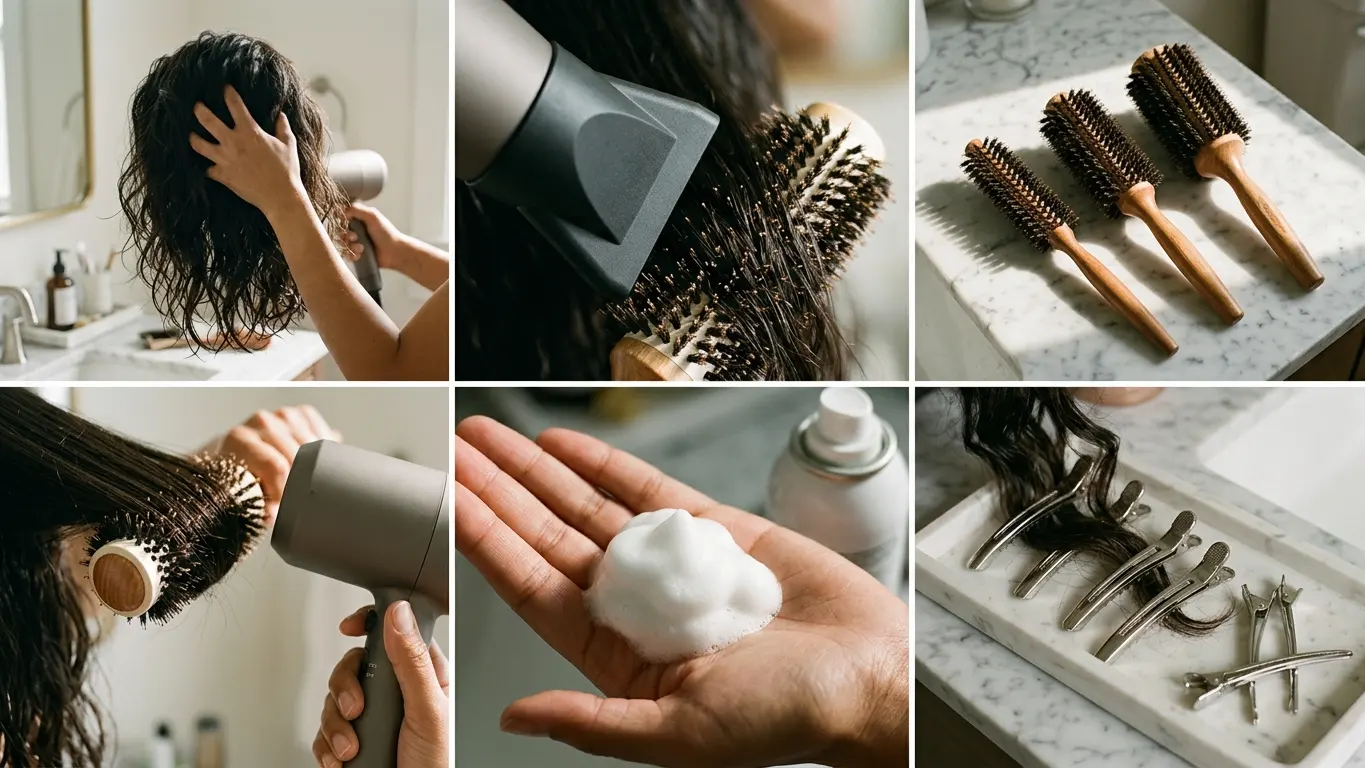
Wearing hair pin-straight requires flawless blending at the point where the highlight originates. Any uneven pressure during the bleach application shows up immediately as a horizontal line across straight strands. A smoothing paddle brush paired with an ionic blow dryer helps keep the cuticle flat, allowing caramel hair with highlights to reflect light evenly down the shaft.
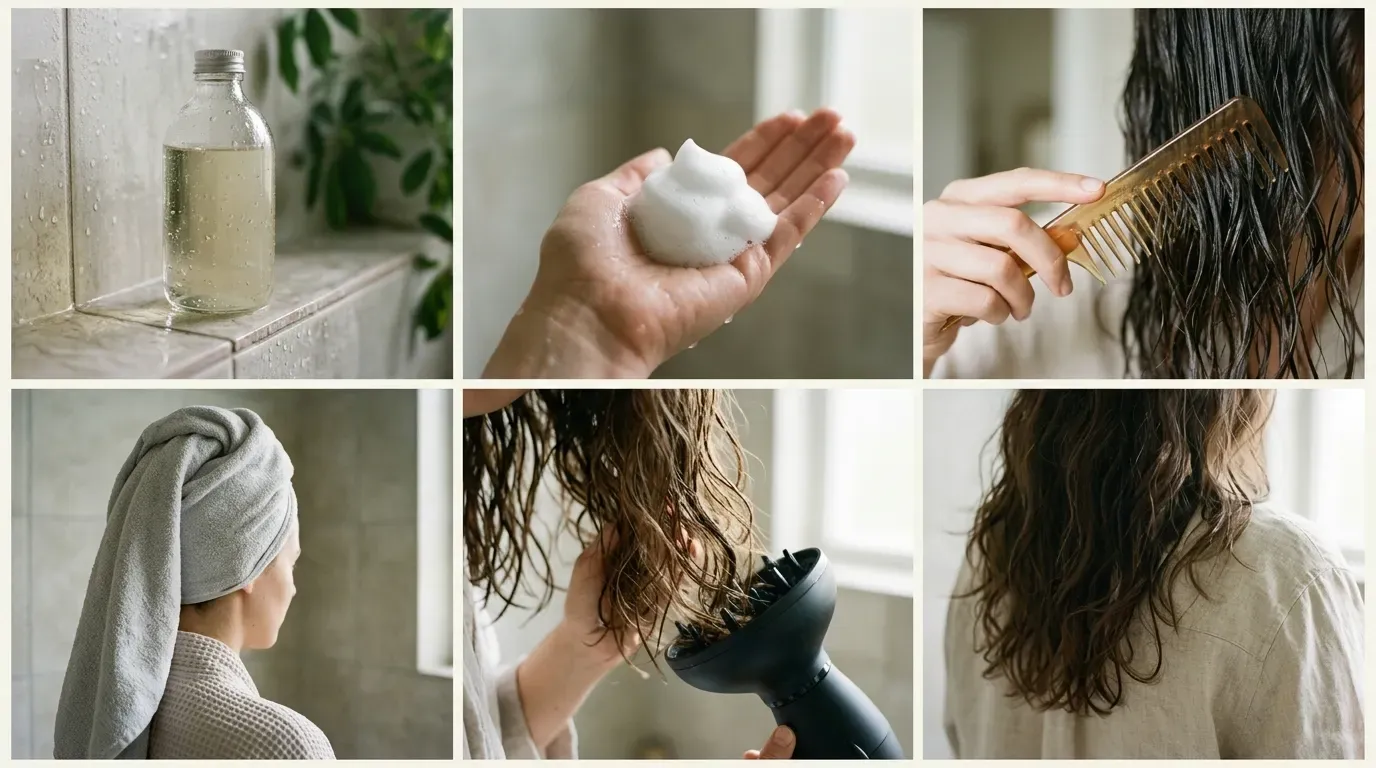
Run a wide-tooth comb through curls while they are still warm to soften ribbon definition into smooth waves.
The Reality of Hair Health and Porosity Changes
Structural Weakness in the Cuticle
Lightening hair strips out its protective fatty acid layer, forcing open the outer cuticle shingles to dissolve melanin. This chemical shift raises porosity, meaning your hair will absorb water rapidly in the shower but lose moisture just as fast during blow-drying. The lightened strands will feel slightly rougher than your untreated dark hair, requiring regular lipid replenishment.
Preventing Snapping and Moisture Loss
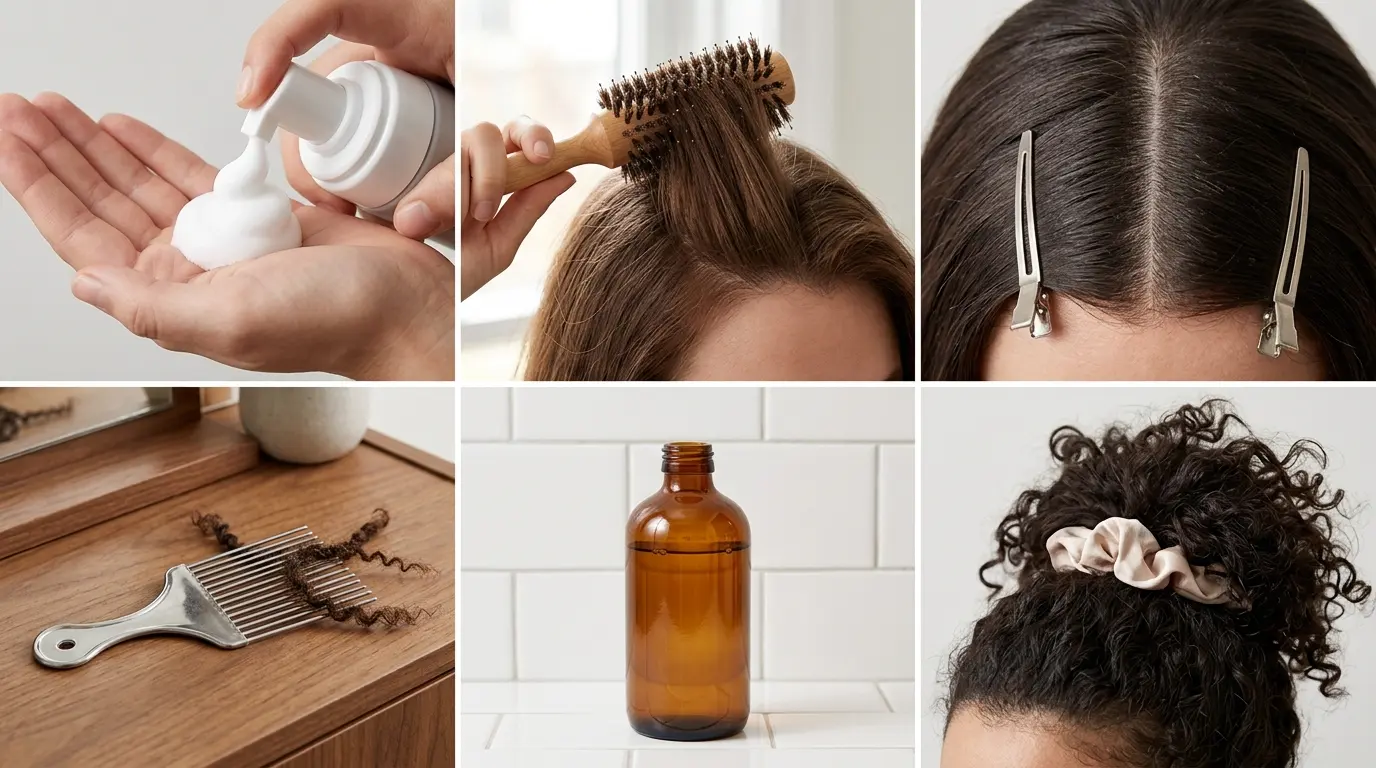
Color-treated dark hair snaps easily when pulled tightly into elastic bands while wet. The lifted sections lose their natural stretch, making mechanical friction from cotton pillowcases and tight ponytails a serious risk. Switching to a silk scrunchie and detangling only with a flexible-bristle brush prevents premature breakage along the processed mid-lengths.
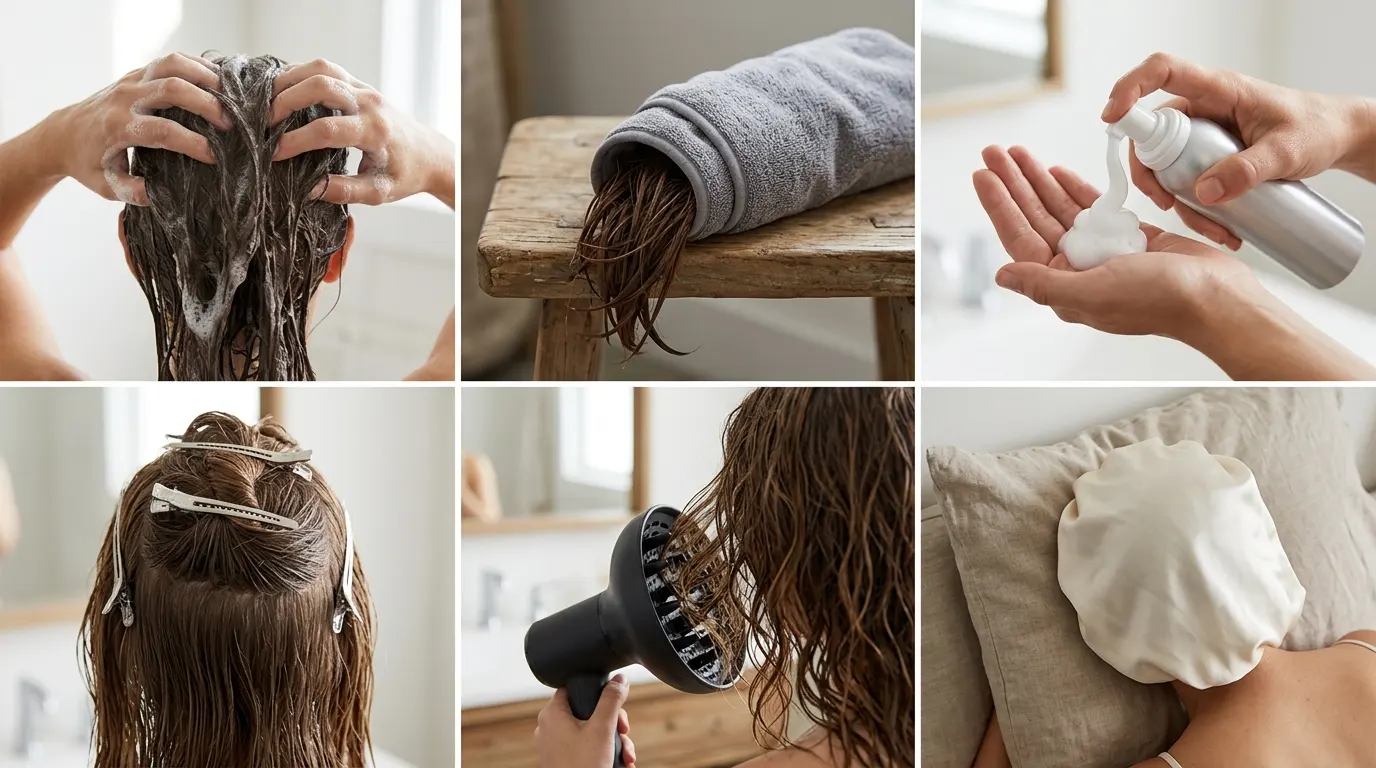
Gently squeeze wet hair with a microfiber towel instead of rubbing it vigorously after washing.
Long-Term Color Shifts and Fading Timelines
Battling the Inevitable Brass
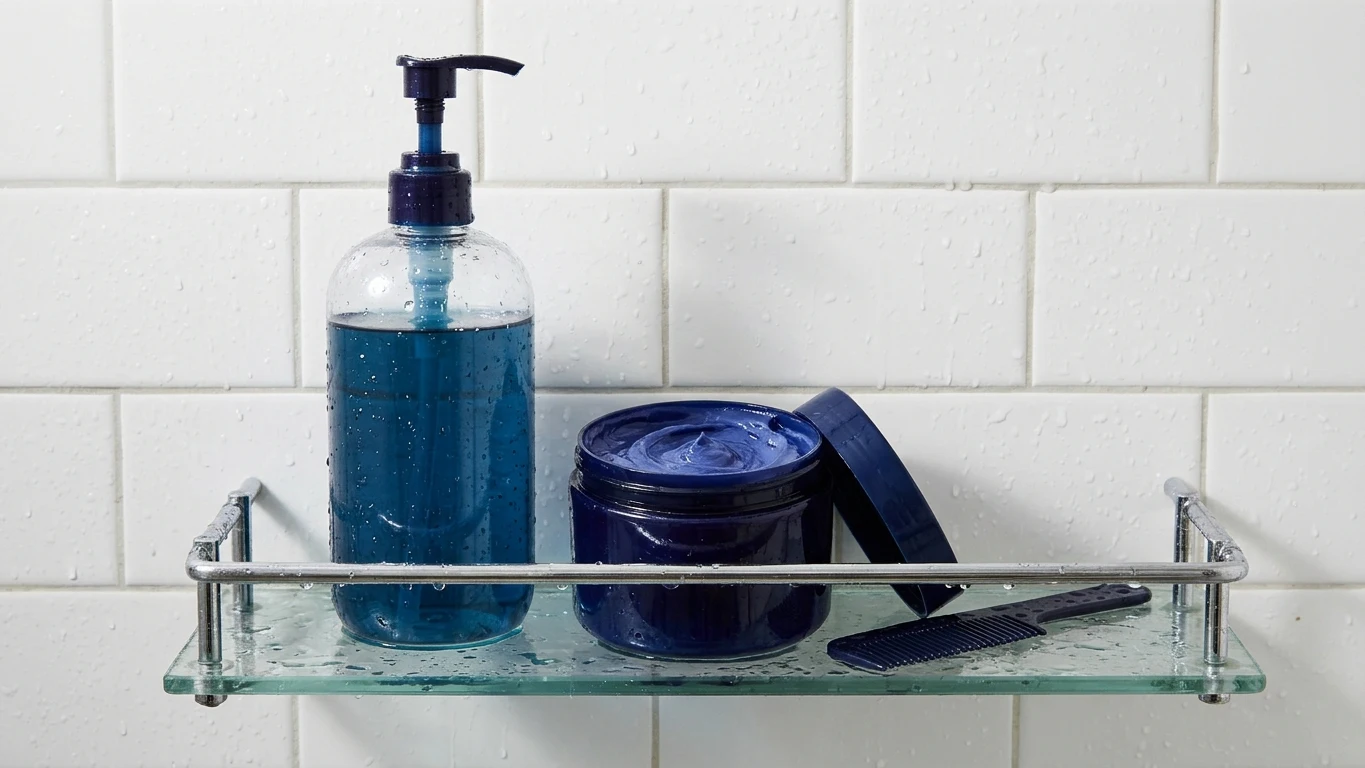
Because dark hair is packed with underlying red and orange eumelanin, every caramel tone oxidizes toward brass over time. Sun exposure, chlorine, and mineral-heavy tap water strip the cool toner within four to six weeks, leaving behind raw copper. Incorporating a blue toning shampoo once every ten days neutralizes orange tones without turning the golden caramel dull or swampy.
The Natural Shift to Toffee and Bronze
As the initial salon gloss washes out, the highlights do not simply vanish; they evolve into a brighter, lighter bronze. This natural shift is normal, but skipping at-home gloss treatments can leave the ends looking dry and bleached out. Applying a deposit-only caramel mask every two weeks restores the rich, toasty reflection without causing chemical damage.
Schedule an in-salon clear gloss or toner refresh at the six-week mark to keep the color looking deliberate.
At-Home Washing and Protection Protocols
Temperature Control and Wash Frequency
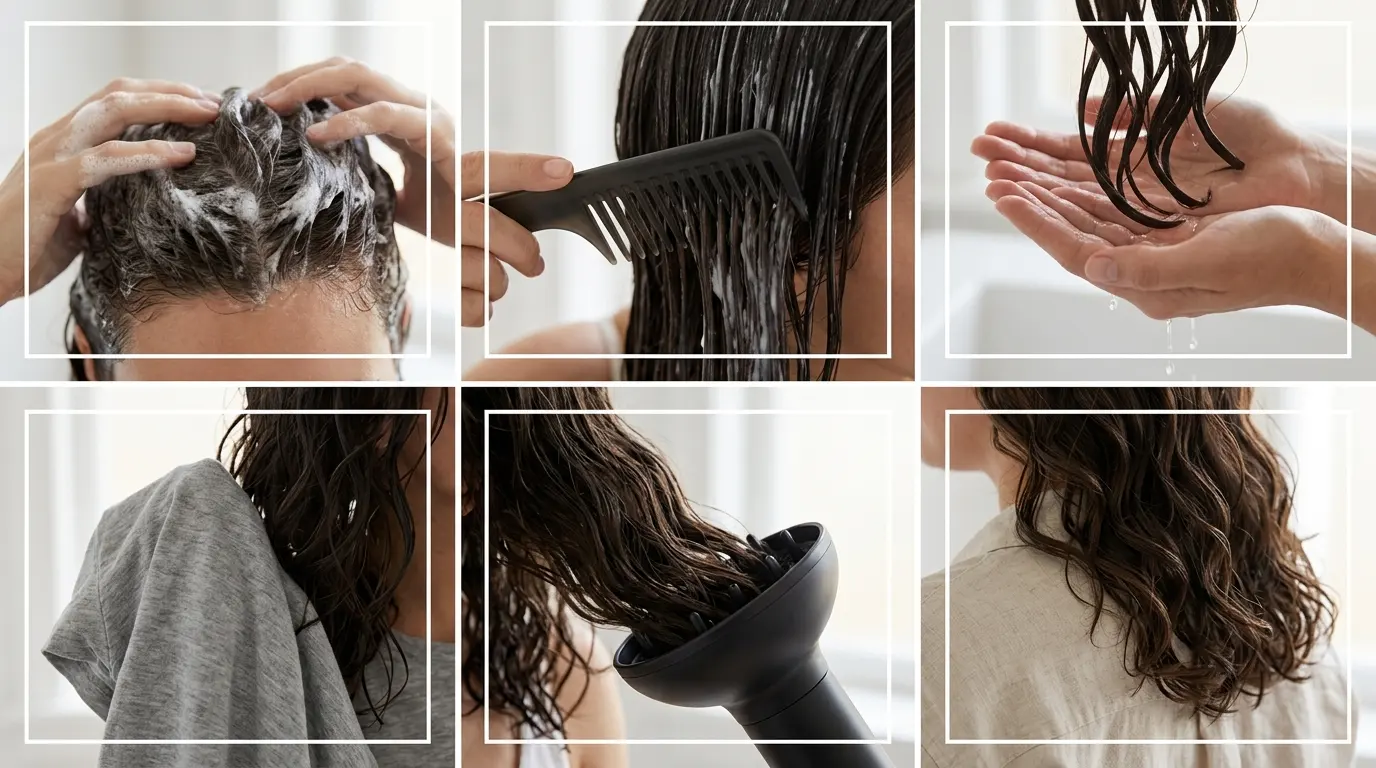
Hot water opens the hair cuticle, allowing costly toner molecules to wash right down the drain during everyday showers. Lower the water temperature to lukewarm when lathering, and finish with a cool rinse to snap the cuticle closed. Washing your hair two or three times a week is optimal; washing daily strips the natural oils needed to lubricate chemically lightened strands.
Selecting Formulations Free from Stripping Salts
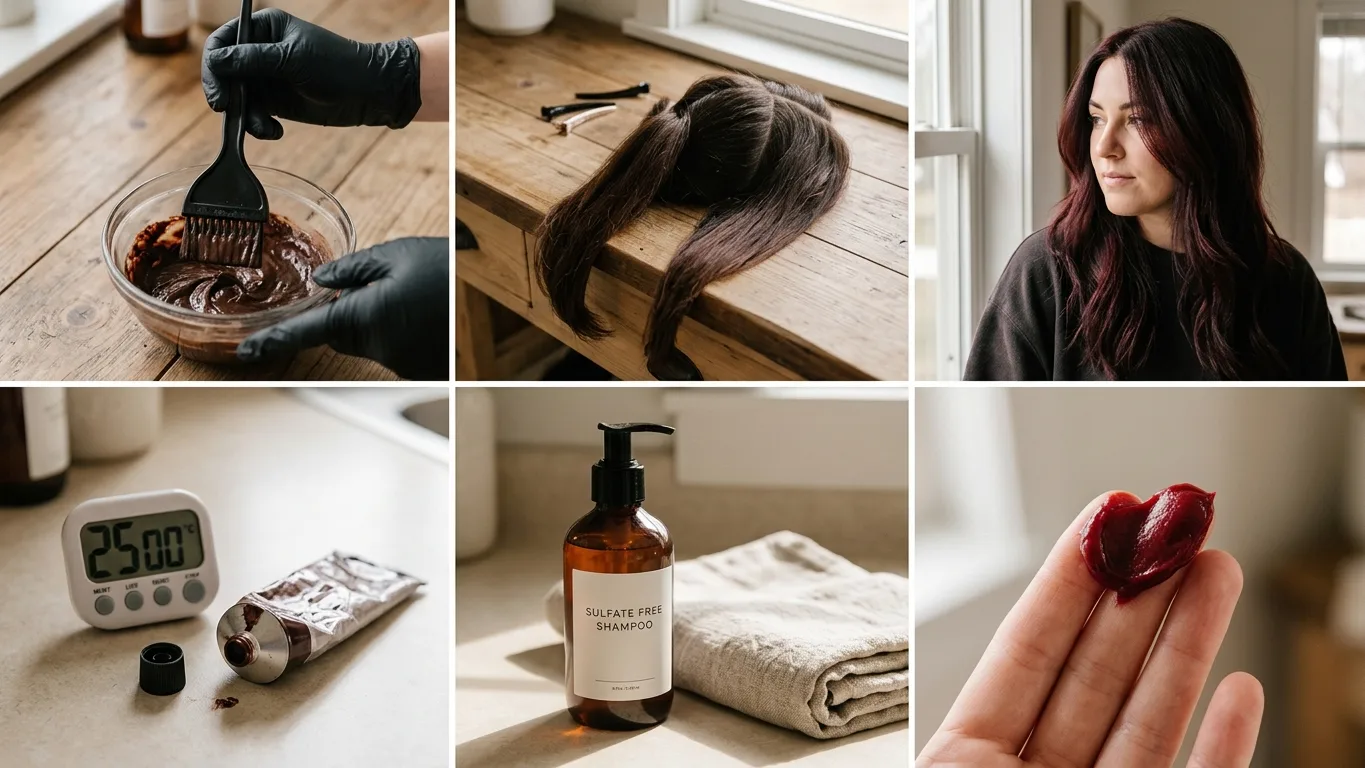
Standard clarifying washes and cheap drugstore formulas strip color within three washes due to harsh sodium laureth sulfates. Invest in sulfate-free cleansers packed with squalane or plant oils that protect the hair shaft while removing scalp buildup. Look for formulas explicitly labeled safe for color-treated hair to prolong the vibrancy of your gloss.
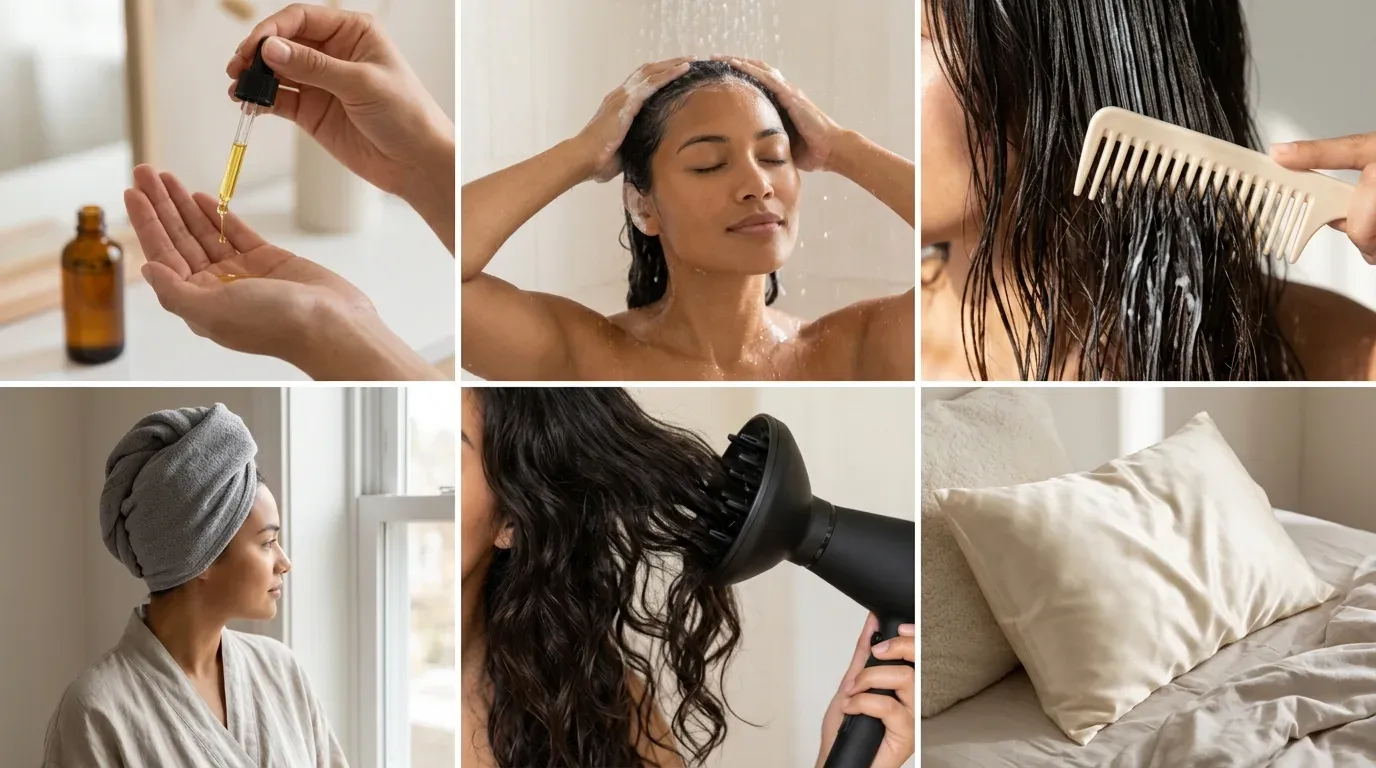
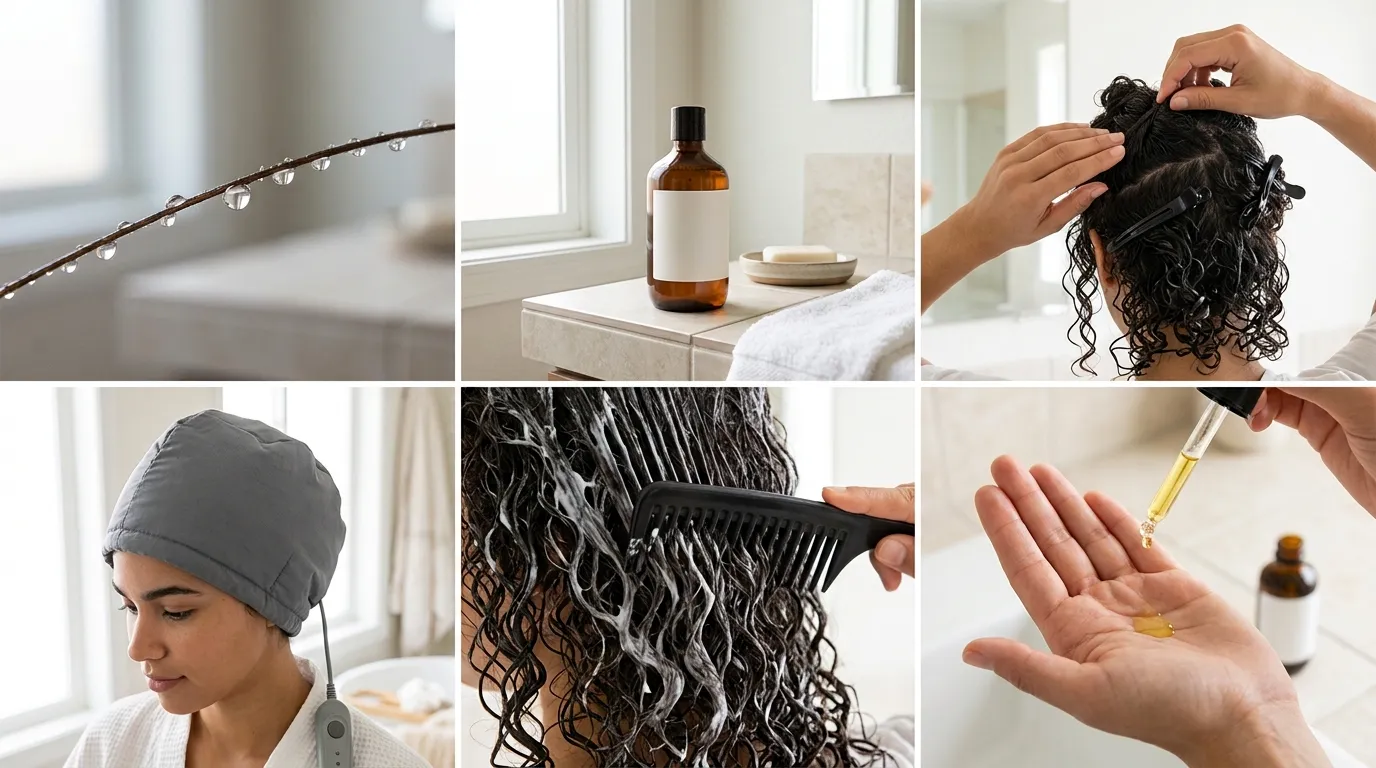
Coat dry mid-lengths with a light jojoba or argan oil twenty minutes prior to showering to shield fragile ends from water fatigue.
Heat Defense and Environmental Safeguards
Safe Thermal Tool Temperature Limits
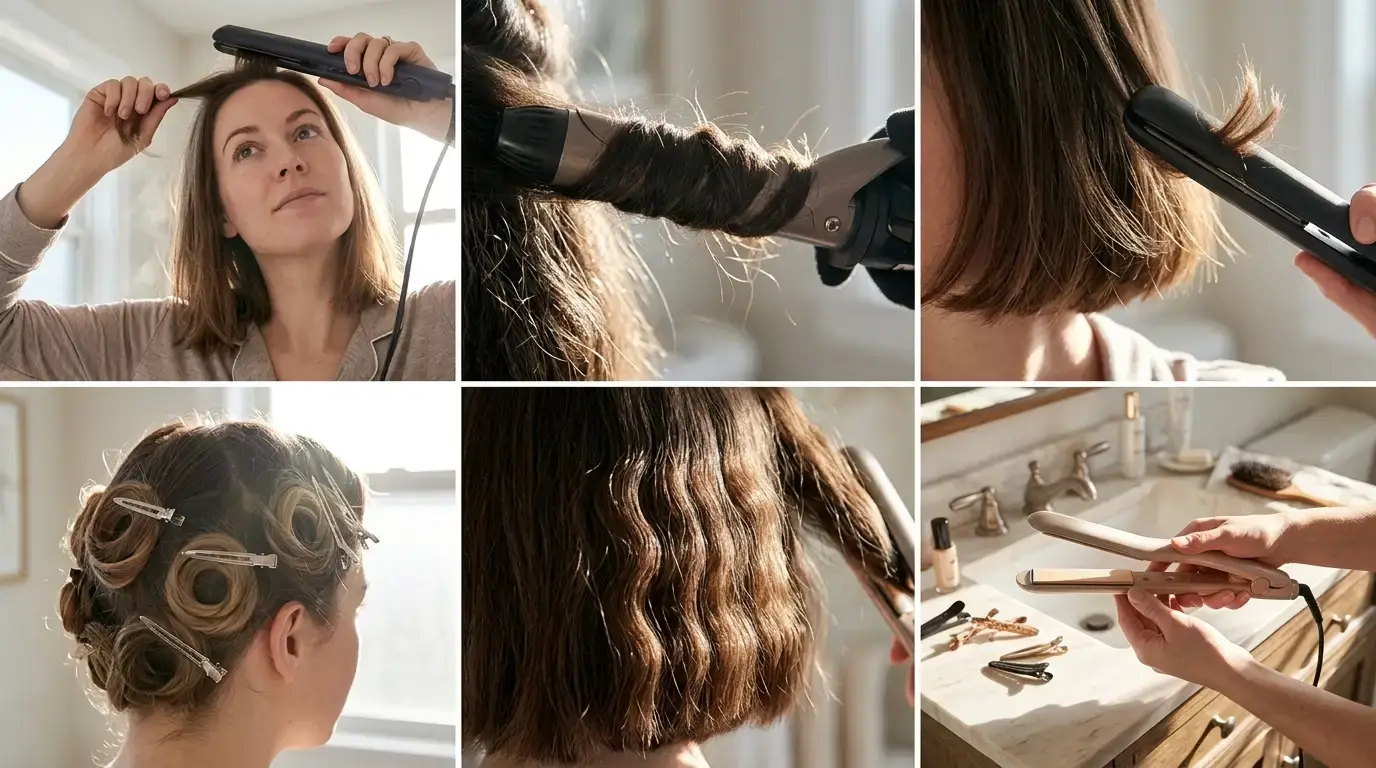
Heat tools degrade toner faster than shampooing when used without adequate barriers. Keep your flat iron or curling wand below 350 degrees Fahrenheit; higher temperatures scorch the delicate toner pigment, instantly turning caramel yellow. Always mist every section with an alcohol-free thermal protectant spray before letting metal touch the hair fiber.
Blocking UV and Chlorine Degradation
Direct summer sunlight acts as a natural bleaching agent, oxidizing caramel ribbons into an unflattering yellow shade. Wearing a wide-brimmed hat outdoors or using a leave-in hair mist containing UV filters prevents photo-oxidation. When swimming, saturate your hair with clean tap water before entering the pool so the strands absorb less chlorinated water.
Keep a bottle of leave-in conditioner in your gym bag to hydrate processed strands immediately after heavy sweat sessions.
Upkeep Over Weeks and Months
At the four-week mark, your toner will begin fading, exposing warm undertones that require a quick color-depositing conditioner at home. By week eight, your natural black base will show roughly one inch of dark regrowth at the scalp. Because balayage and babylight techniques lack a harsh line of demarcation, you can easily stretch your major salon touch-up to fourteen or sixteen weeks.
Answers to Common Placement and Upkeep Questions
Can you put caramel highlights on dark brown hair without bleaching?
Only if the hair is completely virgin and you use a high-lift tint with a 30-volume developer. If the strands contain existing box dye or salon color, bleach is the only agent capable of breaking down synthetic pigment.
What color highlights look best on black hair?
Caramel, rich toffee, and muted bronze offer the most natural contrast against black hair. High-contrast pale blonde often appears dated and harsh, while warm brown shades blend smoothly without drawing excessive attention to new root growth.
What skin tone works best with caramel hair?
Caramel tones complement warm, golden, and olive skin naturally by echoing the yellow and bronze undertones in the complexion. Cool skin tones can still wear caramel successfully, provided the colorist mixes in subtle ash or neutral beige to avoid an overly brassy contrast.
Planning Your Next Move with Black Hair with Caramel Highlights
Committing to black hair with caramel highlights gives your style immediate depth while preserving the healthy core of your natural base. The secret to long-term satisfaction lies in respecting the lift process, accepting that dark pigments require careful, staged lightening to avoid damage. Book a preliminary strand test with an experienced colorist, invest in a dedicated sulfate-free wash routine, and embrace the warm, dimensional shift.