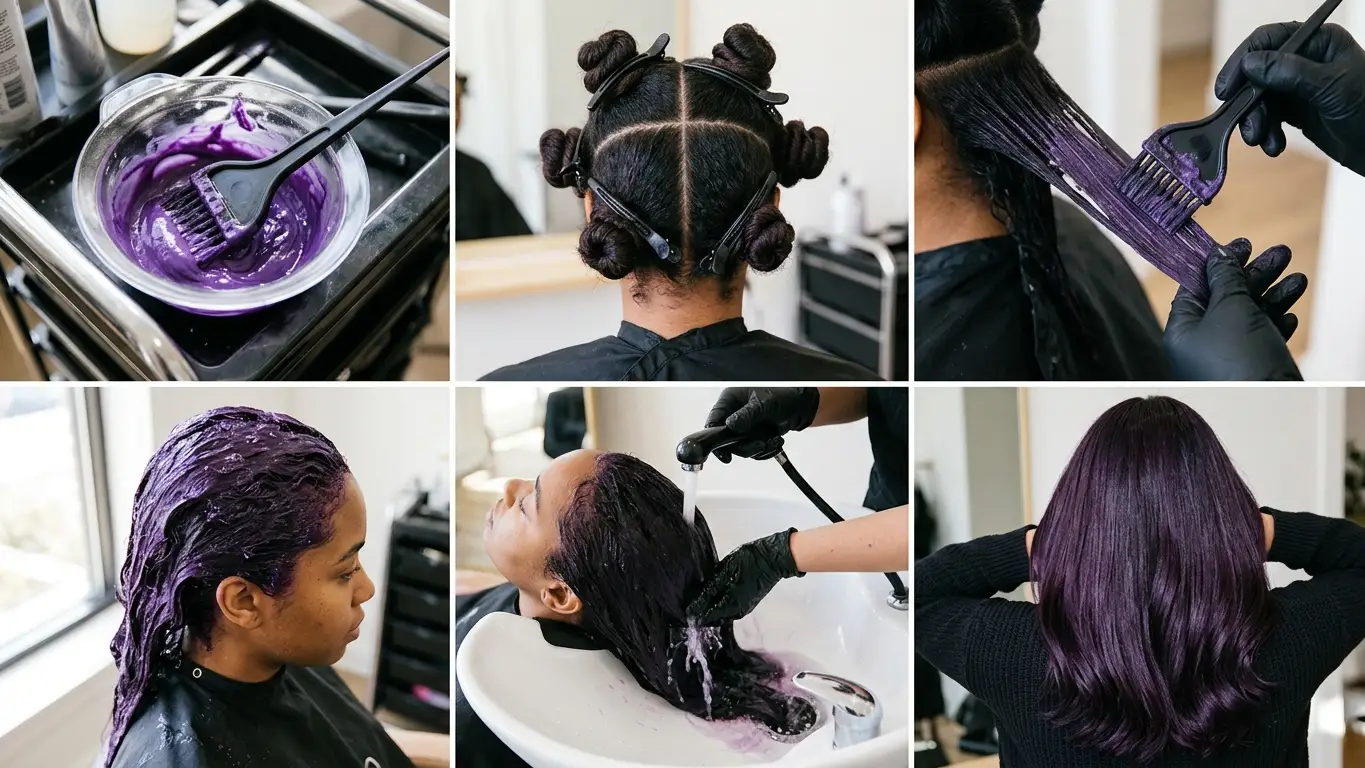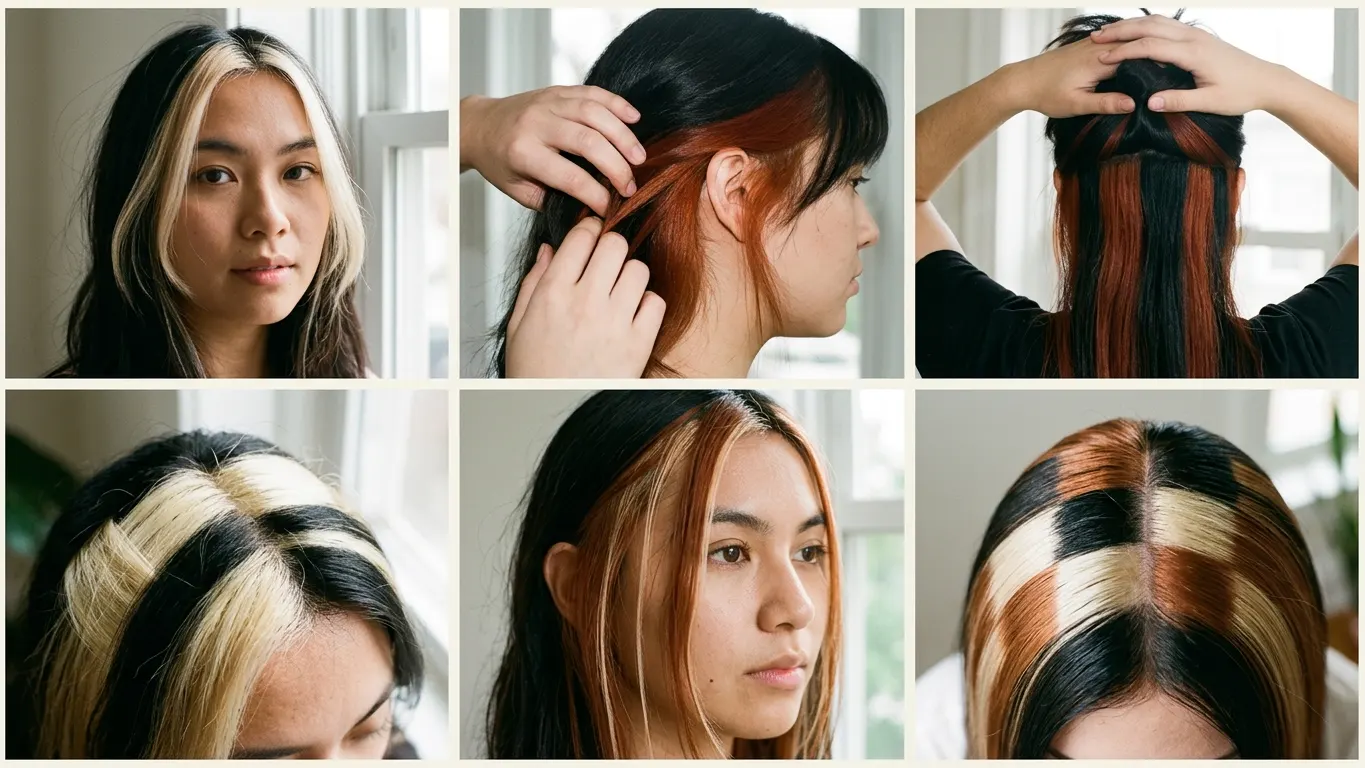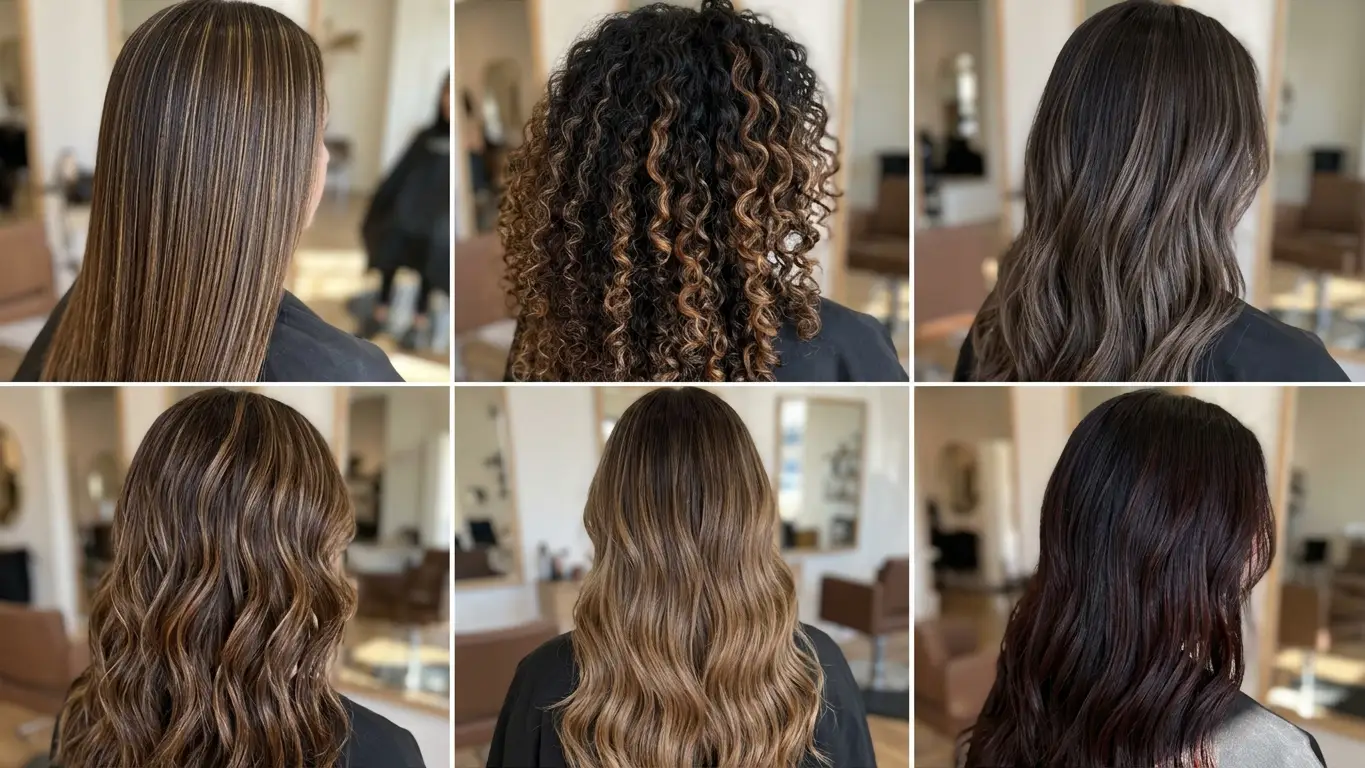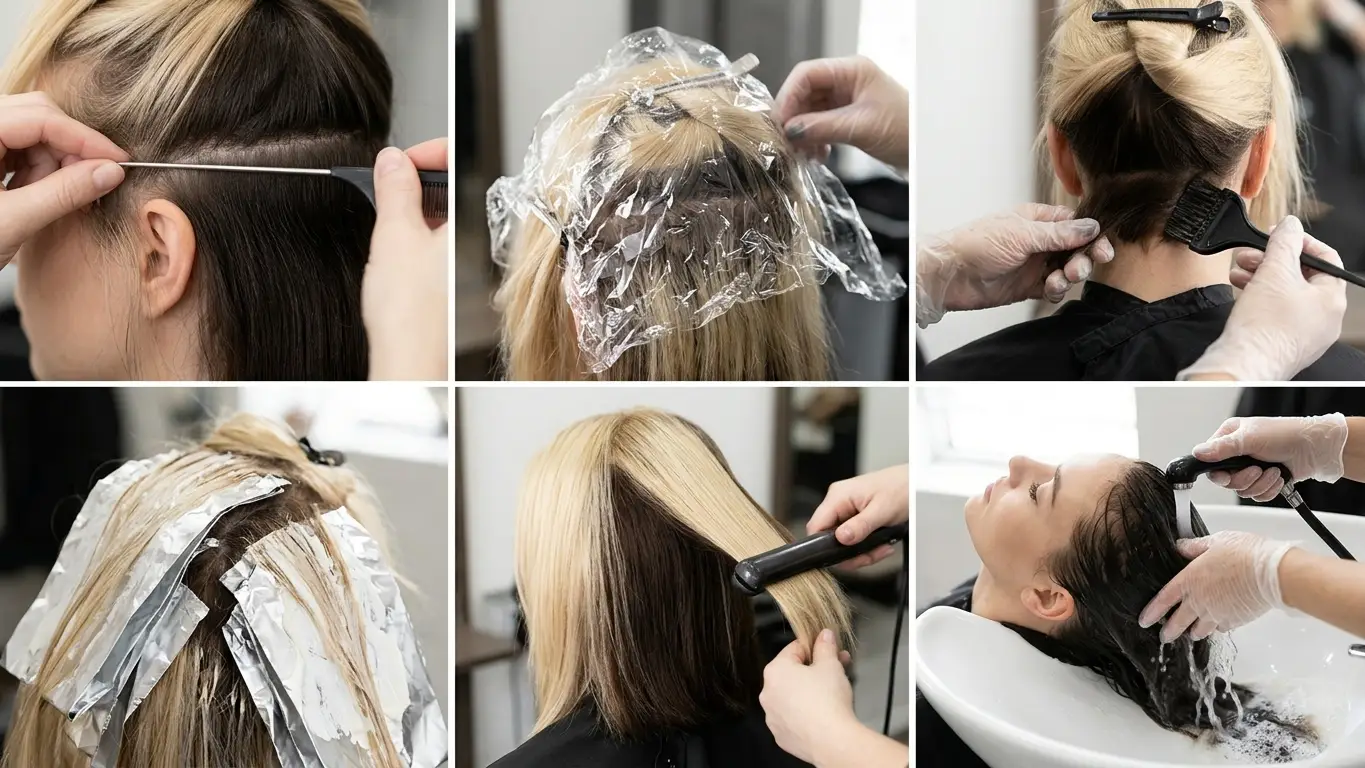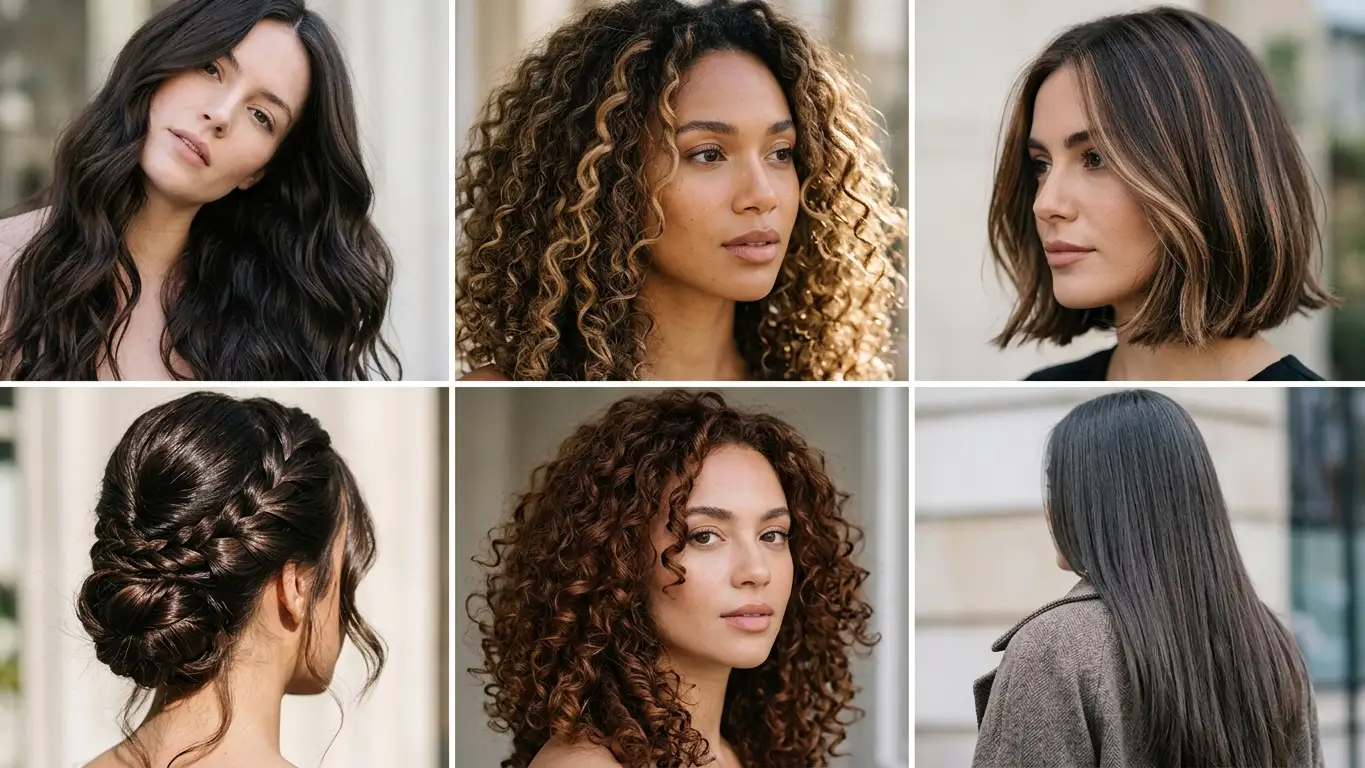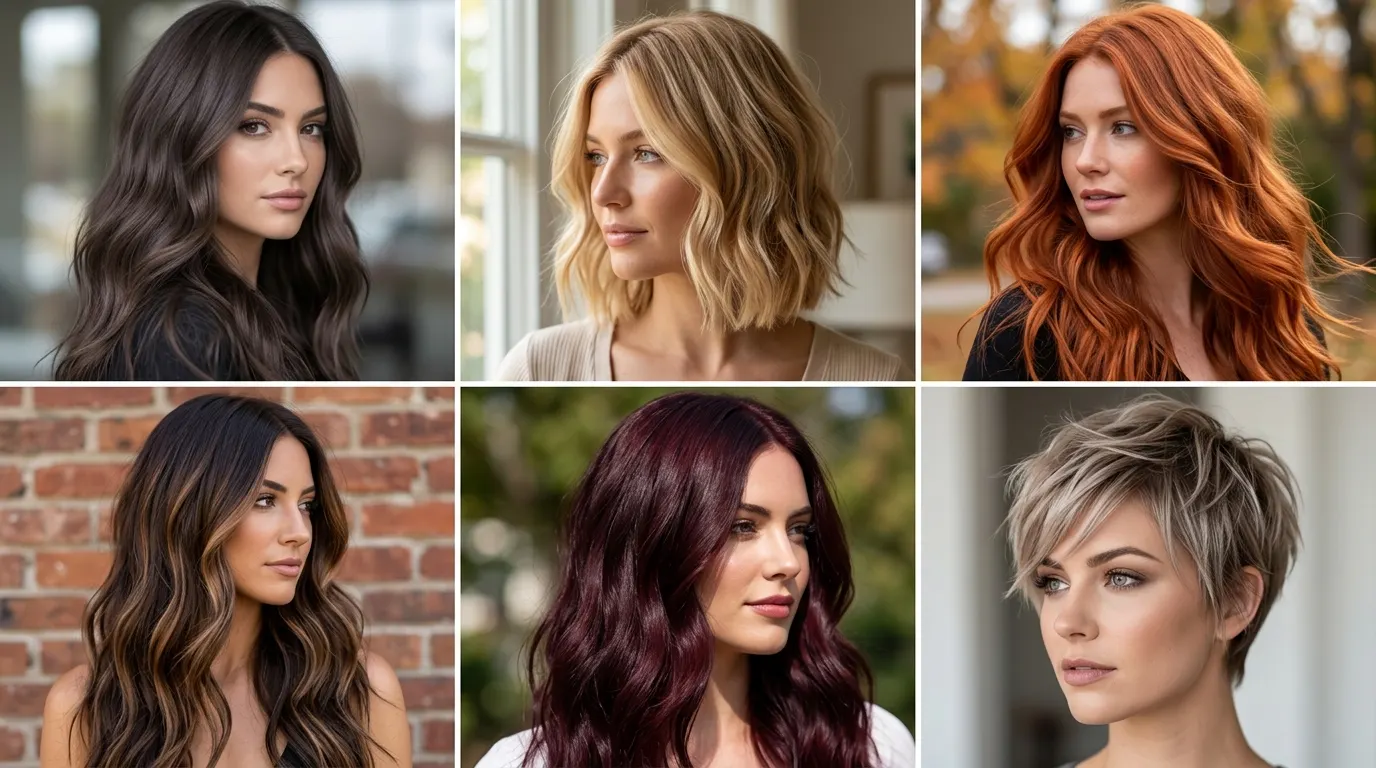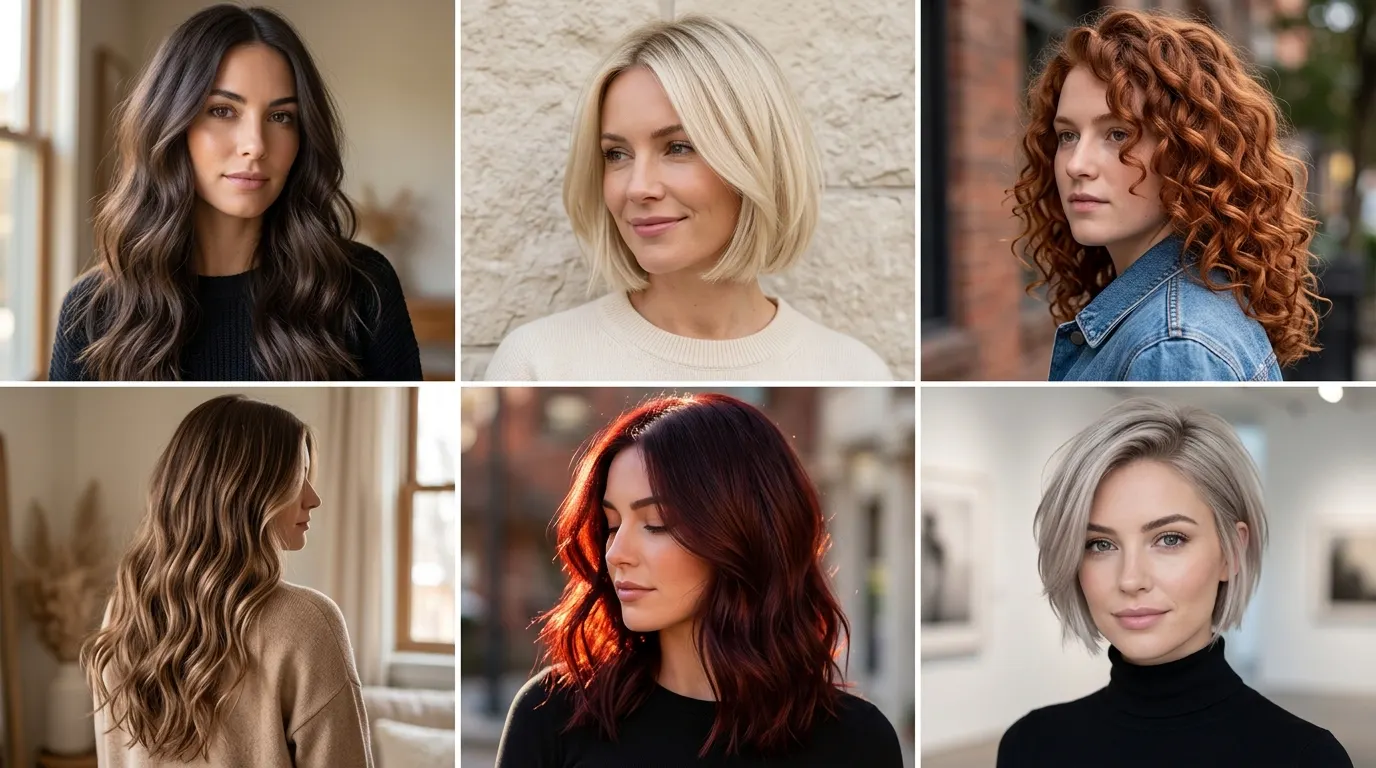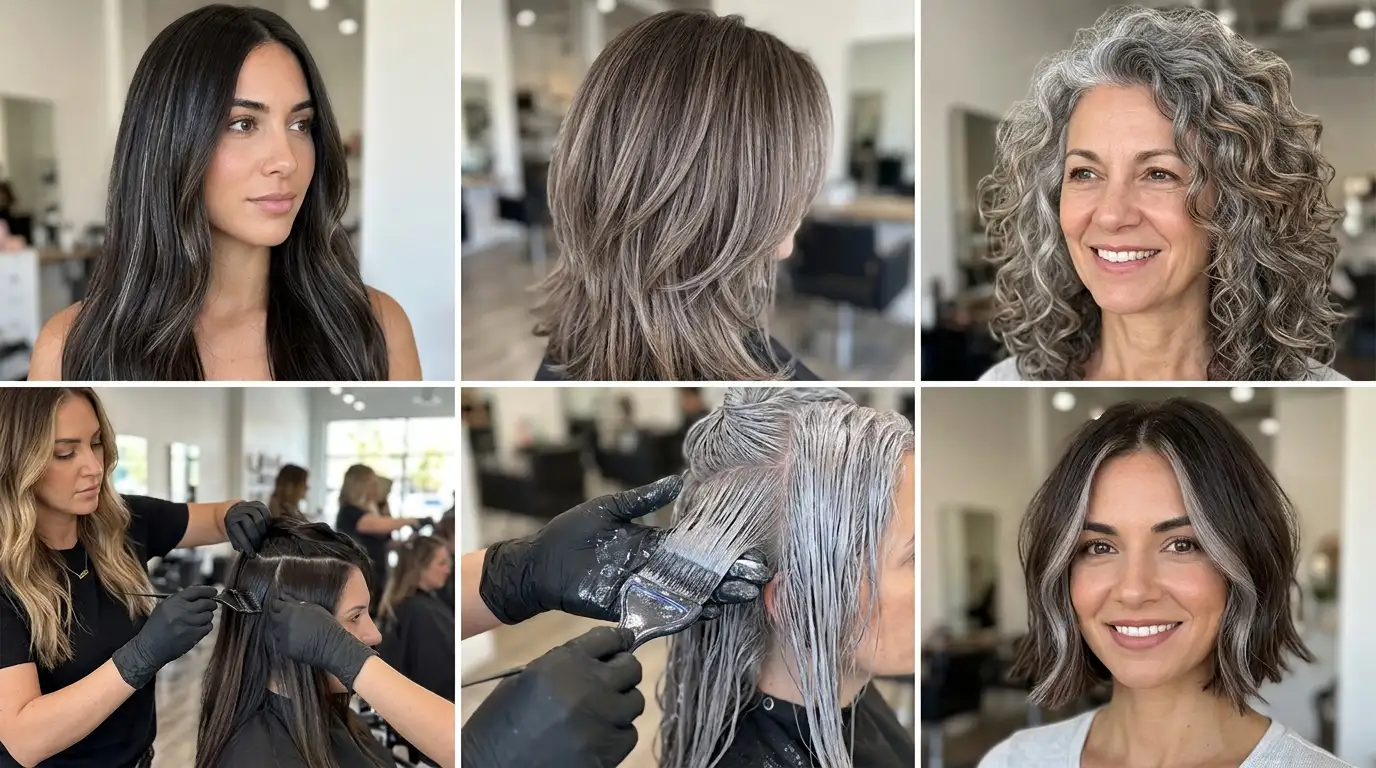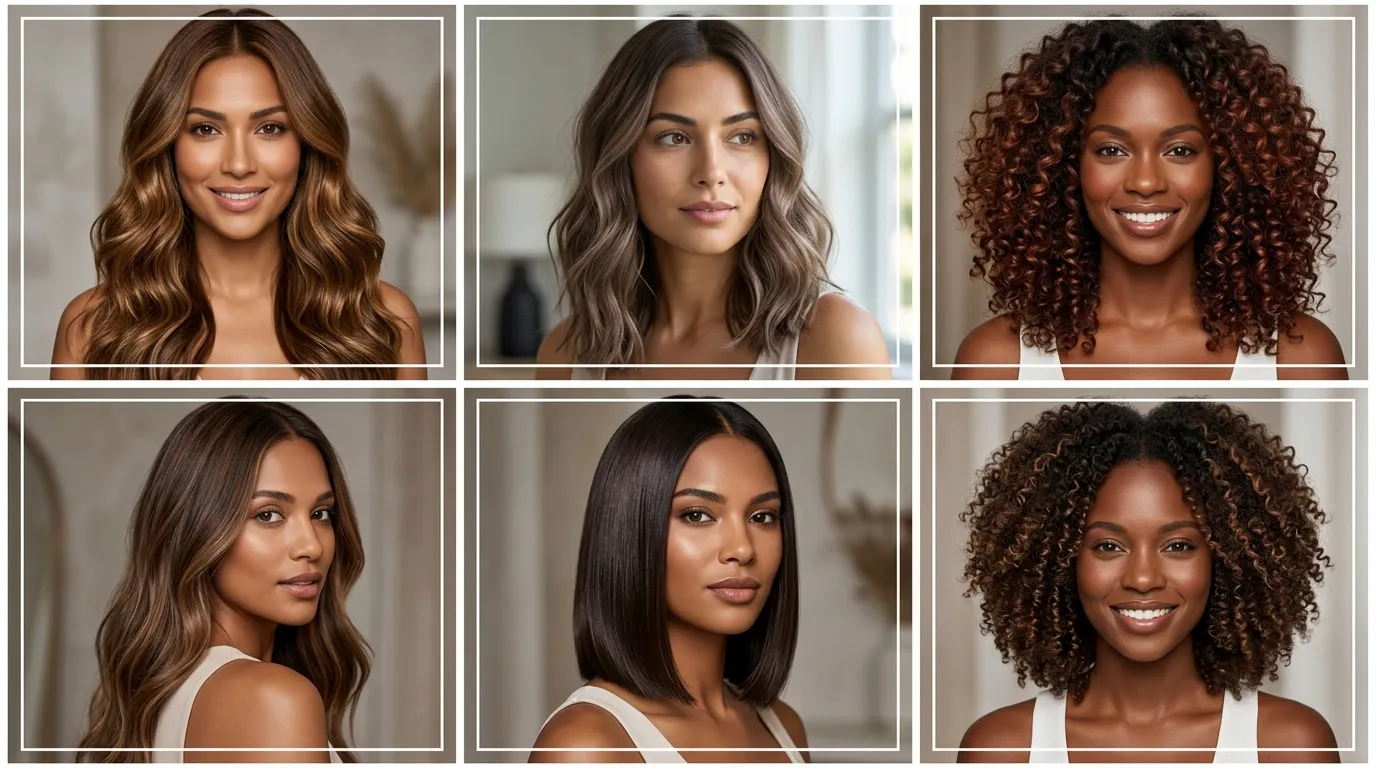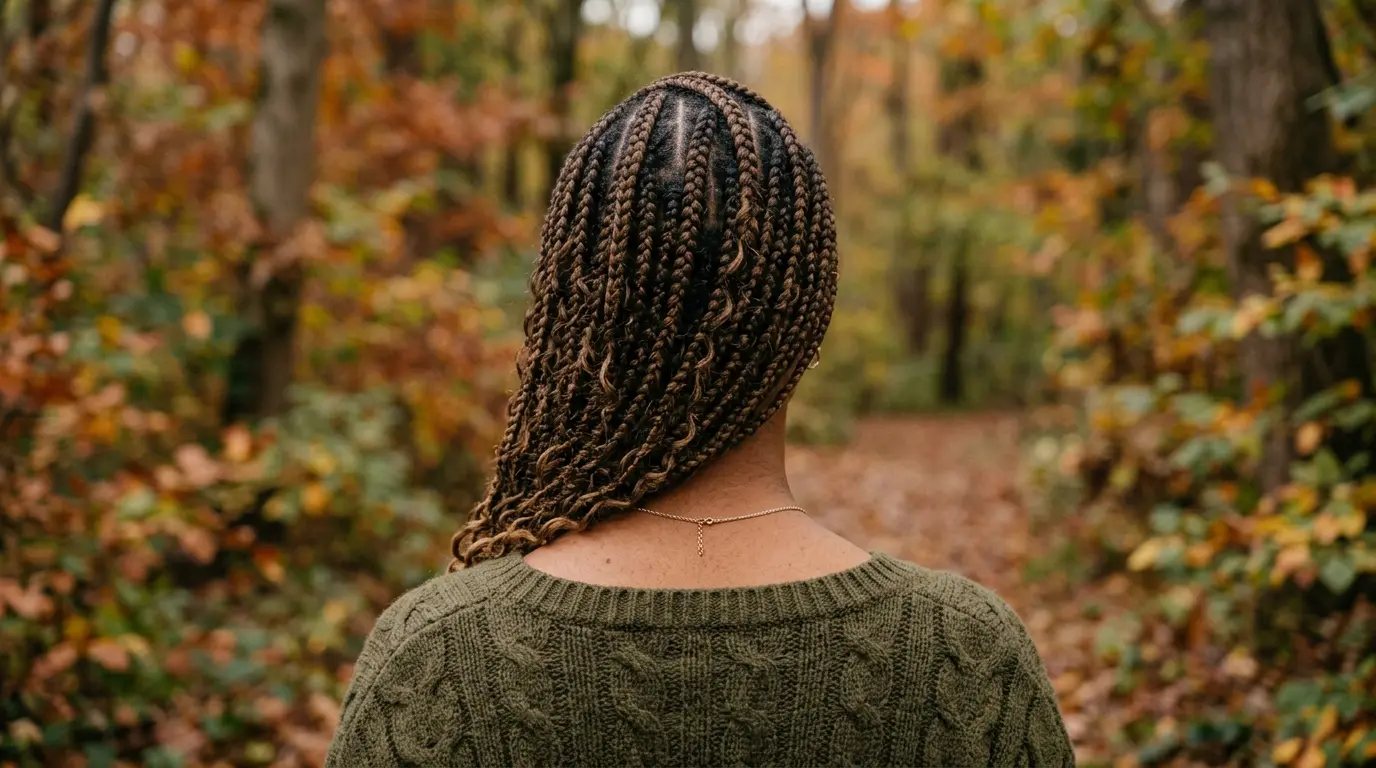

Adding depth to deep brunette or black hair requires a deliberate balance between lift and pigment deposit. Applying dark hair with highlights and lowlights gives flat strands sudden movement, but getting the ratio right takes strict planning. A bad mix leaves you with muddy stripes or orange patches that take months to grow out. The process demands working with your underlying red and orange pigments instead of fighting them.
What you need:
- Powder lightener with bond builder
- 20 volume cream developer
- Demi-permanent deposit hair color matching your natural depth
- 6 volume processing lotion
- Embossed hair coloring foil sheets cut to eight inches
- Metal tail comb for weaving
- Two color tint bowls and two feather-bristle application brushes
- Non-metallic sectioning alligator clips
- Purple or blue balancing toner
Evaluate Your Natural Base Level and Undertones

Every color application begins by identifying your starting level on the universal one to ten scale. Level one is pitch black, level two is deepest brown, and level four represents chocolate brown hair. Dark bases carry dense concentrations of eumelanin, which exposes raw brass when exposed to lightener.
If your base sits between levels one and three, your underlying pigment flashes intense red when lifted. Level four and five bases expose orange and copper. Examine your strands in indirect northern window light to read the true base. Artificial salon lamps often mask underlying warmth.
Check hair porosity by sliding your thumb and index finger up a dry strand from end to root. Roughness indicates open cuticles that absorb lowlight dye rapidly, meaning you must pull lowlights off five minutes early to prevent hollow muddy ends. Smooth strands need full processing time.
Formulate Your Lighter Ribbons and Deep Contrast Shades
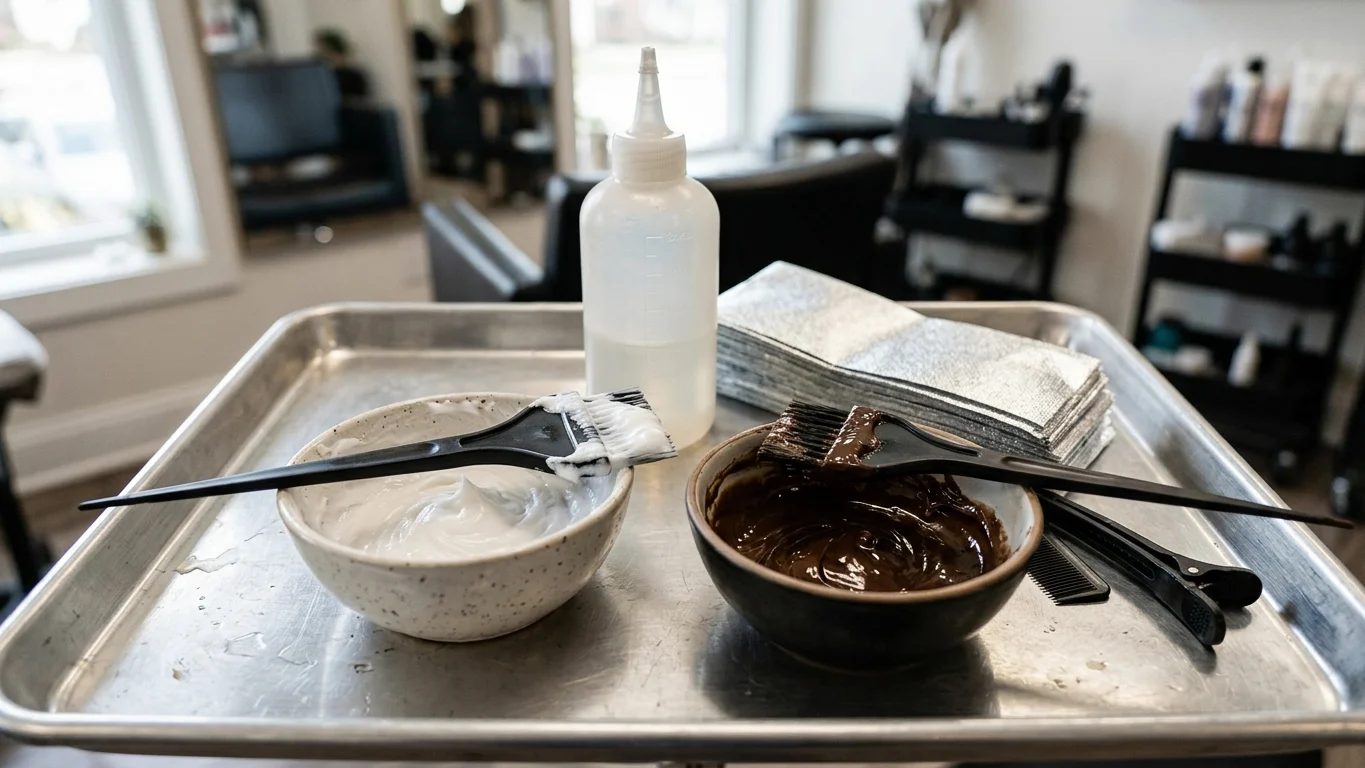
Contrast relies on keeping your light and deep shades within two to three levels of each other. Jumping five levels creates disconnected zebra streaks across darker hair with highlights and lowlights.
For the lightened pieces, mix your powder lightener with 20 volume developer in a clean 1:2 ratio. Never use 30 or 40 volume developer on previously colored dark strands because rapid lift blows open the hair cuticle and leaves raw yellow-orange damage.
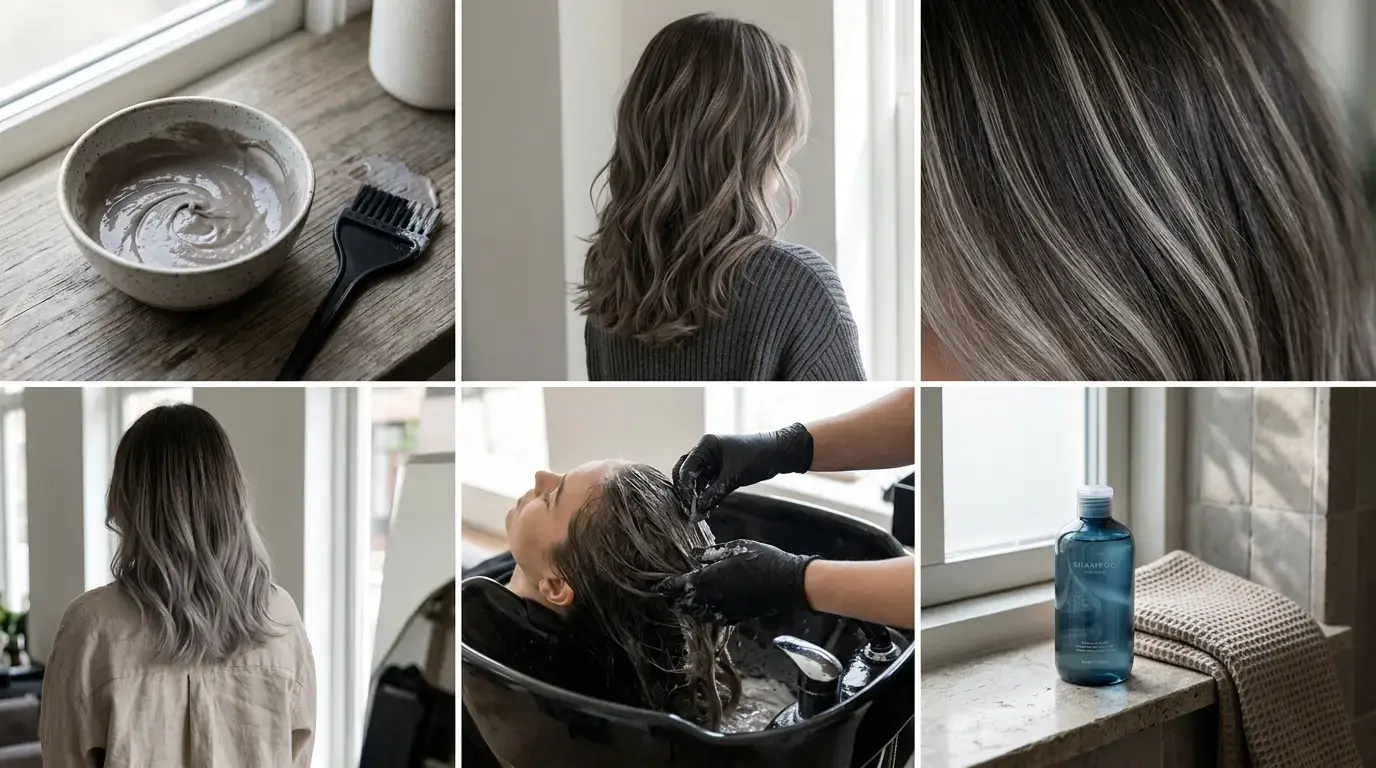
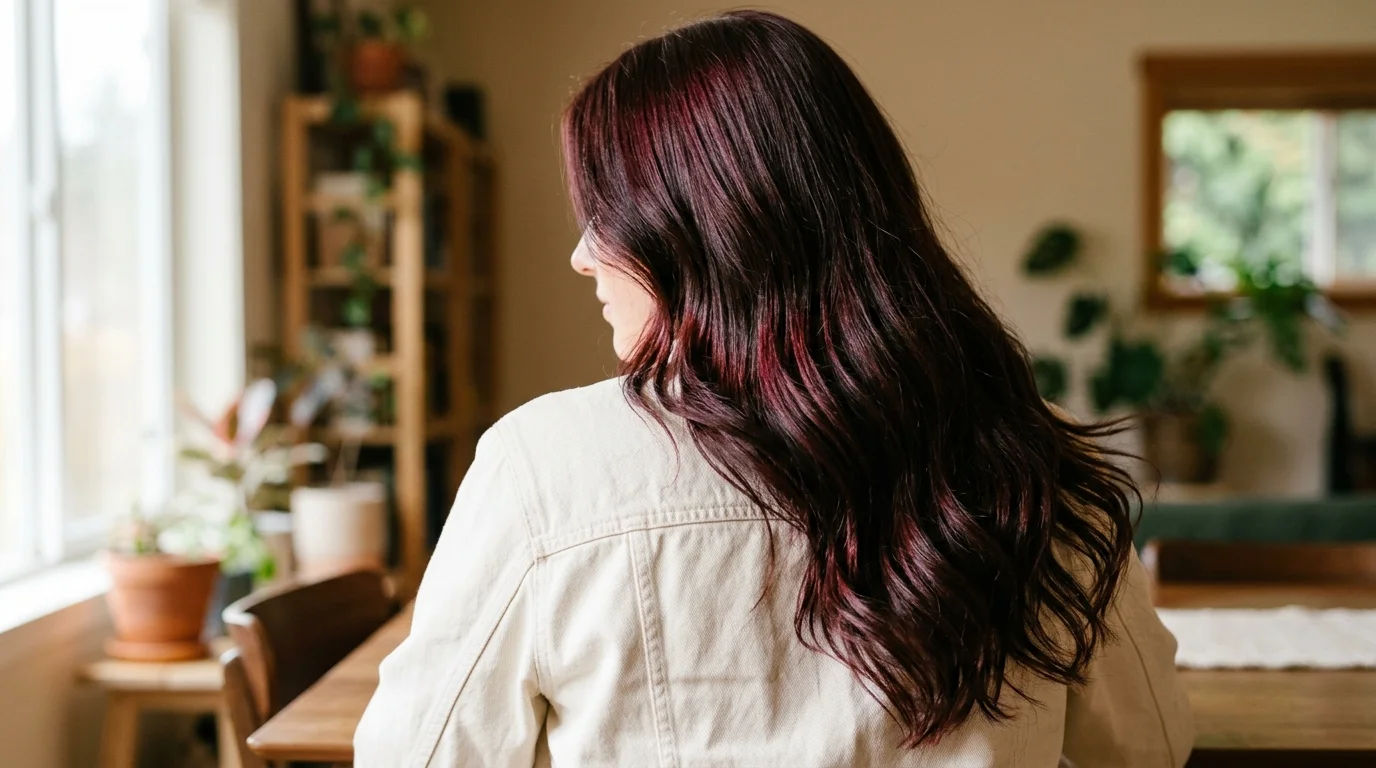
For your lowlight formula, choose an acidic demi-permanent shade one level deeper than your natural base or identical to it. If you have deep chestnut brown hair, an espresso shade creates genuine hollows of shadow. Avoid permanent dye for lowlights. Permanent color lifts the natural melanin underneath, creating unwanted red rings as the pigment slowly fades over weeks.
Section the Scalp into Four Clean Working Quadrants
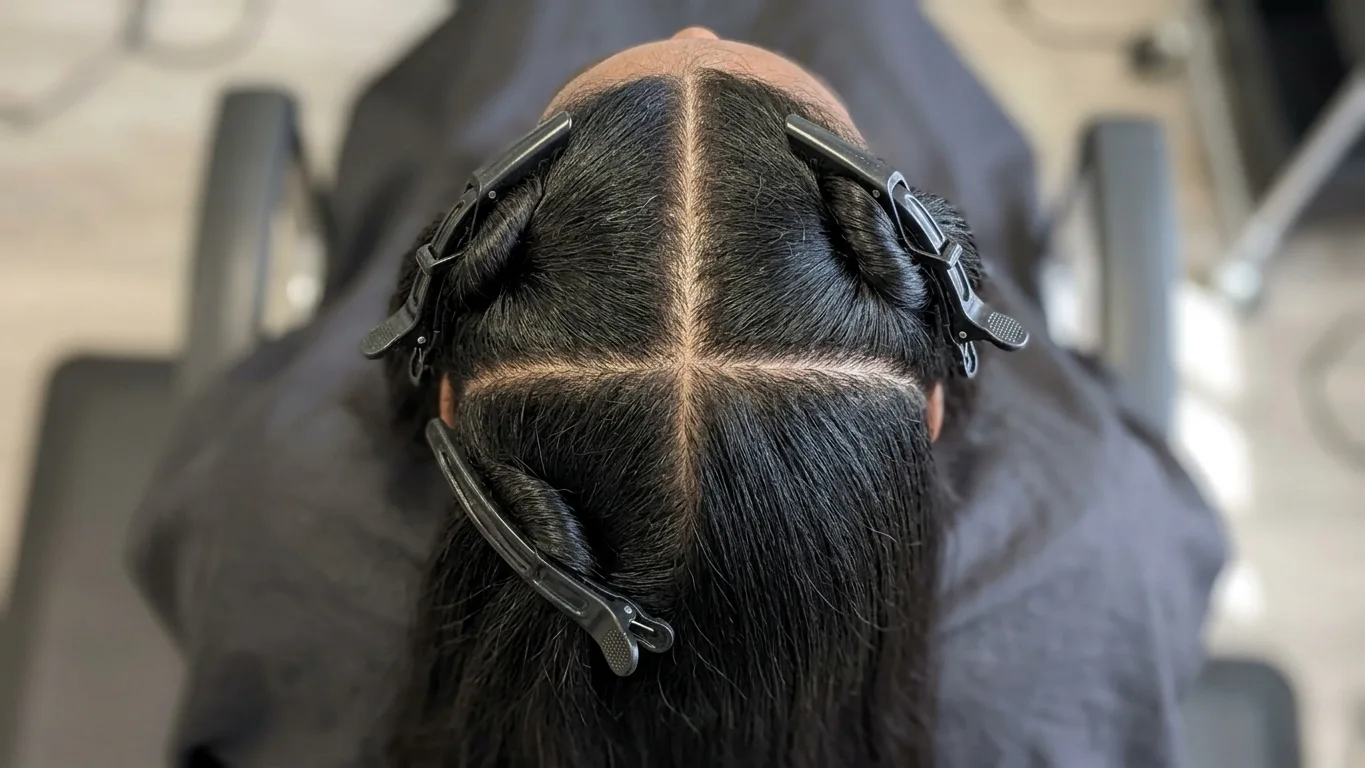
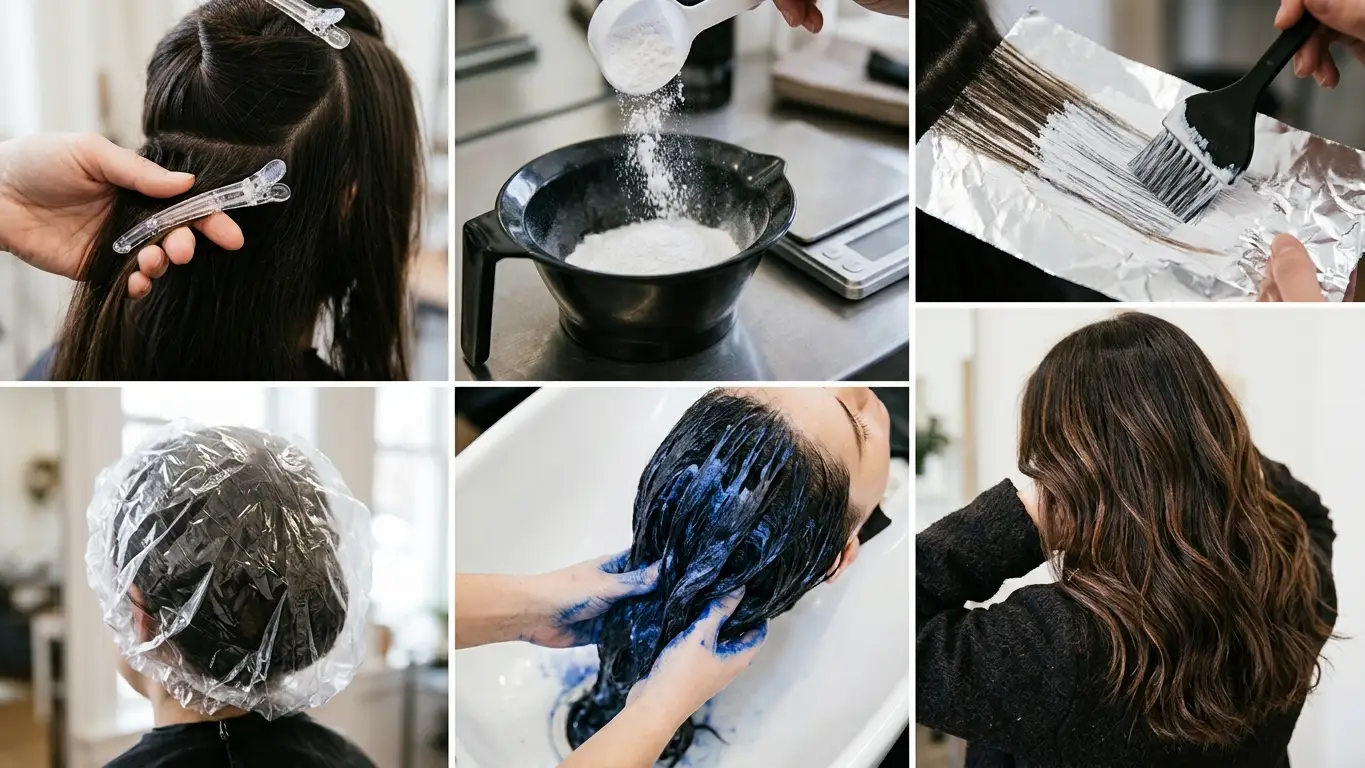
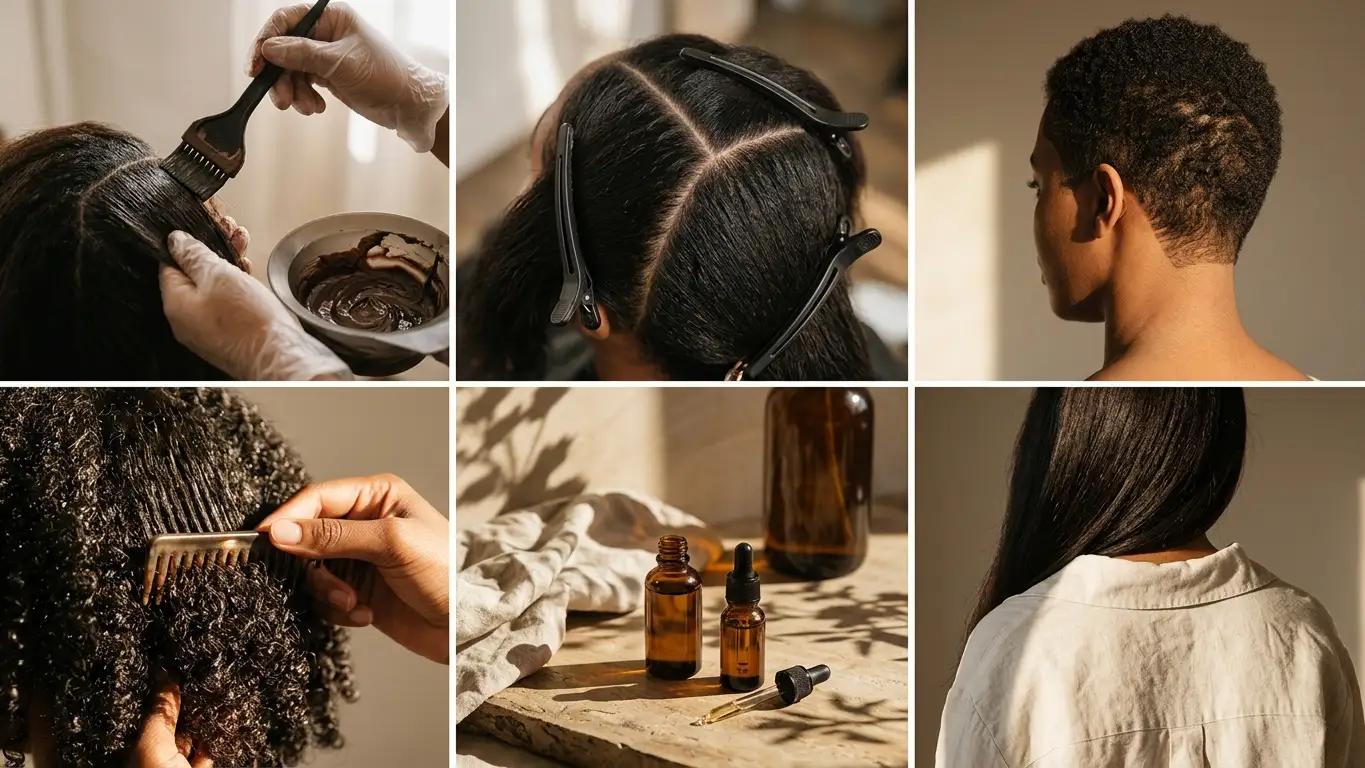
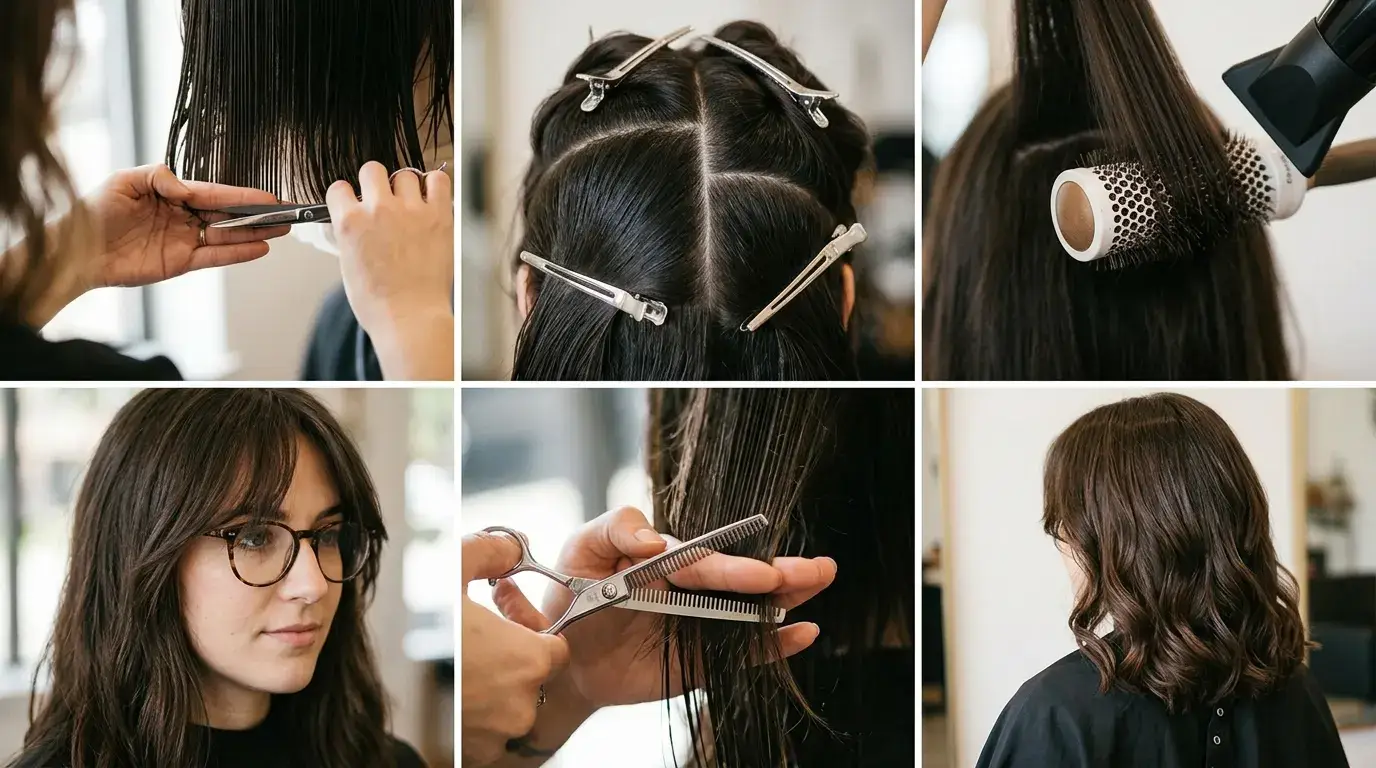
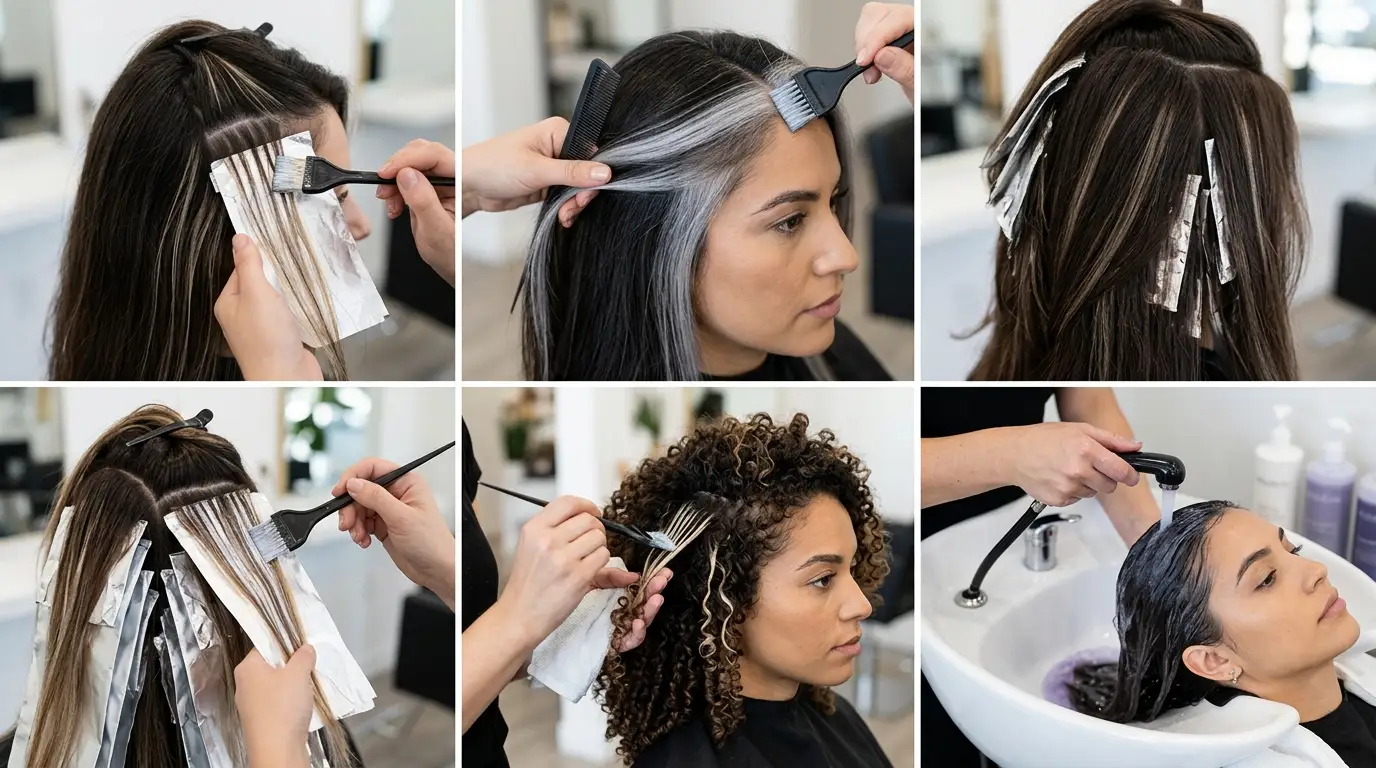
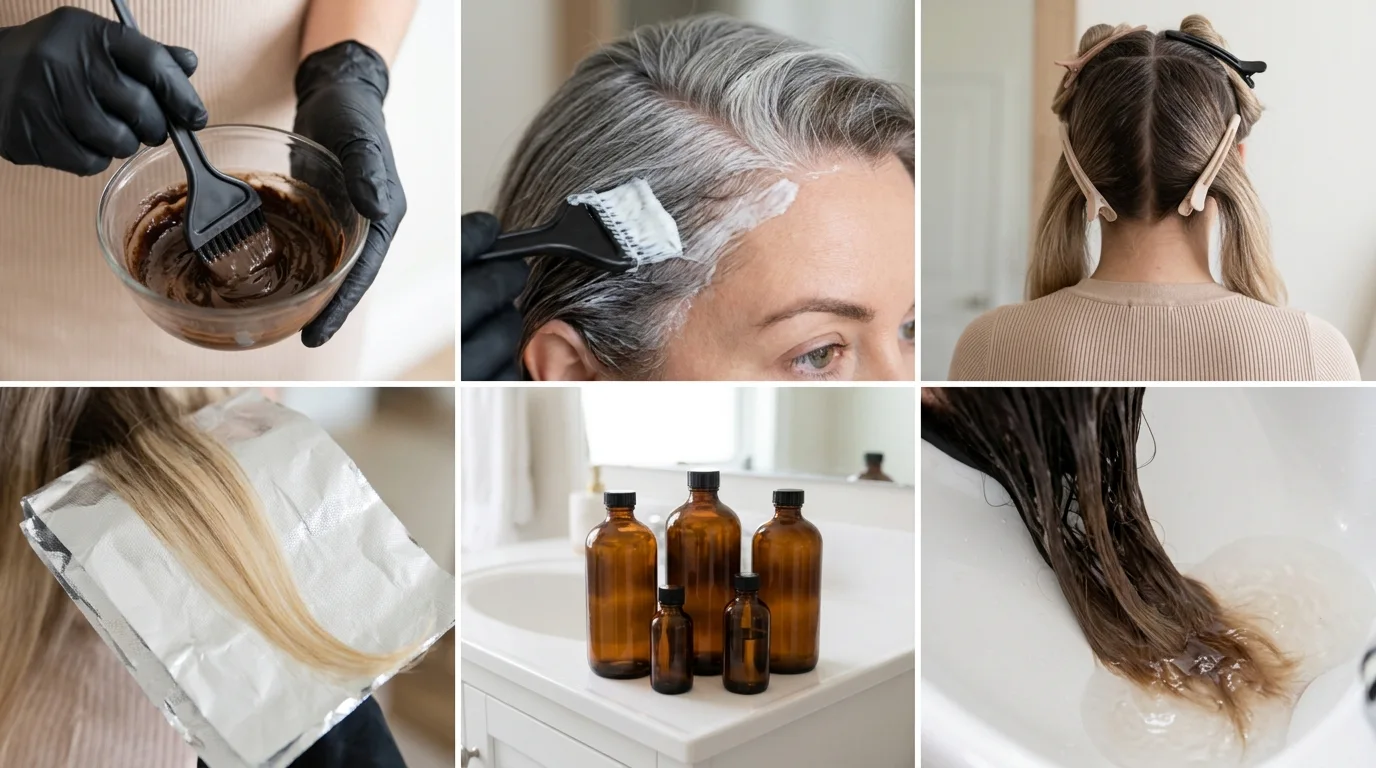
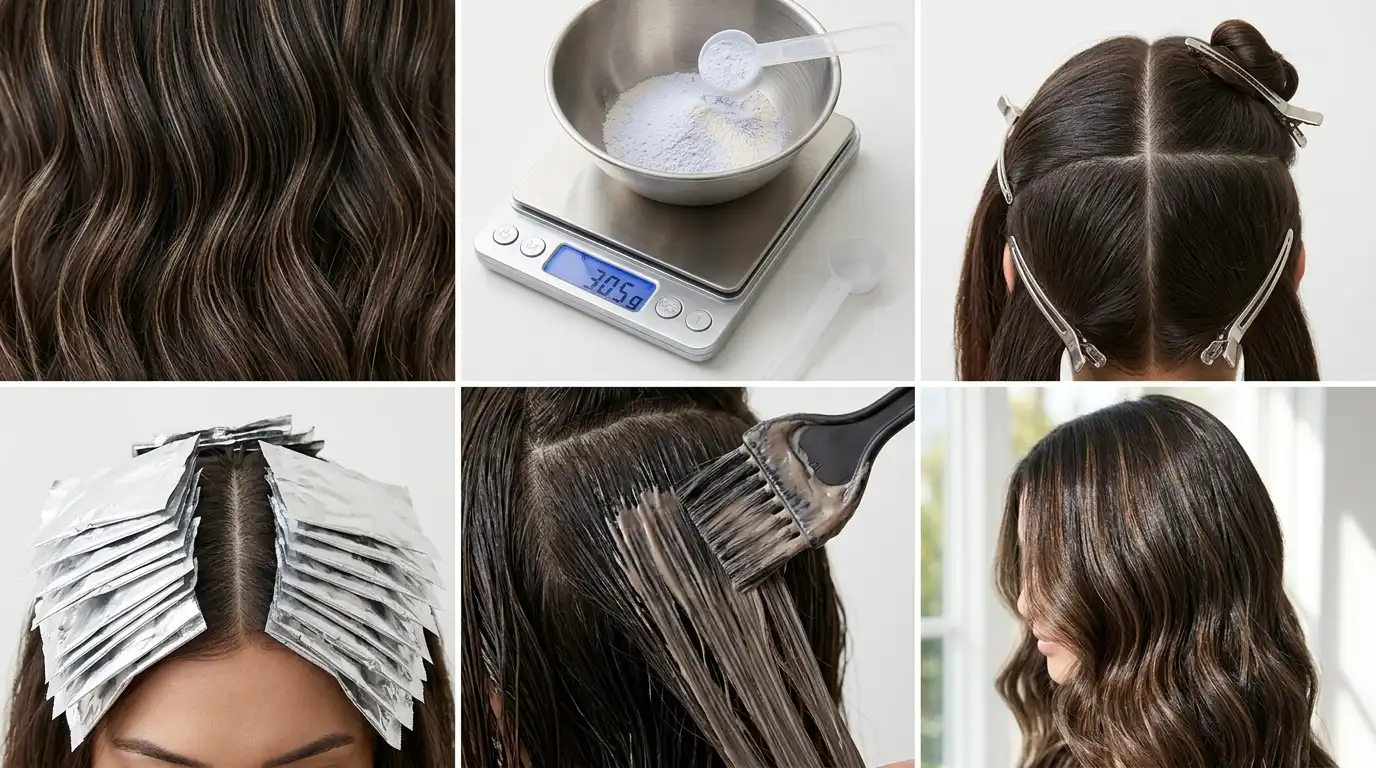
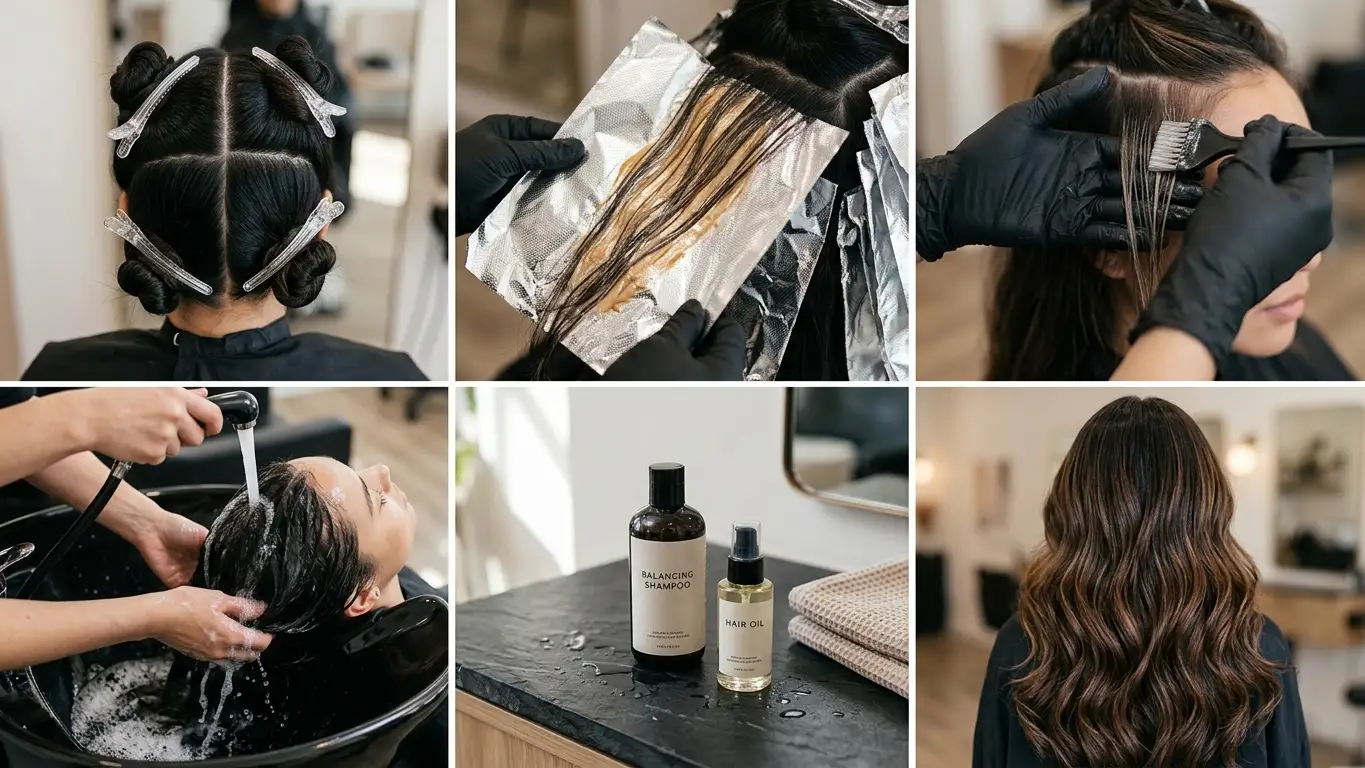
Clean parting lines prevent bleeding and uneven lightener spots. Use the tail of your metal comb to draw a central parting line straight from the center of the forehead back to the nape of your neck.
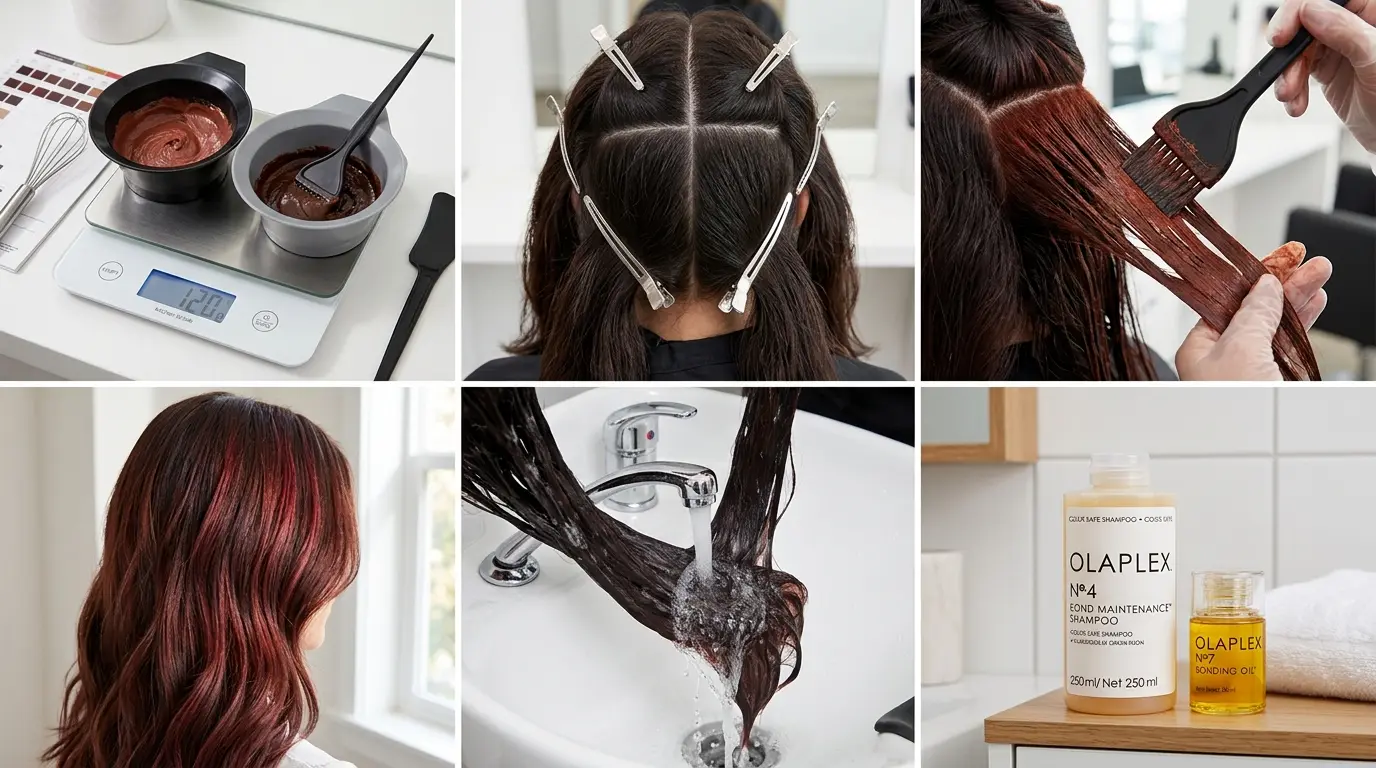
Next, run a clean perpendicular part from the crown down to the top of each ear. Twist each section tightly and secure it with a wide alligator clip. You now have two front quadrant zones and two rear quadrant zones.
Always begin your actual application in the rear quadrant at the lower occipital bone. The hair at the nape has the thickest cuticle layer and the coolest body temperature, so it processes the slowest. The top crown and hairline areas process twice as fast because scalp heat accelerates chemical oxidation.
Weave and Place the Foils in an Alternating Rhythm

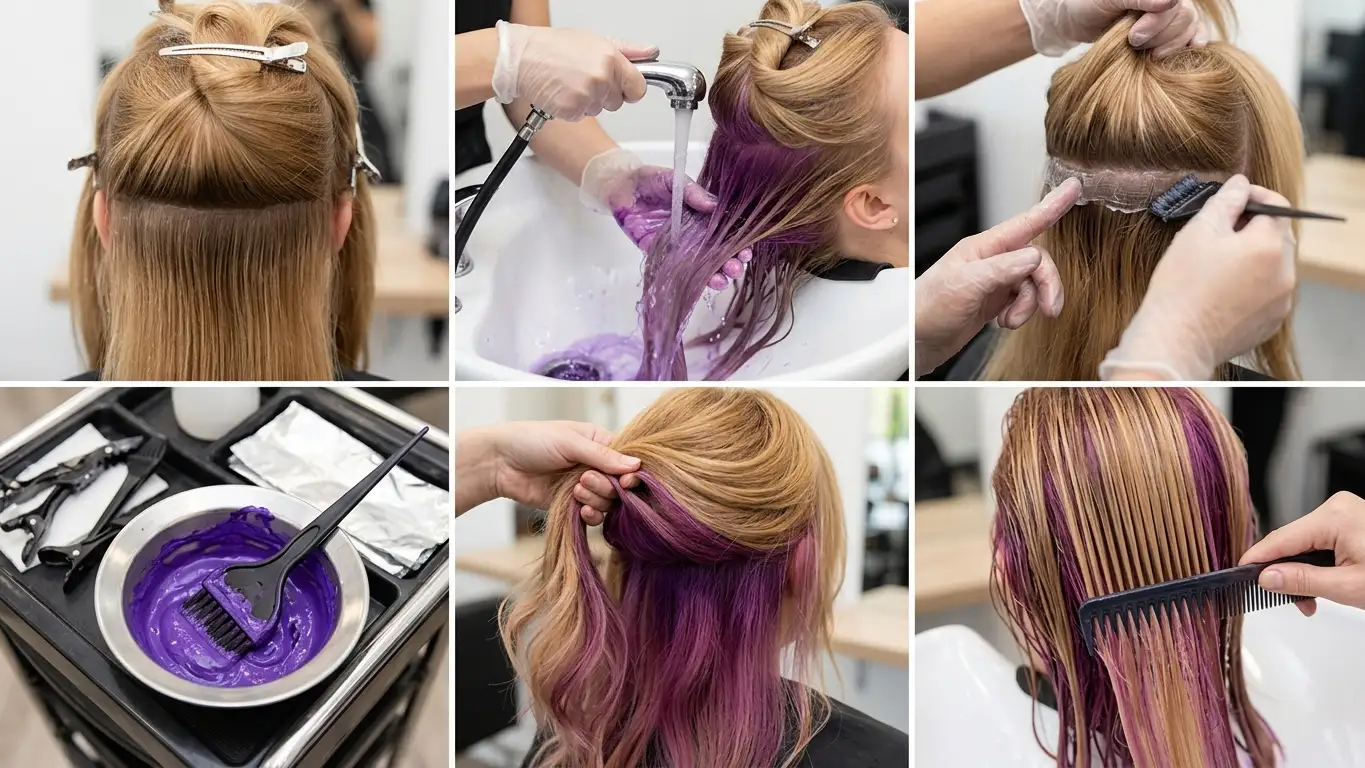
Foil placement determines whether your dimension looks diffused or blocky. Work upward from the nape in horizontal partings one quarter inch thick.
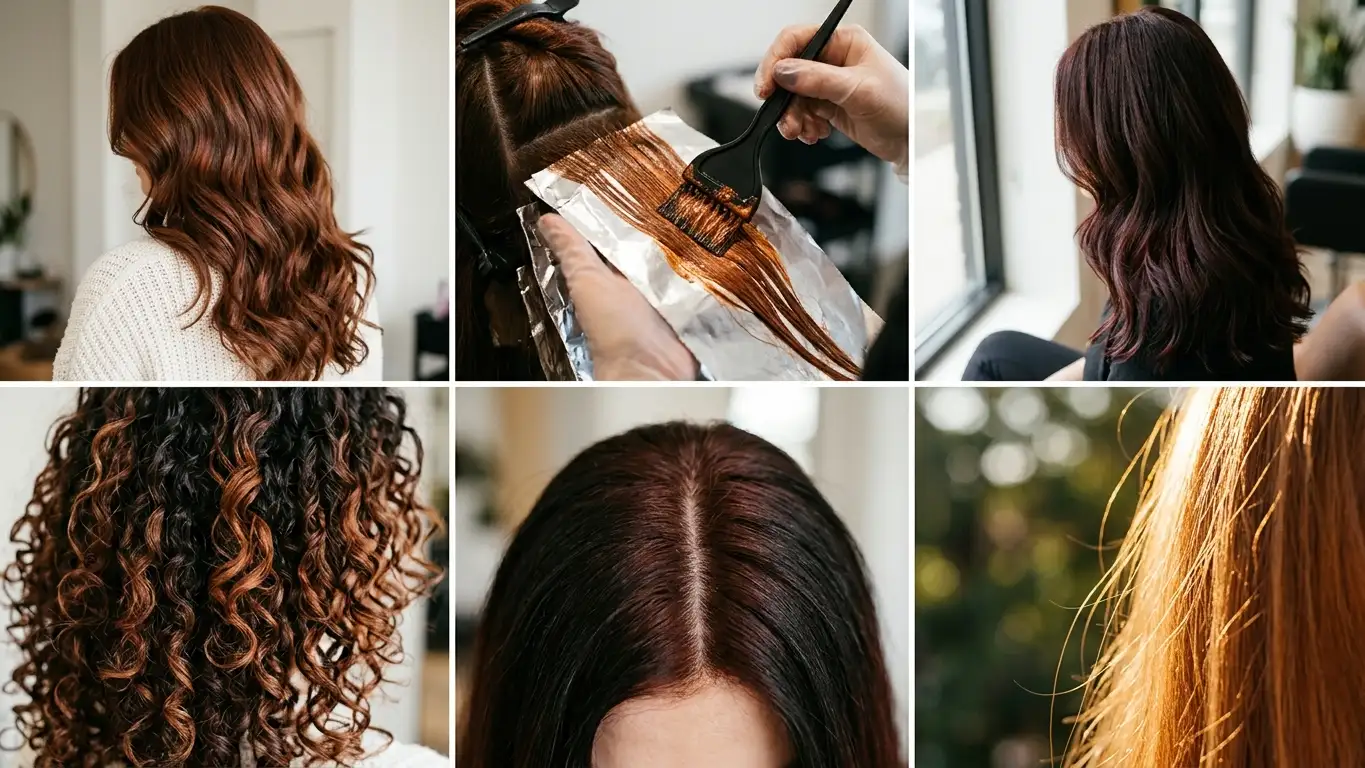
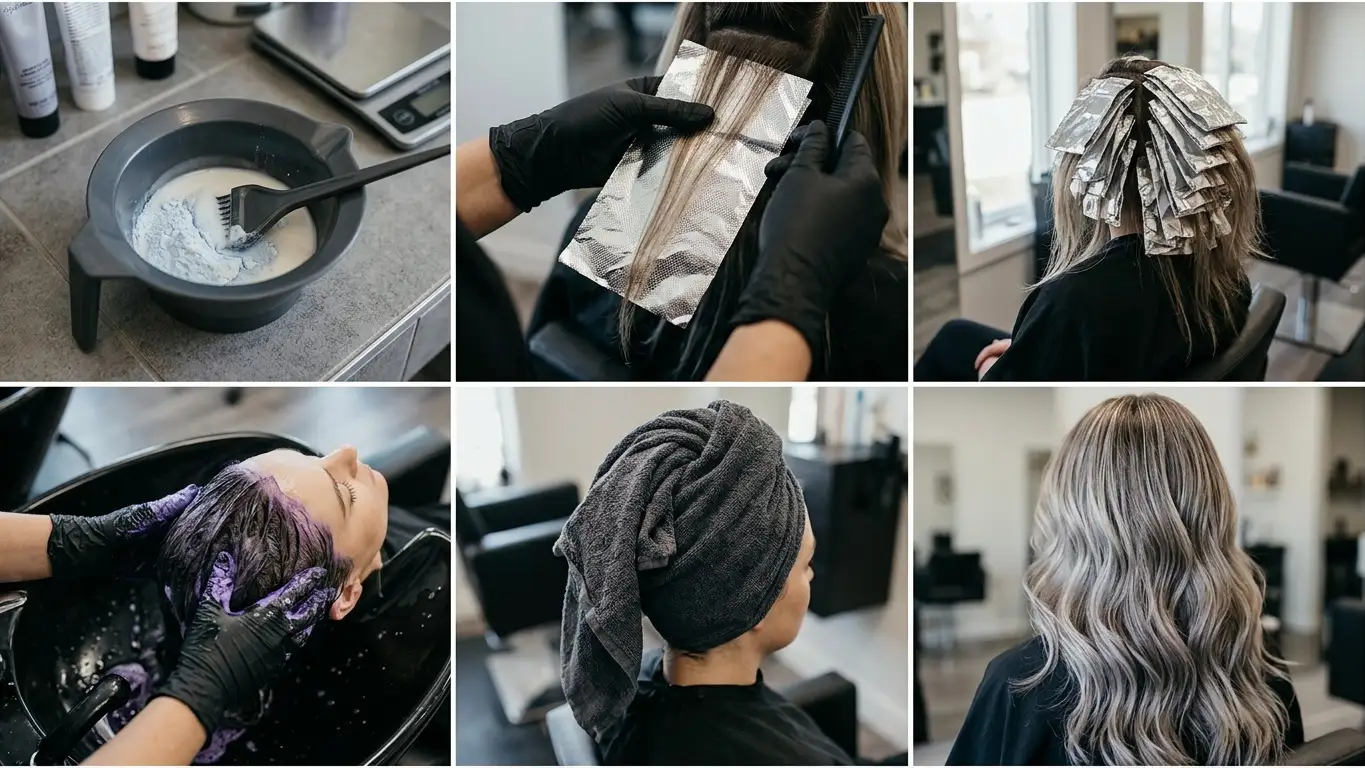
Use the tail comb to weave out paper-thin ribbons from the slice, leaving the dropped hair underneath. Lay an eight-inch embossed foil sheet under the woven strands, pressing the foil edge directly against the scalp. Paint your lightener mixture from the mid-lengths down to the ends first, then feather lightly upward toward the root to avoid harsh lines. Fold the foil upward in half, then crimp the outer edges inward.
In the very next quarter-inch parting directly above, weave a matching ribbon and apply your demi-permanent lowlight formula using your second brush. Drop the remaining hair between the foils as negative space. Maintain a rhythm of two highlight foils to one lowlight foil across the head to keep the overall look bright without losing structural depth.
Frame the Face with Fine Detail Ribbons
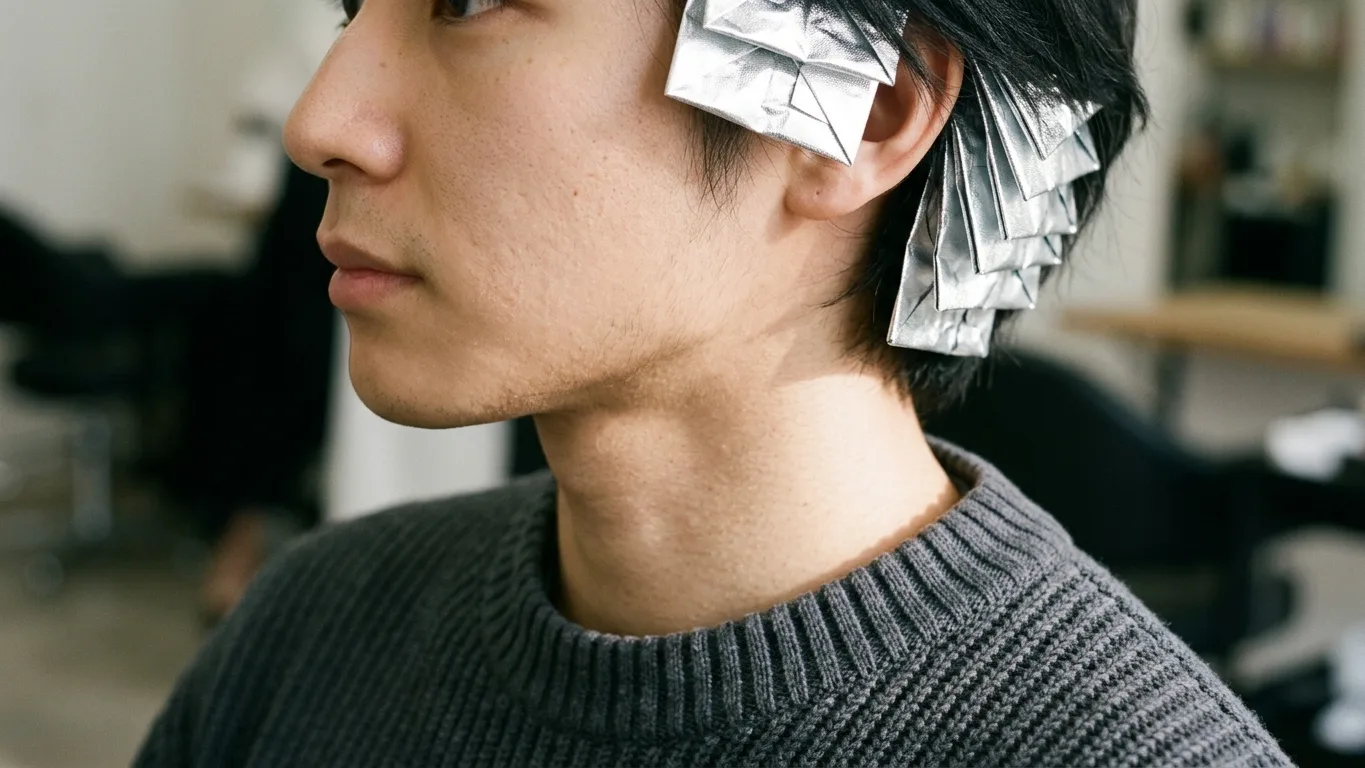
Heavy foils right at the front hairline look harsh when you pull your hair into a ponytail. Transition to babylights along the temple perimeter to soften the frame.
Take micro-weaves no thicker than three hair strands along the front hairline. Paint these fine strands with your lightener, tucking them into narrow foil strips angled parallel to your facial bone structure.
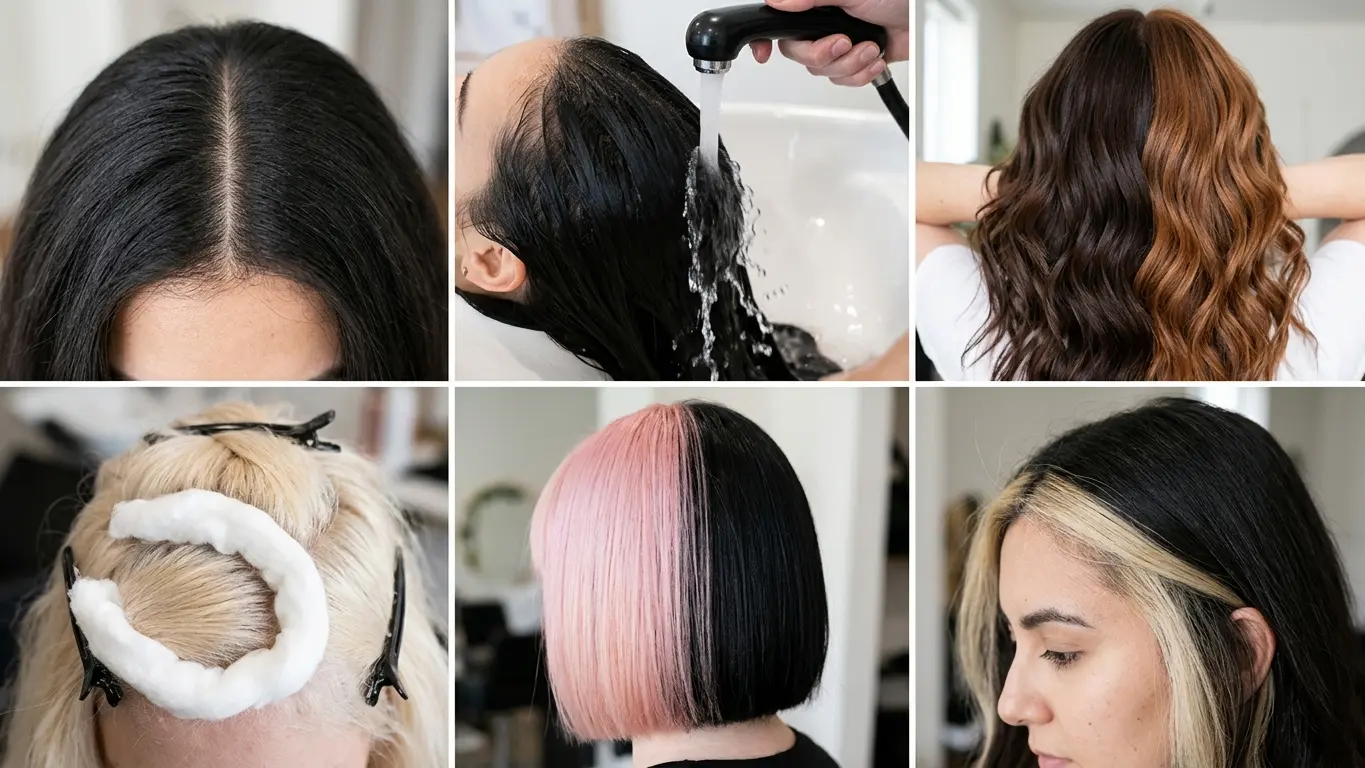
If you prefer a distinct focal point, a brown hair with highlights and lowlights and money piece style concentrates two back-to-back fine lightened weaves directly at the front part line. Keep the money piece no wider than one centimeter at the root. Widening this zone swallows the dark background and turns the front into an artificial block of pale color.
Monitor Lift Times and Avoid Overprocessing

Set a digital timer for twenty minutes the moment you seal your first rear foil. Never guess developer processing times by visual glance alone.
Unfold a test foil in the rear every ten minutes and wipe a tiny bead of lightener away using a damp towel. You want to see pale orange for a rich honey result, or pale yellow if your goal is an ash ribbon. Never leave lightener on dark hair longer than forty-five minutes total. Once forty-five minutes elapse, the persulfate salts in the lightener stop lifting pigment and break down structural keratin bonds instead.
Rinse the lightened foils first with cool water at the sink while keeping your lowlight sections separate if possible. Cold water constricts the hair cuticle, preventing lifted sections from absorbing fugitive dark rinse water.
Tone the Lifted Strands to Neutralize Unwanted Brass

Raw lightened strands on dark hair always reveal unwanted brassy copper or orange undertones once you strip away the bleach. Toning is an absolute requirement, not an optional step.
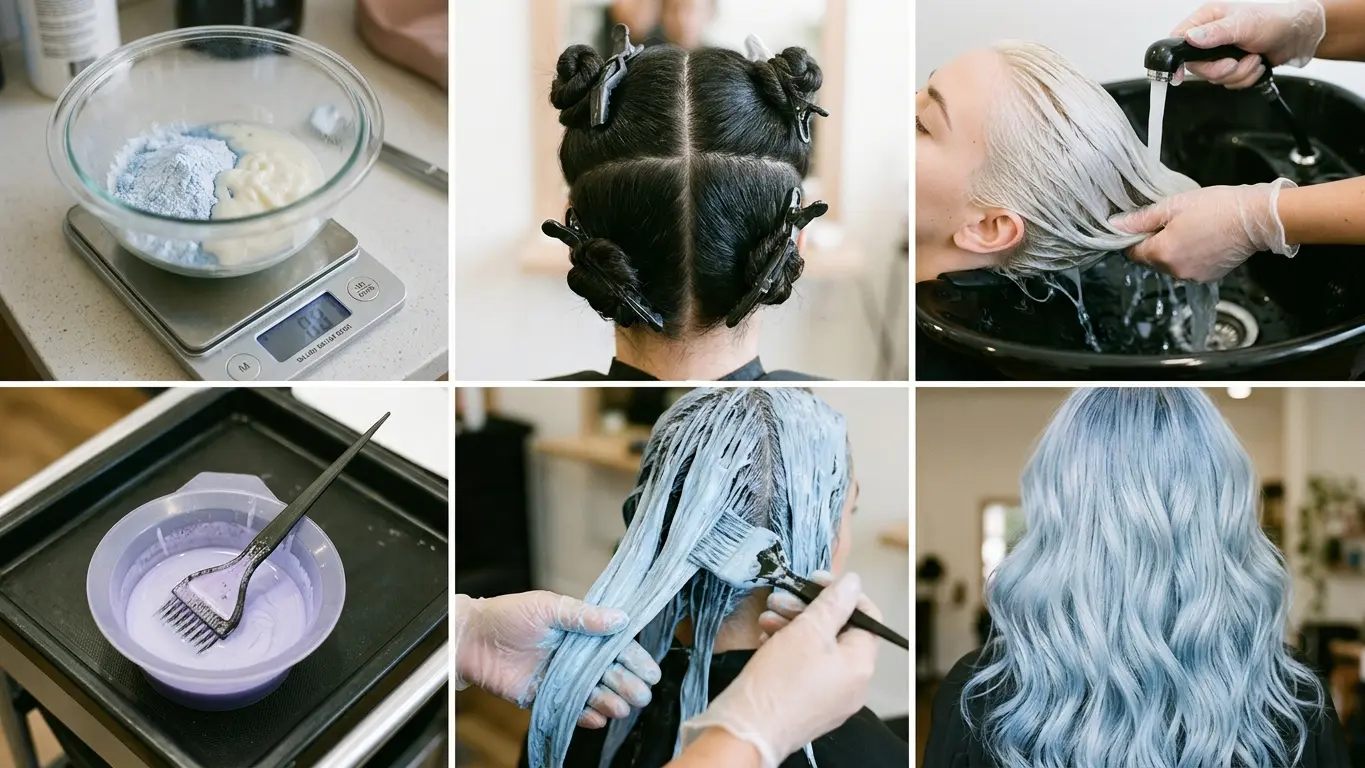
Apply an acidic, ammonia-free gloss toner all over towel-dried hair at the wash basin. If your lightened ribbons lifted to level seven copper, apply a blue-based ash toner to counteract orange. If your strands lifted to level eight gold, use a violet toner to cancel brassy yellow.
Leave the toner to saturate the hair for exactly fifteen minutes under room temperature. Rinse thoroughly with cool water and follow immediately with a low-pH bonding conditioner set at pH 4.5. This seals the outer cuticle scales flat, locking the toner inside and restoring smooth light reflection to the processed strands.
Rescue Placement Mistakes and Tone Errors
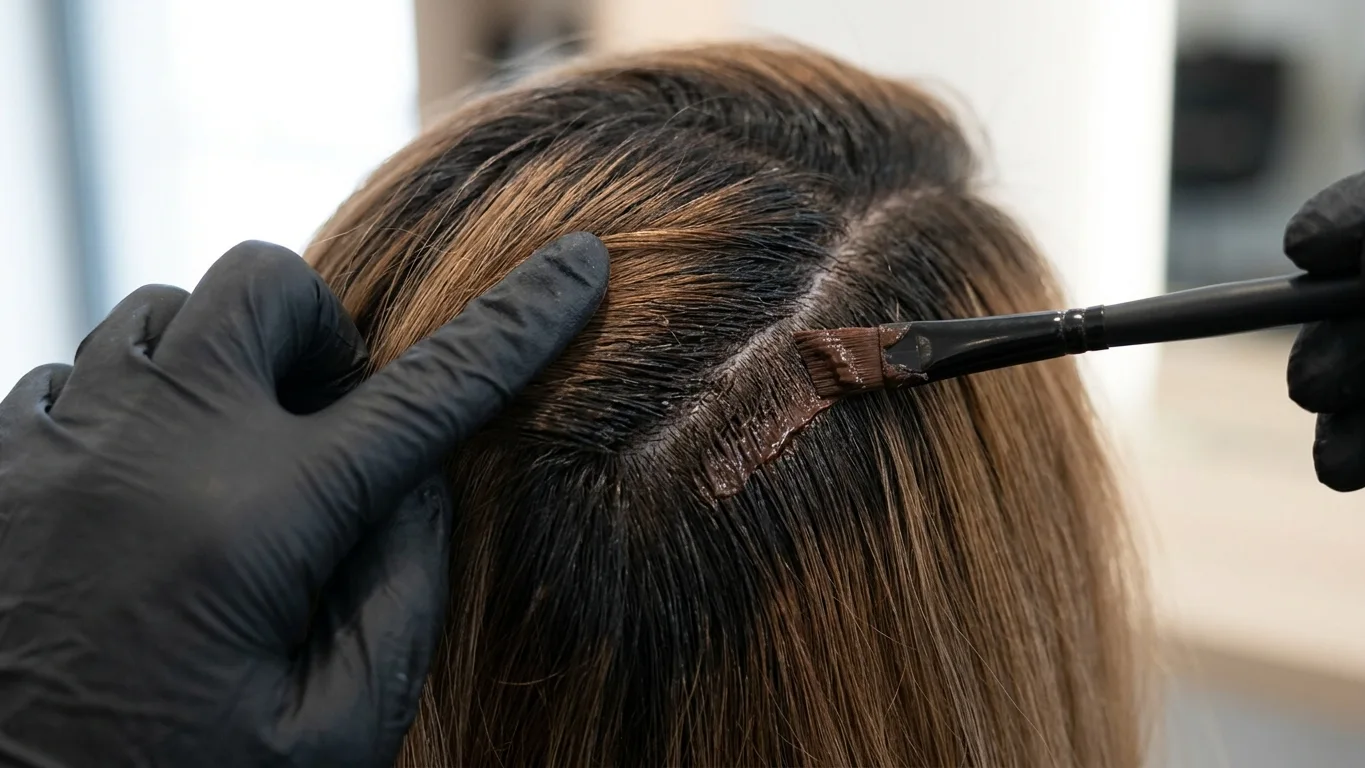
High-contrast placement mistakes happen when lightener bleeds past the foil fold, leaving a bright blotch near the root. Do not panic or try to bleach over the splotch.
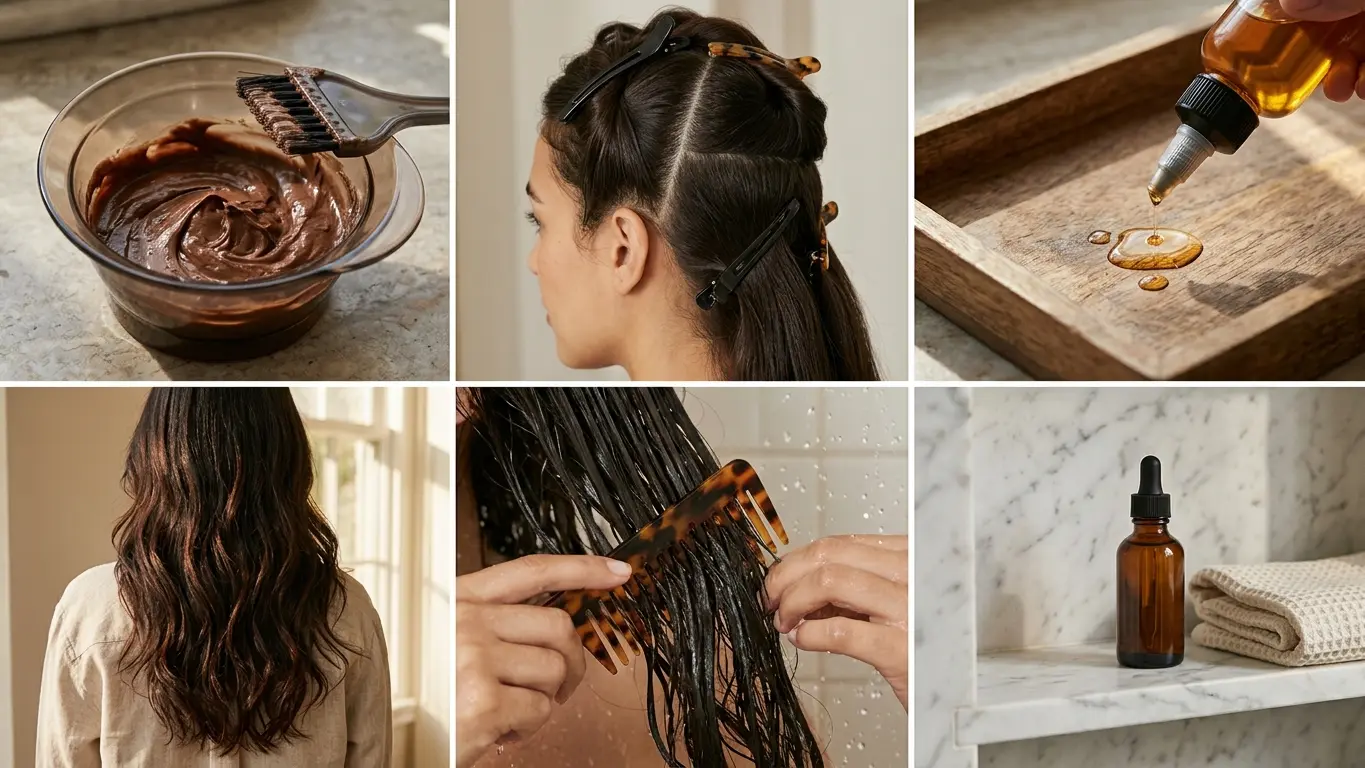
Fix a lightener bleed by dipping a small angled detail brush into your demi-permanent lowlight shade. Tap the dark pigment directly over the bleed line using light downward strokes to blend the blotch into your root area. This root-tap technique covers mistakes instantly without damaging the fragile cortex.
If your toner turned ash streaks muddy or dull grey over porous ends, wash the hair once with a clarifying shampoo mixed with three drops of standard 10 volume developer. Lather the mix for two minutes to pull out excess ash dye molecules, then rinse and apply a deep moisture mask.
What to Expect for Salon Upkeep and Expenses
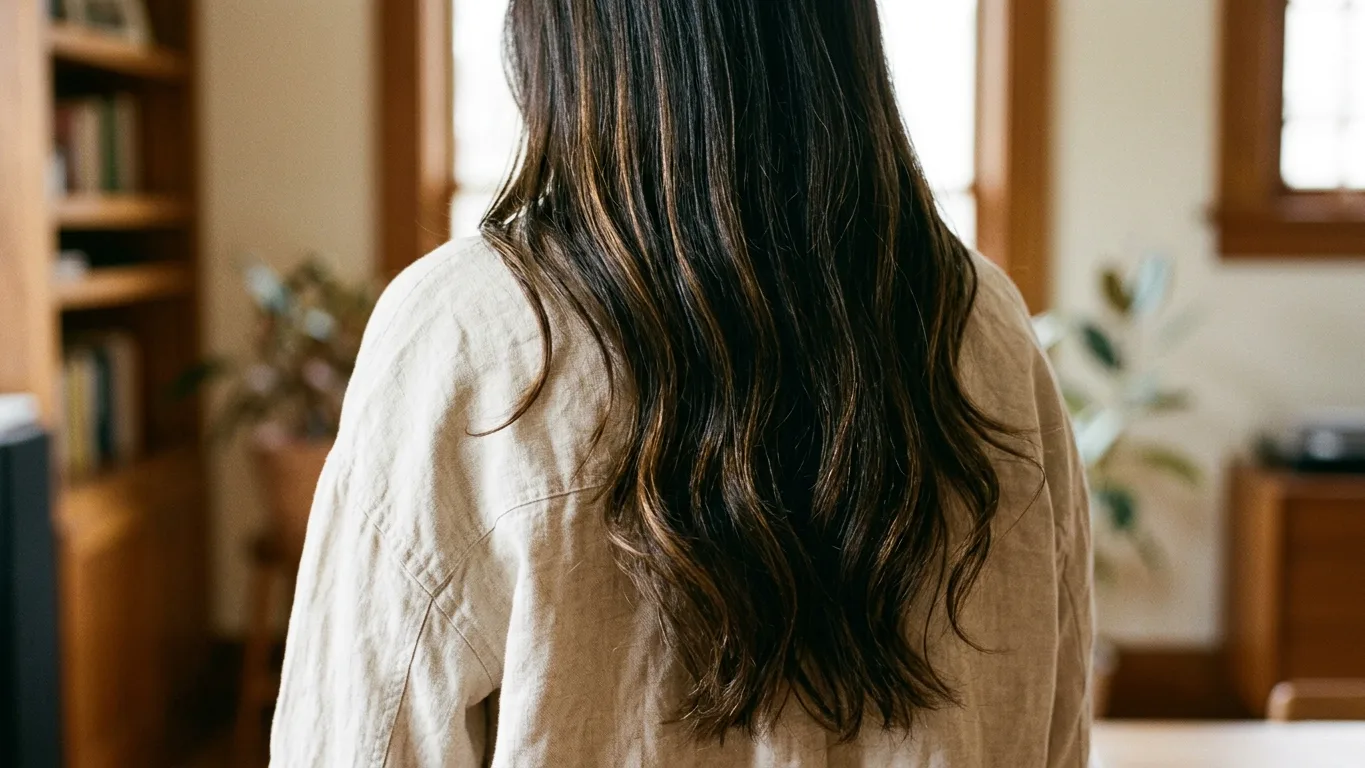
Maintaining multi-tone dimensional hair color requires a split maintenance calendar. Lowlights hold their depth well, but lightened pieces naturally oxidize from tap water minerals and sunlight exposure.
Expect to book a toner gloss refresh every six weeks to keep warmth under control. Full foil re-touches for dark hair with highlights and lowlights generally happen every ten to twelve weeks as your natural root grows in. In 2026, a full dual-process foil service with a corrective toner ranges from $180 to $350 at established salons, depending heavily on your hair length and density. Lowlights alone usually cost between $75 and $150 when added as an accent service.
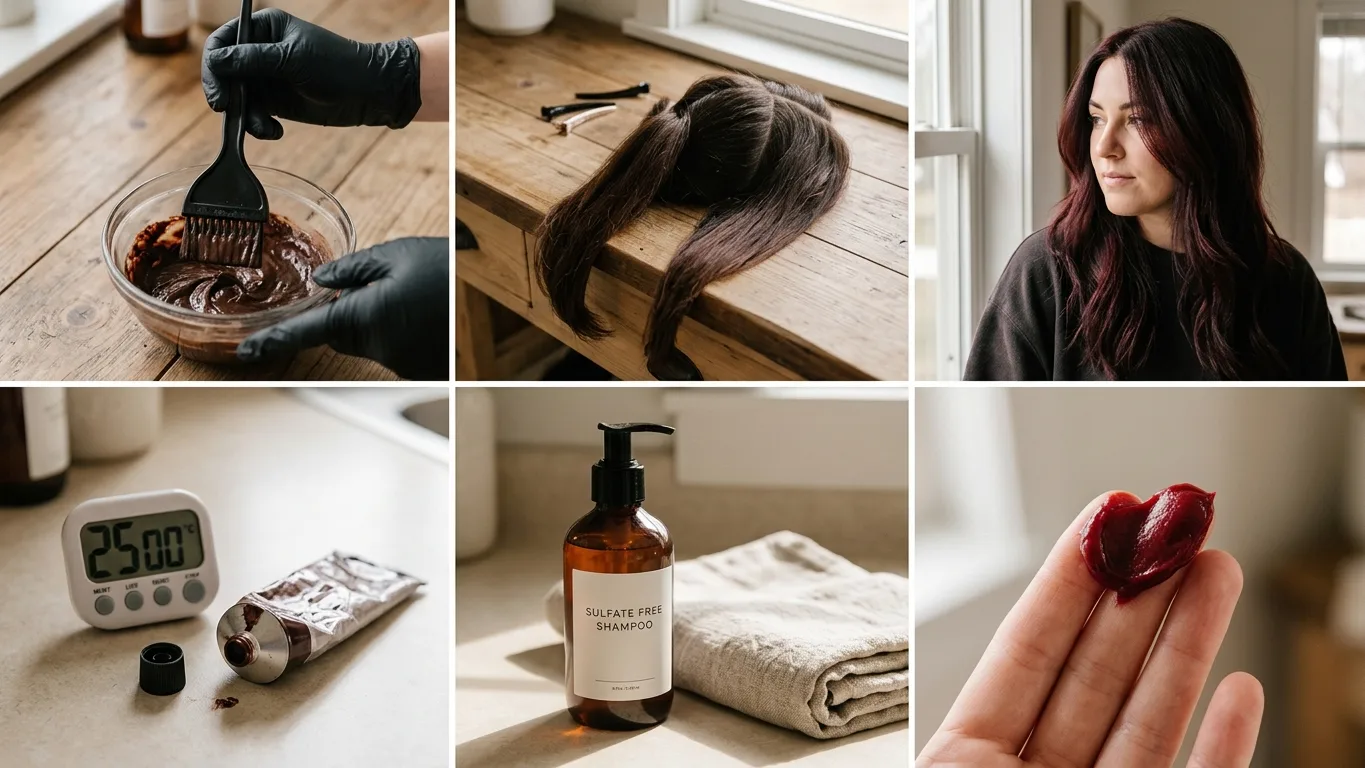
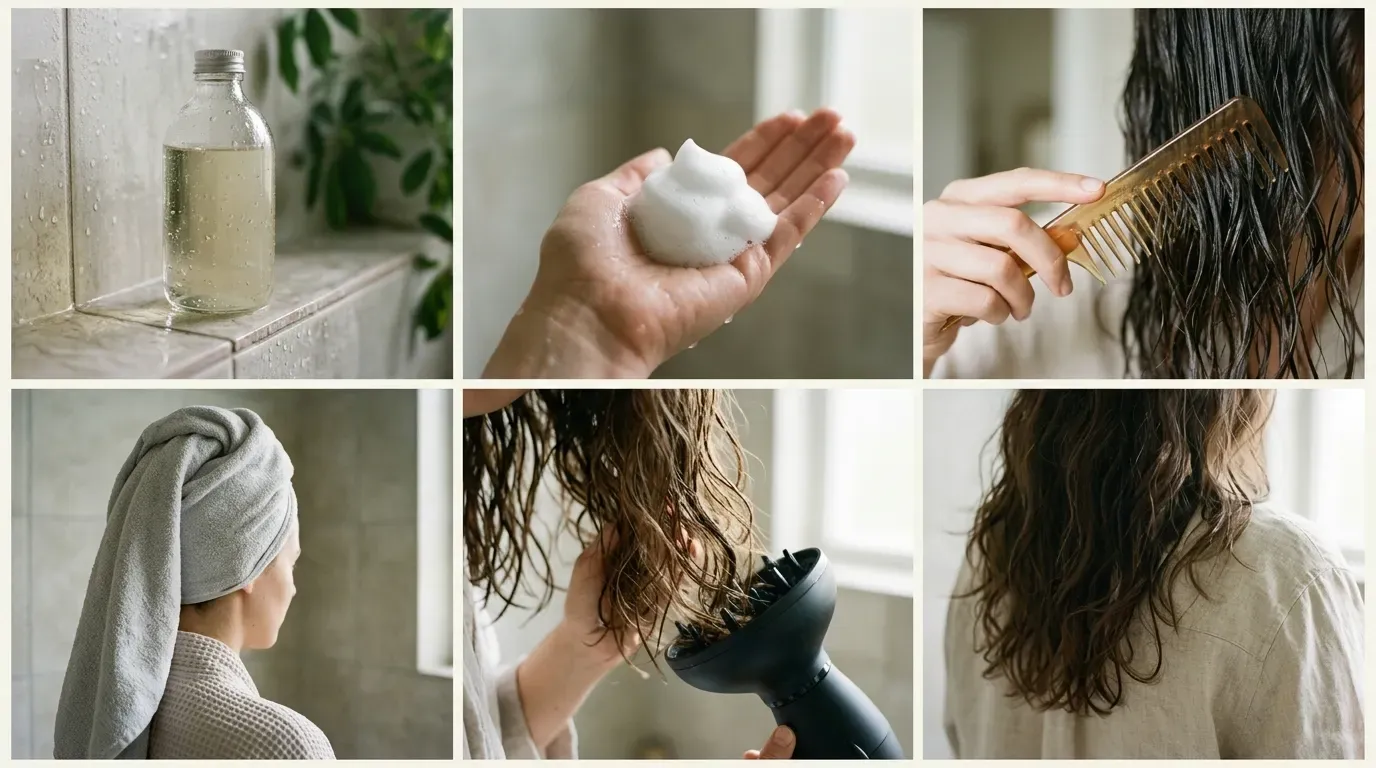
Wash your hair no more than twice weekly using sulfate-free formulas. Lower your shower water temperature, as steaming water opens the outer cuticles and strips gloss within three washes.
Frequently Asked Questions
Can you get lowlights on dark brown hair?
Yes, but you must choose a shade with deep pigment saturation like espresso, dark neutral mocha, or soft black. Using a shade too close to your natural depth will simply disappear against the base, while choosing a cooler ash-toned shade provides clear visual separation and shadow.
Do highlights damage dark brown hair?
Lightener removes natural melanin granules from the inner cortex, which permanently alters the moisture barrier. The degree of damage depends on the developer strength used. Keeping developer at 20 volume and finishing with a bond-building rinse keeps the cuticle layer intact and prevents split ends.
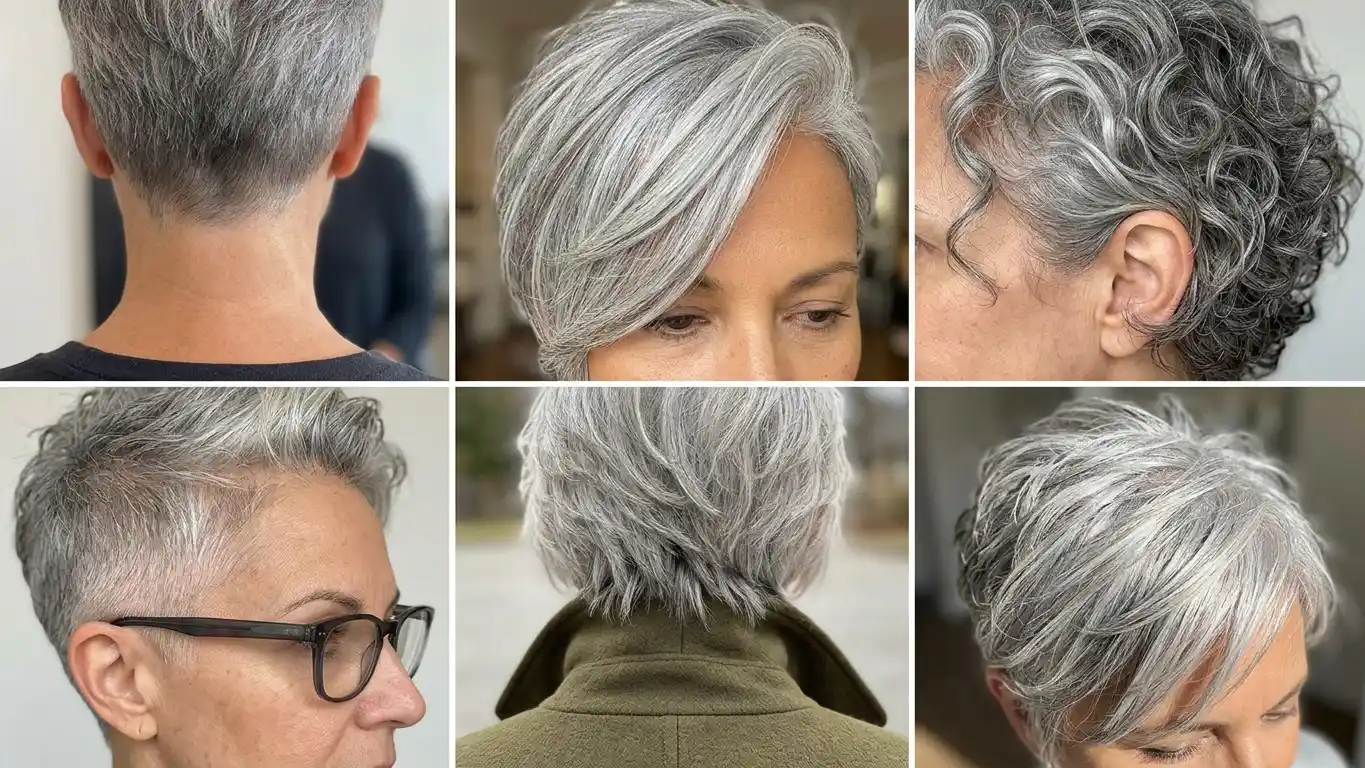
How do you maintain grey highlights on deep black hair?
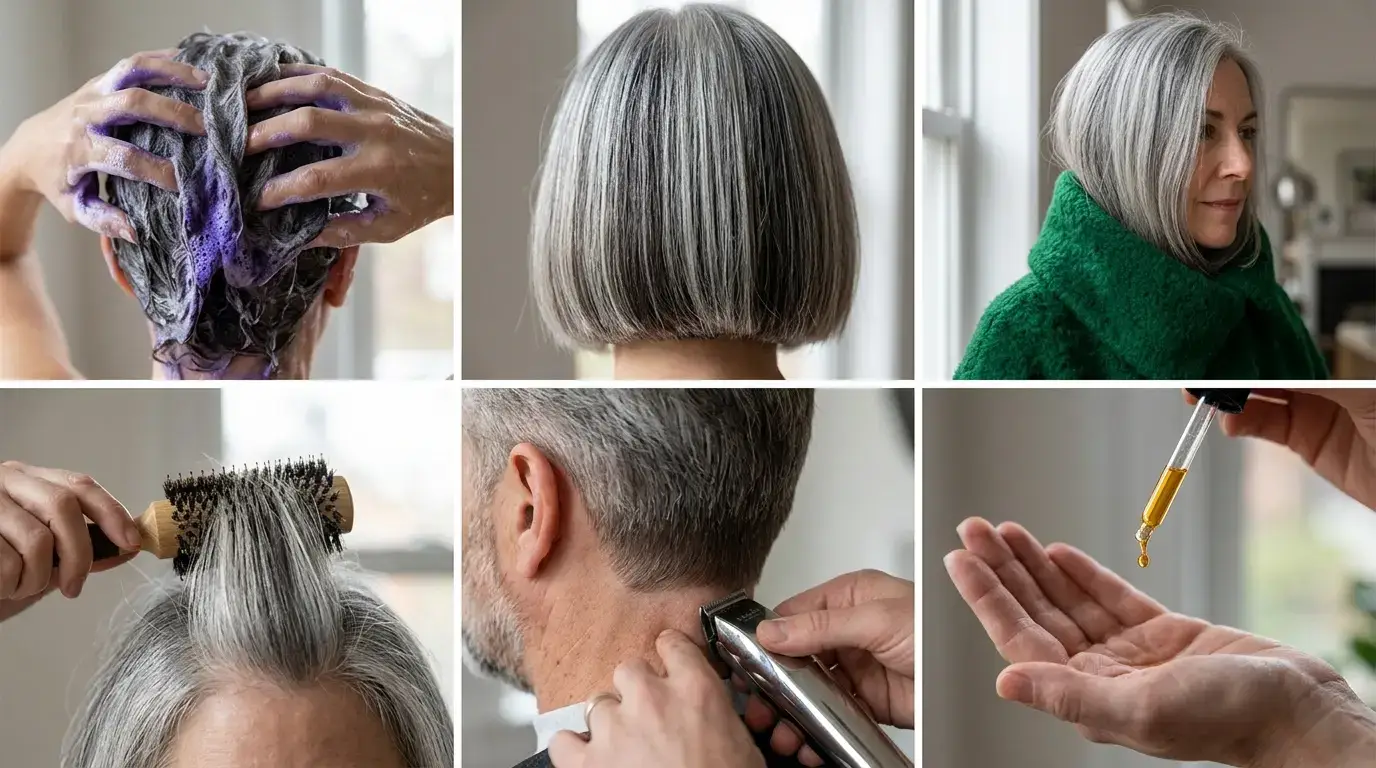
Black hair with grey highlights and lowlights requires strict silver toning shampoo used once every two weeks to prevent yellow tones from surfacing. Grey pigment molecules are exceptionally small, so they wash out quickly if you use standard warm shower water or heat-styling tools above 350 degrees.
Is it better to choose highlights or lowlights when covering early grey?
A balanced mix of both works best. Fine babylights camouflage scattered silver strands along your parting, while lowlights reintroduce the natural background depth that grey hair slowly erases over time.
Order of Work for Dimensional Hair Color
Begin by checking your hair porosity and identifying the exact starting level of your dark base. Mix your lightener with 20 volume developer and prepare a demi-permanent lowlight formula one level below your base. Section the head into four balanced quadrants, working from the nape upward in alternating micro-woven foils. Frame the face with delicate babylights, monitor lift closely without exceeding forty-five minutes, rinse with cool water, and apply an acidic balancing toner to lock in glossy dimension.