
Why does an effortless updo always seem to take twenty minutes and six attempts?
You pull your strands back, twist them into what should be an easy low bun tutorial, and end up with a sagging knot or a stiff ball. When you search for a low messy bun tutorial, most advice skips the mechanical reasons why pins slip, loops collapse, or the crown falls completely flat.
Hair behaves according to grip, tension, and weight distribution. Once you identify the mechanical errors causing your updo to fail, building a secure knot takes under three minutes.
Your Hair Is Clean and Lacks Friction
Silky, freshly washed strands slide against each other. When hair fibers lack surface texture, an elastic band simply glides down the ponytail base within an hour.
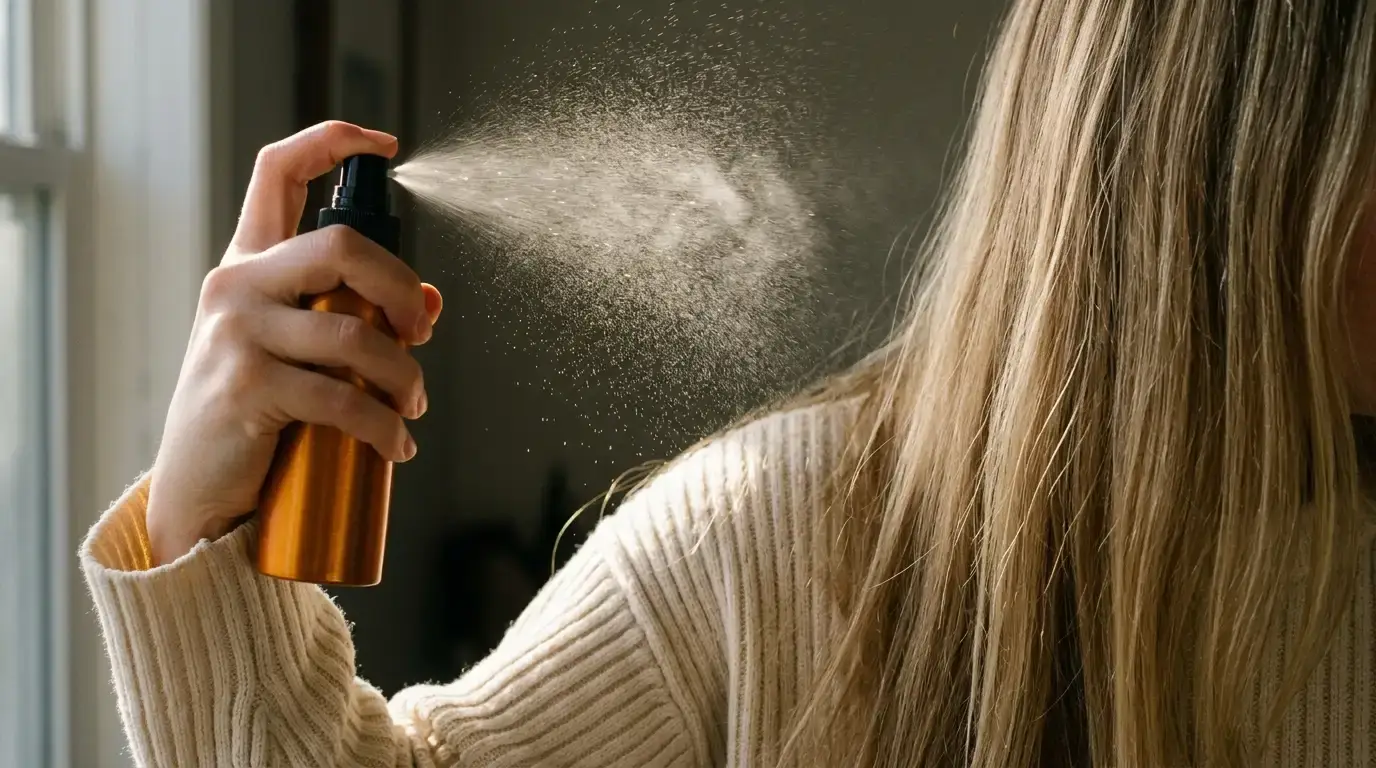
Reach for dry texture spray instead of hairspray. Mist the lengths from ten inches away, lifting three-inch sections to distribute the starch evenly. Expect a standard five-ounce can of texturizing spray to cost between 16 dollars and 28 dollars in 2026.
Avoid spraying directly onto your scalp. Focus the product along the mid-lengths where the knot forms. If you have fine strands, a pea-sized amount of matte styling powder worked into the roots provides enough friction to anchor your base without creating a sticky residue.
The Elastic Band Sits Loose at the Nape
A wobbly base ruins the entire structure before you insert a single pin. If your initial ponytail droops against your neck, every loop you build on top of it will pull downward.
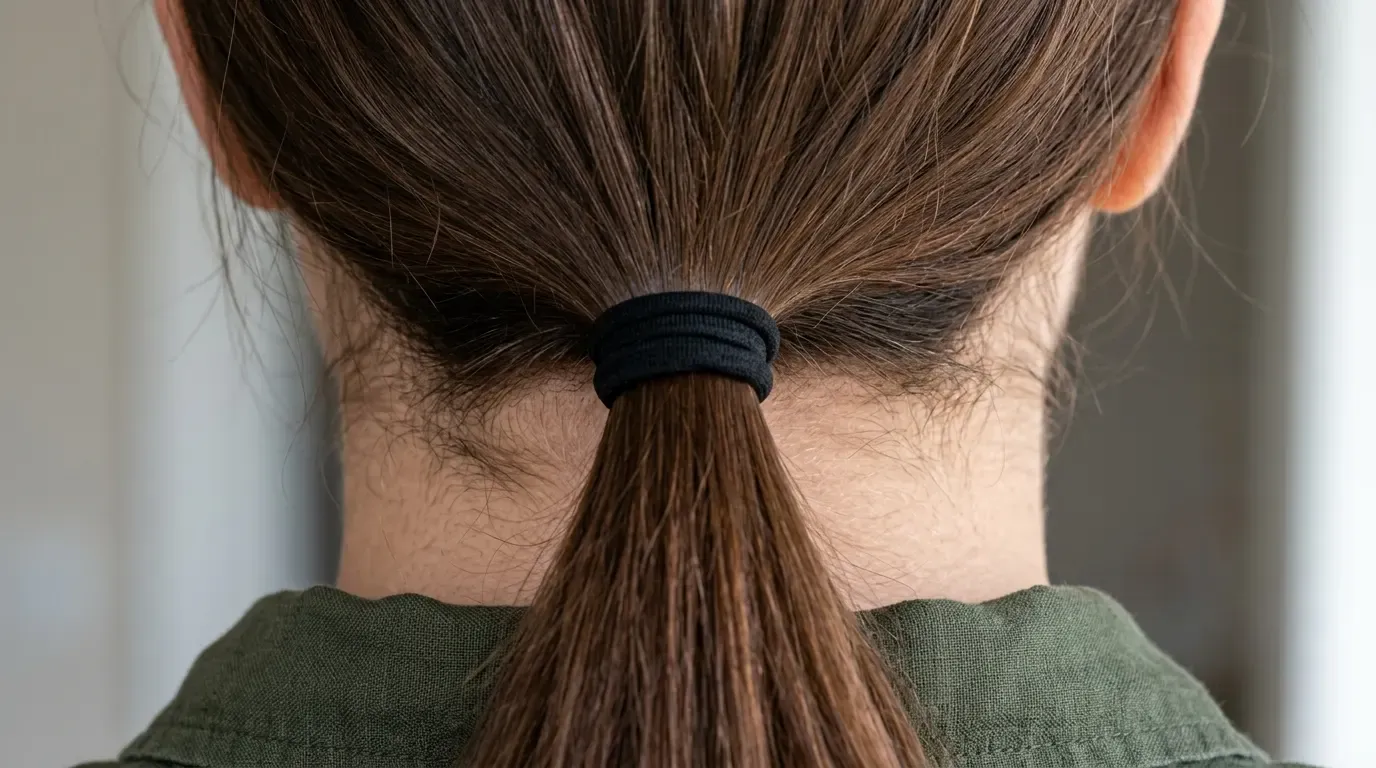
Use a thick, seamless nylon hair tie rather than a skinny mini elastic. Wrap the band around your ponytail until the final loop requires genuine effort to pull through.
Position the base two finger-widths above the bottom hairline. This placement prevents the hair tie from rubbing against your shirt collar throughout the day, which is the primary cause of sudden midday unraveling. For thick hair, use two joined bands to counter the heavy downward pull.
Pulling Strands Out Destroys the Base Structure
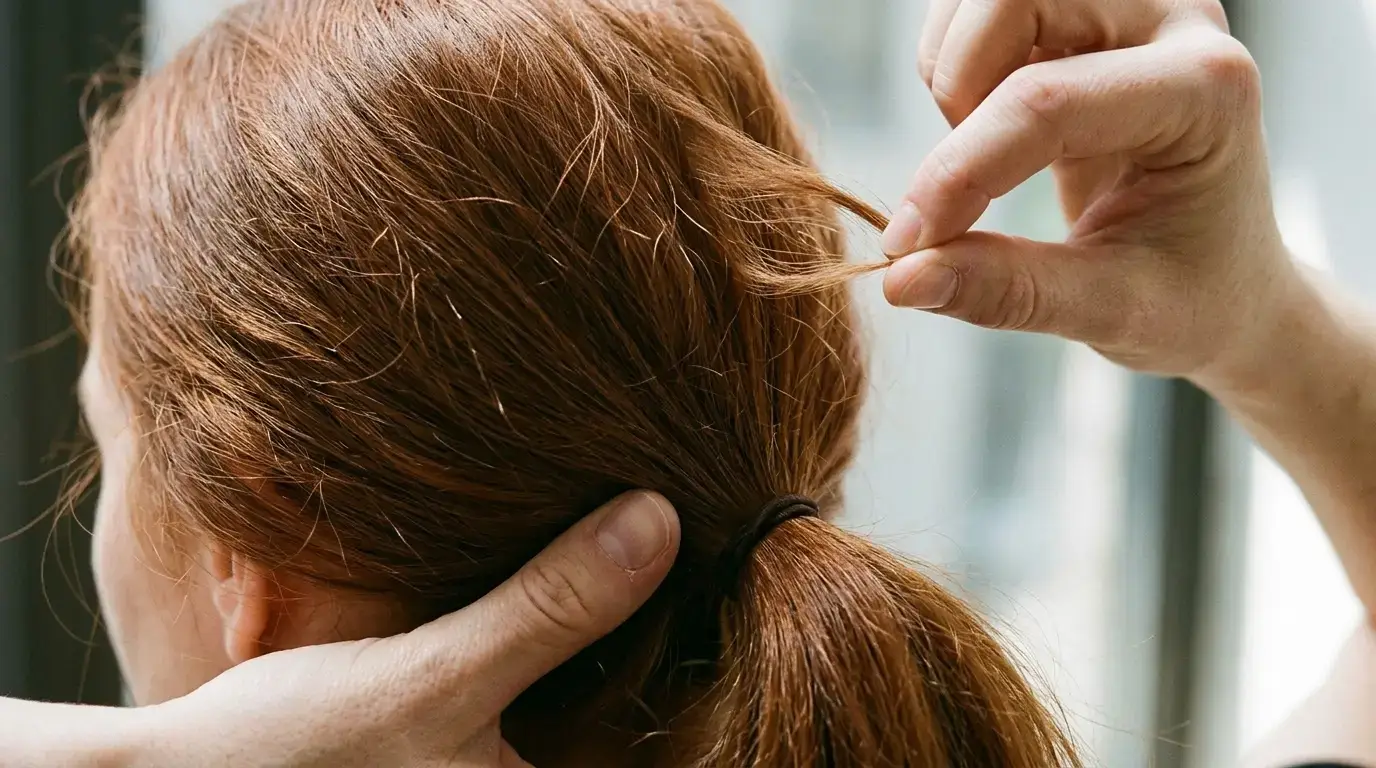
Pinching and yanking pieces from a tight ponytail usually creates strange ridges across the back of the head. Beginners frequently pull directly from the ponytail holder, slackening the exact elastic that supports the updo.
Hold the base firmly against your skull with your thumb. With your other hand, gently pinch quarter-inch ribbons of hair two inches forward from the elastic. Pull outward by only a quarter of an inch.
Work in an alternating fan pattern across the crown. This expands the perimeter volume while the foundational band remains anchored against your head. If a section bunches unevenly, smooth it backward with a clean fingertip rather than pulling it further out.
Wrapping the Knot Too Tight Removes All Movement
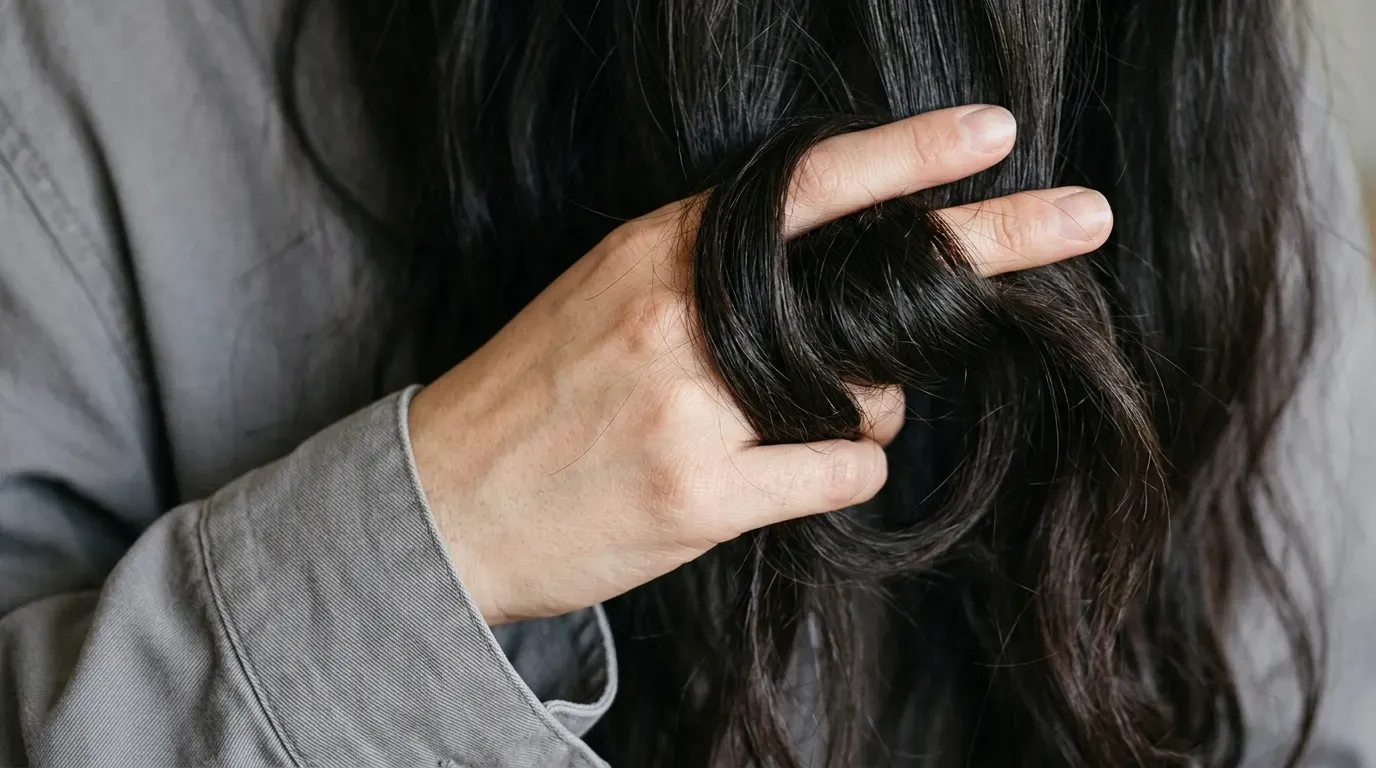
Winding your hair like a piece of taut rope turns what should be a cute messy bun tutorial into a rigid doorknob shape. When strands are stretched to maximum tension, light cannot pass through the outer loops, leaving the updo looking harsh and solid.
Twist your ponytail loosely just once or twice near the elastic base. Allow the ends to fold naturally over your index and middle fingers, forming an open pocket of space in the center.
Loosen your hand grip by half before securing the shape. The goal is to build an airy structure where the individual bends of hair remain visible from the side profile. Tight coiling compresses your hair volume and leads directly to an unintended formal ballet bun.
Bobby Pins Slide Straight Out During the Day
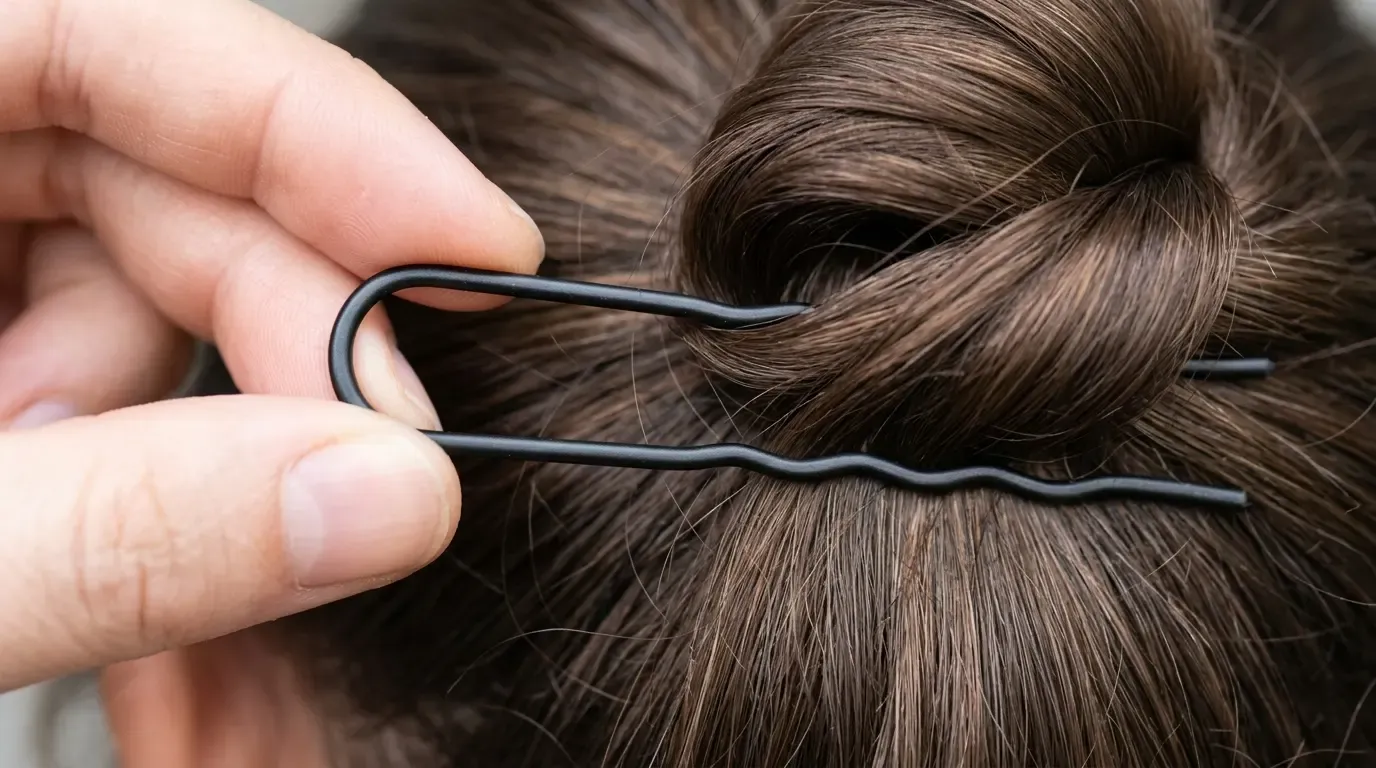
Smooth wire pins cannot grip hair fibers on their own. Pushing an open pin into the middle of a bun without catching the underlying base guarantees it will fall onto your shoulder by lunchtime.
Flip the pin so the wavy side faces down against your scalp. Slide the open prongs through the outer edge of your bun loop, then pivot the pin backward toward the center of your elastic.
This pivoting movement hooks hair from the loop and staples it into the dense ponytail anchor. Two three-inch u-shaped French hair pins will provide more holding power than ten flimsy standard bobby pins. Always discard pins whose plastic protective tips have worn off to avoid scraping your scalp.
Short Layers Poke Out in Awkward Directions
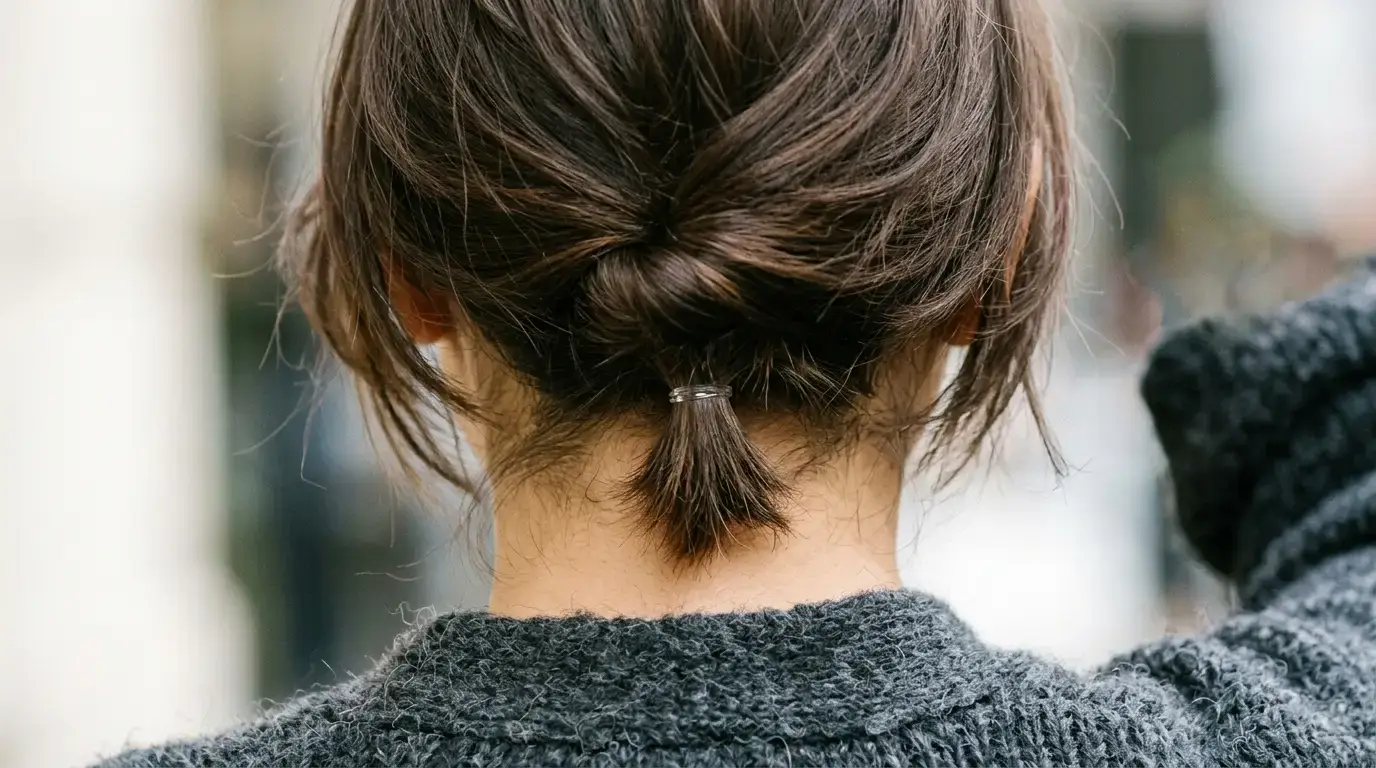
Mid-length cuts with graduated layers tend to spike straight out from the sides of an updo. This common frustration ruins an otherwise promising low messy bun tutorial medium length hair attempt.
Gather the shortest nape layers first and secure them with a tiny clear elastic before forming the main bun. Roll this miniature lower section upward against your head, then build your main knot directly over it to hide the seam.
If pointed ends still escape the outer knot, use a wooden boar bristle brush lightly misted with flexible hairspray to tuck them underneath. Do not try to pin every wandering tip flat against your skull, as an overly pinned finish defeats the relaxed appearance entirely.
| Problem | What Causes It | What to Do Instead |
|---|---|---|
| Drooping knot | Elastic placed directly on the nape | Anchor the base two fingers above the hairline |
| Headaches | Pins pressing hard into the scalp | Pivot u-shaped pins horizontally into the pony base |
| Flat crown | Hair pulled flat before bun construction | Pinch quarter-inch ribbons upward before twisting |
Long Strands Collapse Under Their Own Weight
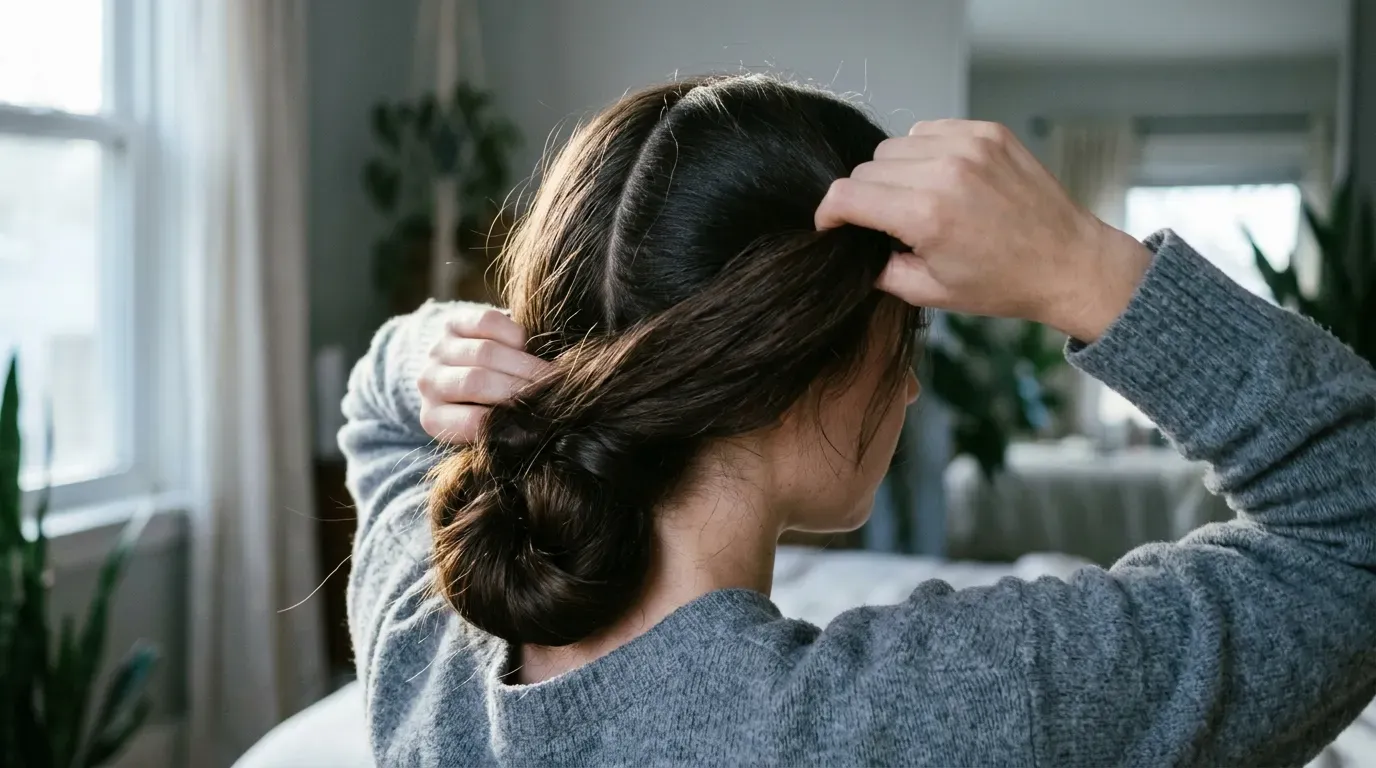
Heavy hair presents the opposite challenge. When you attempt a low messy bun tutorial for long hair, the sheer mass of strands drags the knot downward, turning an easy messy bun for beginners into a sagging loop.
Divide your ponytail into two equal vertical halves. Twist the left half loosely and pin it into a rounded loop on the right side of your base.
Take the remaining right half, wrap it counter-clockwise over the first loop, and tuck the ends into the center gap. Splitting the weight across two anchor points cuts the tension on your scalp in half and stops heavy strands from pulling the base loose.
The Hairline Looks Harsh and Pulls Tight
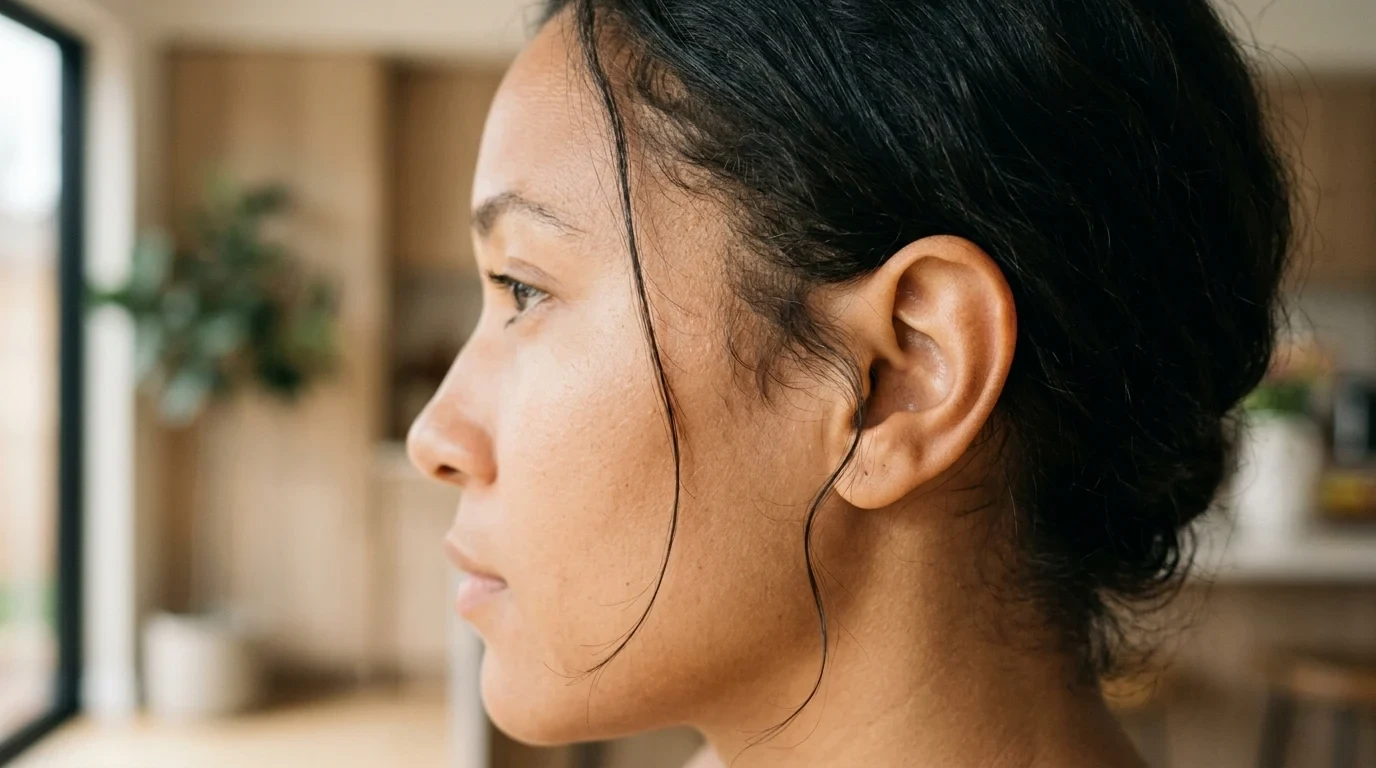
Scraping every strand backward emphasizes scalp exposure along the temples and creates an unflattering, severe look. It also puts excessive tension on fragile baby hairs.
Leave out two small pieces in front of your ears before gathering the back. These face-framing strands should measure no thicker than a pencil.
Once the updo is pinned, use the pads of your middle fingers to massage gently in small circles right along your hairline. This circular motion coaxes fine baby hairs loose naturally without creating jagged partings. If the strands frame your jawline too stiffly, wrap them briefly around a one-inch curling wand set to 300 degrees to introduce a muted wave.
Using Stiff Lacquer Freezes the Strands Solid
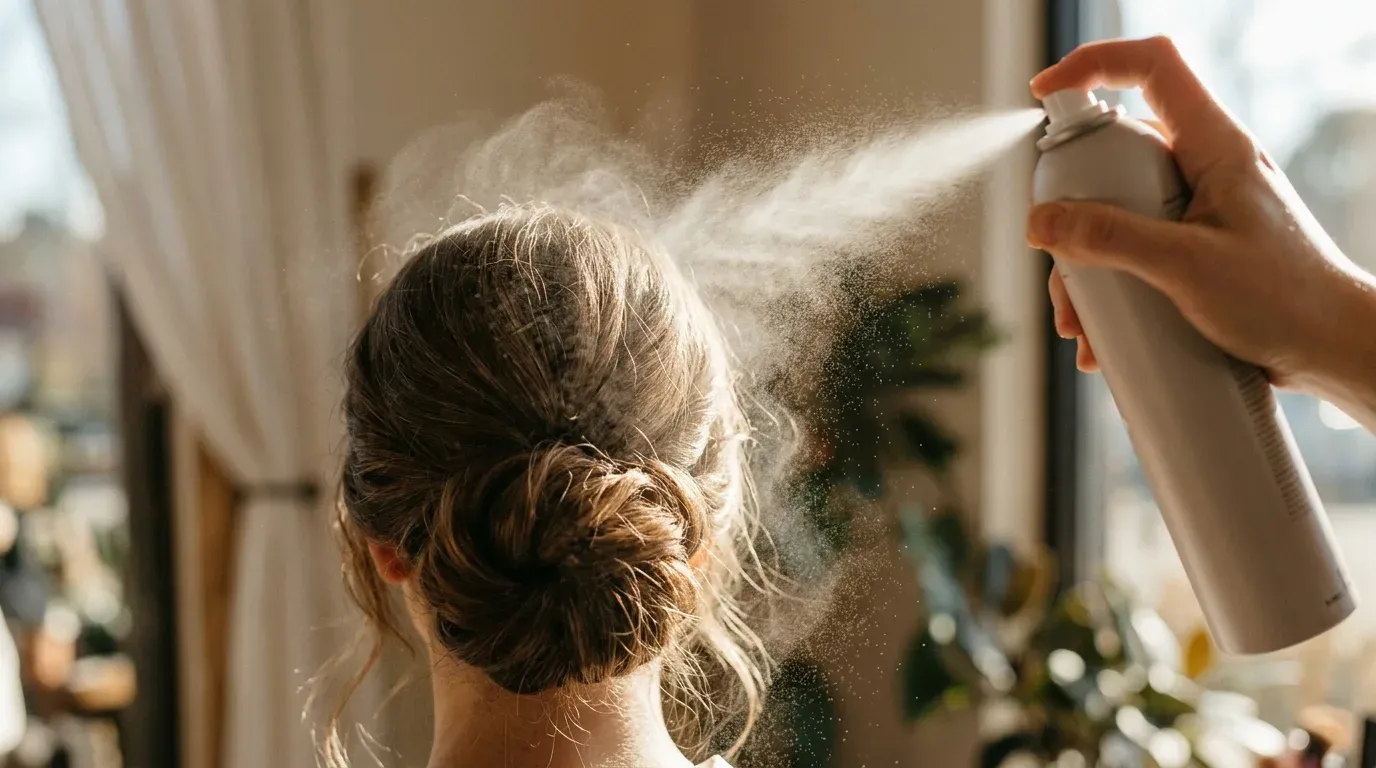
Drenching an updo in extra-firm hairspray leaves a glossy, frozen crust that shatters the moment you turn your head. This mistake instantly ruins an easy low bun tutorial.
Swap firm-hold aerosol lacquer for a medium-hold dry finishing mist. Hold the nozzle twelve inches from your head and apply the spray in two quick, sweeping arcs.
Never touch the hair while the mist is wet. Let the micro-droplets air dry for forty-five seconds so the polymer bonds set without forming flakes. If you notice any flyaways later, smooth them down with a single drop of jojoba oil warmed between your palms.
How to Do a Low Messy Bun Step by Step
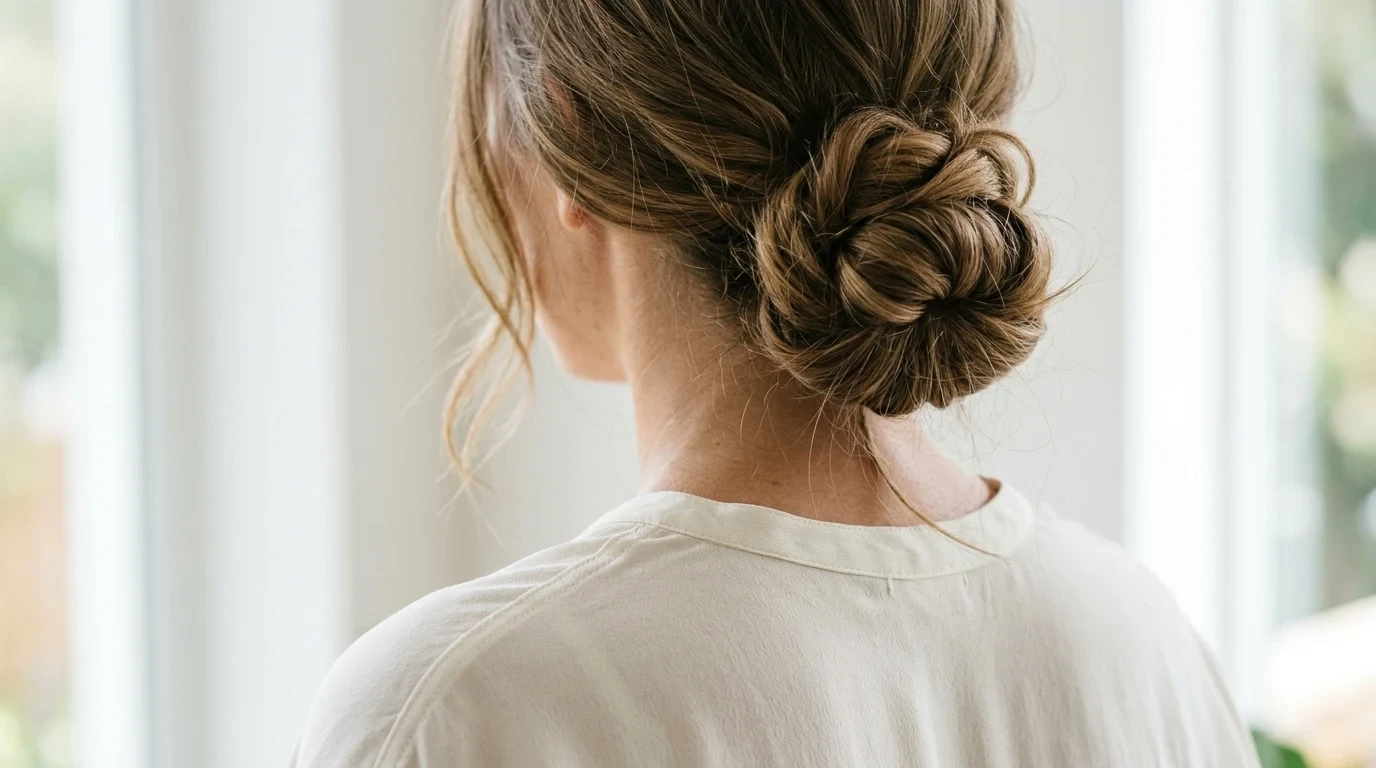
This reliable method anchors the hair firmly while keeping the silhouette relaxed and dimensional. It serves as a dependable low messy bun hair tutorial for beginners who struggle with complex styling steps.
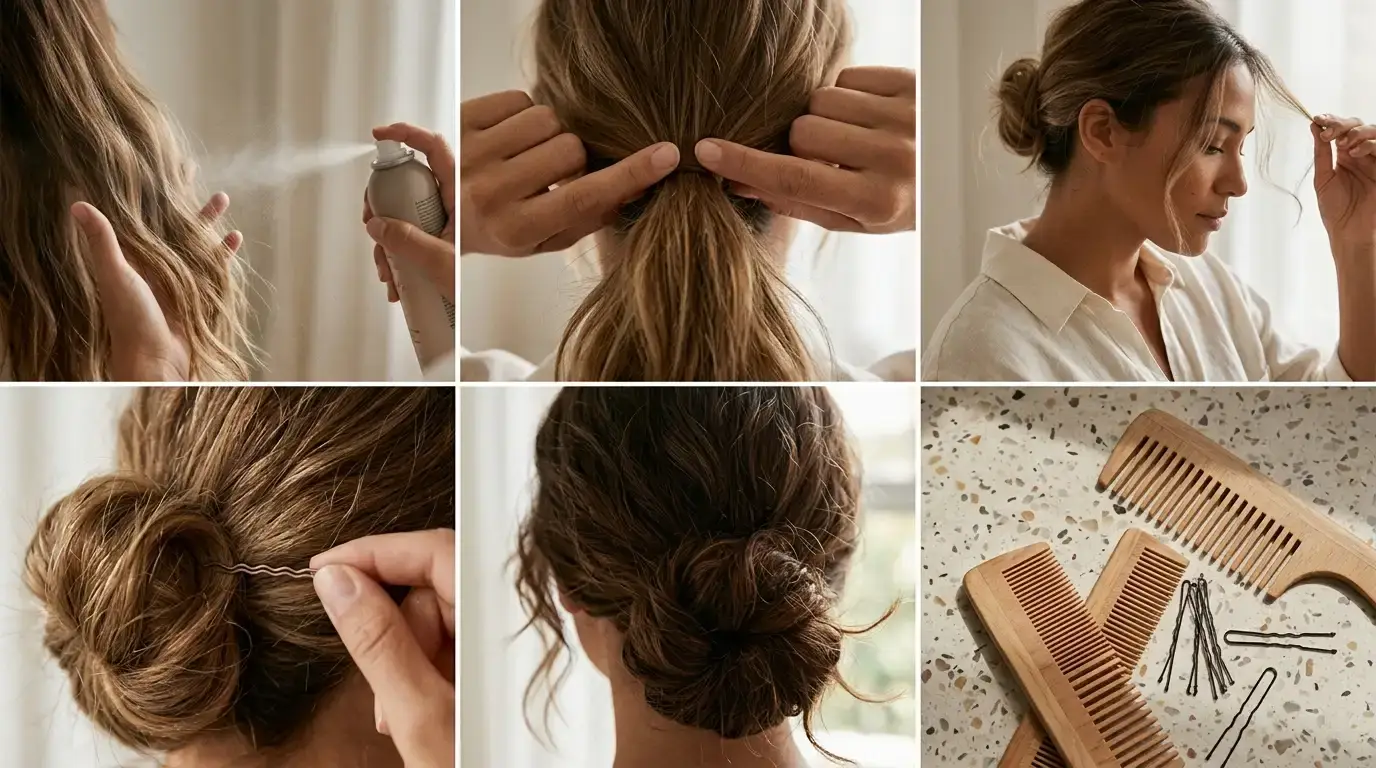
- Prep your hair by misting the lengths with dry texturizing spray and finger-combing to break up flat clumps.
- Gather hair into a low ponytail two inches above the neck and loop a thick elastic band around it three times.
- On the third pass of the elastic, pull the hair only halfway through to create a loose loop with the ends pointing downward.
- Split the hanging tail into two ribbons, bring them upward around opposite sides of the loop, and cross them over the top.
- Tuck the remaining ends under the base and insert two u-shaped pins horizontally through the crossed pieces.
- Gently slide your fingers between the loops to widen the shape by half an inch.
This step-by-step approach prevents the classic problem of an updo unraveling as soon as you move. It establishes a balanced low loose messy bun that holds for hours.
Wedding Guests Make the Silhouette Too Casual
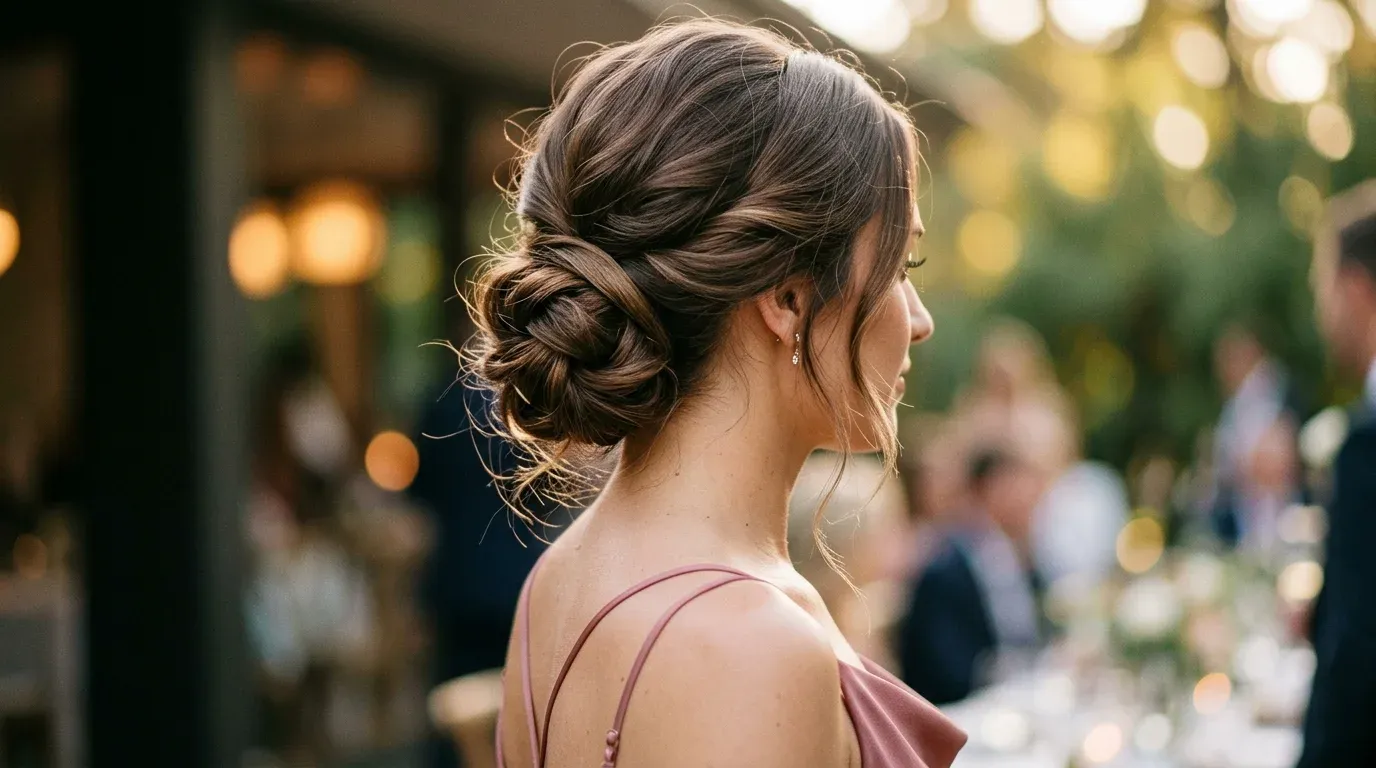
Wearing a messy knot to a formal event requires structural intention. An unshaped low bun can quickly look like an errand-running knot rather than an updo planned for an evening gown.
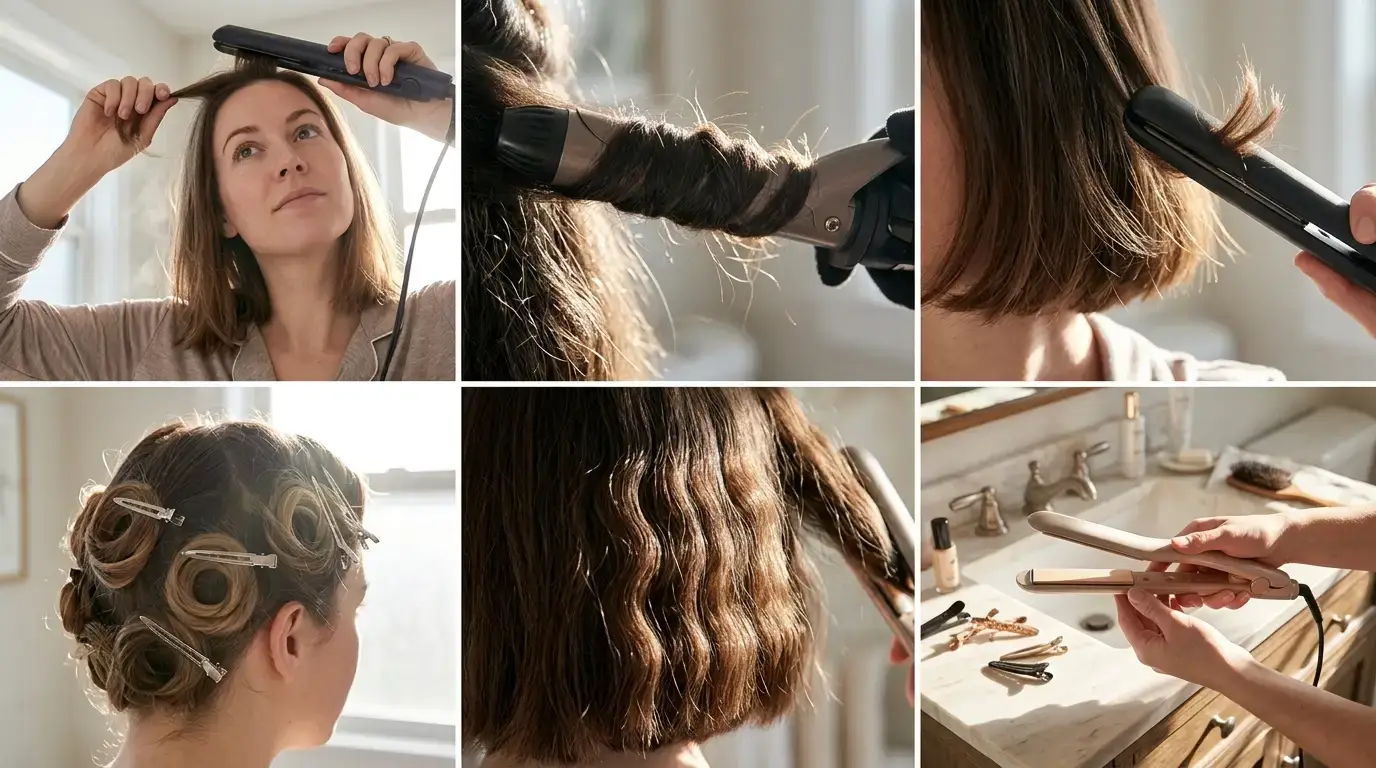
Start by adding smooth bends through your hair with a 1.25-inch curling iron before gathering it back. This preliminary step ensures that any loop that pulls loose displays an intentional curve rather than a frizzy, straight edge.
Wrap a half-inch strand of hair entirely around the elastic base to hide the rubber tie completely, pinning it underneath with a concealed bobby pin. This small, clean detail upgrades the look into a polished updo suitable for wedding guests while keeping the soft, romantic looseness intact.
Thin Strands Create a Tiny Knot
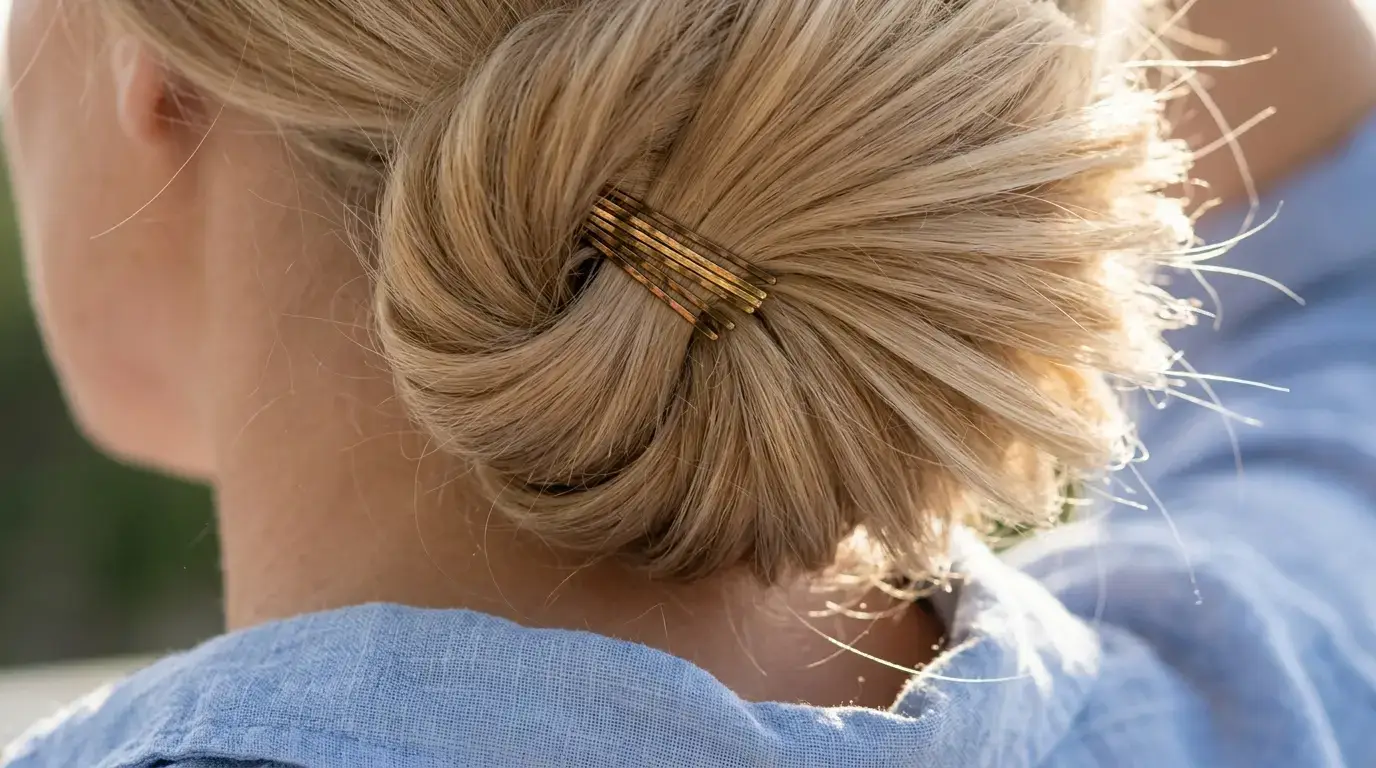
Fine hair often compresses into a loop the size of a walnut, leaving no visible shape from a front or side profile. Simply teasing fine strands dry often causes severe fiber breakage without providing lasting volume.
Backcomb the ponytail gently using a wide-toothed styling comb, working from the ends toward the base in three measured strokes. Mist each backcombed section with a volumizing spray before shaping the knot.
Spread the bun loop outward like an open accordion once it is pinned to the base. This fanning method creates the optical illusion of double the hair density without requiring synthetic foam donuts or heavy hairpieces.
Frequently Asked Questions
How do you keep a low bun from giving you a headache?
Headaches occur when hair pins press vertically against the scalp or when the elastic is wrapped too tightly. Always insert pins horizontally into the hair tie rather than downward into your skin, and use a soft scrunchie for the initial loop to reduce tension.
Can you create this style without any bobby pins?
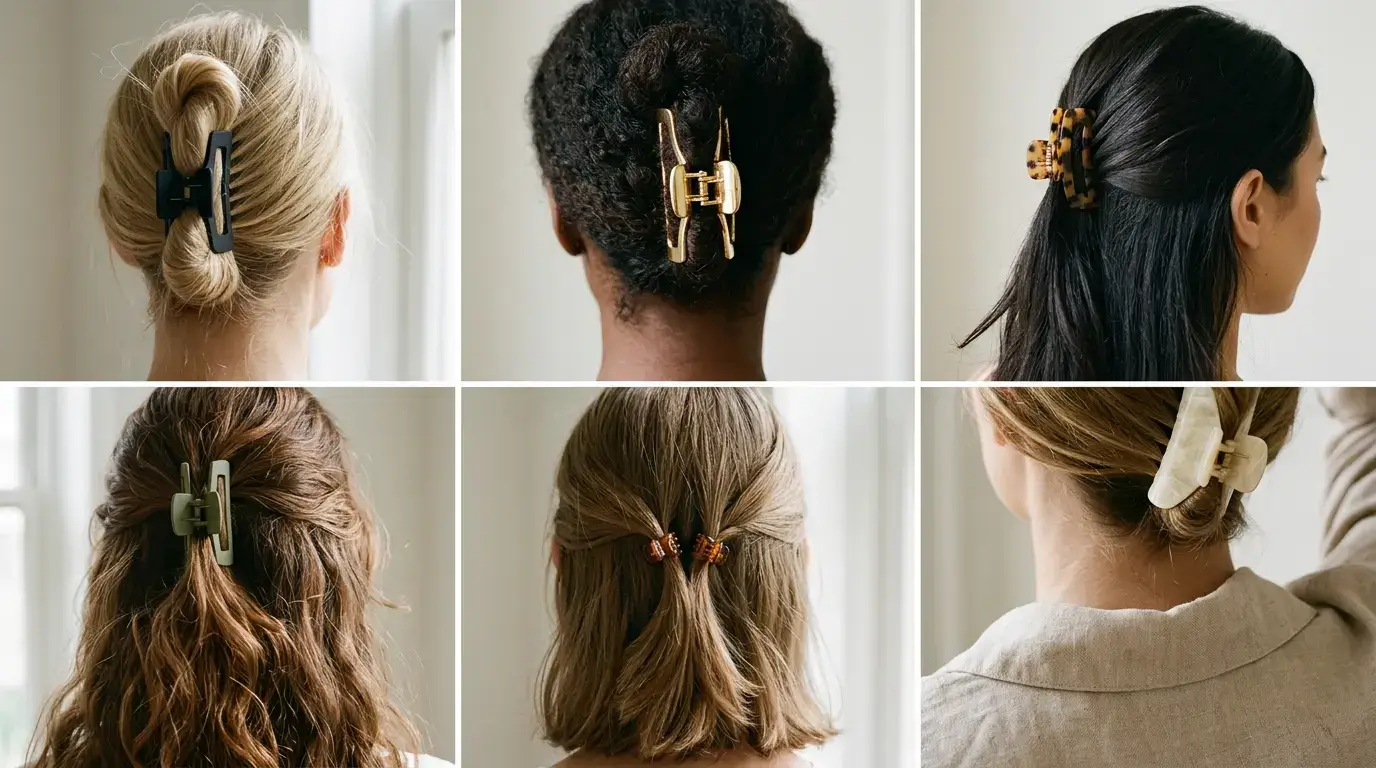
Yes, you can secure the entire knot using a single four-inch French hair fork or a strong three-inch claw clip. Slide the prongs through the top fold of your twisted loop, catch a small section of base hair against your head, and push down to lock it.
Why does the knot always shift to one side when walking?
This happens when the elastic is pulled off-center during the ponytail tie. Check your alignment in a mirror before looping your knot, keeping your chin level with the floor rather than tilting your head down.
What should you do if your hair is too short to reach the elastic?
Clip-in barrettes or small snap clips will anchor stray nape pieces that fall out of the ponytail. Place the clips vertically behind your ears so they blend into the shadow of your neck.
Fixing the Base Mistake That Ruins Your Morning
The single mistake that wastes the most styling time is attempting this updo on slippery, freshly washed hair without a texturizing agent. Trying to force slick strands to hold shape burns ten to fifteen minutes of frustrating trial and error with pins that inevitably slide out anyway.
Save yourself the morning struggle by applying dry shampoo or texturizing spray before you reach for an elastic band. That thirty-second preparation provides the friction your hair needs, turning messy bun how to attempts into a quick, reliable styling routine. For sensitive scalps, remember to perform a skin patch test before using new texturizing powders or aerosol sprays.