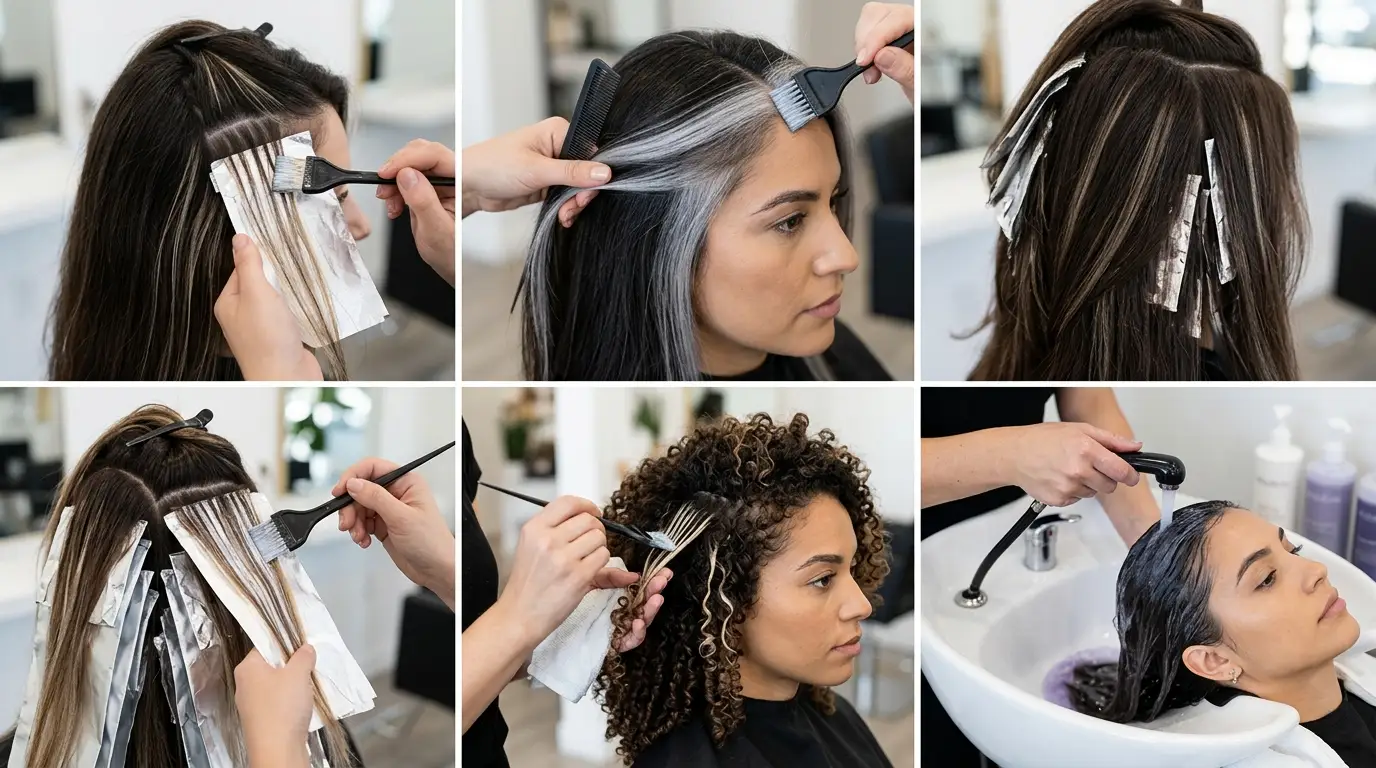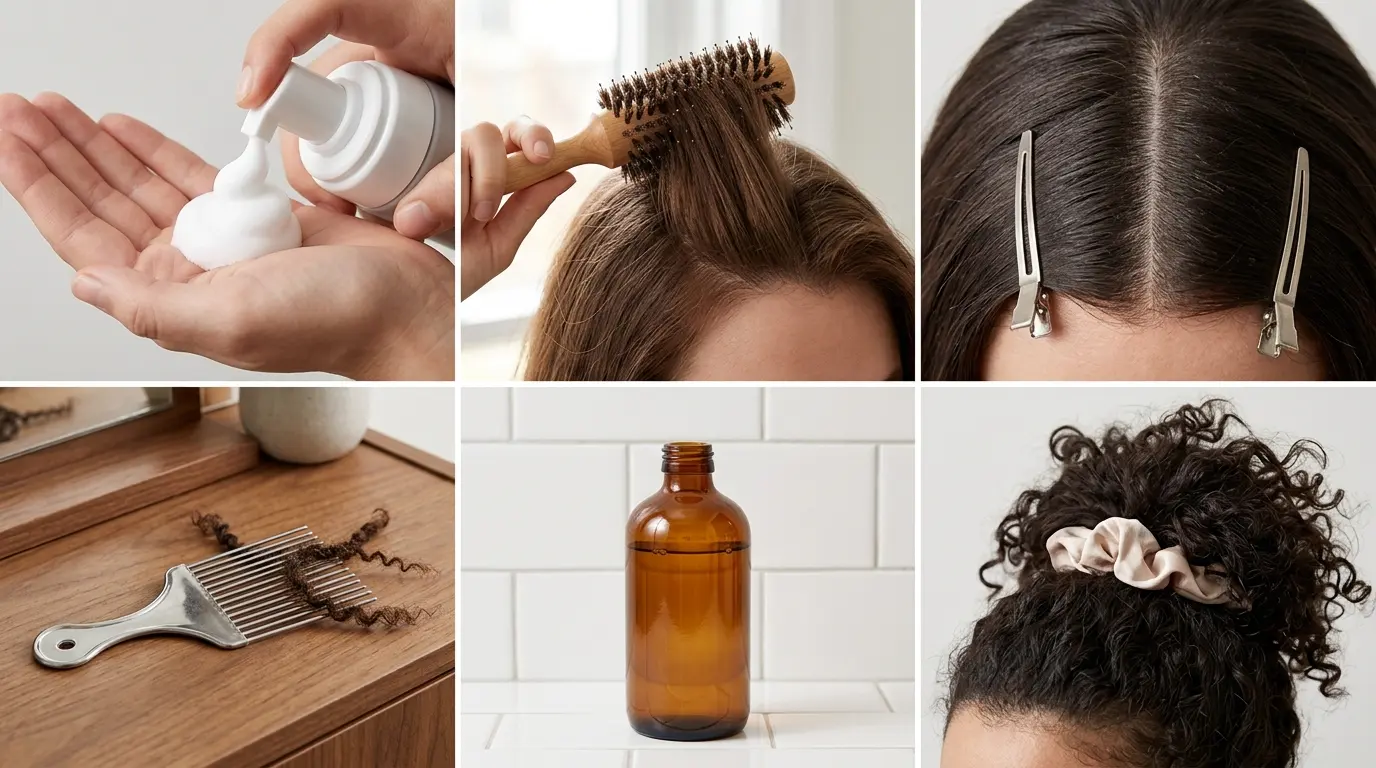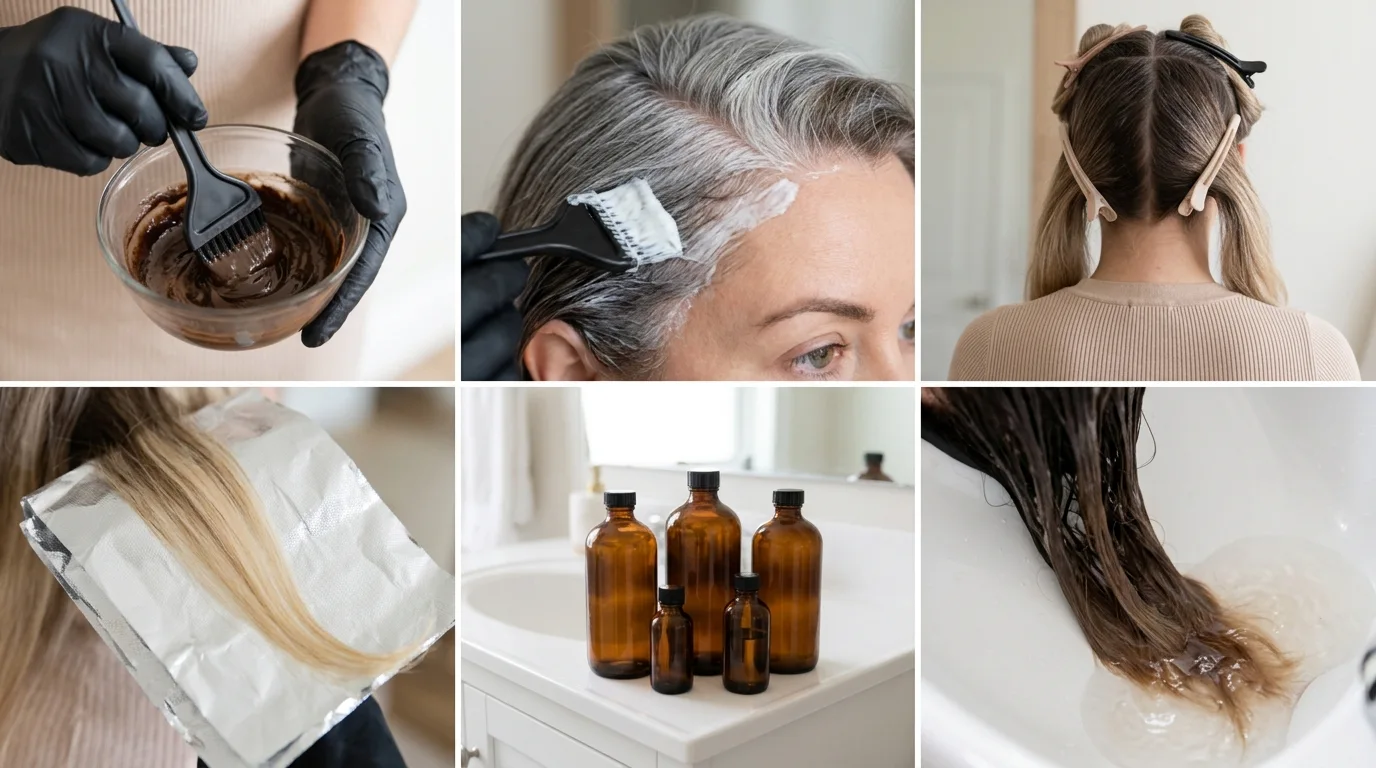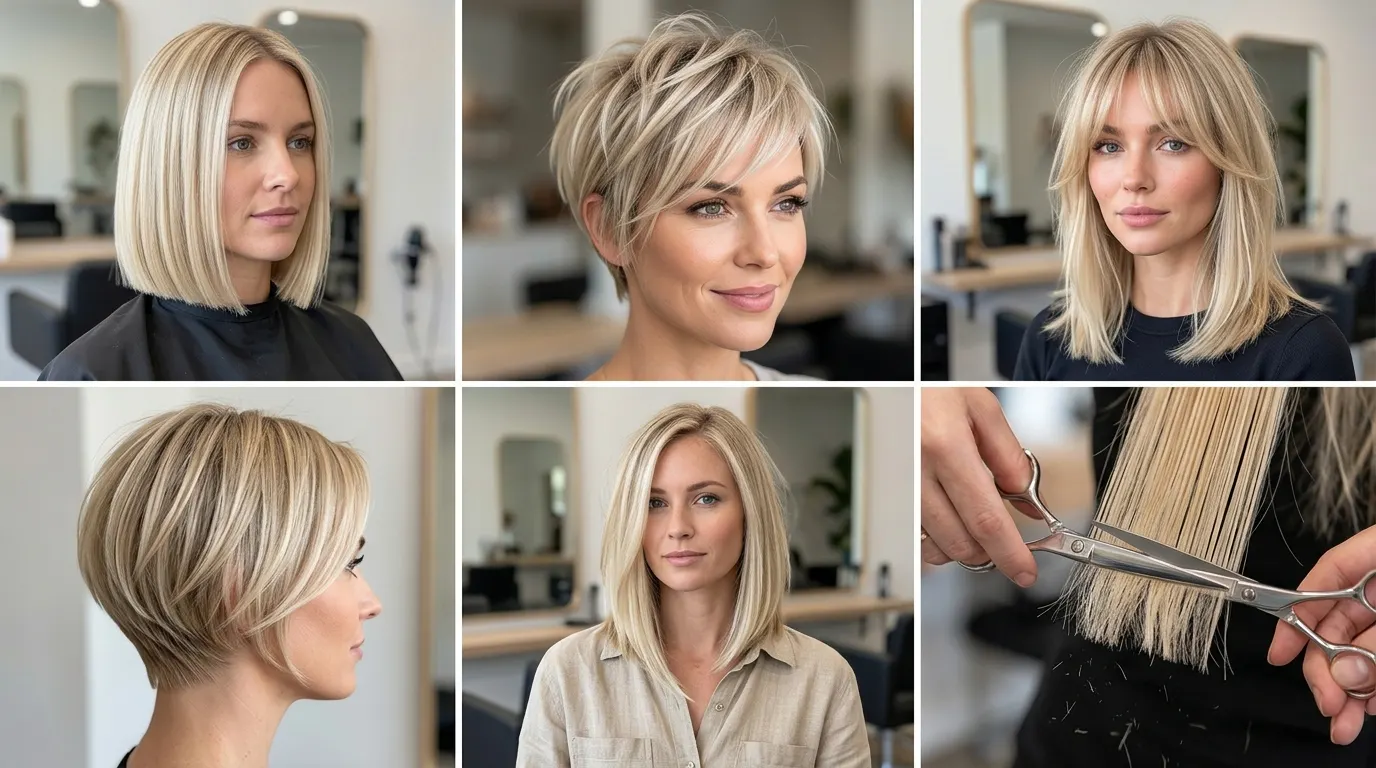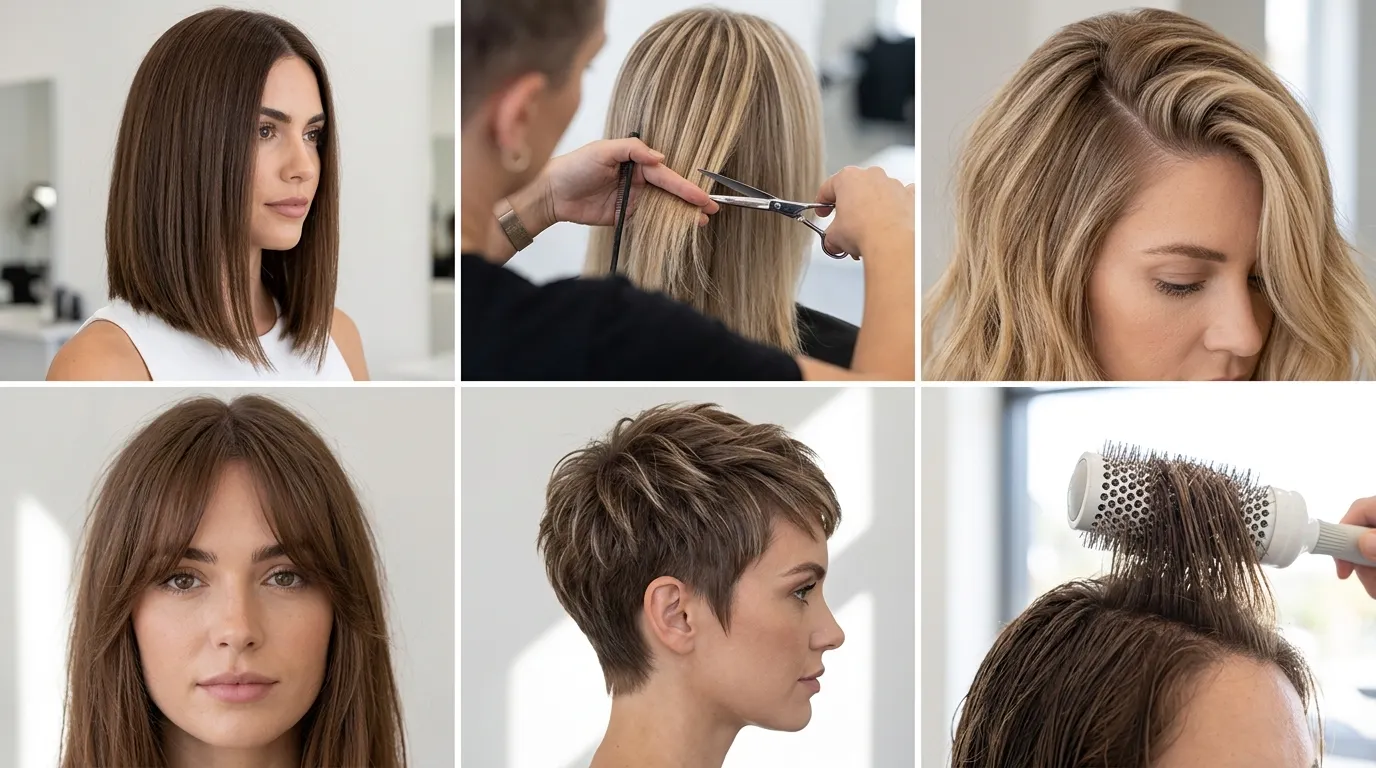

You are standing in your bathroom with scissors in hand, staring at flat ends that have lost all movement. Booking a salon visit every six weeks adds up, but hacking away at your own crown without a roadmap risks stair-stepped chunks and see-through perimeters.
Executing a balanced cut requires understanding weight distribution, elevation angles, and the natural fall of your hair texture. With the right tools and measured tension, this diy layered haircut tutorial at home shows you how to remove bulk and create fluid movement without sacrificing overall length.
1. Cleanse and Prep with Damp Tension
Drenching your hair under the faucet makes strands stretch up to thirty percent beyond their dry resting state. When wet strands dry, they snap back unpredictably, turning what looked like a one-inch trim into three lost inches.
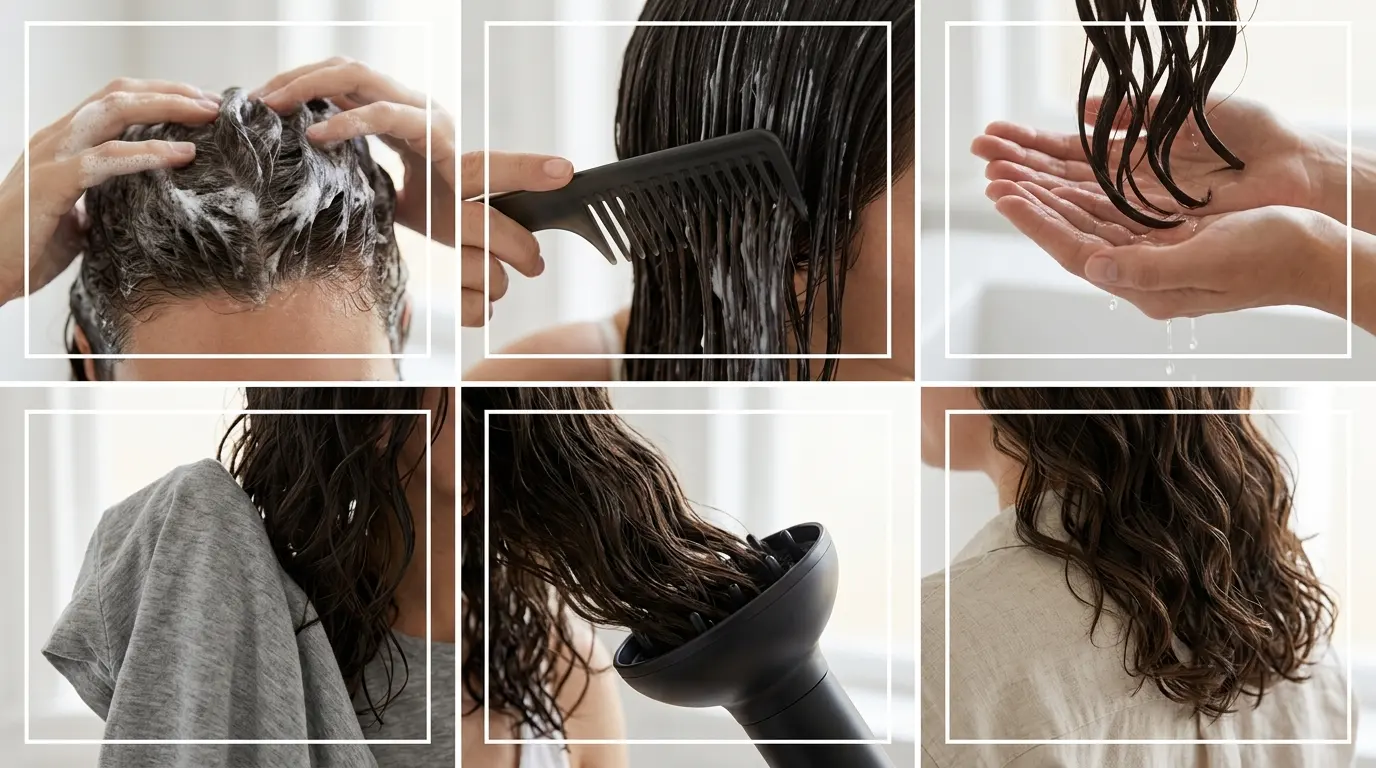
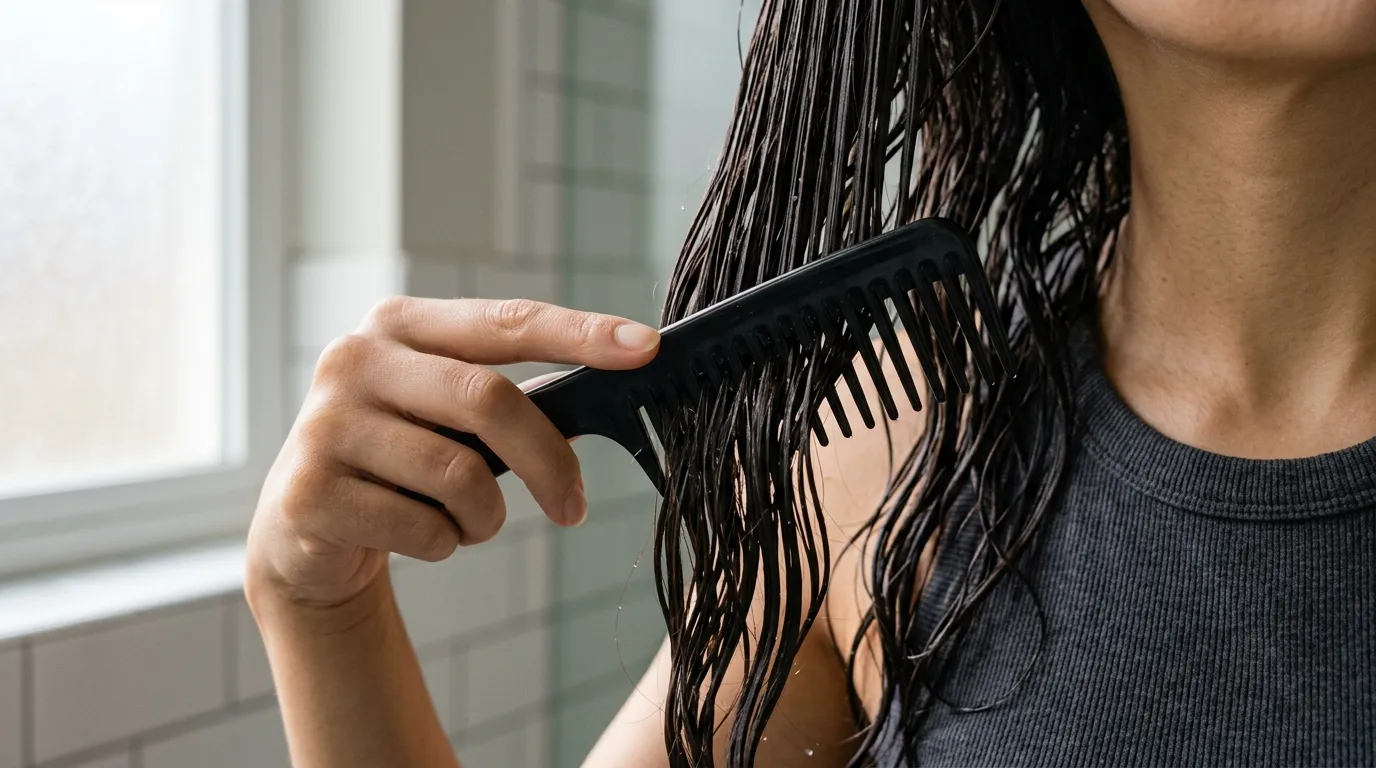
Wash your hair with clarifying shampoo to strip product buildup, then towel-dry until strands are evenly damp to the touch. Comb through every tangle with a wide-tooth comb from the nape outward. Keep a fine-mist spray bottle filled with lukewarm water nearby.
Mist the hair lightly whenever a section starts drying faster than the rest. Uneven moisture levels cause uneven tension along the comb, leading to crooked cut lines.
This foundation suits medium to thick densities best.
2. Establish the Perimeter Baseline
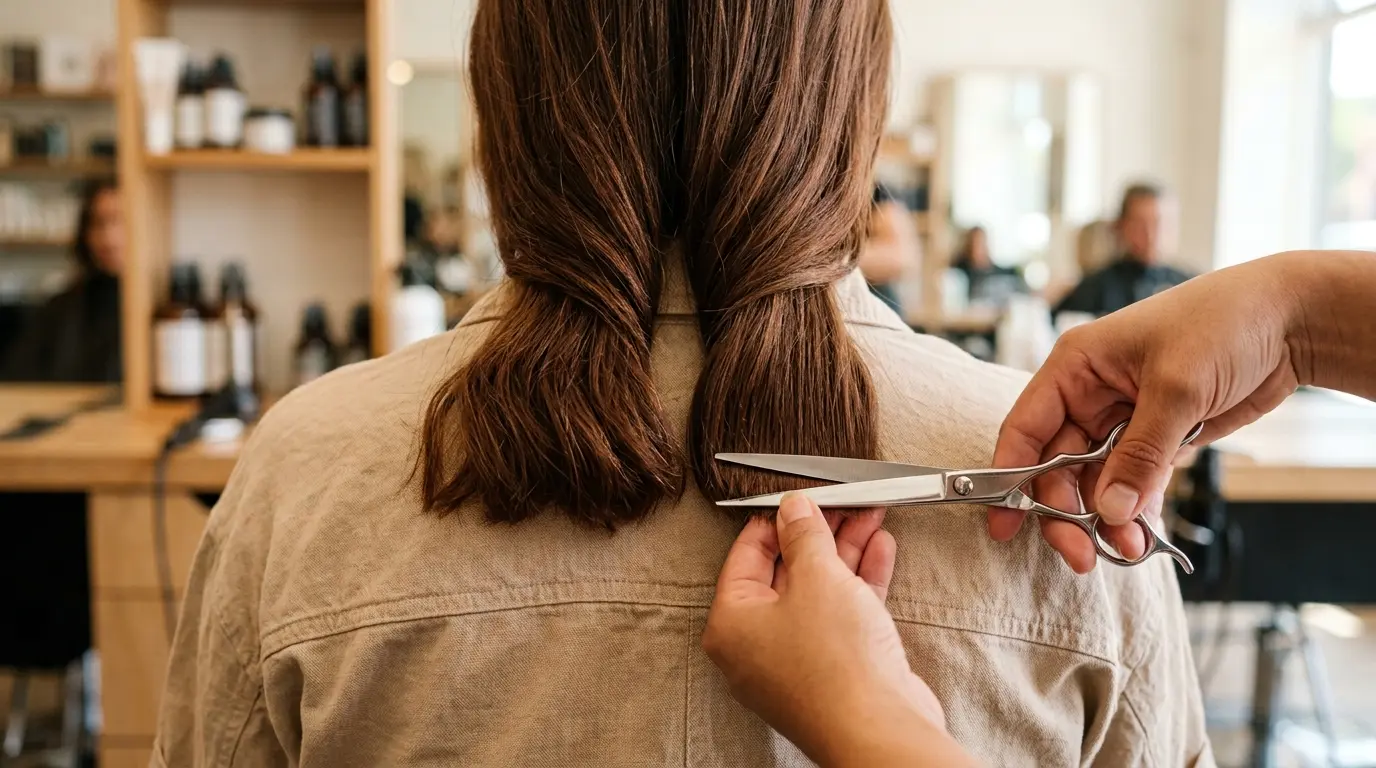
Never cut interior layers before setting the bottom boundary. If your baseline is frayed or thin, layering over it will make your bottom perimeter look stringy and see-through.
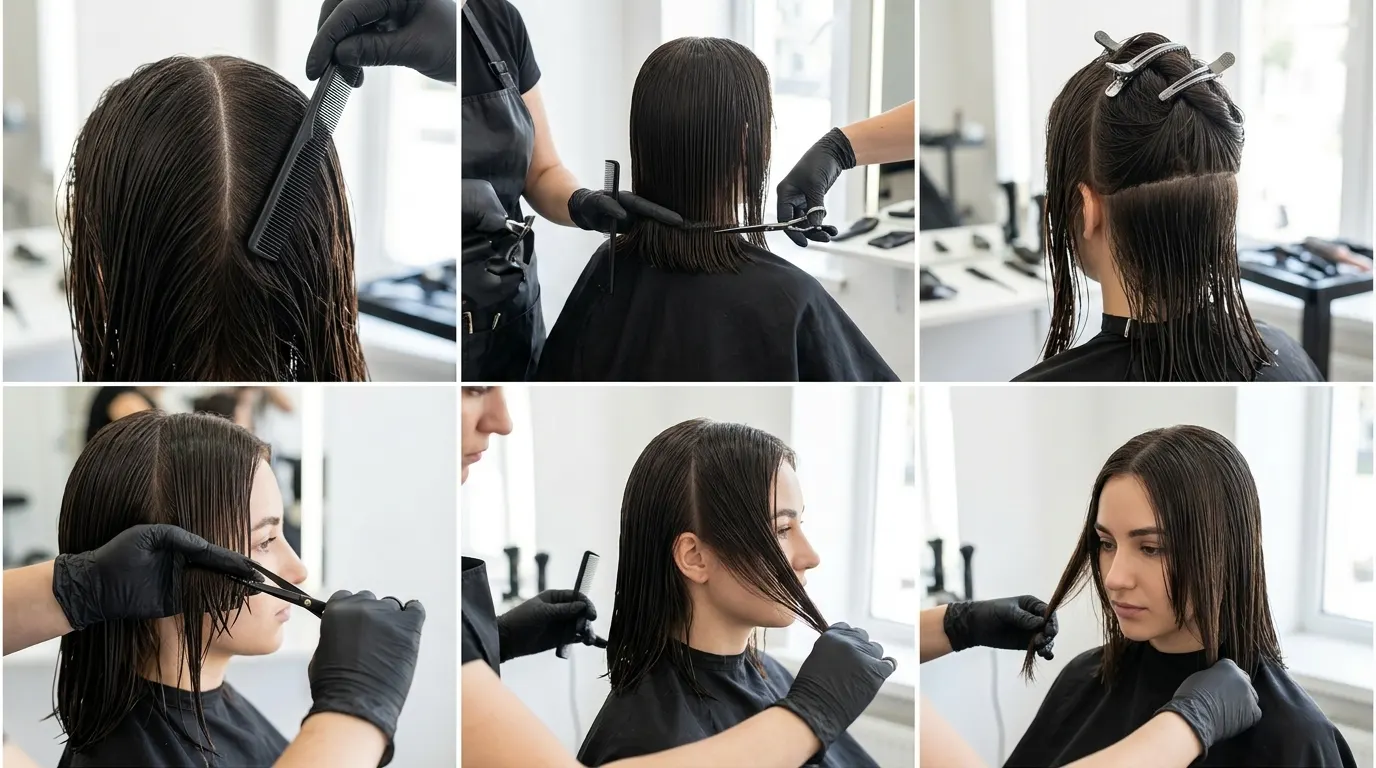
Part your hair down the center from your forehead straight to the nape of the neck. Bring both sides forward over your shoulders, keeping your head upright. Tilt your chin slightly down toward your chest, place your index and middle fingers horizontally across the ends, and snip away a quarter-inch of split ends using professional stainless steel shears.
A decent pair of five-inch convex blade shears costs twenty to thirty-five dollars in 2026. Kitchen scissors crush the cuticle instead of slicing it cleanly.
Skip this perimeter trim if your baseline was shaped at a salon within the past four weeks.
3. Map the Horseshoe Crown Section
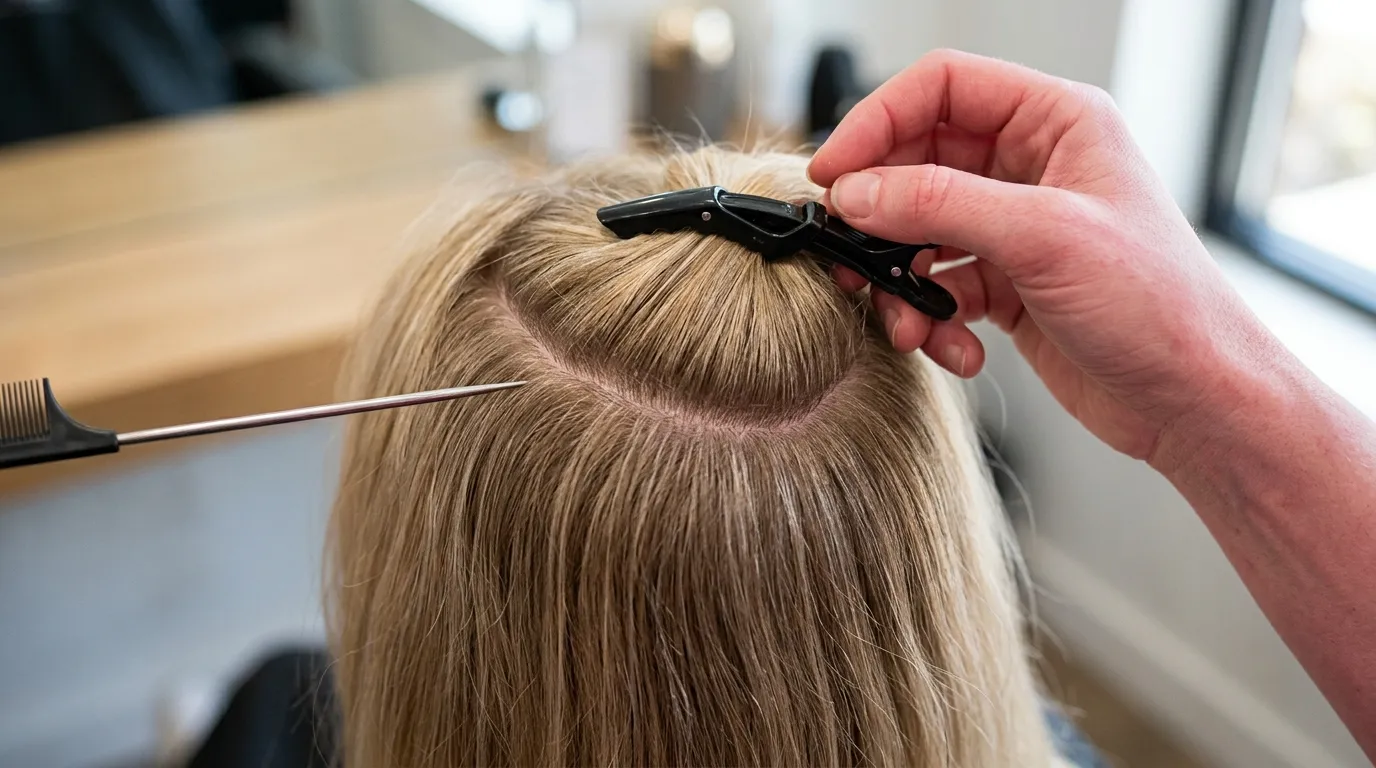
Carving sloppy sections guarantees choppy, uneven steps across your head. Accurate layering relies entirely on separating the top weight from the perimeter density.
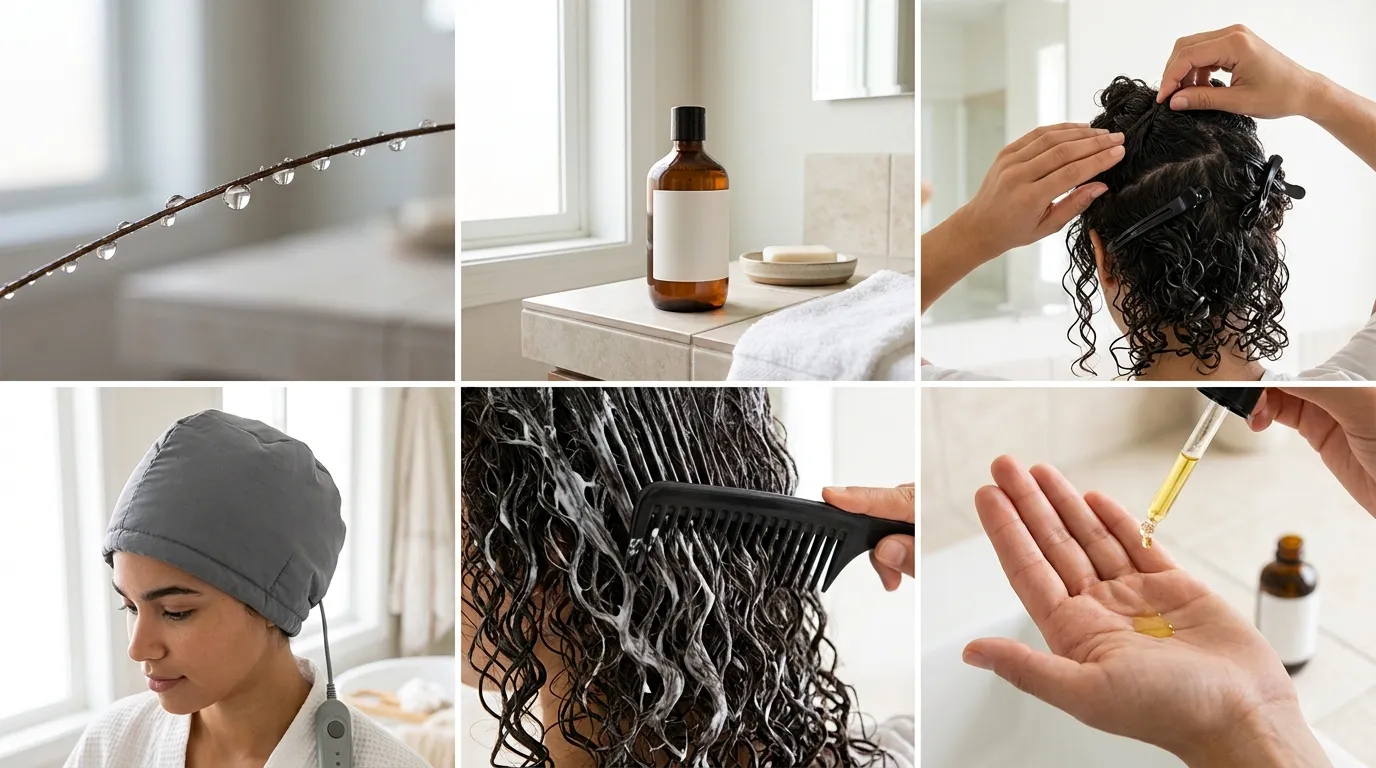
Slide the tail of a metal parting comb starting at the recession of your left temple, trace a continuous curve around the back of your crown, and finish at your right temple. This creates a clean horseshoe-shaped top box.
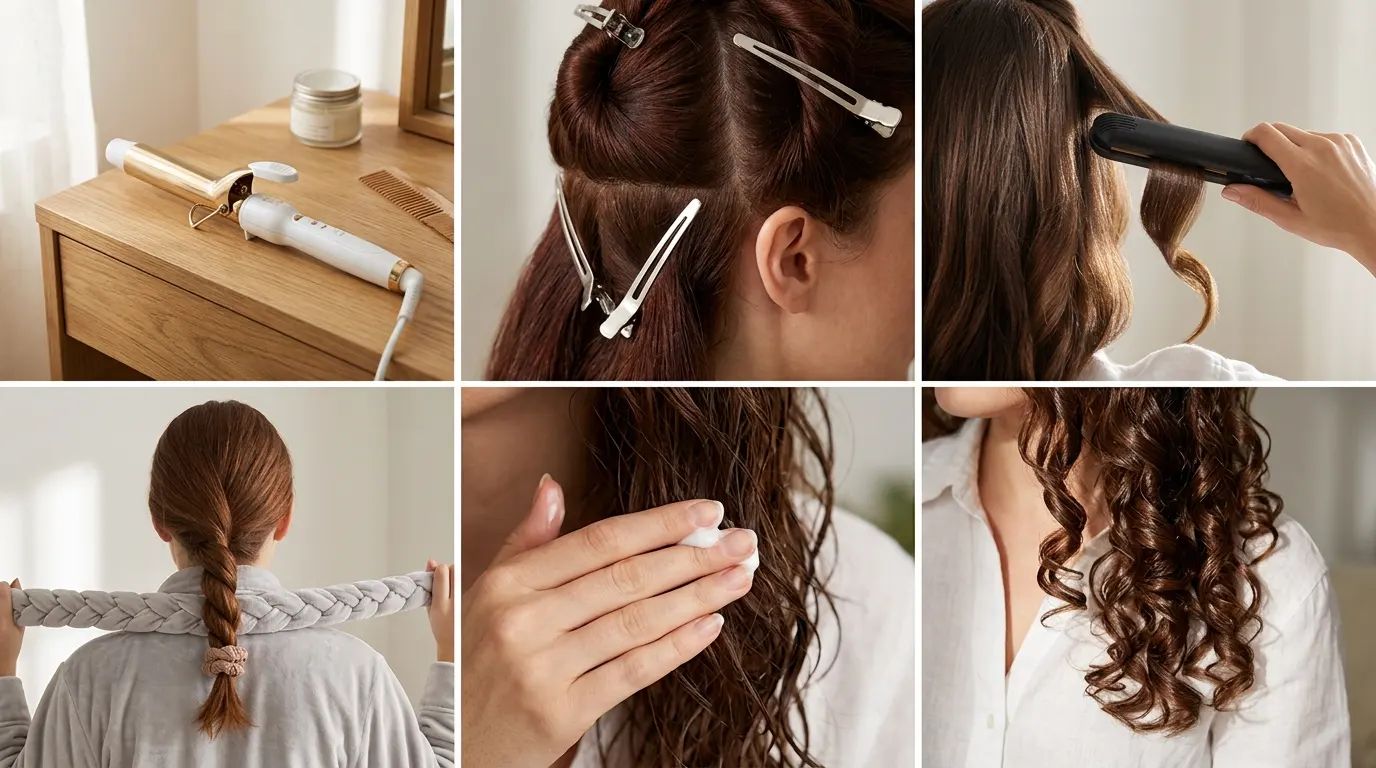
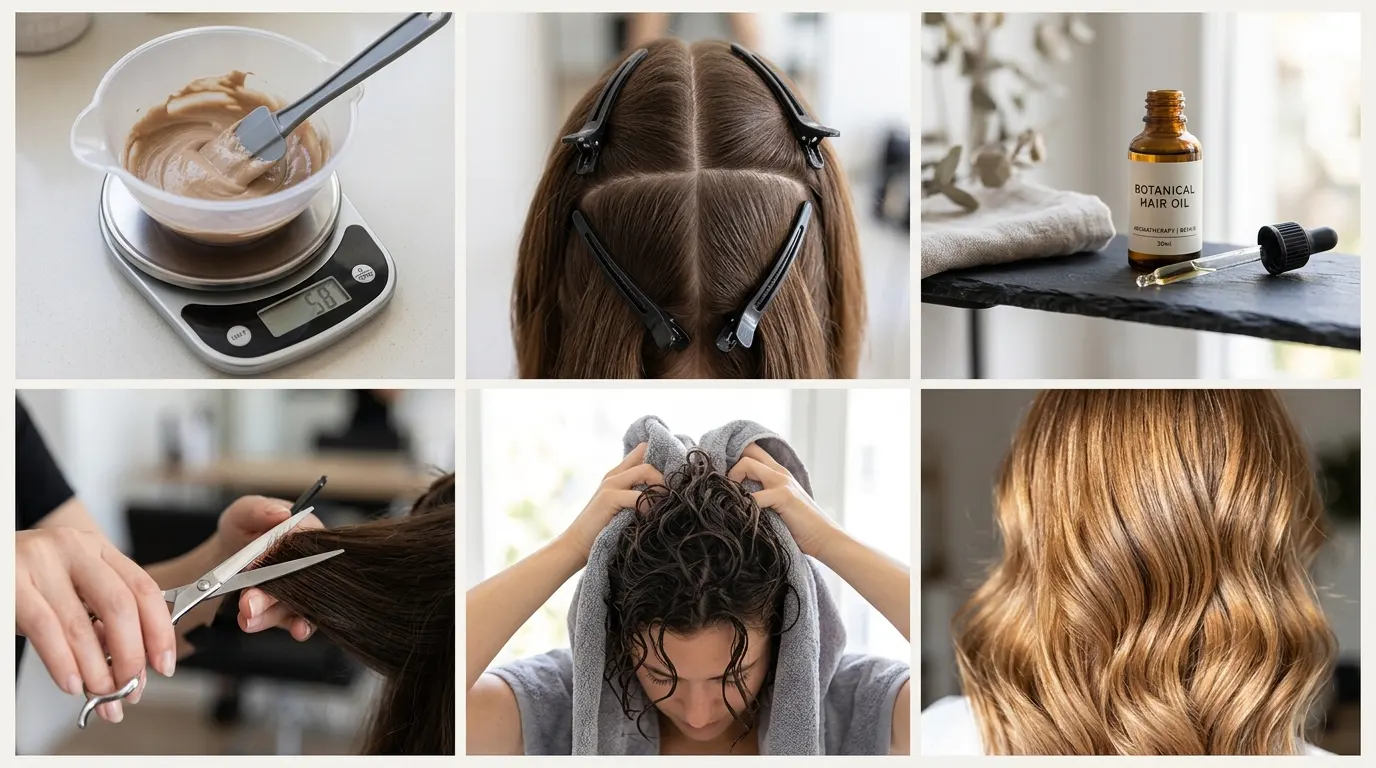
Twist this entire upper canopy into a compact bun and clamp it out of the way with an alligator clip.
Leaving the bottom half completely free lets you see the true density of your length before you start removing interior weight.
Pair this sectioning step with two large salon clips so stray hairs never drift into your cutting path.
Essential Shears and Workstation Setup
Cutting your own hair demands sharp, dedicated tools and shadow-free lighting. Set up two mirrors so you can see the back of your head without twisting your torso. A handheld mirror held across from your bathroom mirror works well.
Never cut hair over carpet where fallen hairs wedge into the fibers. Clear a hard floor surface, turn on bright overhead light, and wear a form-fitting dark shirt so the pale tips of your hair stand out clearly against your chest.
4. Elevate the Traveling Guide at Ninety Degrees
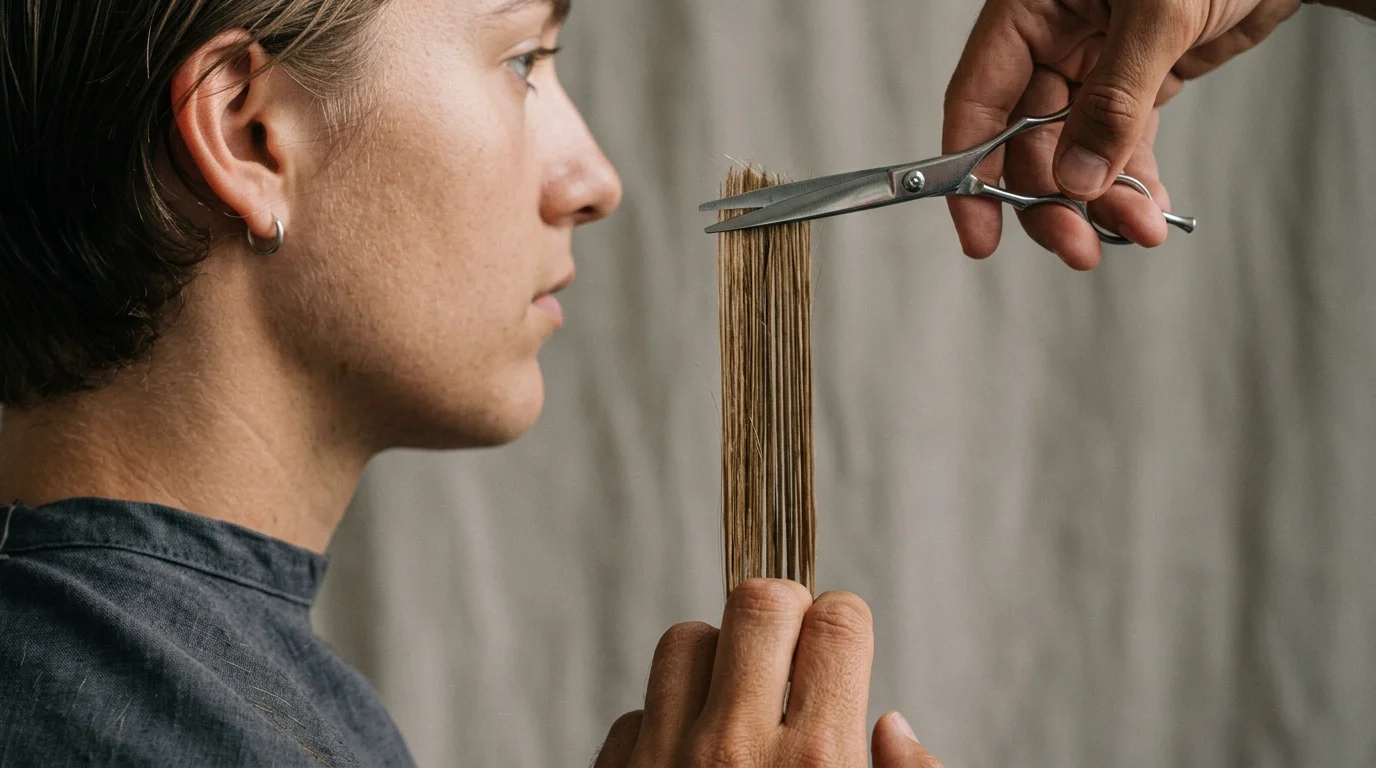
The traveling guide creates a seamless cascade through the back without harsh horizontal demarcation lines.
Release a vertical slice one inch wide straight down the center back of the lower section. Comb this ribbon straight out from the scalp at a strict ninety-degree angle.
Clamp the hair between your middle and index fingers, sliding your hand outward until the shortest hairs at the bottom are barely visible between your knuckles.
Angle your fingers at forty-five degrees and cut only the protruding corner. This shortest piece is now your stationary guide.
Pick up the adjacent hair along with half of your guide slice, comb outward at the same ninety-degree elevation, and match the cut line.
Continue moving outward until you reach the back of the ears.
This technique forms the core of any simple layered hair tutorial.
5. Blend the Crown with Vertical Point Cutting
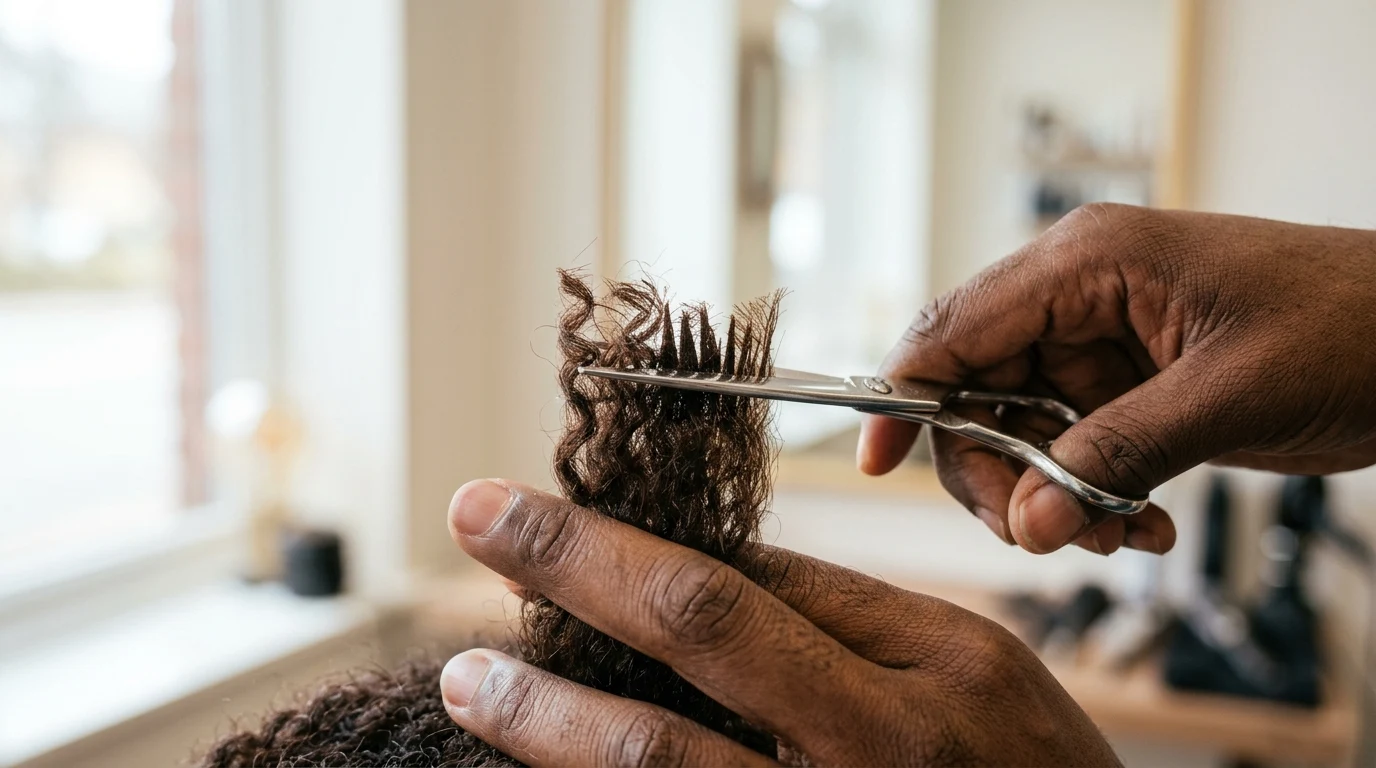
Cutting straight across hair ends leaves a blunt shelf that sits heavily across the head. Softening those ends requires vertical snips directly into the hair section.
Release the clipped horseshoe section on top of your head. Comb a two-inch square piece from the apex of your crown straight upward toward the ceiling. Hold the section taut between your fingers, leaving half an inch of hair exposed at the tips.
Turn your shears so the blades point directly down into the hair, parallel to the strands.
Make small, shallow snips spaced three millimeters apart along the edge to remove hard corners.
Never cut deeper than a quarter-inch into the section, or you will gouge a hole in the top canopy.
This point-cutting method gives fine hair natural volume without exposing the scalp beneath.
6. Over-Direct the Sides for Front-to-Back Flow

Pulling hair forward while cutting preserves density in the back while carving length away from the front. This directional control is the main mechanic in a long layered haircut tutorial.
Comb the hair on the right side of your head forward so it rests flat across your cheek. Tilt your fingers diagonally so your fingertips point toward your collarbone and your knuckles angle toward your ear.
Trim the hair extending past your fingers in two fluid passes.
Because the hair from behind the ear travels a greater distance to reach the front of your face, it retains length naturally while blending softly into the shorter front layers.
Repeat the exact finger angle on the left side, using your chin as a visual center point to verify that both sides meet at the identical vertical height.
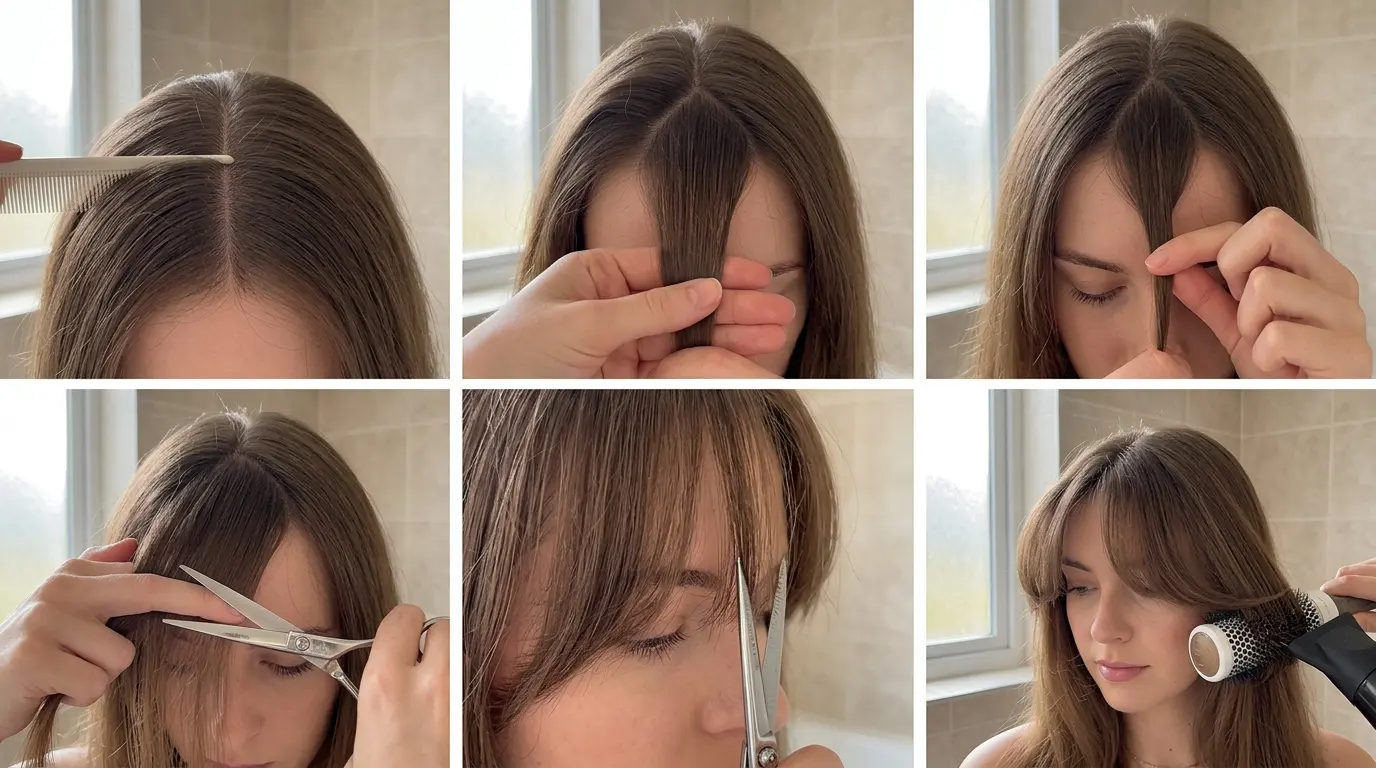
7. Soften the Face-Framing Angles
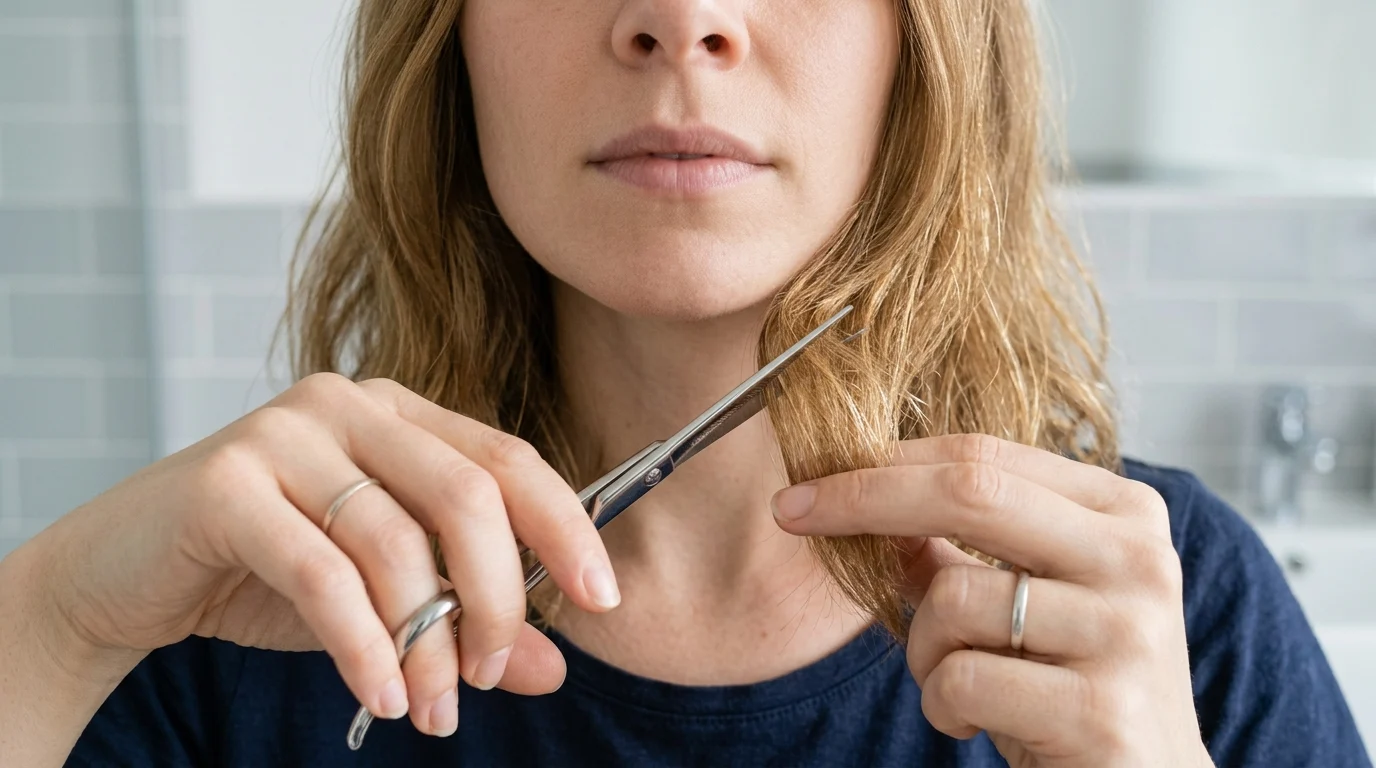
Heavy perimeter hair around the face can drag down your cheekbones and jawline. Tailored front pieces add immediate shape and structure to everyday styles.
Isolate a triangular section at your forehead, starting two inches back from your front hairline and tapering down to each eyebrow arch. Comb this triangle smooth and hold it lightly between your fingers at chin level.
Slide your shears down the hair shaft using a gentle gliding motion, opening and closing the blades by only a millimeter as you travel downward.
Start the first angle at the tip of your nose or the edge of your lip, angling outward toward the collarbone.
If you have tight curls, skip sliding shears entirely. Instead, point-cut each curl cluster individually in its dry state to account for natural shrinkage.
8. Cross-Check Balance Across the Horizontal Plane
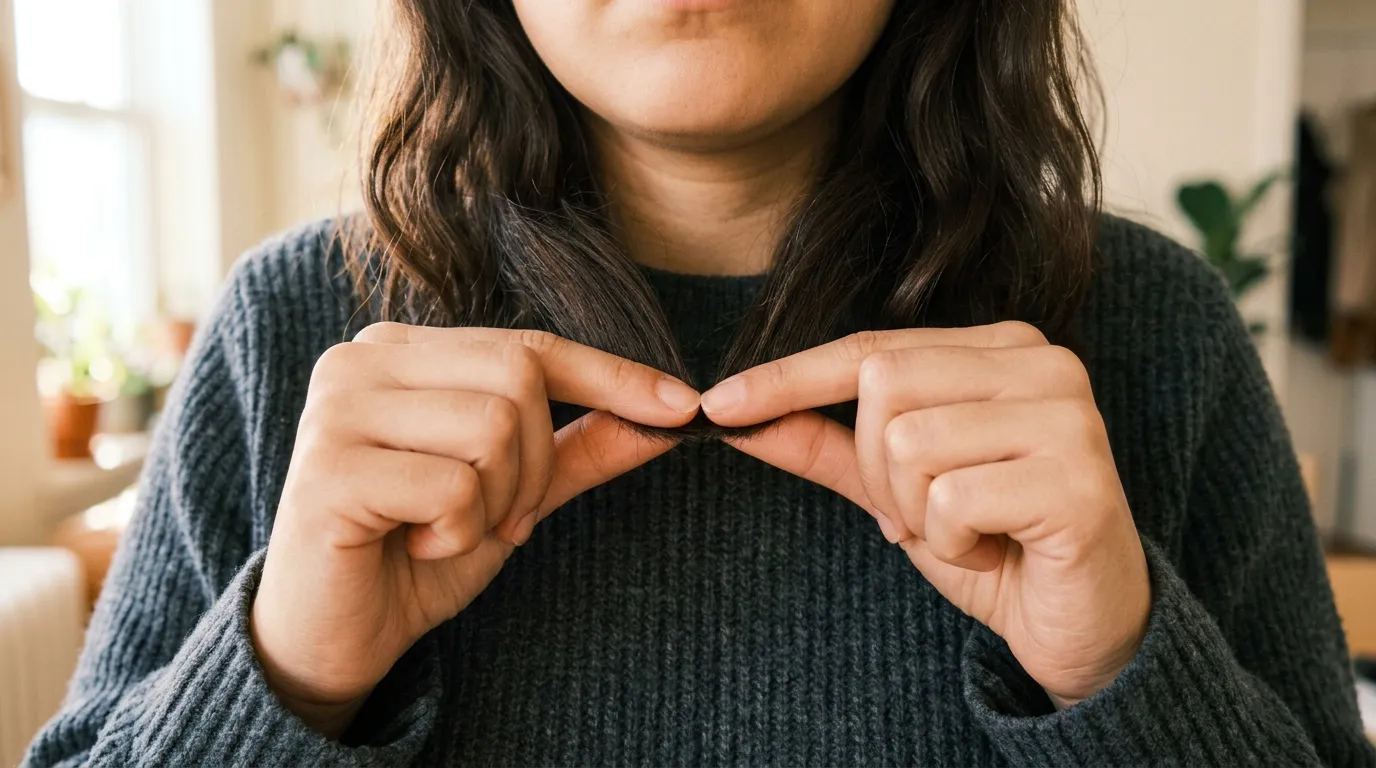
Checking your own symmetry prevents that dreaded lopsided look when you part your hair on the other side.
Take a half-inch horizontal slice across the top crown, spanning from ear to ear. Pull this combined ribbon straight up toward the ceiling.
Look closely at the hair tips between your fingers.
The edge should form a flat, horizontal line. If one side peaks higher than the other, gently point-cut the longer fibers until the line balances completely.
Next, take matching sections from behind each ear, pull them together under your chin, and verify that their tips meet at the exact same point on your chest.
This meticulous cross-check is the secret to a professional layered haircut at home that looks intentional from every angle.
Starting Your First Home Cut with Confidence
Taking that first snip on your own hair feels nerve-wracking, but following a structured plan removes the guesswork. If you feel hesitant, start by trimming only a quarter-inch off the front-framing angles. That small adjustment gives you instant visual payoff and lets you gauge how your shears feel in your hand before touching the rest of your head.
Once you get comfortable with the tools and finger angles, following this measured diy layered haircut tutorial at home will keep your ends fresh, your volume high, and your salon budget intact.
Common Questions About Cutting Layers at Home
What is the biggest difference between cutting wet or dry hair?
Wet hair stretches significantly and hides its natural cowlicks and wave patterns. Cutting damp hair gives you clean lines and consistent tension, but you must factor in a half-inch of natural shrinkage once the hair dries.
Can I use craft or fabric scissors to cut my hair?
Household and fabric scissors have dull, stamped bevels that crush hair cuticles rather than shearing through them. This crushing splits the hair ends immediately, causing frizz and fraying within two weeks of your cut.
How much length should I remove during a first attempt?
Trim no more than a half-inch across your layers during your first home haircut. Taking off small increments preserves your margin of error and keeps your overall length safe while you refine your technique.
How do I prevent visible shelves between the layers?
Hold your shears vertically rather than horizontally, using shallow point cuts into the ends. Point cutting softens the edge of each section so the individual layers rest inside one another instead of stacking like blocks.
What should I do if one side turns out shorter than the other?
Never rush to cut the longer side down to match in a single pass. Comb both sides forward, pinpoint the exact difference using a comb measurement, and point-cut the longer side in tiny quarter-inch passes until the lengths align under your chin.
Related reads: The Best Short Haircuts for Fine Thin Hair to Boost Volume, The Definitive Guide to Finding a Haircut for Fine Thin Hair and Diamond Face Shape Haircut Options That Balance Sharp Features.