
Every system looks great in the first week of September. By Halloween the bags are back on the floor.
That is not a discipline problem. It is usually a design problem, and the fix is almost always physical rather than motivational.
The backpack storage ideas below cover hook height, weight ratings, where the bags naturally land, and how to keep everything from looking like a school corridor in your front hall. Some of it costs nothing.
Why Most Setups Fail Within a Month
Most backpack storage ideas for home fail because the floor is the path of least resistance. Anything that takes more effort than dropping loses.
So the first question is not what to buy. It is where people already stop when they walk in, because that spot is where the system has to go.
That small pile matters more than it looks like it does. It sets the tone for the whole room, and it grows. One bag becomes three, then the shoes join in.
Professional organizers repeat the same principle for a reason. Every item in a house needs one assigned place, and bags are no exception.
Design for laziness. Then it holds.
1. Track Where the Bags Land Before You Buy Anything
Spend three days watching. Not planning, watching.
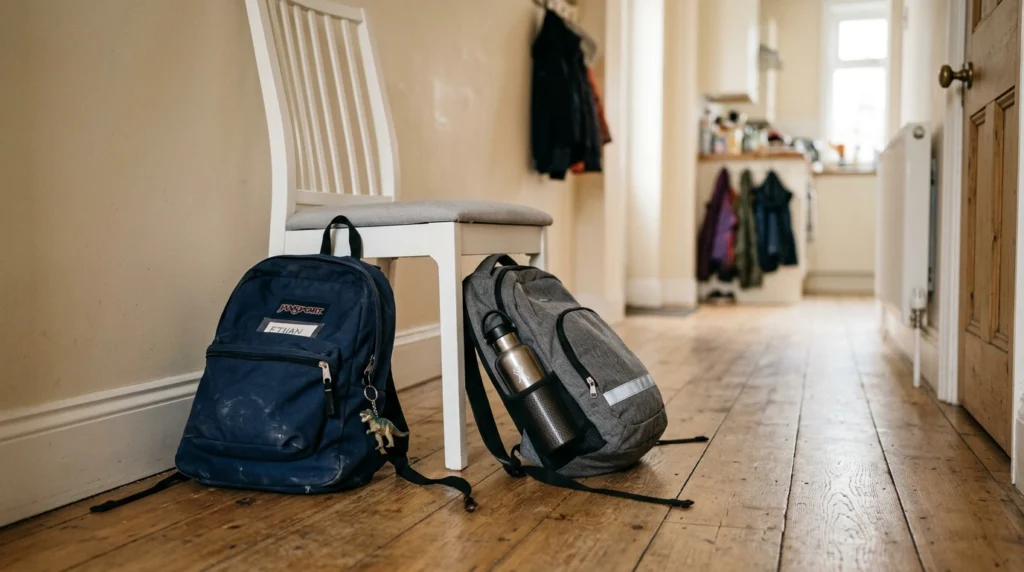
Wherever the bag hits the ground is your location. Kitchen chair, hallway floor, bottom of the stairs. That spot won because it is on the natural path, and fighting it means the system loses.
Sometimes the winning spot is inconvenient for you. A bag pile at the kitchen table makes the whole eating area feel cluttered, which is exactly why families move the storage somewhere else and then wonder why nobody uses it.
The compromise is putting storage as close to the drop point as the room allows. Two steps out of the way is fine. Two rooms away is not.
2. Set Hook Height to the Person Using It
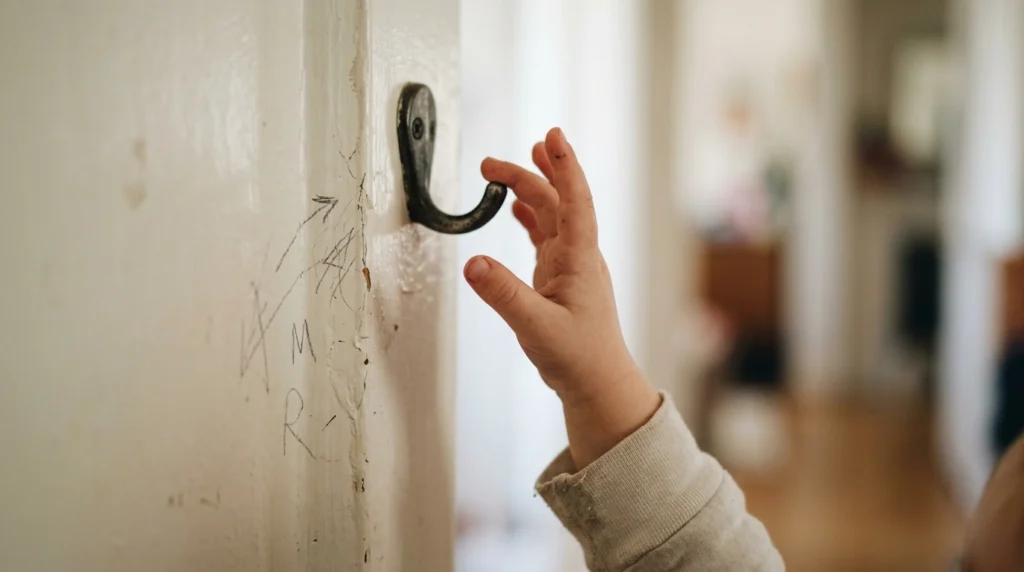
Height is the single most common reason a system fails. Hooks installed at adult eye level are useless to a child who cannot reach them.
Measure to shoulder height for each kid instead. A loaded bag needs lifting, and shoulder height is where that stays possible without a stretch or a jump.
Which means you will be moving hooks. Kids grow, so plan on repositioning every year or two rather than installing once and forgetting.
Adult bags go the opposite direction. Mount those higher up, out of reach of small hands, which keeps work laptops and handbags separated from the after-school chaos below.
Mark all the heights in pencil first and hold a bag against each one before drilling.
3. Choose Hooks Rated for What a Loaded Bag Weighs
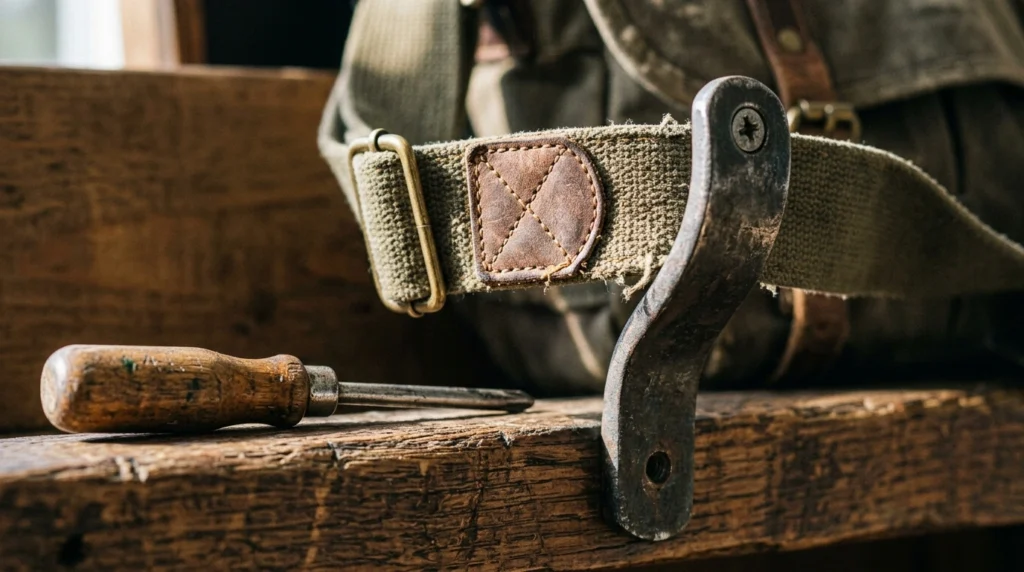
A full backpack is heavier than people expect once textbooks, a laptop, and a water bottle are inside.
Look for heavy duty hooks with a stated rating. Many hold up to around 14 pounds each, which covers most school bags with room to spare. Anything without a published weight rating is a gamble.
Shape matters too. Wide hooks spread the strap across a broader surface and stop the fabric creasing into one line over months of hanging.
Here is the mistake that pulls hooks out of walls. Drywall anchors alone will not hold a loaded bag long term. Find the studs, or use a mounted rail or board screwed into studs and put the hooks on that.
4. Entryway Backpack Storage Ideas That Do Not Block the Door
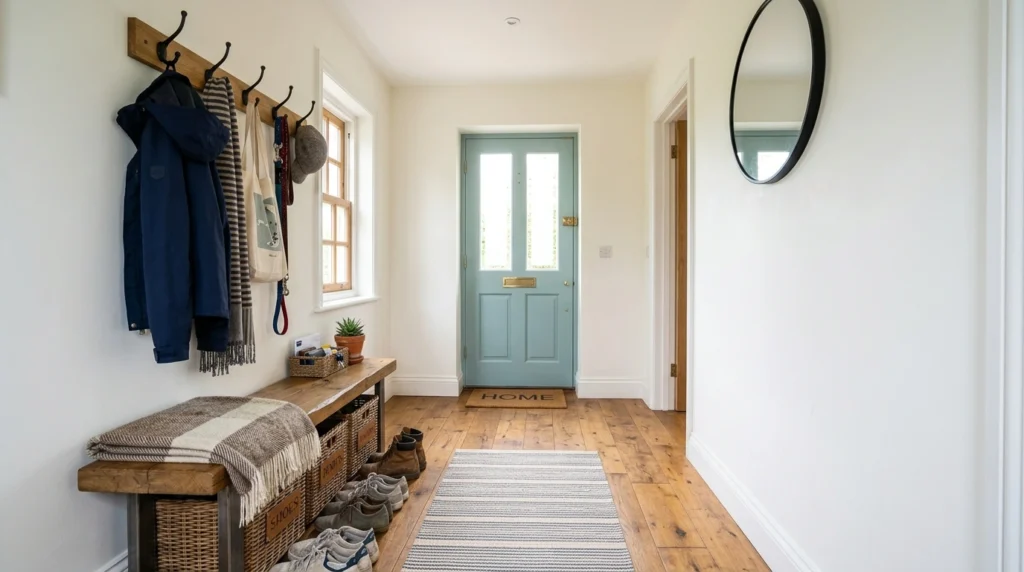
The front hall is the obvious location and the easiest one to overcrowd.
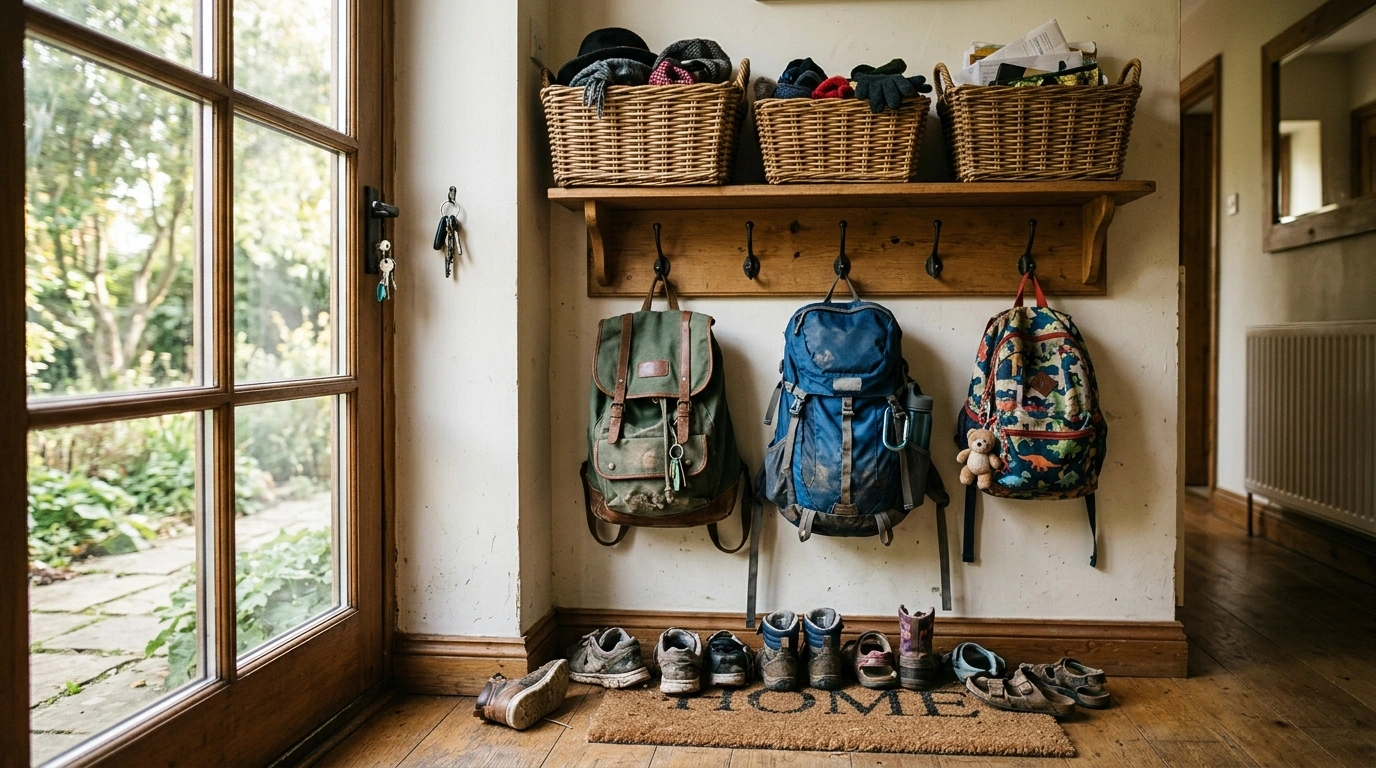
Keep the swing path of the door completely clear, then work along the wall beside it. Hooks at the top, a bench or basket at the bottom, nothing protruding into the walkway at shoulder level.
Baskets underneath do more work than they get credit for. They catch everything that falls out of a bag, so the loose paper and hats and gloves stay contained instead of spreading across the floor.
One design detail worth borrowing. Paint the wall behind the hooks a contrasting shade. The bags read as deliberate against it rather than looking like random clutter.
5. Size a Cube Organizer to the Bag, Not the Room
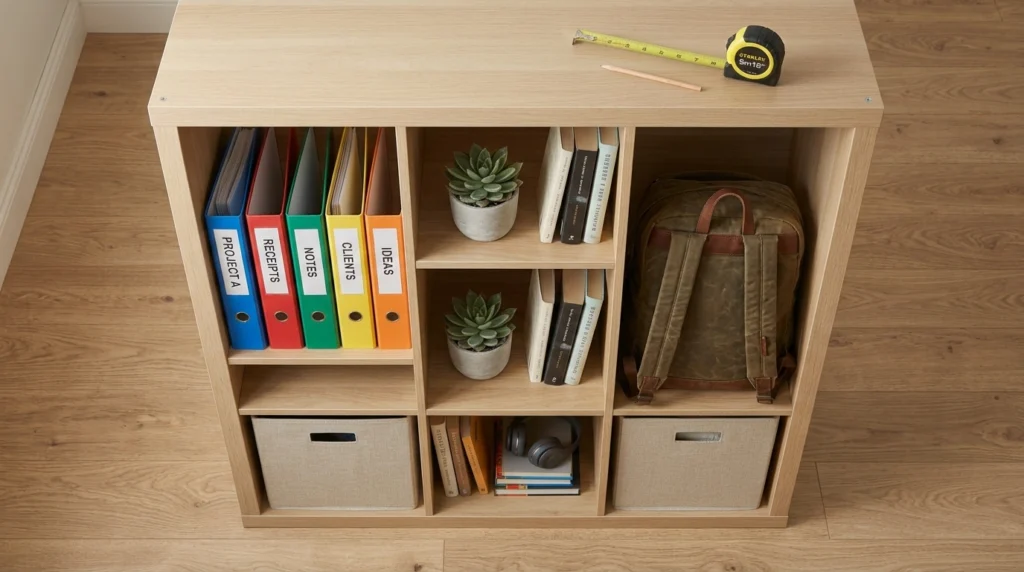
Cube shelving tops most bookbag storage ideas lists for a reason, but the cubbies vary in size between models and a bag that does not fit makes the whole unit pointless.
Larger cubes around 13 by 13 inches with a solid frame handle a full school bag. Smaller cubbies suit shoes and folders and nothing else.
Measure the widest bag in the house before ordering. Measure it packed, not empty.
There is a build trick worth knowing. Assemble the unit and leave out the middle shelf on one column, which gives you a tall cubby for bulky items while the rest stays divided.
Skip cube units entirely if bags are oversized sports duffels. Those need hooks or floor space.
6. Open or Closed Storage: How to Decide
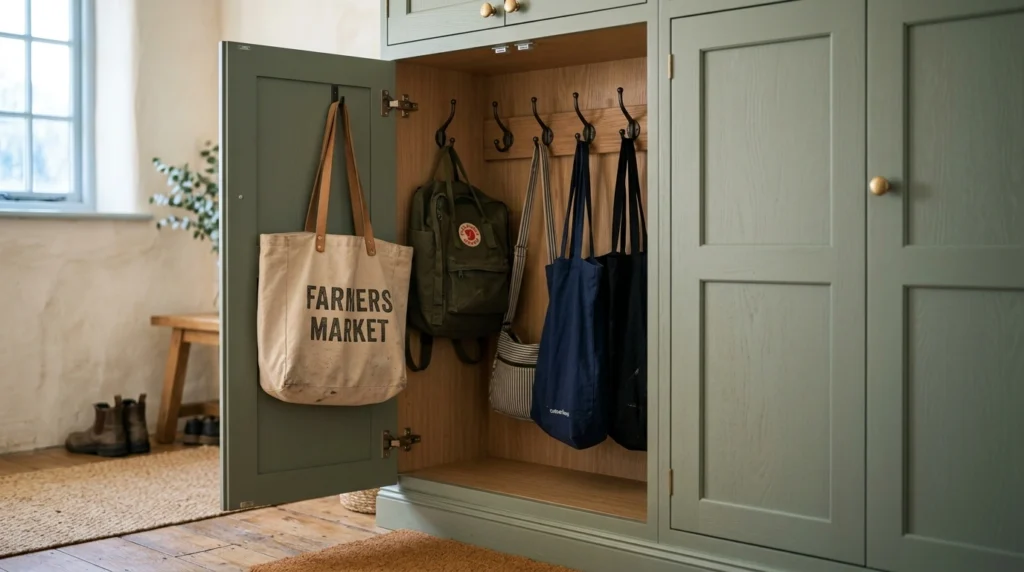
Both work. They suit different households.
Open storage means hooks and shelves with everything visible. It is fast, it takes one motion, and kids follow through with it because there is nothing to open first. The cost is that your hallway looks like your hallway with bags in it.
Closed storage hides everything behind cabinet doors. The room stays calm, and the inside can still be fully organized with hooks mounted on the door backs.
The tradeoff is friction. Every extra step reduces compliance, and opening a door counts as a step.
My honest read is that families with young kids should choose open, and adults living alone can choose closed. Mixed households sometimes run both.
7. Backpack Storage Ideas for Small Spaces: Use the Wall
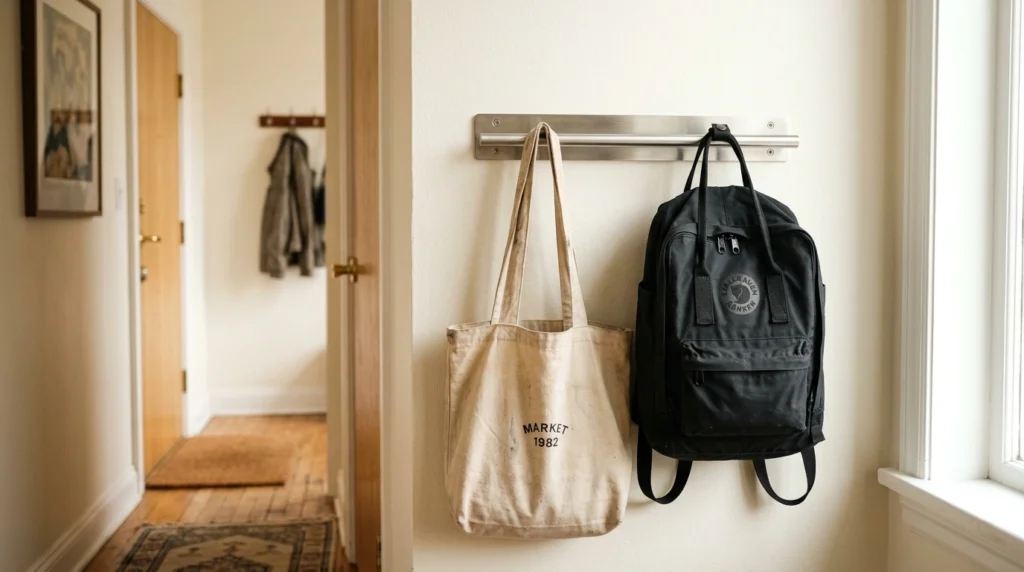
Floor space runs out first in an apartment. Wall space rarely does.
A short rail mounted at the right height holds several bags in a strip that projects only a few inches into the room. Far less intrusive than any freestanding furniture.
Pegboard is the other option and it flexes as needs change. Hooks reposition in seconds, and you can add a small shelf or a bin to the same board without new holes in the wall.
Above a door is genuinely usable space for bags nobody touches daily.
Do not go so vertical that kids cannot reach their own bag. That single mistake undoes the entire arrangement, and you end up hanging them yourself every day.
8. No-Drill Options Including the Steel Door You Already Own
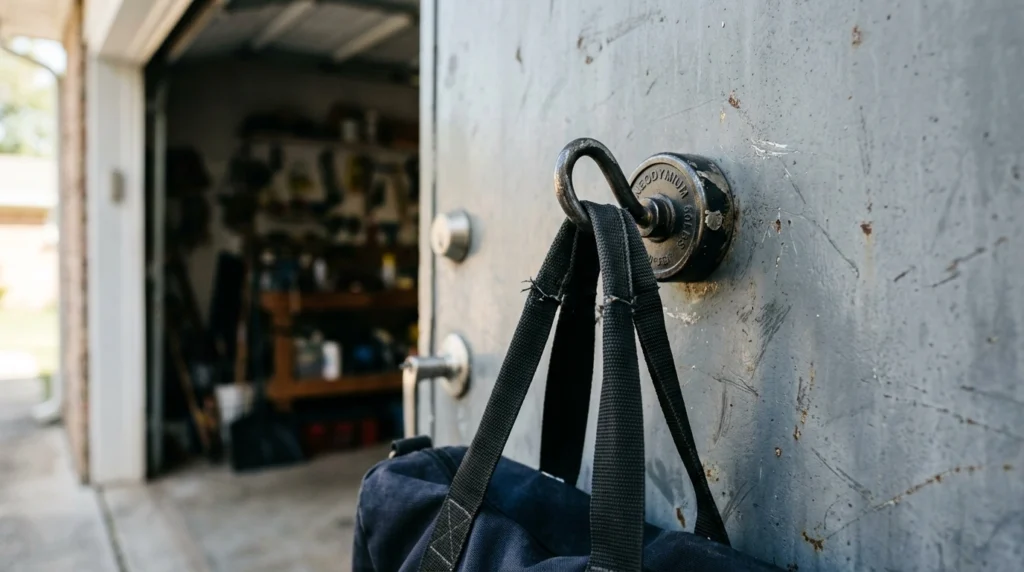
Renting, or facing plaster you do not want to touch? A few routes stay open.
A hall tree handles bags, coats and shoes in one freestanding piece and needs no fixings at all. A sturdy coat rack does a lighter version of the same job.
Then there is the option most people miss. The door between a garage and a mudroom is usually steel, and so are many front doors. Strong magnetic hooks stick straight to that surface, hold a decent load, and come off without leaving a mark.
Test the surface with a magnet first. Fiberglass and wood doors look identical from a distance and hold nothing.
9. Backpack Organization Ideas That Add a Command Center
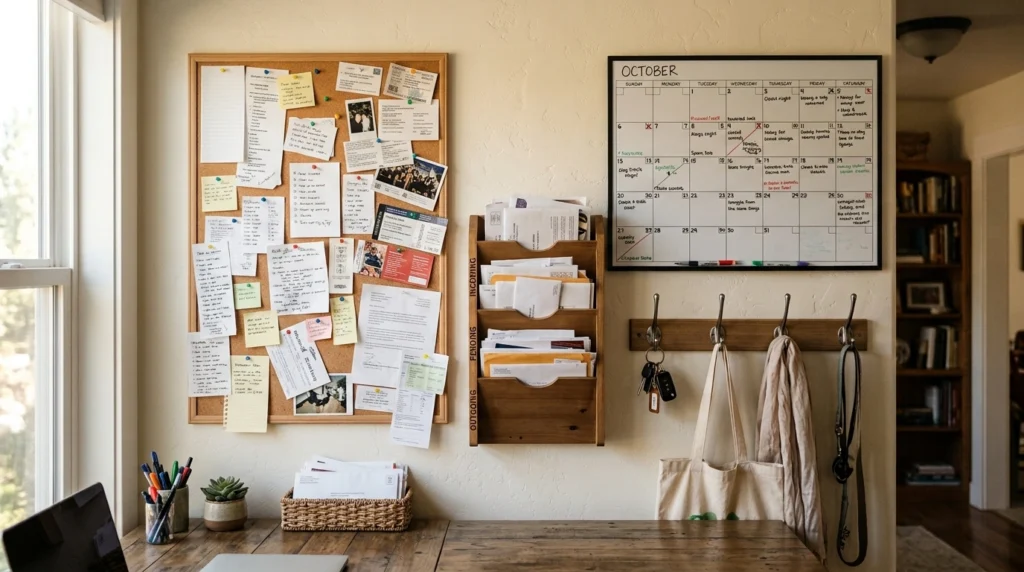
Bags are only part of what comes through the door. Permission slips, forms, library books, and the sunscreen nobody can ever find.
Building the storage into a proper command center handles all of it. A bulletin board for the week, a wall calendar, a mail sorter for paper, and one small bin for the odds and ends.
This also solves the school forms problem. Everything stays in one location, so nobody hunts through three rooms the morning something is due.
Keep the paper section vertical rather than in a pile. Flat stacks stop being sorted within about a week, and then the whole board becomes decoration.
10. Kids Backpack Storage Ideas With One Zone Per Child

Shared storage produces arguments. Assigned storage does not.
Give each child their own hook, their own cubby, and their own bin, even when the units sit right next to each other. Ownership is what makes a kid put something away.
Label everything visibly. A wire basket with a chalkboard front works well because the labels change as kids do, and younger children can identify their spot by color before they can read the name.
Match the zone to the age. The youngest child gets the lowest hook and the shallowest bin, since deep containers swallow small items permanently.
This is also where the responsibility habit forms, which is worth more long term than the tidiness is.
11. Keep Home Backpack Storage From Looking School-ish

The worry is real. A row of plastic bins and primary colors in the front hall makes a house look institutional.
The fix is treating the unit as furniture. Put a shelf above the hooks and style it the way you would any other shelf, with a plant, a lamp, or a framed print. That single move reads as decor rather than storage.
Choose containers in natural materials. Woven baskets and fabric bins in muted shades disappear into a room in a way bright plastic never will.
Add a washable mat underneath for shoes. It catches dirt at the door and stops it traveling through the house.
12. The After-School Rule That Makes Any System Work
Hardware alone does nothing. One rule carries the whole thing.
Bags go on the hook immediately on entry. Not after a snack, not later, not once homework is done. The moment the door closes.
That timing matters because a bag put down anywhere else stays there. Once it lands on a chair it belongs to the chair.
Expect a few weeks of reminders before it holds. Younger kids need the routine walked through with them rather than announced.
Where this breaks down is on days with sports or music. Bags come home at odd hours and the habit does not fire, so add a second hook near wherever that gear actually enters.
13. Classroom Backpack Storage Ideas When the Floor Is Full
Schools face the same pile problem at a larger scale, and floor bags in a classroom are a trip hazard rather than just an eyesore.
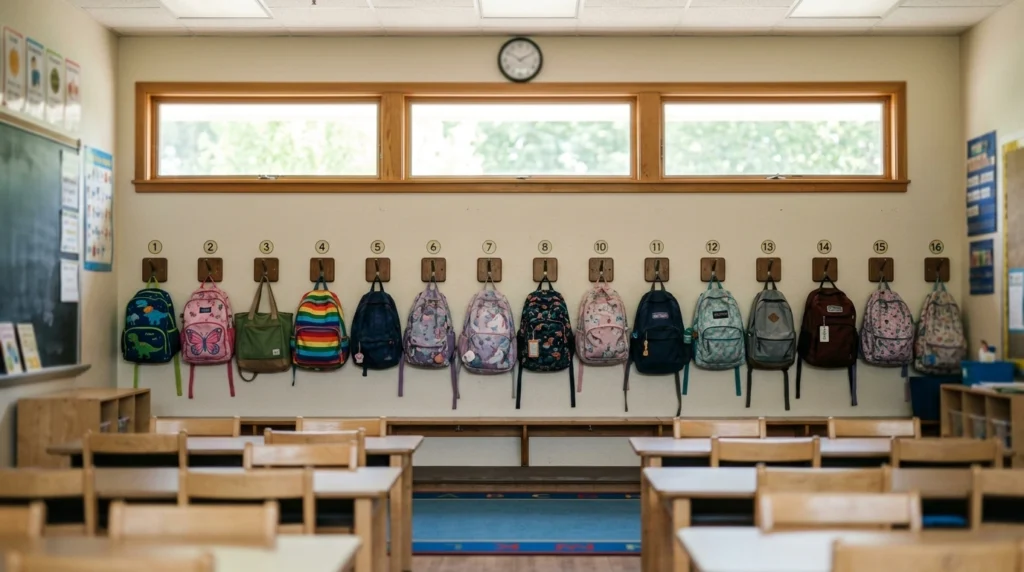
Hooks along the back wall at the right height for the grade level solve most of it. Space them wider than seems necessary, because bags need clearance to hang without pushing each other off.
Numbered hooks matching seat numbers remove all argument about whose spot is whose.
Where wall space runs out, stacked cubbies against a side wall work, though they need a rule about what stays inside. Left to itself, a classroom cubby fills with old lunch containers by December.
14. Clean and Check Bags Before They Go Away
End of term, or the switch to a different bag, is the moment to do this properly.
Empty every pocket first, including the ones nobody uses. Then wipe the bag down and work on the dirty patches with a soft brush rather than scrubbing, since aggressive brushing frays the fabric coating.
While it is empty, inspect it. Loose threads, small tears, broken zipper teeth. All three are cheap to repair now and expensive to ignore, because a small tear becomes a split seam once the bag is loaded again.
Then dry it completely. Storing a damp bag is how mold and mildew take hold, and that smell does not come out.
15. How to Store Backpacks You Will Not Use for Months
Long term storage is different from daily storage, and this is where good bags get ruined.
Pick a cool dry spot out of direct sunlight. Sun fades and weakens the fabric over a summer, and attic heat stiffens straps and coatings.
Do not compress the bag into a tight gap. Squashing it for months sets permanent creases and can crack the internal structure of anything with a frame.
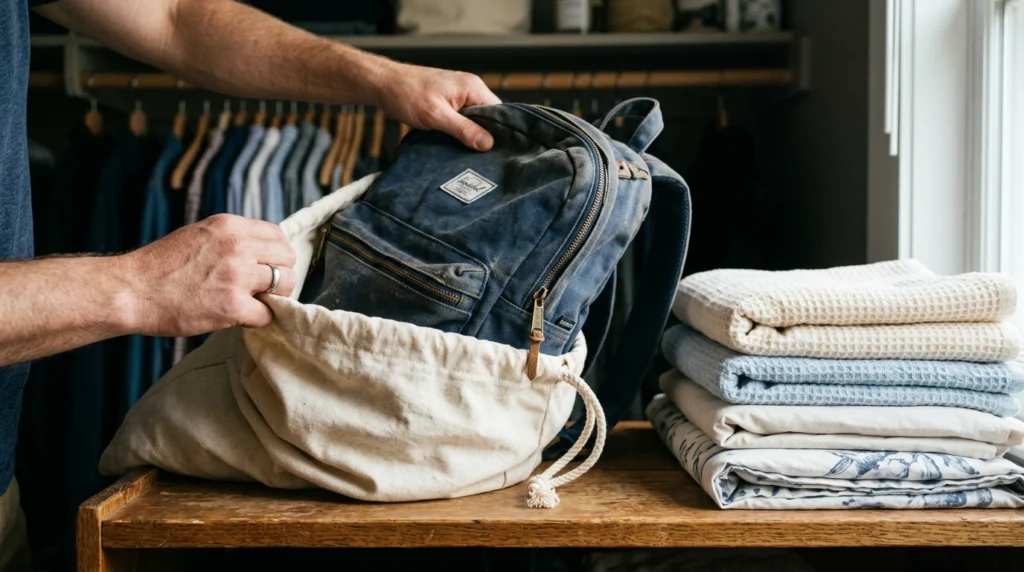
A cotton laundry bag is the right container. It keeps dust off while still letting air circulate, which is exactly what a plastic bin fails to do.
Stuff the main compartment loosely with paper to hold its shape.
Practical Tips Before You Start Installing
Buy nothing for the first week. Use existing hooks or a chair in the target spot and see whether people actually use that location before committing to holes in the wall.
Count the bags realistically. School bags, work bags, sports bags, the one used for swimming. Systems get built for the school bags alone and then overflow immediately.
Hang one bag on a new hook and leave it overnight before installing the rest. Any weakness in the fixing shows up straight away.
Take a photo of the setup when it is tidy. That becomes the reference for what putting things away actually looks like, which is easier than explaining it repeatedly.
One honest downside. Any system needs a reset every few weeks, and the ones that look best in photos usually need it most.
Frequently Asked Questions
How many hooks should I put up per person? Two is the practical minimum. One for the bag and one for a coat, since sharing a hook means the coat ends up on the floor. A third is useful for anyone carrying sports kit or an instrument. Space them at least a bag width apart or the items push each other off.
Where do lunchboxes and water bottles go? Not back in the bag, since that is how forgotten containers turn into science experiments. Give them their own small tray or bin near the kitchen so they get unpacked automatically. Bottles do better standing in a narrow container than lying in a basket where they roll behind everything.
Is a bench worth including or does it become a dumping ground? It becomes a dumping ground if nothing sits on it. Keep a basket or a cushion occupying most of the surface and it stays a place to sit rather than a shelf. Benches with storage inside are useful for seasonal items but poor for anything needed daily.
Should the setup change as kids get older? Yes, and mostly in one direction. Teenagers need fewer, larger hooks and much less labeling, since assigned cubbies stop working around middle school. What replaces it is one generous hook and a charging spot, because phones and laptops become the thing that needs a home.
What is worth buying first on a tight budget? Hooks and a stud finder. Those two items solve the bulk of the problem for very little money. Cube units, benches and baskets are all nice additions later, but a bag hanging on a properly mounted hook is already off the floor, which was the entire goal.
Making the First Version Work
Pick the drop spot this week and put two hooks in it. That is the whole starting move.
Live with it for a fortnight before adding anything else. You will learn which bags actually need a home and which spot people ignore, and that information is worth more than any shopping list.
The backpack storage ideas that survive the year are rarely the elaborate ones. They are the ones placed where people already stop walking, hung at a height everyone can reach.
Then hold the after-school rule for a month. After that it runs itself.
Related reads: How to Build a Closet in a Room with Framing and Built-In Shelves, Flattering Cherry Cola Hair Color Formula and Mixing Guide and 12 Living Room Wall Decor Ideas That Finally Fix a Blank Wall.