

Making air dry clay gifts at home looks effortless in short videos, yet most first attempts end up with split rims or chalky paint. The clay itself is rarely the problem. Cracking happens when the slab thickness is uneven, the joints lack slip, or the piece dries too fast in a dry room. This creative project takes about three days from opening the package to the final coat of varnish, though your active hands-on time is under two hours. Follow the exact order below to get smooth, solid results.
What you need:
- 1 pound of white or terracotta air-dry clay, which costs around $8 to $15 in 2026
- Two wooden dowel rods or paint stirrers measuring 1/4 inch thick
- One acrylic or wooden rolling pin
- A small bowl of tap water and a kitchen sponge
- One metal craft knife or needle tool
- 220-grit and 400-grit sandpaper sheets
- Acrylic craft paint and a flat synthetic brush
- One bottle of matte or gloss polyurethane varnish
Pick the right clay and store it properly
Start by choosing between paper-based clay and mineral-based clay. Many popular air dry clay brands sell mineral formulas that feel heavy like stoneware and sand to a tight finish, making them better for ring dishes and candle holders. Paper-based clays weigh far less and resist cracking, so they work well for hanging ornaments. Expect to spend around $8 to $15 for a 2-pound block in 2026.
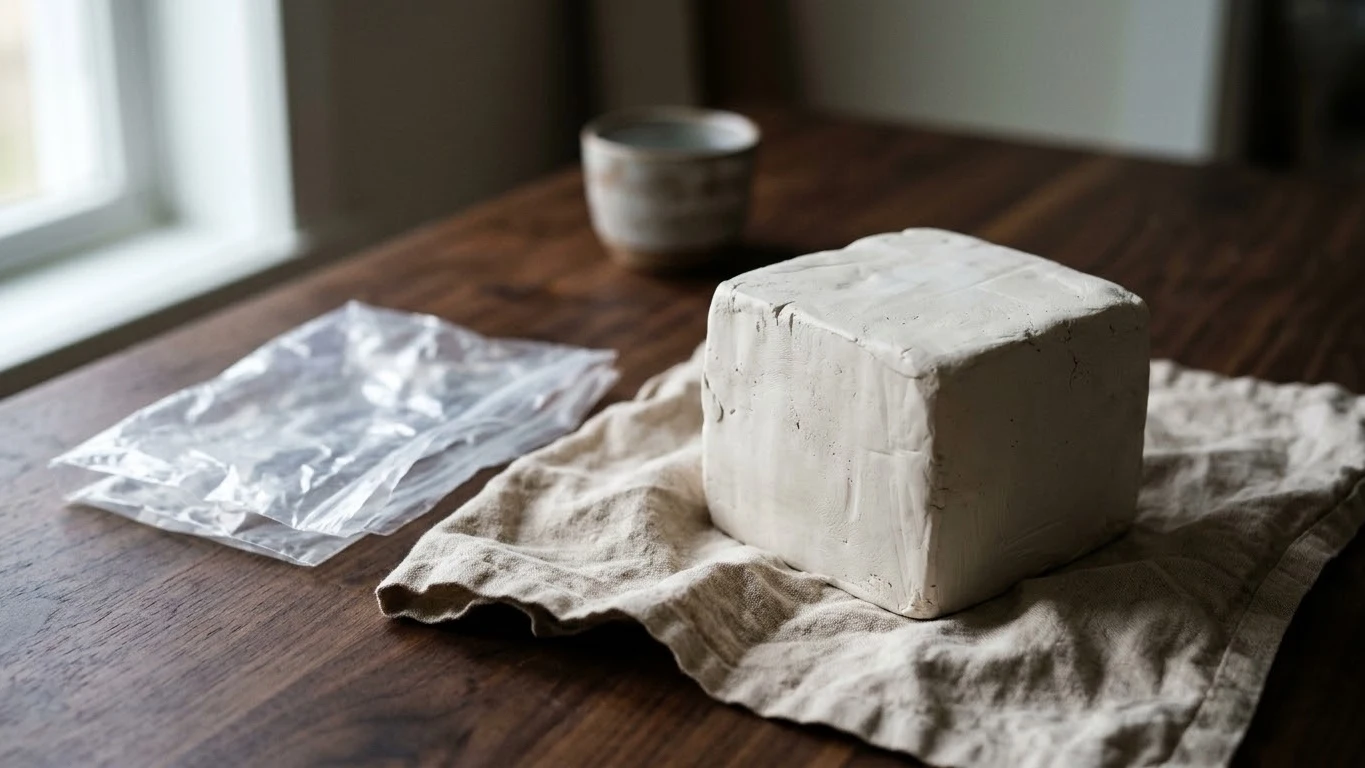
Storage matters the second you open the foil wrapper. Unused clay dries out fast if air hits it. Wrap leftovers tightly in plastic wrap, drop the bundle into a zip-top bag, and push out the air. Keep the pack out of direct sunlight in a cool spot between 59 and 77 degrees Fahrenheit. Stored that way, an unsealed pack stays usable for at least a year.
Condition and wedge the clay before shaping

Pull off a fist-sized lump and knead it on a clean work surface for two to three minutes. This step wakes up the binders and forces out trapped air bubbles. If you skip wedging, tiny pockets expand as moisture leaves the clay and split your finished piece from the inside.
Press the clay down with the heel of your palm, fold it in half, turn it a quarter turn, and press again. Keep a damp cloth nearby. If the edges start to look dry or cracked under your fingers, mist the clay once with water and keep kneading. Stop as soon as the lump feels pliable and holds a thumbprint without splitting at the rim.
Roll an even slab with wooden guide sticks
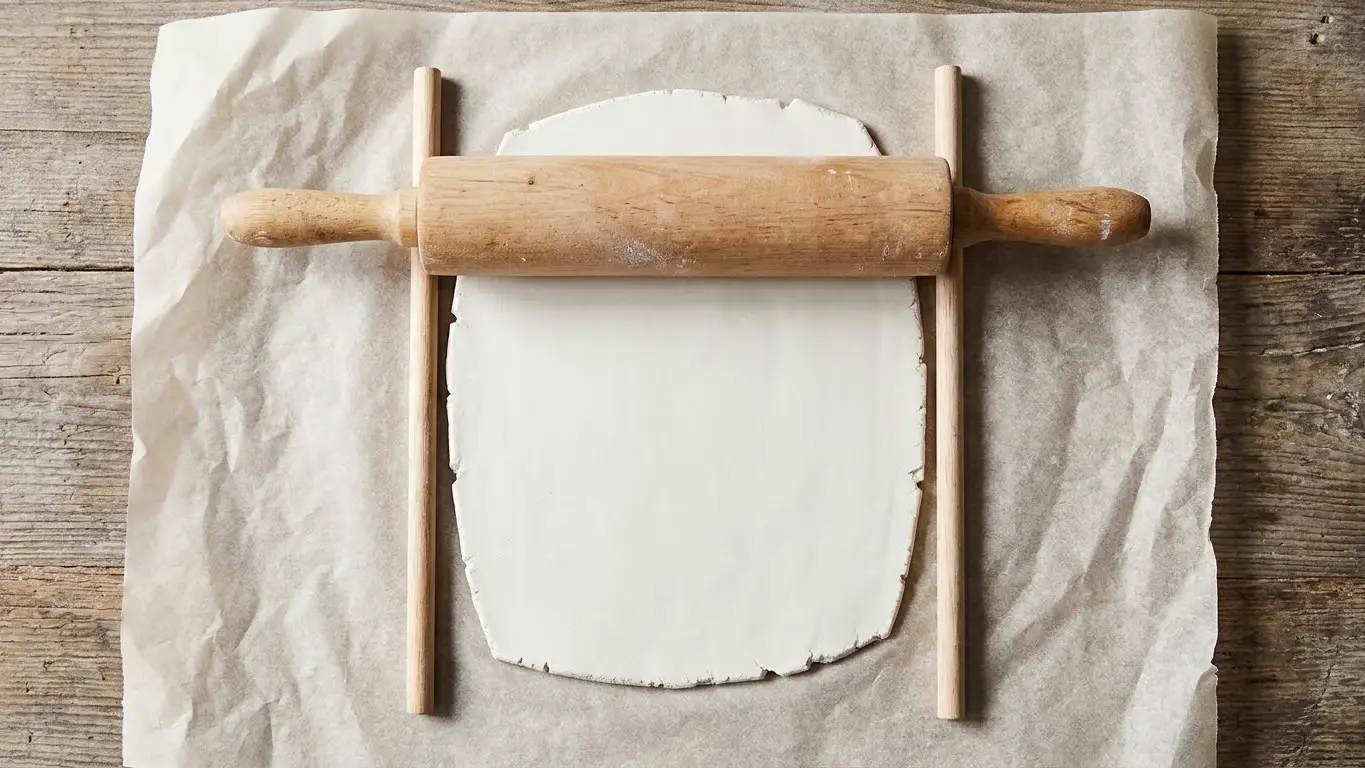
Place your clay on a sheet of canvas or parchment paper so it will not glue itself to the table. Lay one 1/4-inch wooden dowel on the left side of the clay and the second dowel on the right. Rest the ends of your rolling pin on top of both sticks as you roll.
The dowels stop you from pressing too hard. Every millimeter counts here. Anything thinner than 1/8 inch snaps easily once dry, while slabs thicker than 1/2 inch take over four days to cure and often crack in the center. Lift the slab and rotate it 90 degrees after every three passes. That simple turn keeps the clay from stretching in one direction and warping later.
Cut and shape air dry clay gifts for specific people

Use a sharp craft knife held straight up at a 90-degree angle to cut clean walls. Dragging a dull blade tears the edges and leaves rough crumbs behind. Match the shape to the person receiving it so the piece actually gets used as home decor instead of sitting in a drawer.
For air dry clay christmas gifts, cut flat star or pine tree shapes and punch a 1/4-inch hanging hole at the top with a drinking straw. For air dry clay mother’s day gifts, press a round slab into a plastic-lined cereal bowl to form a jewelry dish. For air dry clay fathers day gifts or air dry clay gifts for boyfriend, shape a wide 5-inch valet tray with raised 1/2-inch walls for keys and coins. For air dry clay valentine’s gifts, stamp tiny initials into a heart-shaped coaster. Having a real purpose makes the whole process more fun.
Score and slip any attached parts

Never press two pieces of wet clay together and hope they stick. As water evaporates, the clay shrinks by roughly 5 percent, and an unbonded seam pops right apart. You must score and slip every handle, rim, or raised letter.
Use a needle tool or fork to scratch 1/8-inch deep crosshatch marks onto both surfaces that will touch. Dab a pea-sized drop of slip onto the scratches. You can make slip in ten seconds by mashing a pinch of clay with a teaspoon of water until it looks like thick yogurt. Press the two parts together firmly for ten full seconds. Wipe away the extra mud that squeezes out along the seam.
Smooth seams and edges while the clay is leather hard

Do not try to polish wet, floppy clay. You will only leave deep fingerprints and stretch the shape out of proportion. Set your piece aside for one to two hours until it reaches the leather-hard stage. At this point, the clay feels cool and firm like a bar of soap, and it holds its form when you pick it up.
Dip a clean sponge in water and squeeze it until it is barely damp. Run it gently around the cut rims to erase knife marks. Avoid soaking the surface. Too much water breaks down the clay fibers and causes hairline fractures once the piece dries.
Dry pieces slowly to stop warping
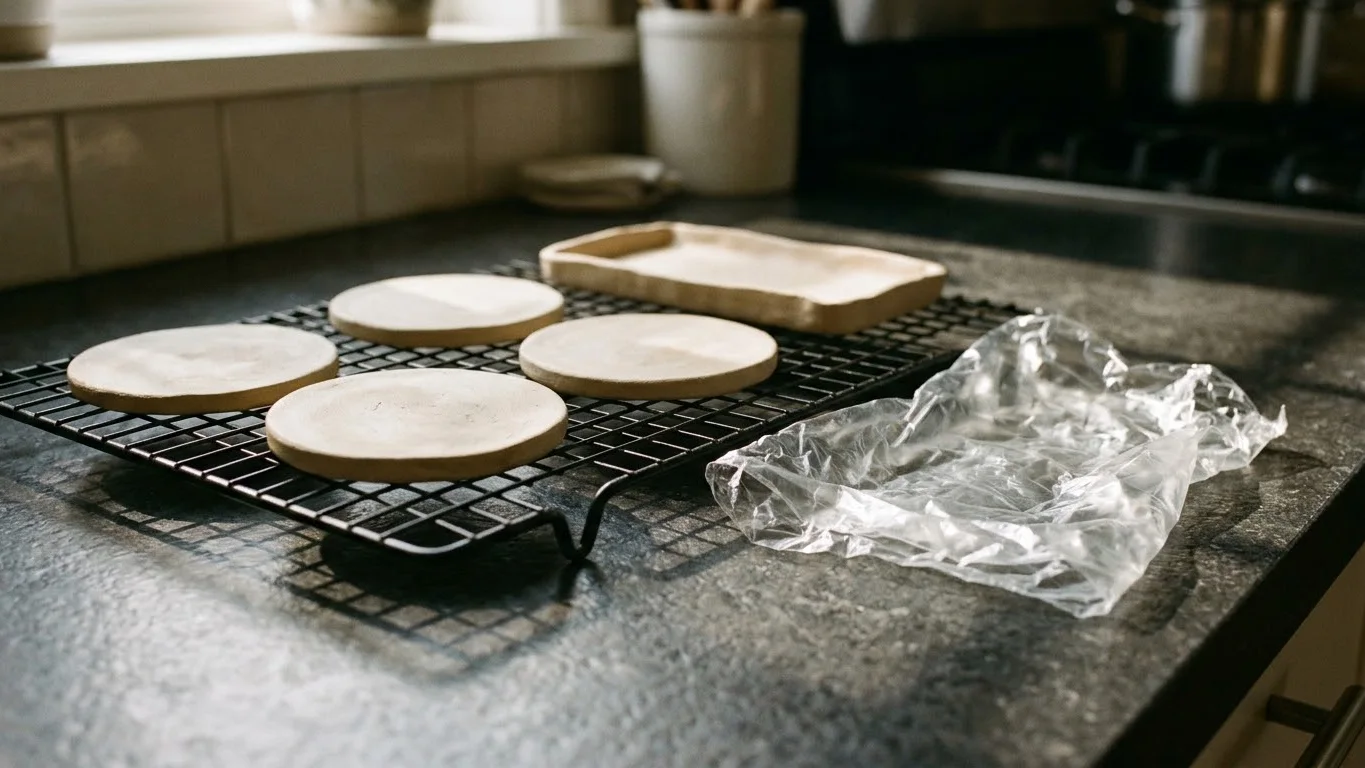
Fast drying is the main reason handmade clay warps. Never put your work in an oven, on a sunny windowsill, or near a heating vent. Set the pieces on a wire cooling rack so air reaches the bottom and top at the same rate.
Drape a loose sheet of plastic wrap over the rack for the first 24 hours. This slows moisture loss enough to keep edges from curling upward. After day one, remove the plastic and flip flat items every 12 hours. Most 1/4-inch slabs need 48 to 72 hours to cure completely. You know the clay is ready when the color turns uniformly chalky and the bottom no longer feels cold against your cheek.
Sand, paint, and seal for daily use

Take your cured piece outside or put on a dust mask before sanding. Clay dust is fine and irritating to breathe. Start with 220-grit sandpaper to knock down bumps, then switch to 400-grit for a smooth finish. Wipe away all powder with a dry brush.
Apply two thin coats of acrylic paint, waiting 20 minutes between layers. Thick paint shows brush streaks and peels off corners. Once dry, seal gifts made from air dry clay with two coats of water-based polyurethane varnish. Let the sealer cure for 24 hours before wrapping. That final barrier keeps easy diy air dry clay gifts from absorbing hand oils or staining on a nightstand.
Fix cracks and rescue failed clay pieces

Even careful makers see a split now and then. If a hairline crack shows up after drying, do not throw the piece away. Mix a small batch of thick slip from fresh clay and water, then pack it deep into the gap with a wooden toothpick. Let it dry for 24 hours and sand it flush.
If a rim or handle snaps clean off, slip will not hold dry clay together. Use a two-part clear epoxy instead. Press the pieces tight for five minutes until the glue grabs. Knowing how to repair mistakes takes the pressure off when you plan air dry clay gifts to make. One honest downside is that gifts made out of air dry clay will never be as tough as kiln-fired ceramic, so heavy drops onto tile floors will still break them.
Frequently asked questions about air dry clay
Where can I buy air dry clay in the United States?
Big-box craft stores like Michaels, Hobby Lobby, and Joann stock several brands in their sculpting aisles. You can also find 2-pound and 5-pound tubs at Walmart, Target, and online art retailers.
How do I make DIY air dry clay at home?
Mix 1 cup of baking soda, 1/2 cup of cornstarch, and 3/4 cup of cold water in a saucepan over medium heat. Stir constantly for five minutes until the paste pulls away from the sides like mashed potatoes, then cool it under a damp towel before kneading.
Are handmade air dry clay pieces waterproof or food safe?
No. Even with multiple coats of varnish, air dry clay softens if submerged in water and is not safe for eating, drinking, or dishwashers. Keep finished items strictly for dry uses like holding jewelry, keys, or wrapped candy.
How long do finished air dry clay pieces last?
Indoors and away from heavy moisture, sealed pieces hold up for many years without yellowing or crumbling. Just wipe them with a dry cloth instead of wet cleaners.
The exact order of work for air dry clay gifts
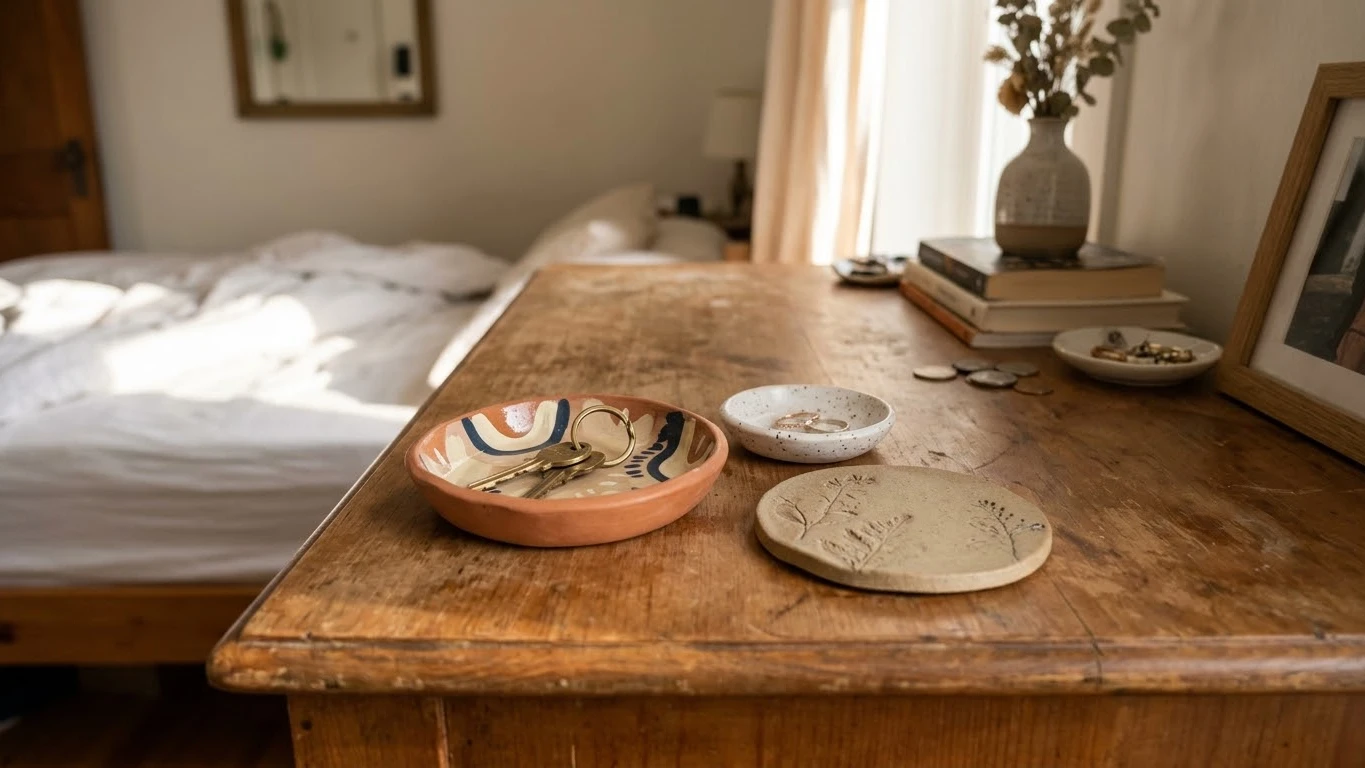
Good results with air dry clay gifts come down to respecting the clock at every stage. Pick a mineral or paper clay that matches your item, wedge it for three minutes, and roll it to a steady 1/4-inch thickness. Cut your shapes, score and slip every joint, and wait until the clay turns leather hard before sponging the edges. Dry everything slowly on a wire rack for up to 72 hours, sand with fine grit, paint in thin layers, and lock it all in with polyurethane varnish.