

Can you actually make useful clay crafts at home without owning a kiln? Yes, as long as you match the clay to the job and stop treating every block of clay the same way.
Most functional projects fail for predictable reasons. A tray warps overnight, a ring dish peels after one wipe, or a handle snaps off the first time you pick it up. Fixing those eleven problems turns fragile knickknacks into sturdy household pieces.
Picking the wrong clay for useful clay crafts
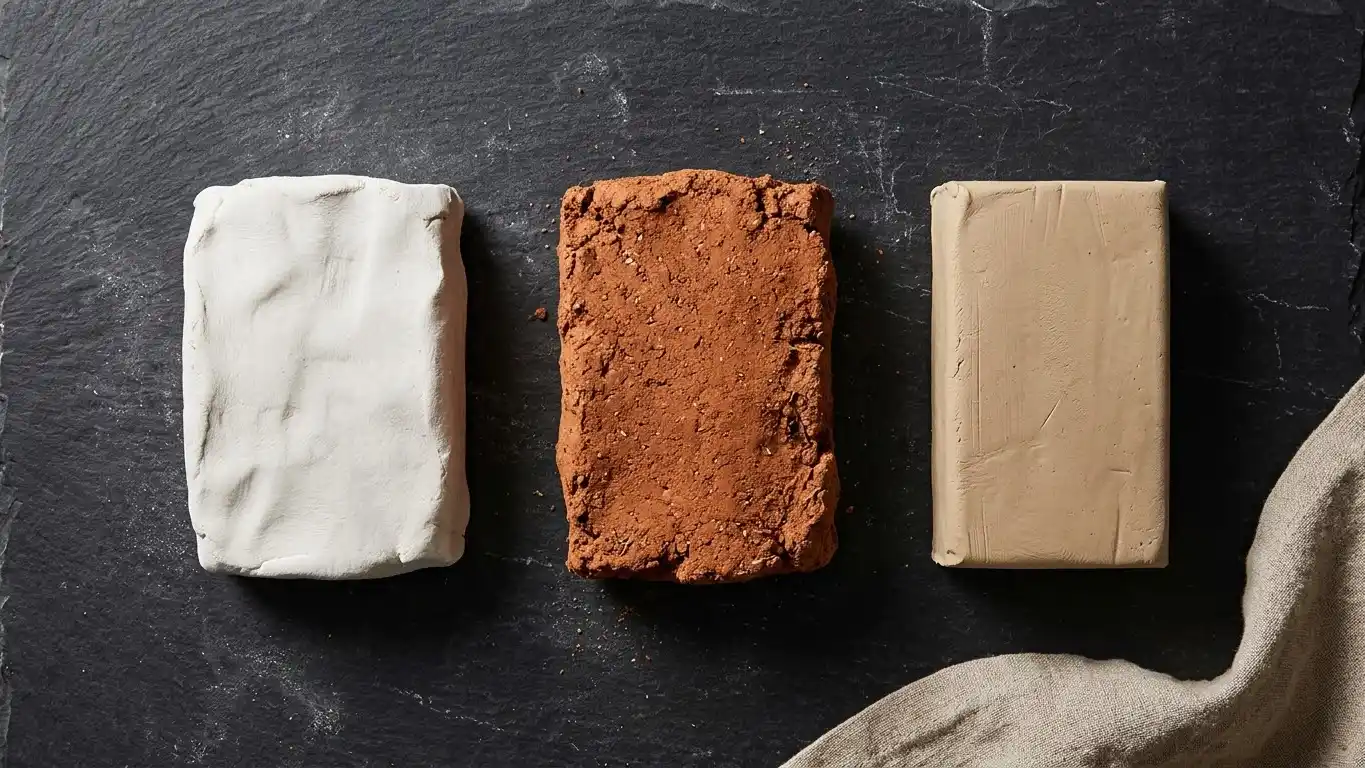
Grabbing the cheapest tub on the craft store shelf is where most projects go sideways. Paper-based air dry clay is light and easy to sand, but it chips easily on sharp edges. Stone-based air dry clay costs a bit more, usually around 8 to 15 dollars for a two-pound pack in 2026, and dries much harder for heavy desk items.
Polymer clay is a better pick for tiny items that take daily friction, like drawer pulls or cable clips, because baking turns it into rigid plastic. For useful clay crafts for beginners, start with a terracotta or white stone air dry clay rather than ultra-light foam clay. Foam clay shrinks unpredictably and feels spongy even after it cures.
Rolling slabs too thin causes curling and breaks
A thin slab looks delicate on the work mat. Then it dries into a potato chip.
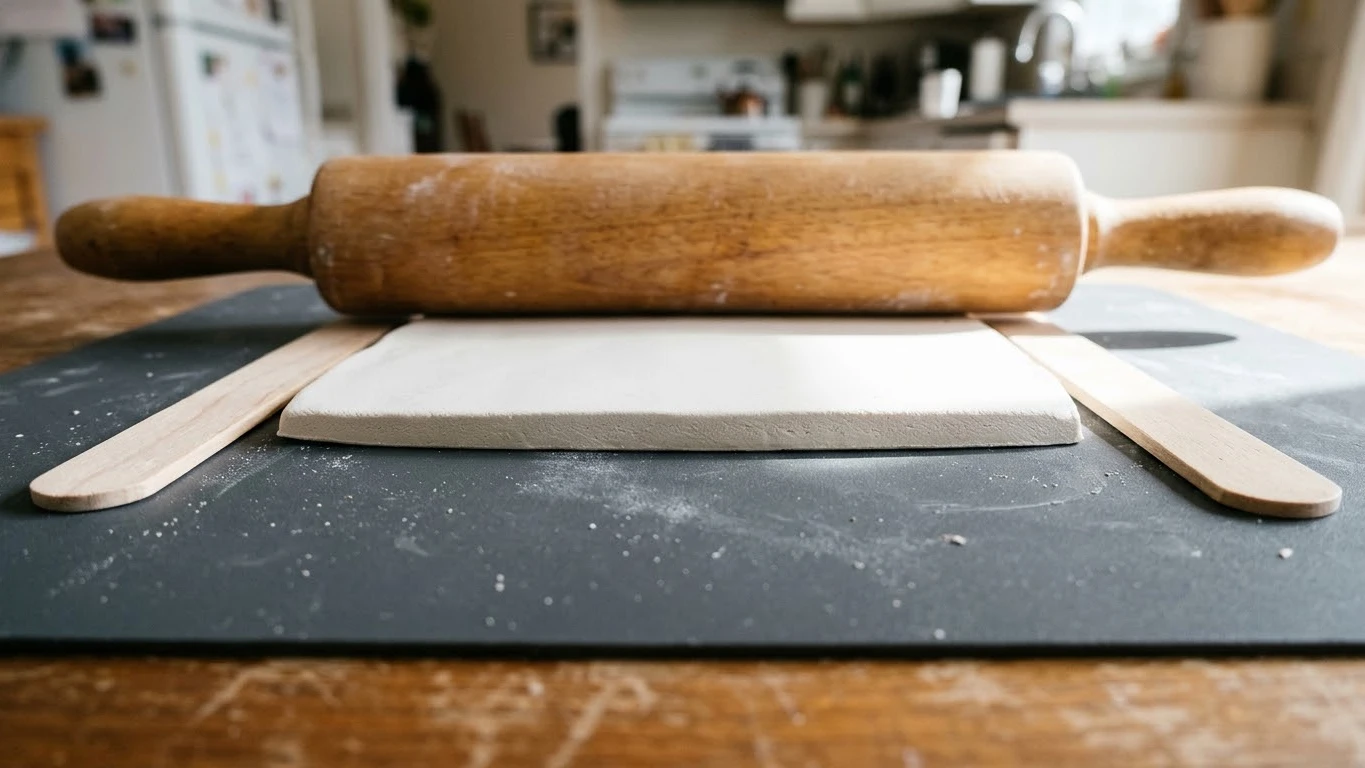
Any flat item like a coaster, spoon rest, or catchall tray needs a uniform thickness of at least one quarter inch. Anything thinner dries faster at the edges than in the center, which pulls the corners upward. Lay two wooden paint stirrers or quarter-inch dowels on either side of your clay and roll your pin across them. That stops you from pressing harder on one side and gives every useful clay project an even base.
Sticking wet clay parts together without scoring

Pressing a handle onto a mug or a divider into a desk tray with just water will hold for about an hour. Once the moisture evaporates, the two pieces shrink away from each other and pop apart cleanly.
Always scratch hatch marks into both surfaces with a fork or needle tool. Dab a small amount of slip, which is just clay mashed with water into a yogurt texture, onto the scratched areas. Press the parts firmly together and smooth a thin coil of clay into the seam. This single habit separates durable useful things made from clay from pieces that break in the first week.
Using air dry clay for items that hold water
Water and air dry clay do not mix. Even three coats of varnish will eventually let moisture seep through microscopic pinholes, turning the bottom of a vase or soap dish into grey mush.
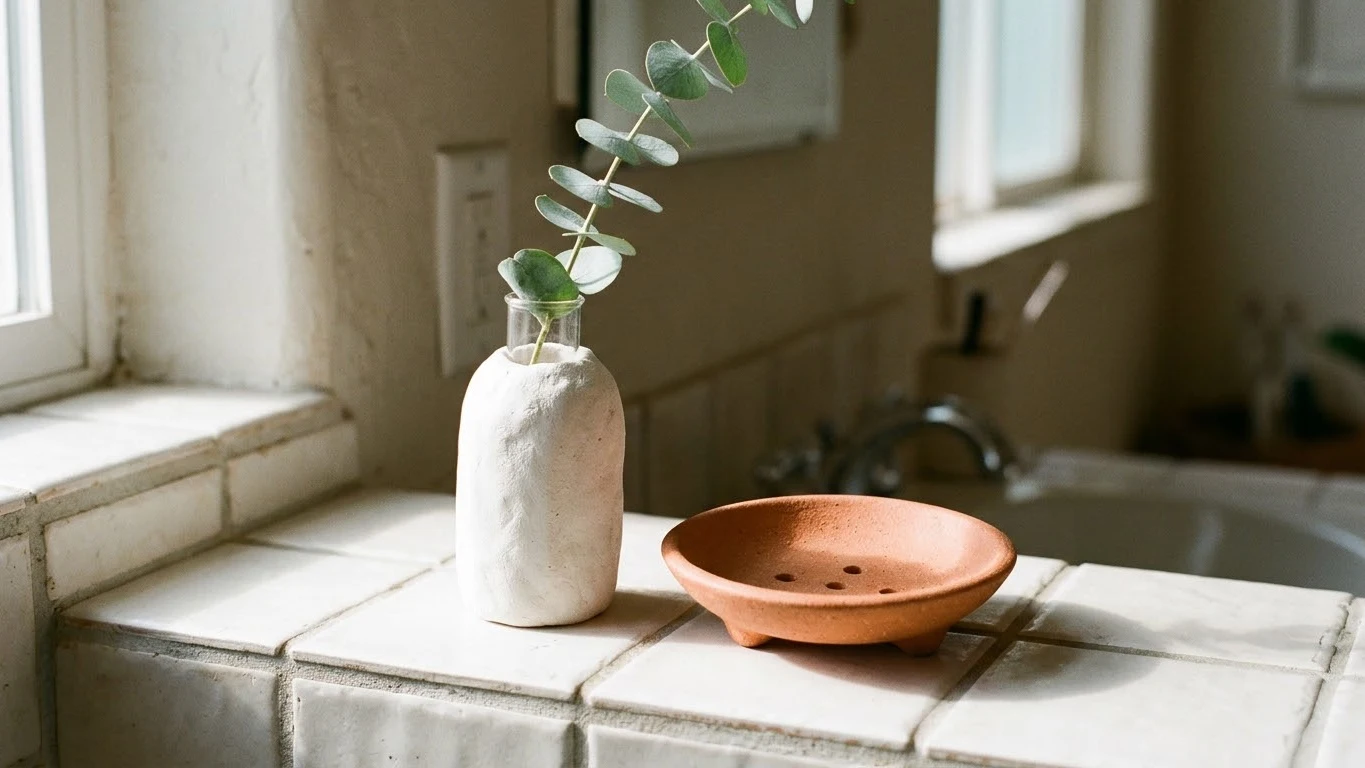
If you want to make a bud vase or planter, build the clay around a glass test tube or a small yogurt jar so the glass holds the water. For soap dishes, poke three wide drainage holes through the base and raise the dish on clay feet so air circulates underneath. Save solid water-holding vessels for kiln-fired stoneware or epoxy-coated polymer clay.
Rushing the drying stage with a hair dryer or oven

Waiting two days feels tedious when a project is sitting right on the kitchen counter. Putting air dry clay in a low oven or blasting it with a hair dryer forces the outer shell to harden while the core is still wet.
As the trapped center dries later, it shrinks and splits the hard exterior wide open. Set your pieces on a wire cooling rack so air reaches the bottom, drape a sheet of plastic wrap loosely over them for the first 24 hours, and flip flat items once a day. Expect a full cure to take 48 to 72 hours depending on room humidity.
| Problem | What causes it | What to do instead |
|---|---|---|
| Edges curl upward | Slab rolled thinner than one quarter inch | Roll between two quarter-inch wooden guides |
| Attached parts snap off | Joined with plain water instead of slip | Score both sides and press with clay slip |
| Surface cracks while drying | Forced heat from ovens or dryers | Dry slowly on a wire rack under loose plastic |
| Sticky finished surface | Craft glue used as a topcoat | Apply thin coats of water-based polyurethane |
Skipping sanding before paint and primer go on

Paint does not hide lumps or fingerprints. In fact, satin and gloss paints highlight every ridge you left behind.
Wait until the clay is bone dry and room temperature before touching it with sandpaper. Cold clay still holds moisture inside. Start with 220-grit paper to knock down bumps, then switch to 400-grit for a smooth finish. Wear a basic dust mask while sanding because fine clay dust irritates lungs. Wipe the dust away with a dry paintbrush rather than a wet cloth so you do not reactivate the clay.
Leaving finished pieces unsealed or using craft glue as varnish

Bare air dry clay absorbs skin oils, coffee rings, and dust within days. Standard craft glue marketed as a sealer stays slightly tacky in humid summers, which makes keys and jewelry stick right to your tray.
Use a water-based matte polyurethane or an acrylic varnish instead. Apply two to three thin coats with a synthetic flat brush, letting each coat dry for two hours before adding the next. Let the sealed piece sit undisturbed for seven days before putting heavy items on it. That full cure time keeps coasters from sticking to cold glasses.
Giving children complex molds that collapse before drying
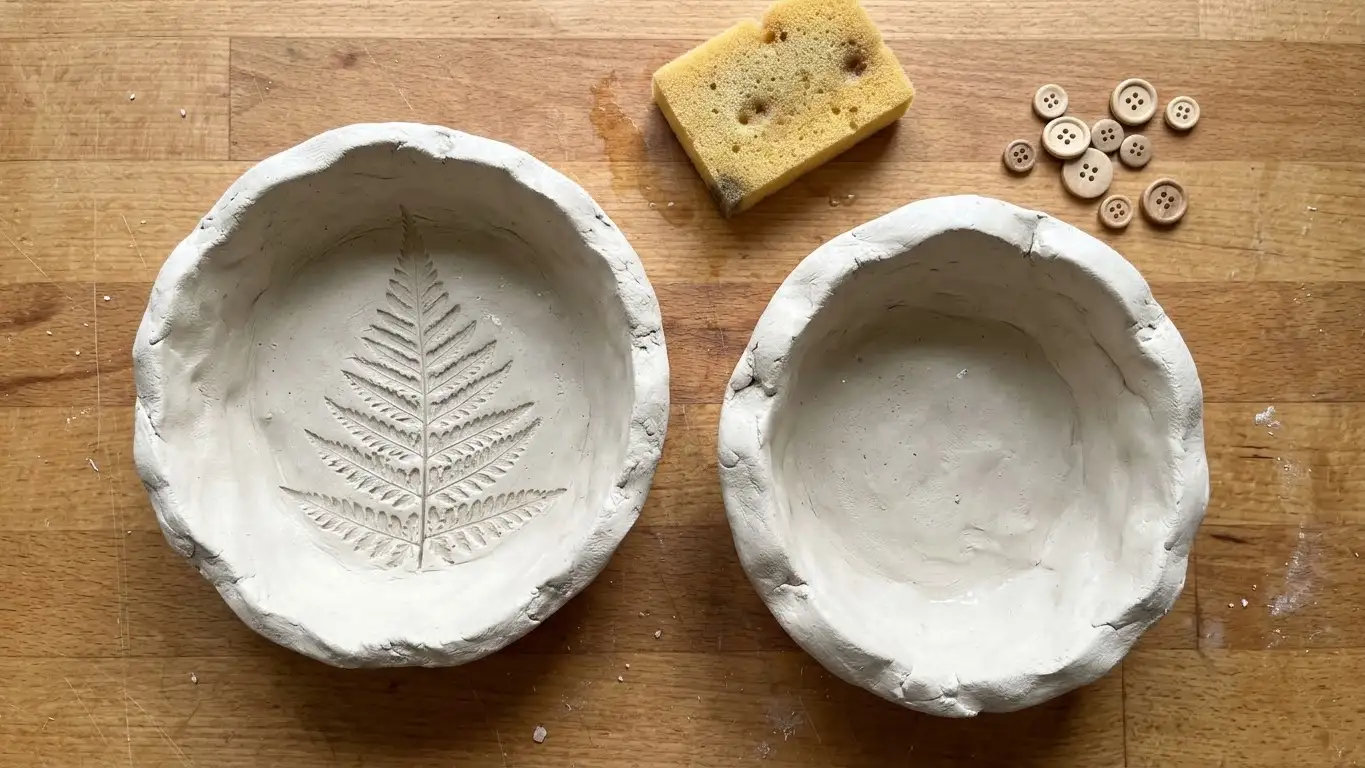
Detailed silicone molds and tall figurines frustrate young crafters because thin legs and ears snap off before the paint ever comes out. When planning easy clay crafts for kids, stick to chunky, single-piece shapes with walls as thick as a thumb.
Pinch bowls for bedside change, pressed leaf trinket dishes, and thick round paperweights hold up well. These useful clay ideas for kids let them press textures with lace, buttons, or stamps without needing fragile joints. Keep a damp sponge nearby so they can smooth cracks as they work.
Pricing handmade pieces without counting drying space and breakage

Many makers look at useful clay crafts to sell, see a ten-dollar bag of clay, and assume each tray costs fifty cents to make. That math ignores the real overhead.
Roughly ten to fifteen percent of air dry pieces crack, warp, or chip during sanding and shipping. You also need shelf space to dry batches flat for three days, plus the cost of primer, varnish, and double-boxed bubble wrap. Track your actual time from wedging to packing, and focus on compact, stackable items like incense holders, ring cones, and cable organizers that ship in small boxes without breaking.
Building full containers from scratch instead of wrapping glass jars

Hand-building a tall, straight cylinder for kitchen utensils or makeup brushes takes serious skill. Without a pottery wheel, the walls lean inward or slump under their own weight.
Grab an empty salsa jar, tin can, or pickle jar from the recycling bin and wrap a quarter-inch slab of clay around the outside. Trim the top flush with the rim and blend the vertical seam with a damp finger. You get a heavy, waterproof interior and a handmade exterior in twenty minutes. This is one of the smartest clay crafts for adults who want functional storage without fighting gravity.
Treating sealed air dry clay as food safe for kitchenware

A shiny topcoat makes a clay bowl look like ceramic stoneware. It is not.
Air dry clay remains porous beneath the paint, and standard acrylic varnishes are not rated for direct food contact or washing in hot soapy water. Use your useful clay ideas in the kitchen for wrapped candy, whole fruit with peels, garlic bulbs, or a rest for a packaged tea bag. Never serve wet snacks, dips, or hot food directly on air dry clay. If you want true arts and crafts using clay for dining, book a session at a local pottery studio that fires food-safe glazes.
Questions People Ask About Clay Projects
How do you keep unused clay from hardening in the bag?
Press all the air out of the original pouch, wrap the block tightly in a damp paper towel, and seal it inside a heavy zip-top freezer bag. Store it in a cool cabinet away from sunny windows.
Can you repair a clean break after the clay has fully dried?
Yes. Skip white school glue and use a thick gel cyanoacrylate glue or two-part epoxy on both broken edges, press for sixty seconds, and fill any tiny hairline gap with a dab of fresh clay slip once the glue sets.
How to use clay for crafts when your hands run hot and dry out the slab?
Warm hands pull moisture out of clay fast and cause edge cracks while you shape it. Keep a small bowl of water on the table and lightly mist your palms every few minutes, or work on a smooth silicone mat instead of bare wood that drinks up water.
What is the best glue for attaching magnets or cork backing to clay?
Industrial craft adhesive like E6000 or a gel super glue works best because it bonds porous clay to smooth metal and cork. Rough up the back of the magnet with sandpaper first so the glue has something to grip.
The Single Mistake That Wastes The Most Time
Rushing the drying stage costs more time and money than any other error on this list. You can spend two hours rolling, shaping, and smoothing a batch of useful clay crafts, only to ruin all of them in ten minutes with a hair dryer or a warm oven.
Set up a dedicated drying shelf away from vents and direct sun before you even open the clay package. Let every piece cure slowly for a full three days, flip it once a day, and resist the urge to paint early. Patience during drying is free, and it is what turns homemade clay into pieces that last for years.