
Most versions of this online tell you to throw everything in a jar and wait. Then people open it three weeks later to find mould on top, a corroded lid, or a liquid so harsh it is undrinkable.
None of that is bad luck. Each one comes from a step somebody left out.
This fire cider recipe covers how to make it properly: the quantities, the two waiting periods, the lid problem nobody warns you about, and the habanero handling that will save you a genuinely miserable afternoon.
Makes about a quart of finished liquid from a half gallon jar.
What Is Fire Cider, Actually
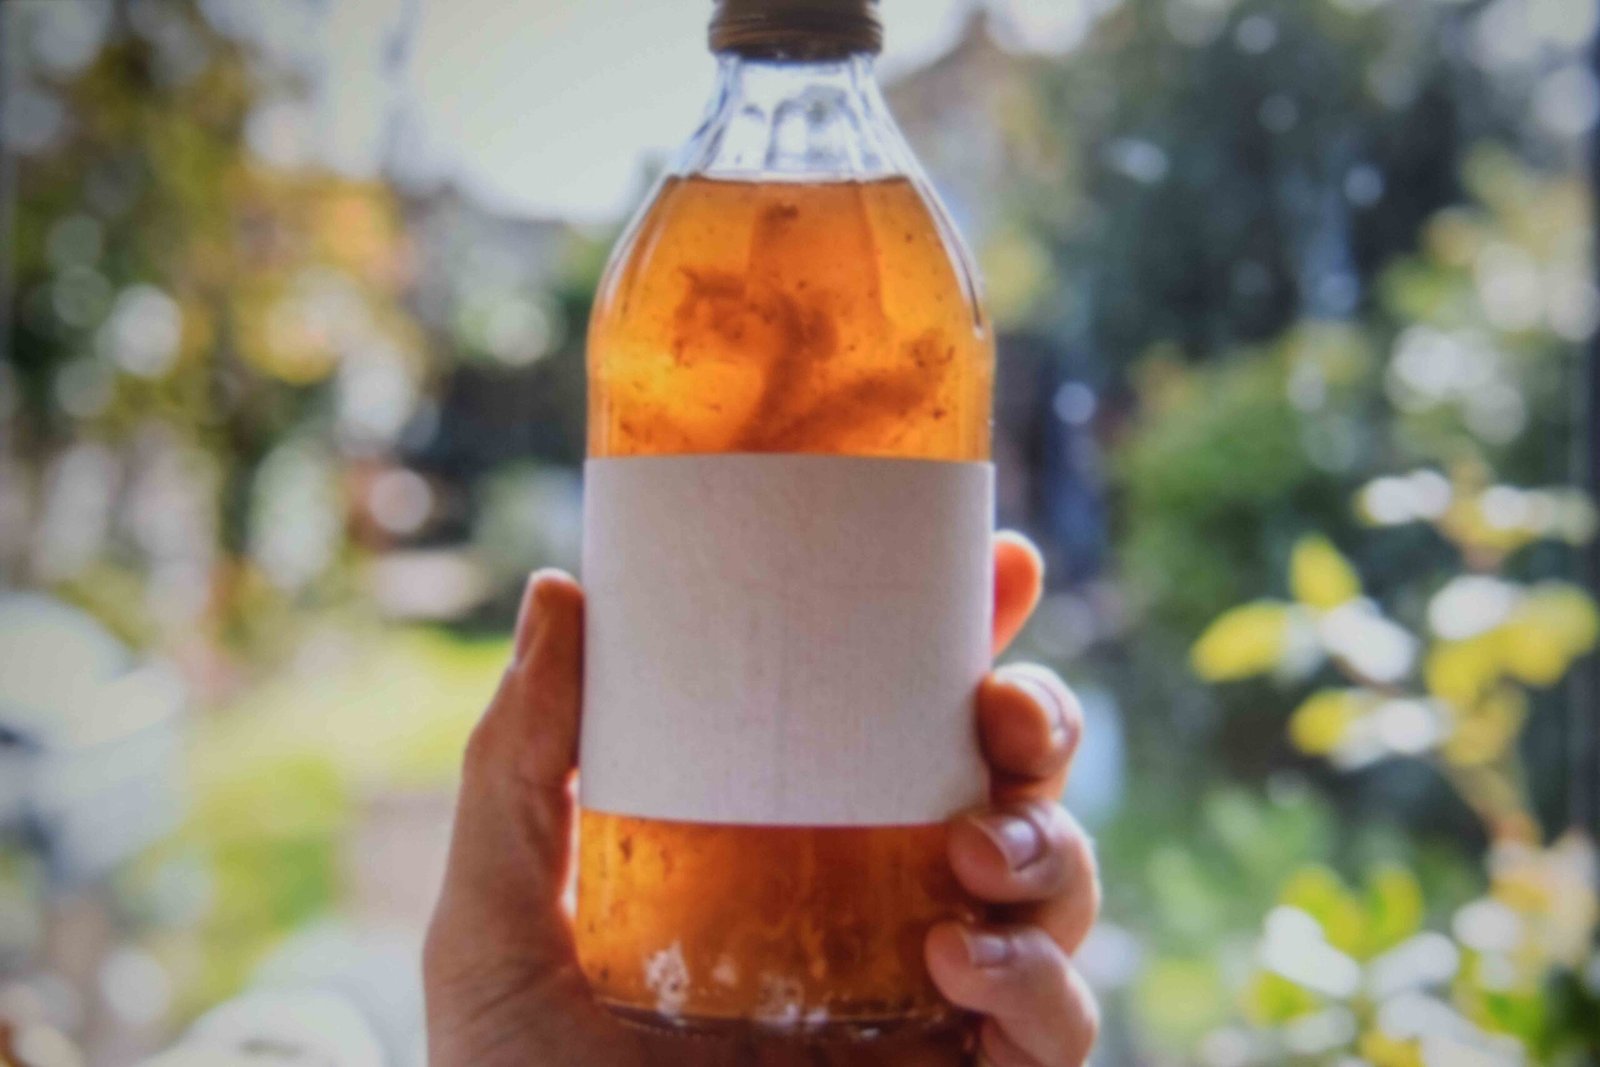
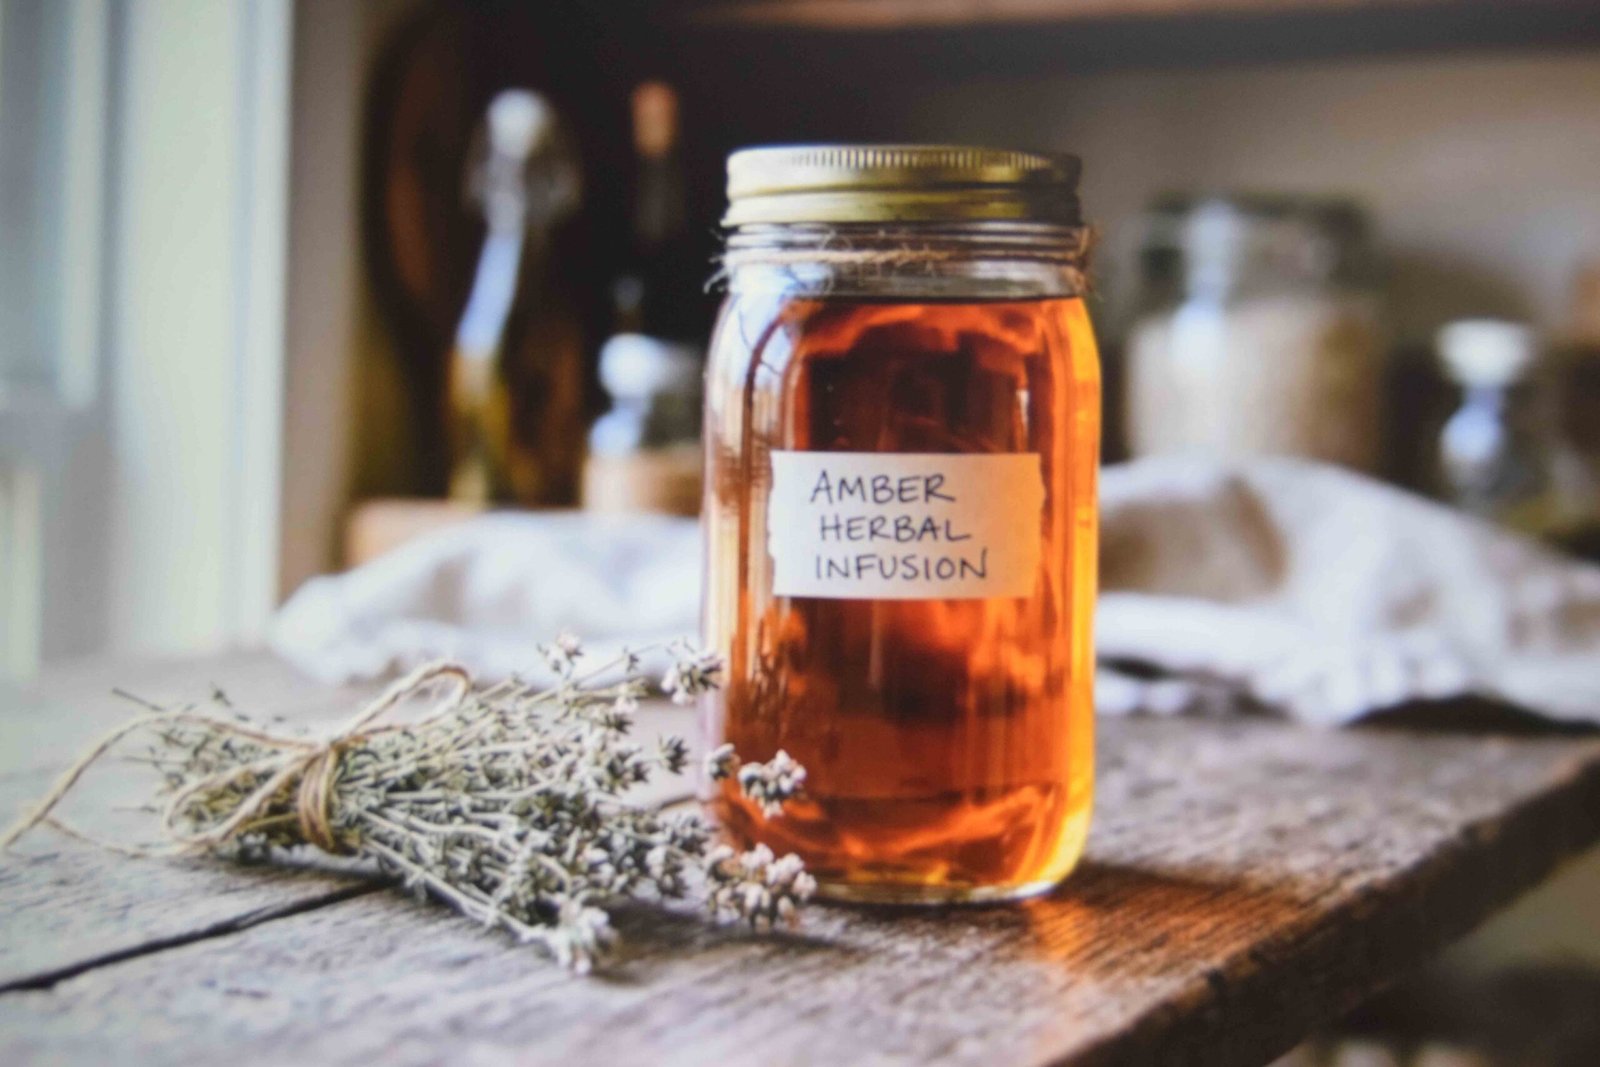
Strip away the marketing and it is a spiced vinegar infusion. Pungent roots, alliums, chilli and citrus left to steep in apple cider vinegar until the vinegar takes on all of it.
That is genuinely all it is.
Folk versions have circulated in American kitchens for generations, and the modern one comes from the herbal revival of the 1970s. People traditionally take it through the colder months, which is where its reputation comes from.
What it is not is a treatment for anything. Any recipe for fire cider promising to fight off a cold is making a claim nobody has demonstrated, and I am not going to repeat it here.
Judge it as a condiment. On that measure it is excellent, and it does something no bottled vinegar does.
1. Fire Cider Ingredients and How Much of Each
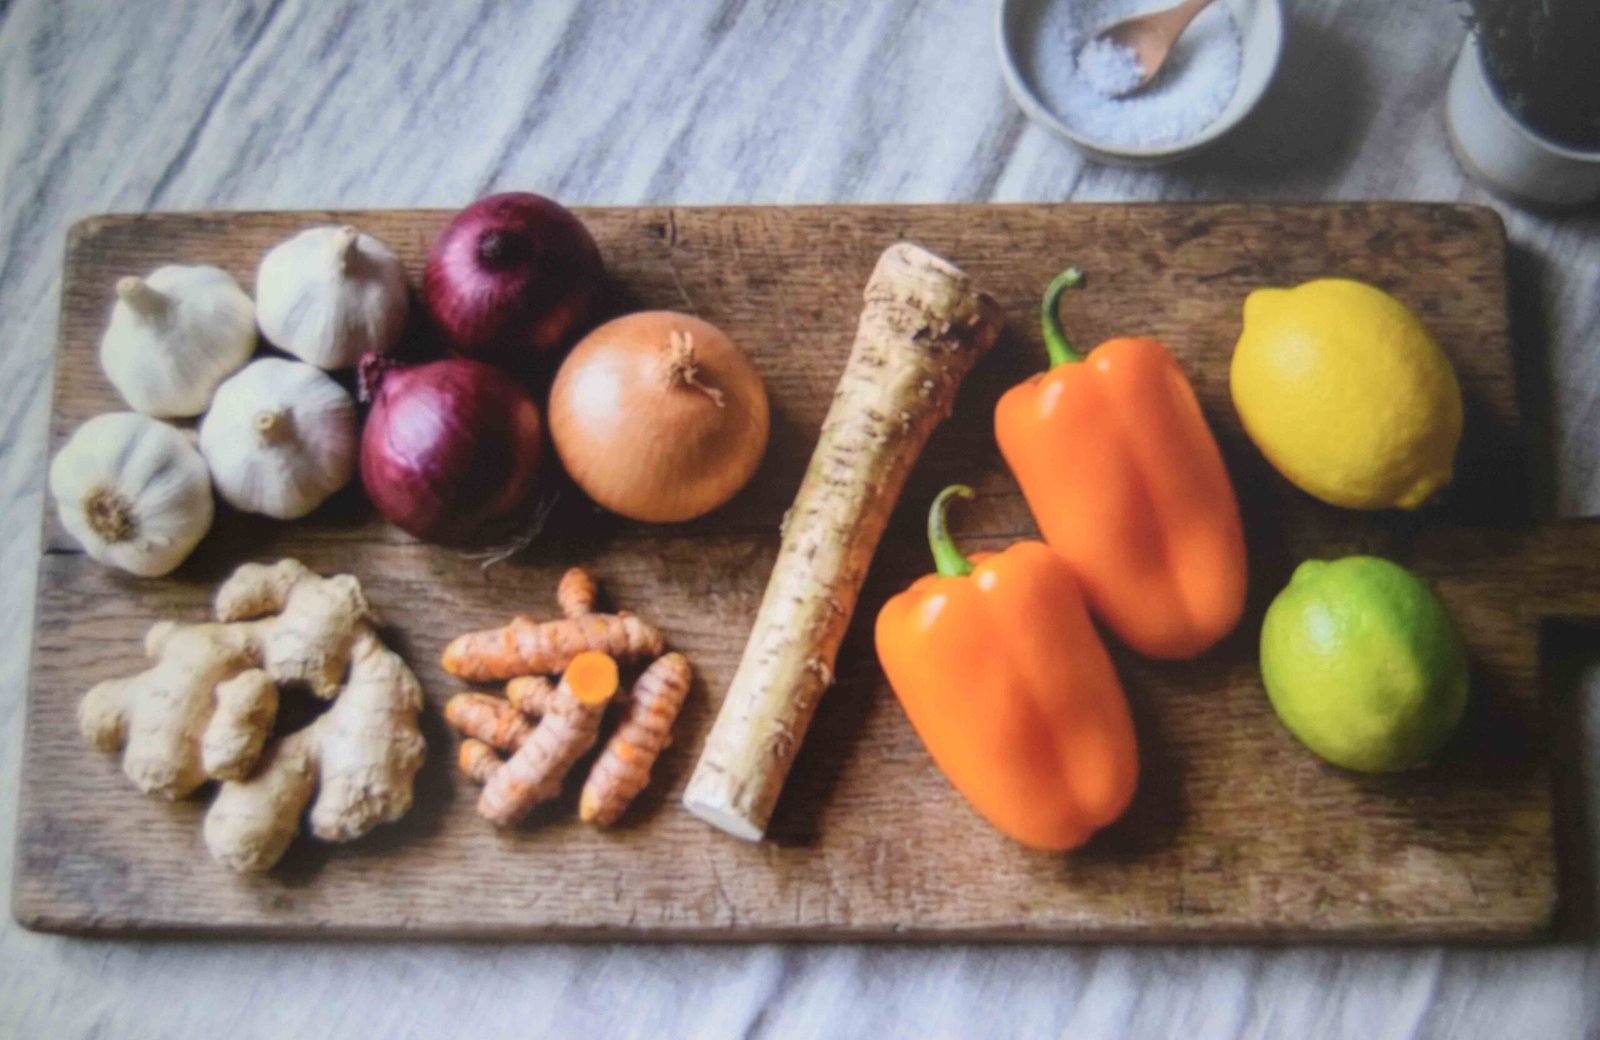
For a half gallon jar:
The base. 4 cups unpasteurised apple cider vinegar.
The aromatics. 2 cups chopped onion. Half a cup chopped fresh turmeric. Half a cup chopped fresh ginger. Half a cup coarsely grated fresh horseradish. Half a cup chopped garlic.
The rest. One bunch of fresh thyme. Half a cup halved fresh rosehips. One whole lemon, chopped. One whole lime, chopped. One whole orange chopped, or two mandarins. Two whole fresh habanero peppers, chopped.
Optional at the end. Raw honey or maple syrup, to taste.
Fresh turmeric and horseradish are the two that send people to three shops. Larger supermarkets carry both, and so does any Asian or Eastern European grocer. Rosehips are seasonal and genuinely optional.
Everything gets chopped, not blended.
2. Fire Cider Apple Cider Vinegar: Which Bottle to Buy
The vinegar is 4 cups of the total volume, so this choice matters more than any single aromatic.
Buy unpasteurised, raw, with the cloudy sediment at the bottom. Check the label for at least 5 percent acidity, which nearly all commercial bottles carry.
That acidity level is doing the preserving. Anything weaker, including homemade vinegar of unknown strength, is not a safe base for something sitting at room temperature for weeks.
Skip white distilled vinegar. It has the acidity but none of the character, and the finished fire cider vinegar tastes flat and harsh instead of rounded.
Cheap store brand raw cider vinegar works fine. This is not the place for the expensive bottle.
3. Prep the Roots Without Wrecking Your Eyes
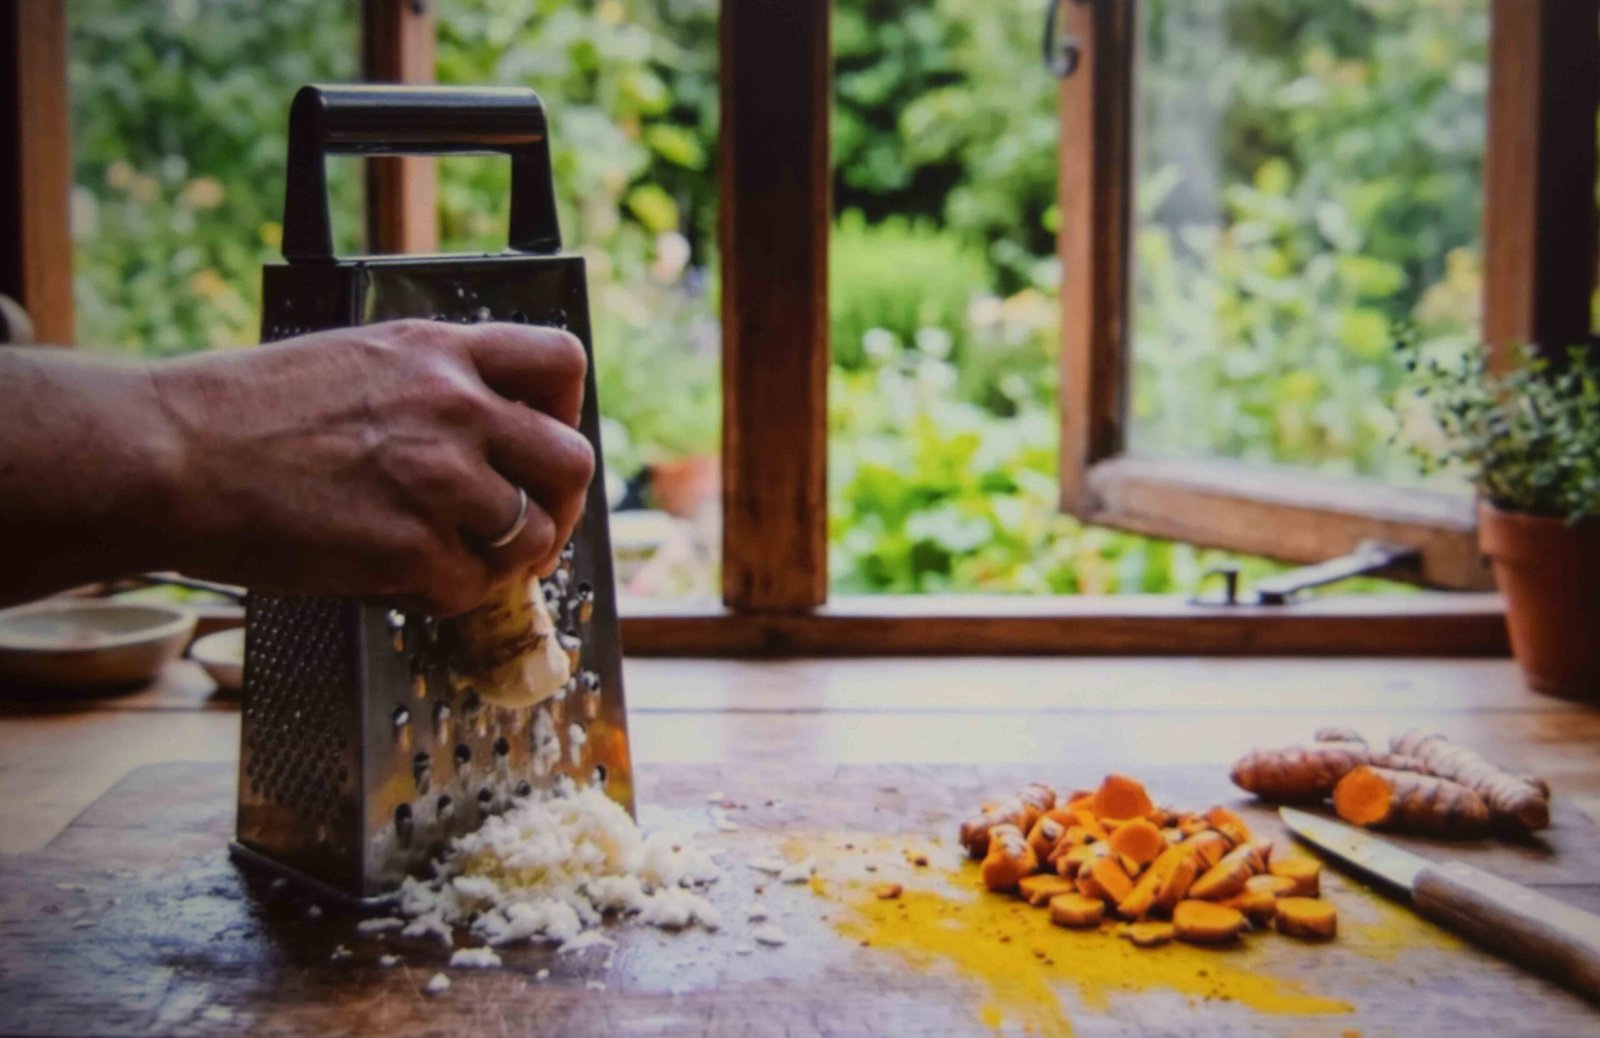
Horseradish is the one that catches people out. Grating it releases compounds that hit exactly like onion fumes, only considerably stronger.
Work near an open window. Grate it last, right before it goes in the jar, so you are not standing over it for long.
A food processor with the grating disc handles it faster than a box grater and keeps your face further away.
Turmeric stains everything it touches. Hands, chopping boards, plastic bowls, grout. Wear gloves if you mind yellow fingers for two days, and use a wooden or glass board rather than plastic.
Ginger and garlic just need rough chopping. Nothing here needs to be neat, since it all gets strained out.
4. Handle the Habaneros With Gloves On
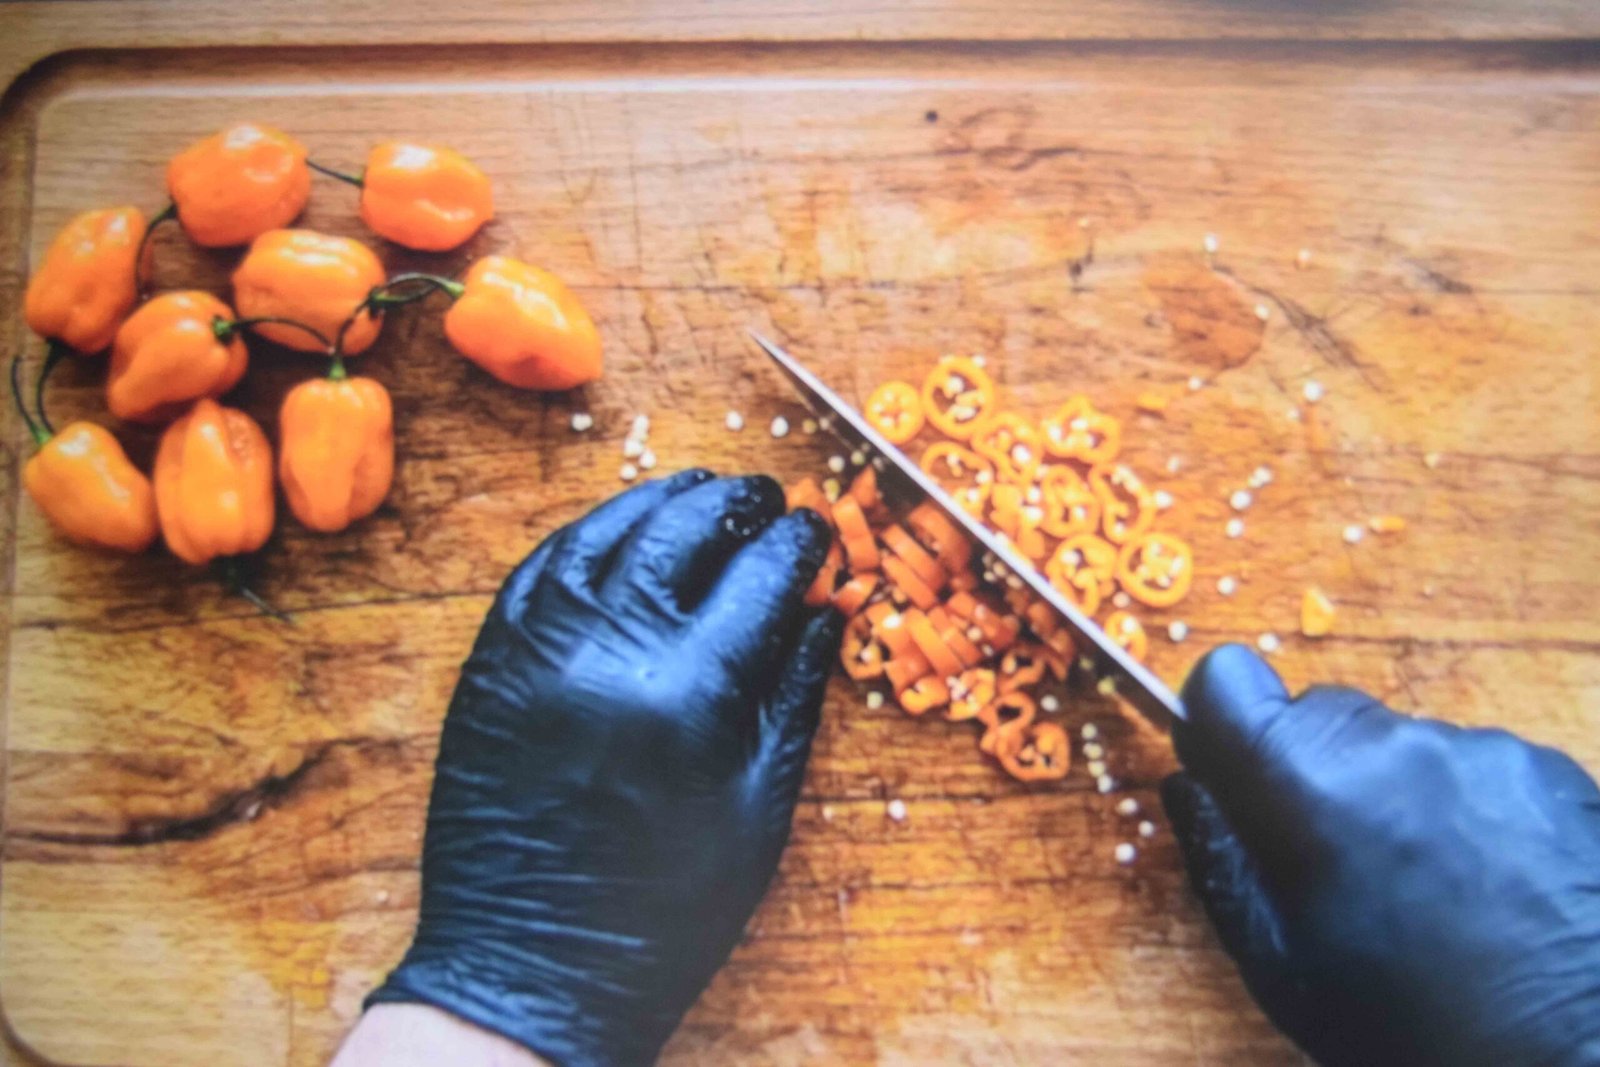
Two habaneros in a half gallon jar sounds modest. They are not modest peppers.
Wear disposable gloves. This is not optional advice and it is the step most recipes skip entirely.
Capsaicin does not wash off with water alone. It transfers from your fingers to your eyes, your face, contact lenses, and anything else you touch for hours afterward, and rinsing does very little.
Chop them on a separate board from everything else. Wash that board with dish soap and hot water immediately, since soap breaks down the oil where water cannot.
Want less heat? Remove the seeds and white membrane, which is where most of it concentrates. Want more? Leave them whole.
Keep children and pets out of the kitchen while you do this bit.
5. Citrus and Rosehips Go In Whole
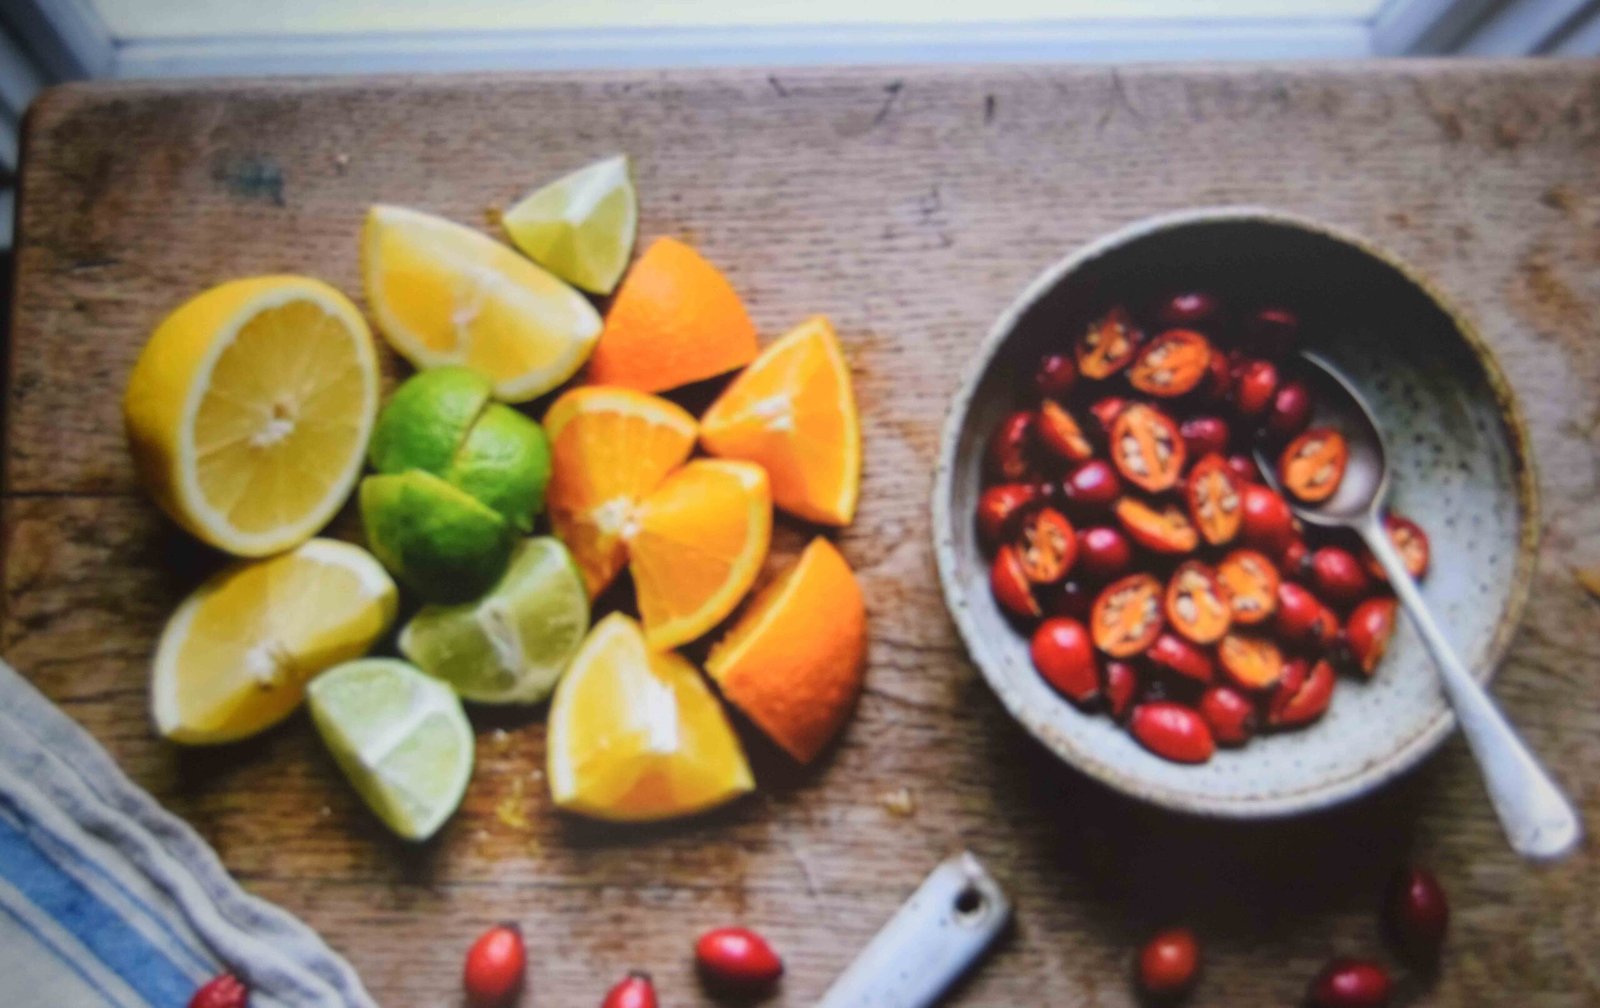
The lemon, lime and orange all go in chopped, peel included. Two mandarins substitute for the orange.
Peel is the point. The oils in the skin carry most of the citrus aroma, and the flesh alone gives you acidity you already have plenty of from the vinegar.
Scrub the skins under running water first, especially if they are not organic, since the peel is going straight into something you will be drinking.
Rosehips get halved rather than chopped. If you are foraging them, take only what you are confident identifying, and rinse them well.
No rosehips available? Leave them out. They add a mild fruity note and nothing about the recipe depends on them.
6. How to Make Fire Cider: Packing the Jar
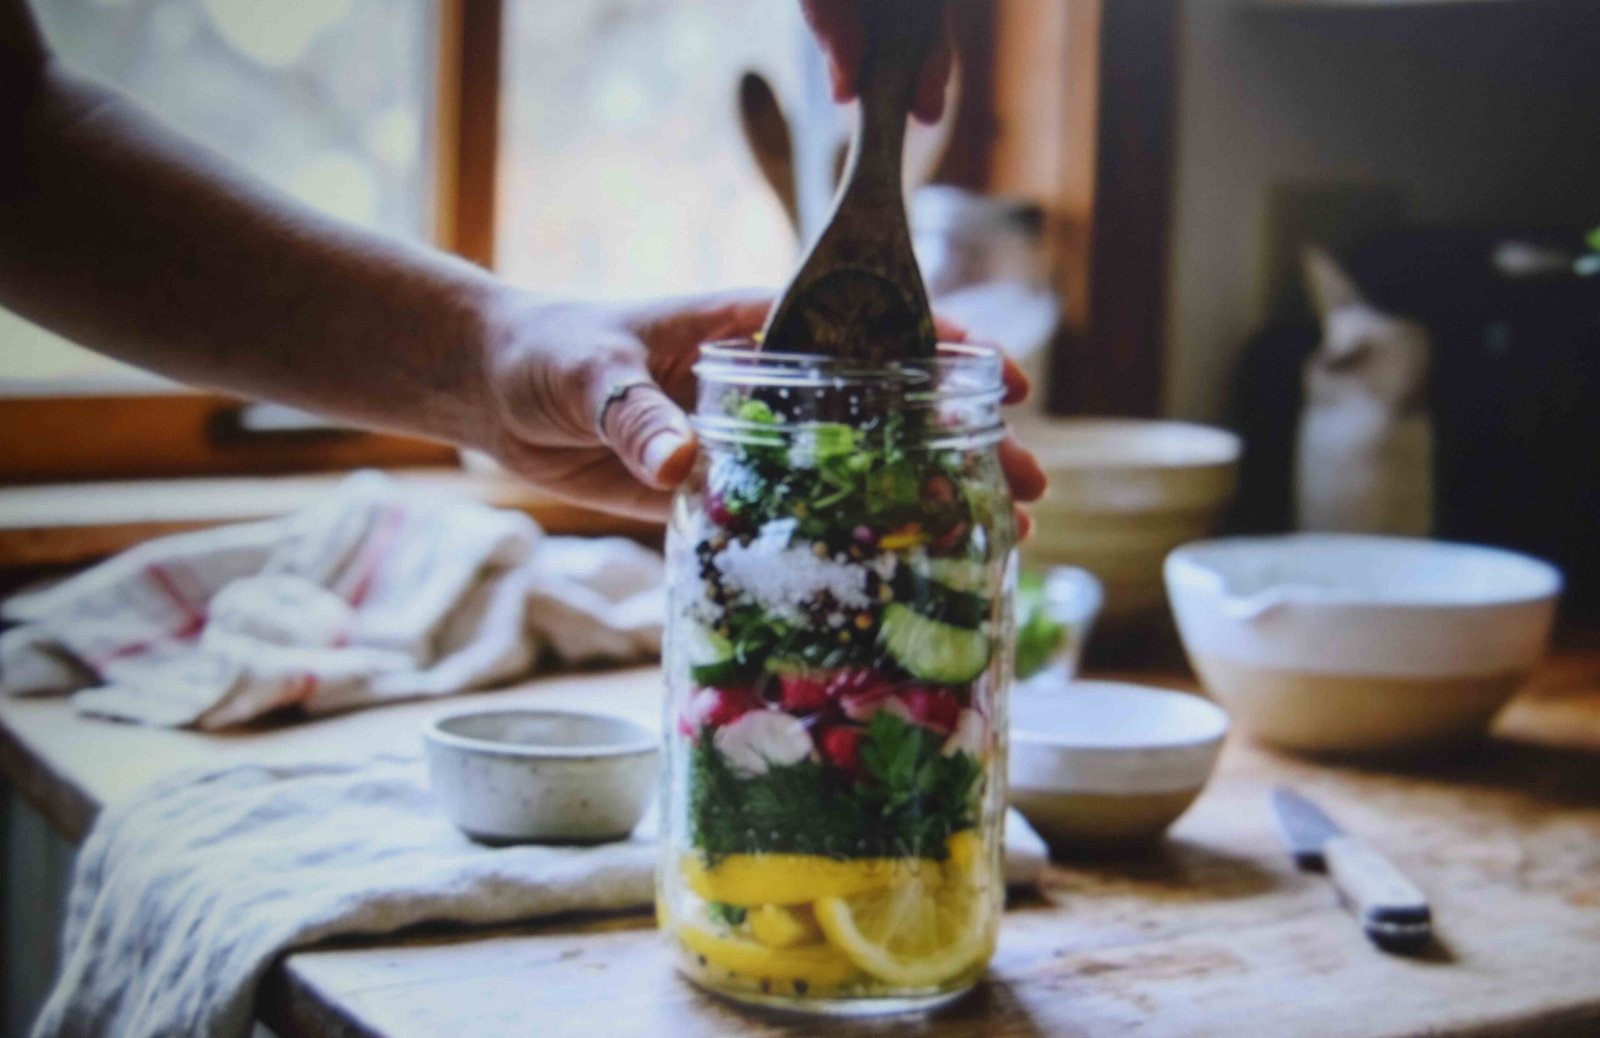
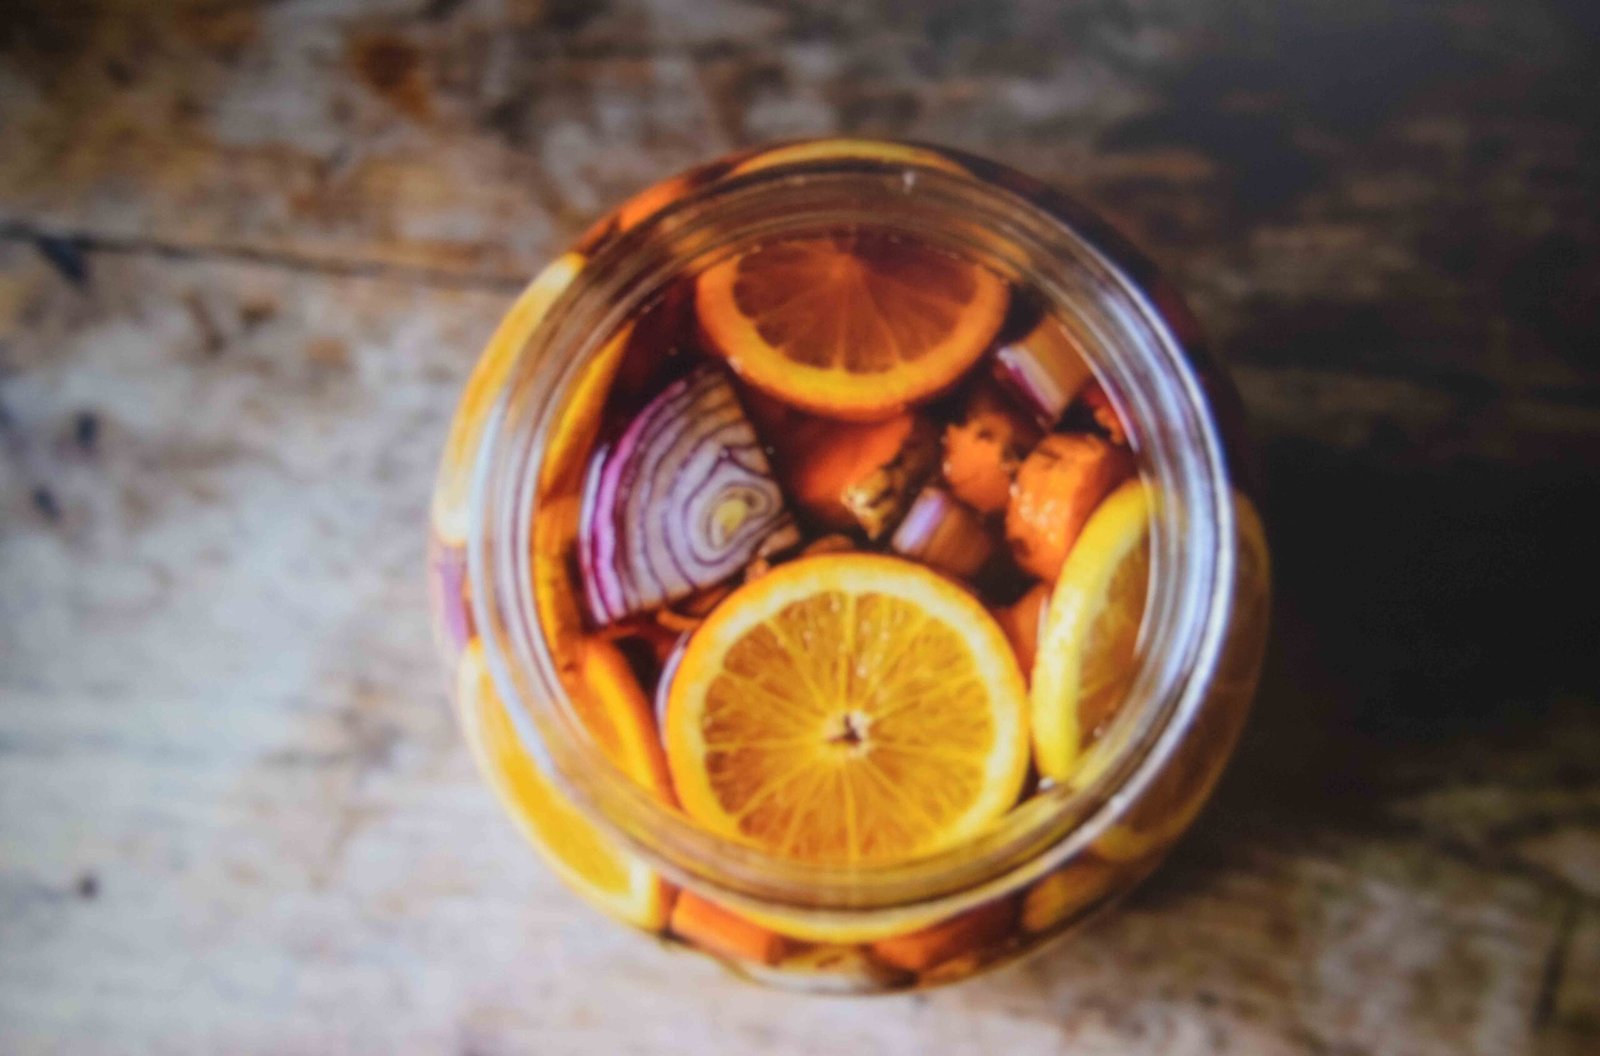
Layer everything into a clean half gallon glass jar. Not a plastic one, since vinegar leaches from plastic over weeks of contact.
Order does not particularly matter, though putting the onion in first gives you a stable base to pack against.
Press each layer down with a spoon as you go. You want the solids compacted enough that the vinegar covers them properly rather than sitting in air pockets.
Leave a couple of inches of headspace at the top.
The common beginner mistake here is overfilling. A jar packed to the rim means solids poking above the liquid line, and anything above that line is where mould starts.
7. Cover With Vinegar and Cap It Properly
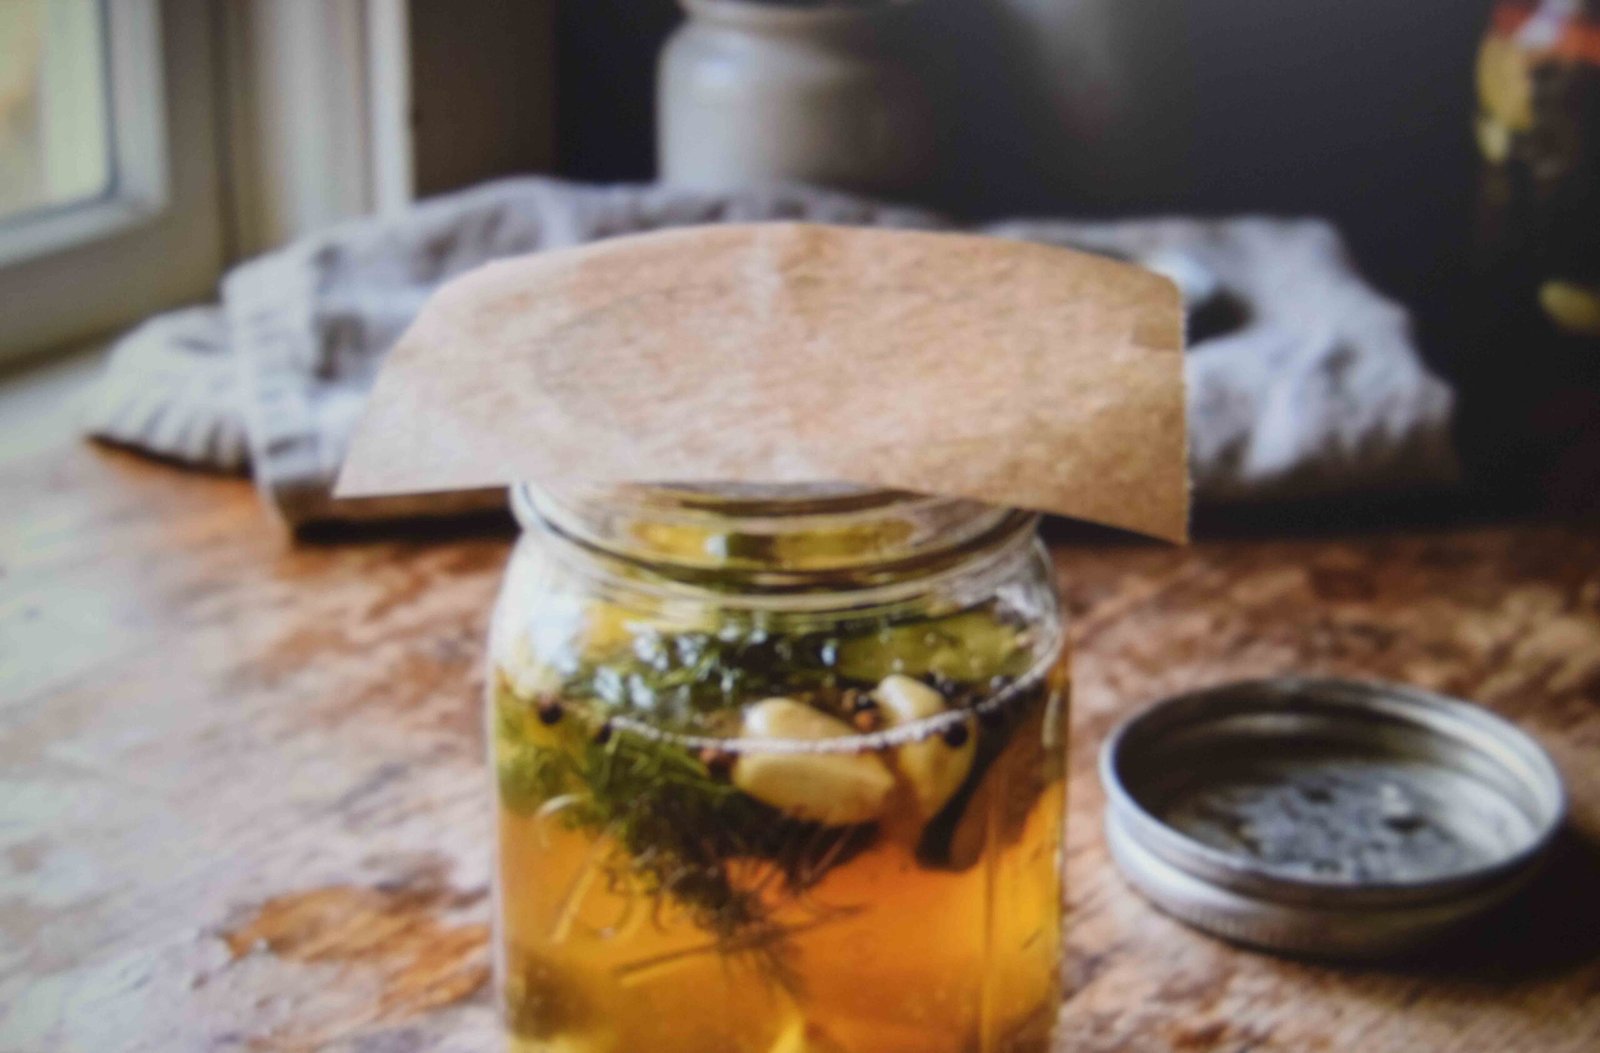
Pour the 4 cups of vinegar over everything until the solids are fully submerged. Press down again and top up if anything floats.
Now the part almost nobody mentions. Vinegar corrodes metal, and a standard canning lid sitting on top for weeks will pit, rust and leach into your jar.
Cut a square of parchment paper and lay it over the mouth before screwing the lid on. A plastic storage lid works too.
Weight anything stubborn that keeps bobbing up. A small glass fermentation weight, or a folded piece of parchment pressed down under the liquid.
Then label the jar with the date. You will not remember which week you started.
8. Steeping: Two Weeks Minimum, Longer Is Better
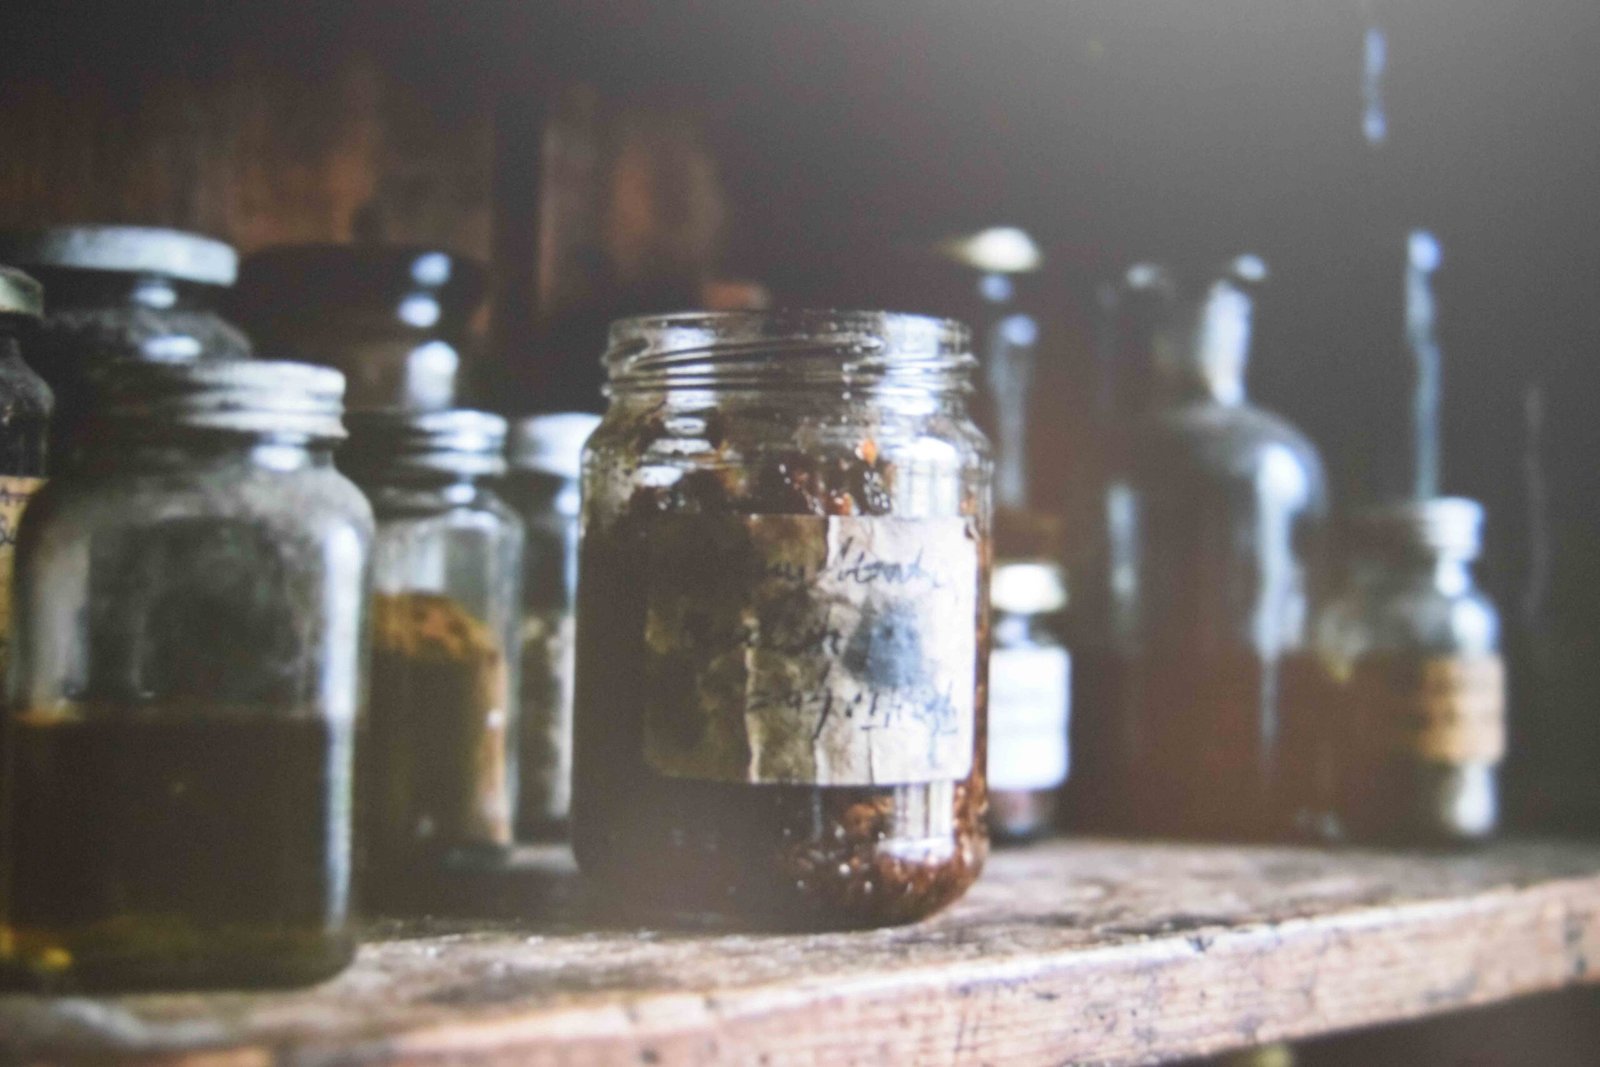
Room temperature, out of direct sunlight. A cupboard is ideal.
Two weeks is the shortest useful steep. Many traditional versions go three to four weeks, and the difference is real: longer gives you a rounder, more integrated flavour rather than a raw one.
Shake the jar every few days. This keeps everything moving and stops any one layer settling into a compacted mass.
Check the liquid line each time. Anything that has crept above the vinegar gets pushed back under.
Sunlight is the enemy here. A sunny windowsill looks lovely and degrades the whole batch. Cupboard, every time.
9. Straining and Pressing Out Every Drop
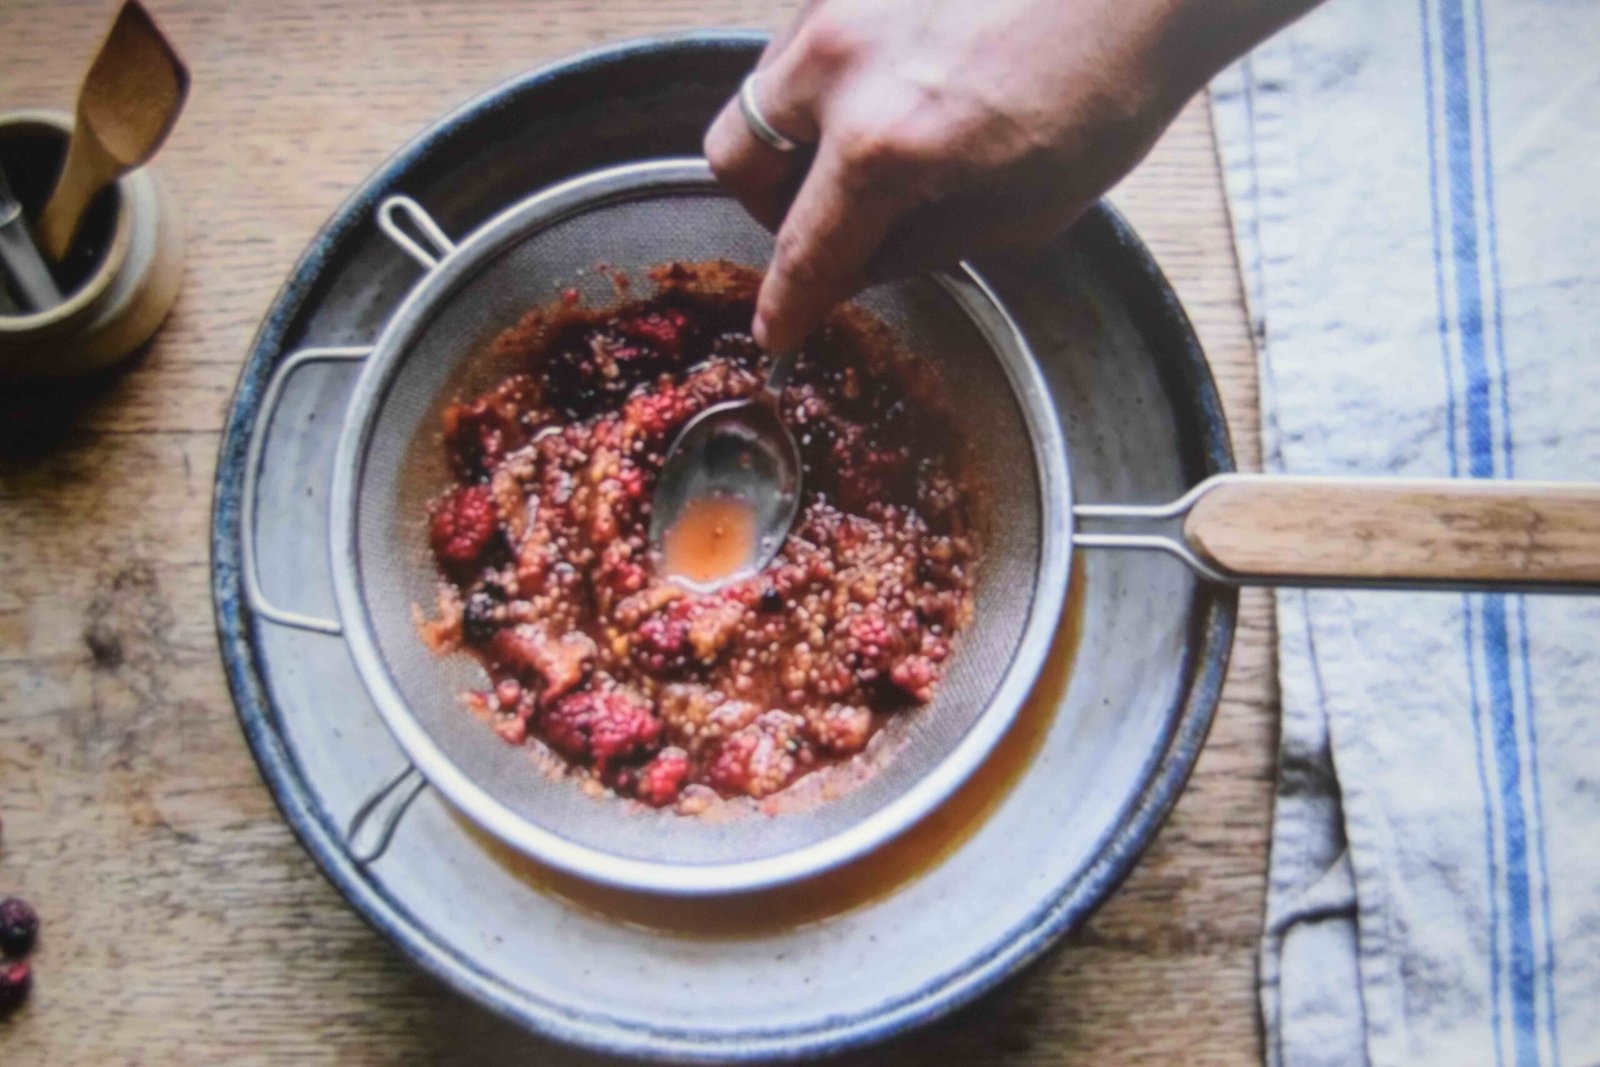
After the steep, set a fine mesh sieve over a large bowl and pour the whole jar through it.
Then press. Use the back of a spoon and work the solids against the mesh until nothing more comes out.
That pressing stage is where a surprising amount of your liquid lives, and skipping it means leaving a good cup of finished cider in the compost.
Line the sieve with muslin or a coffee filter for a clearer result, though it slows things considerably.
The spent solids get discarded. They have given up everything useful and taste of nothing but sour vegetable at this point.
Pour the strained liquid into a clean quart jar.
10. Sweetening: The Cider Honey Recipe Finish
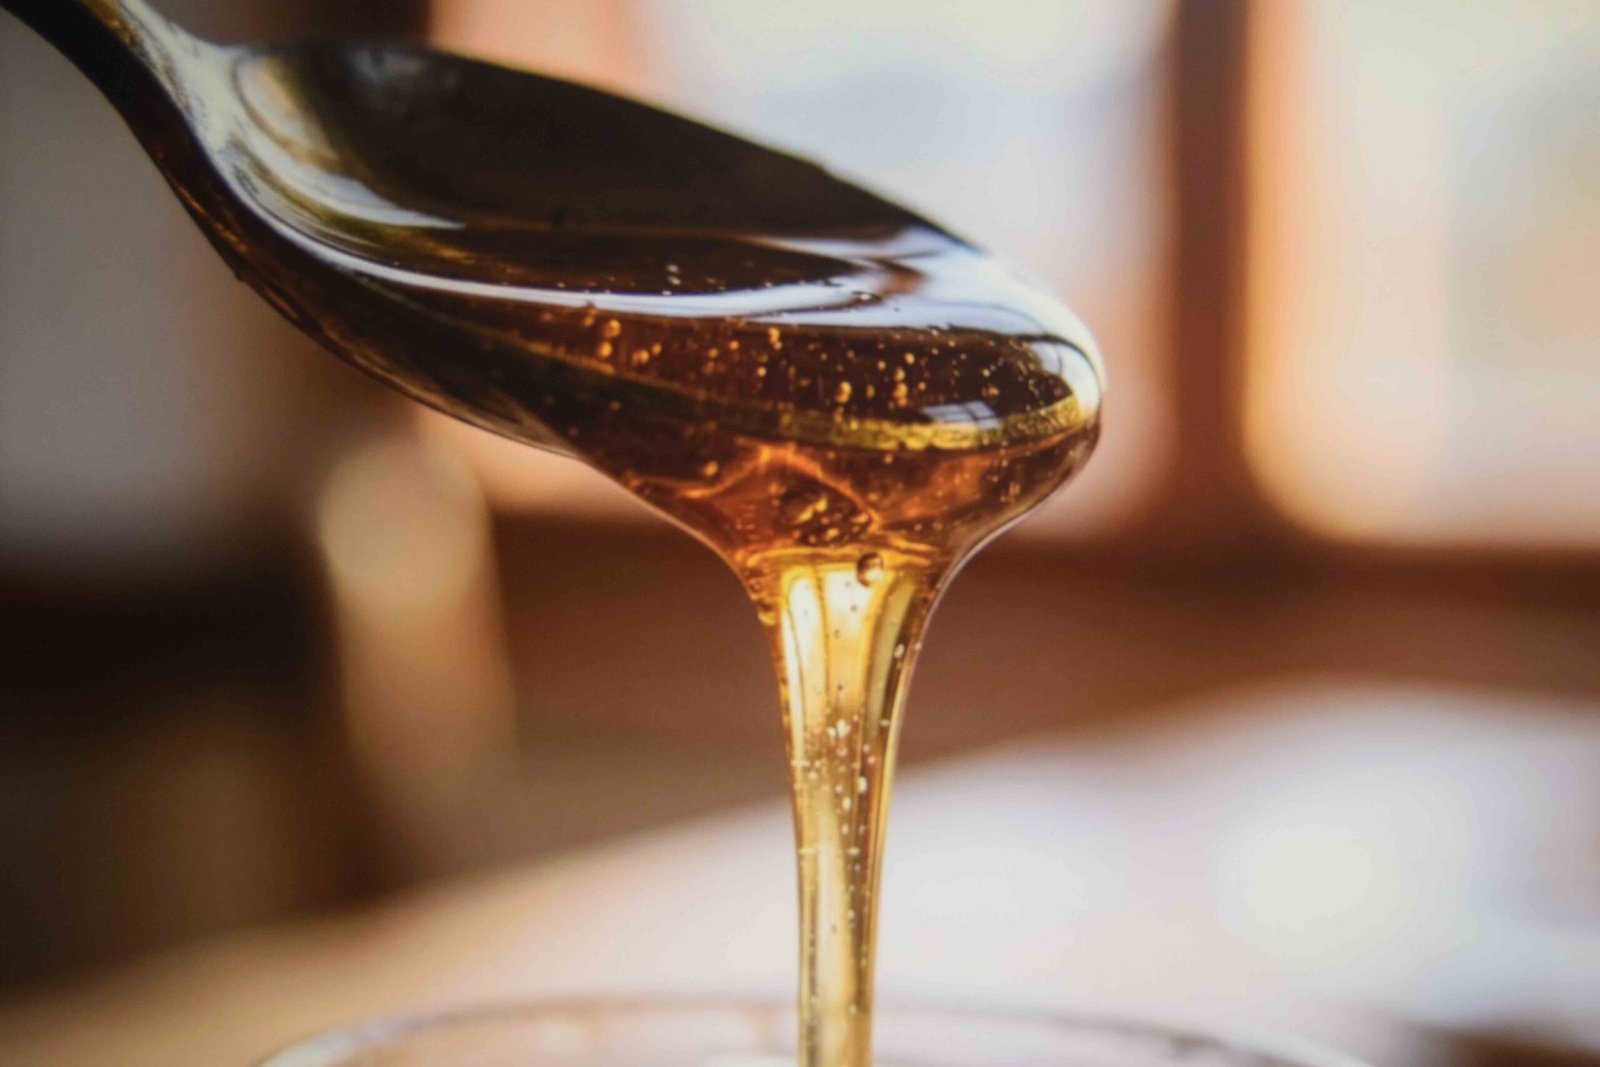
Straight from the strainer this is aggressive. Sweetening is what makes it drinkable.
Raw honey is traditional. Maple syrup does the same job and keeps the batch vegan.
Add it a tablespoon at a time, stirring and tasting between each one. There is no fixed quantity because it depends entirely on how sharp your vinegar was and how long you steeped.
Stir until fully dissolved rather than leaving it to settle at the bottom.
One genuine safety point on the honey version of this cider honey recipe: never give anything containing raw honey to a child under one year old. That is an established infant botulism risk and it has nothing to do with the vinegar.
Prefer it unsweetened? That works too. It just stays fierce.
11. Storage and How Long It Actually Keeps
The finished liquid goes in a clean quart jar with a lid, stored at room temperature out of the sun.
Six months is the usual guideline for room temperature storage. The high vinegar content is doing the preserving work, and for flavour and potency most sources suggest using it within six to twelve months.
The fridge extends that and dulls the aromatics slightly. Your call.
Check it occasionally. Cloudiness and sediment are normal and expected. Fuzzy growth, a slimy film or a smell that has turned genuinely rotten rather than sharp means the batch goes down the drain.
Do not taste something to find out whether it has spoiled. Look and smell are enough.
12. How to Take Fire Cider Without Wrecking Your Teeth

Never neat. That is the whole instruction.
Dilute it in water, juice or tea every single time. Vinegar this acidic erodes tooth enamel, and enamel does not grow back.
Rinse your mouth with plain water afterward. Then wait half an hour before brushing, since brushing straight onto acid softened enamel does more damage than leaving it.
Start with a small amount and see how you get on, particularly if you have a sensitive stomach. A teaspoon in a glass of water is a sensible starting point rather than a shot glass full.
Any tonic apple cider vinegar drink follows the same rules. Dilute, rinse, wait.
13. What Fire Cider Is Good For in the Kitchen
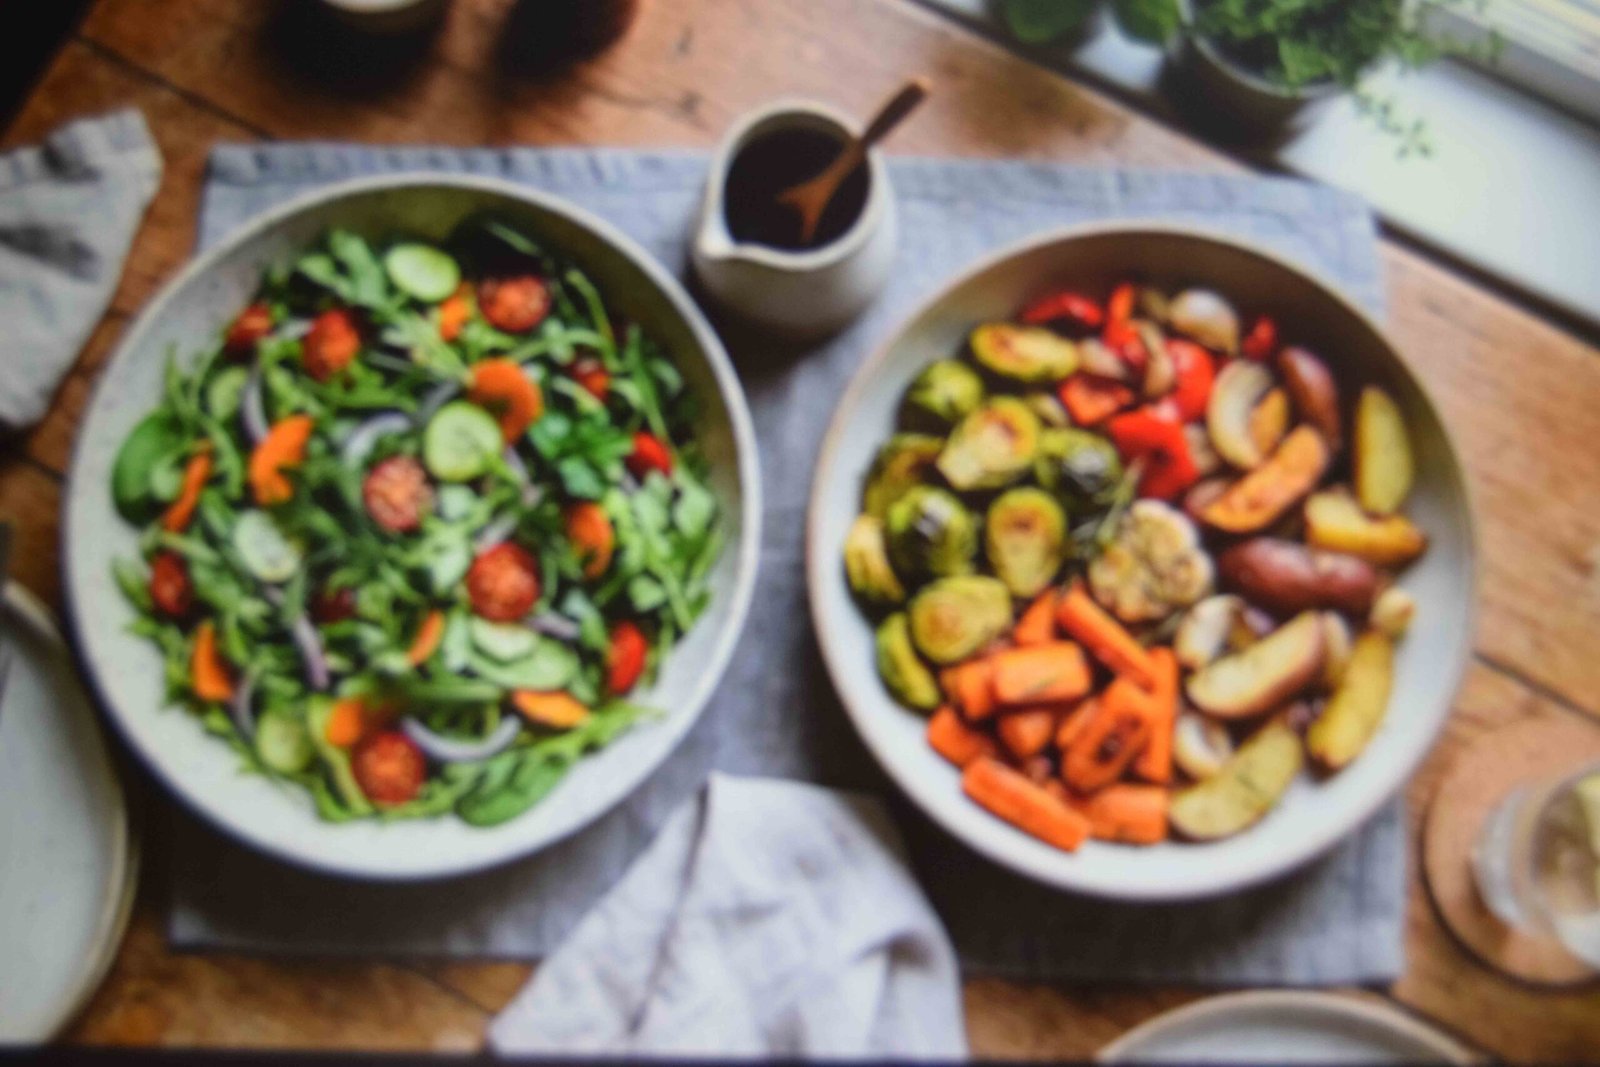
Here is where I think it genuinely earns its jar, and where you will get most use out of it.
Salad dressing. Three parts oil to one part fire cider, a spoonful of mustard, whisked. It needs no other seasoning at all.
Marinade for chicken thighs or pork. The acid tenderises and the aromatics do the flavouring in one move.
A splash into a pot of lentil or bean soup at the end lifts the whole thing. Same into a stir fry, or over roasted vegetables coming out of the oven.
Most articles about fire cider lean on wellness claims. The cooking answer is more useful and considerably better evidenced.
14. Who Should Skip This Entirely
Straight talk on fire cider benefits: I am not going to list any, because the health claims made about it are not supported by reliable evidence.
What I can tell you is who should leave it alone.
Anyone with ulcers, acid reflux or a known sensitivity to vinegar should avoid it. Concentrated acid on an already irritated stomach lining is a bad combination.
Anyone on medication should check with a pharmacist first, since vinegar can interact with several common prescriptions including diuretics and diabetes medication.
Pregnant, breastfeeding, or giving it to children? Ask a doctor rather than the internet.
None of that is me being cautious for the sake of it. It is a very strong preparation.
Practical Tips Before You Start
Weigh or measure everything before any chopping begins. Once your hands are covered in turmeric and horseradish you will not want to be handling measuring cups.
Run the jar through a hot dishwasher cycle or wash it in hot soapy water and dry it fully. It does not need sterilising the way canning does, but it does need properly clean.
Chop the habaneros last, gloves on, then deal with the board immediately.
Set a phone reminder for two weeks out. This is exactly the kind of thing that gets forgotten behind the cereal boxes.
The best fire cider recipe is the one adjusted to your own tolerance, so treat the first batch as a starting point and write down what you would change.
Frequently Asked Questions
Can I use dried spices instead of fresh roots? You can, and the result is noticeably weaker. Dried turmeric and ginger give you colour and some warmth but almost none of the pungency that makes this worth making. Dried horseradish barely registers at all. If fresh is genuinely unavailable, use roughly a third of the volume in dried and accept a milder finished product.
What makes an Amish fire cider recipe different? The versions circulating under that name typically lean on horseradish and garlic heavily, use less citrus, and often skip the chilli altogether. They tend to be sharper and more savoury. Swapping the habaneros for a pinch of cayenne and dropping the lime gets you close to that profile.
Can I reuse the strained solids for anything? Not really, and I would not try. They have released everything worth having into the vinegar and what remains is sour, limp and unpleasant to eat. Compost them. Some people attempt a second steep with fresh vinegar, and the result is thin enough that it is not worth the jar space.
Why has mine gone cloudy or grown something on top? Cloudy and sedimented is completely normal and no cause for concern. Growth on the surface almost always means solids drifted above the liquid line during steeping. That is why the shaking and topping up matters. A batch with actual fuzzy mould gets discarded rather than skimmed.
Can I halve or quarter the batch? Yes, and the ratios scale directly. A quart jar takes half of everything listed. What does not scale is the steeping time, which stays the same regardless of volume, so a small batch is not a faster batch.
Making Your First Batch
Chop, pack, cover, wait. That is the entire structure once you strip the detail away.
The two things that go wrong are solids sitting above the vinegar and a metal lid corroding into the jar. Handle those two and the rest looks after itself for a fortnight.
Any decent fire cider recipe is really about how to make the waiting productive, which means shaking the jar and topping it up rather than forgetting it entirely.
Then dilute it, taste it, and write down what you would change next time.
This post is for general information and cooking purposes only. It is not medical advice, and nothing here is intended to diagnose, treat or prevent any condition. Speak to a doctor or pharmacist before adding anything like this to your routine, particularly if you take regular medication.
Related reads: Marry Me Meatballs: The Full Recipe and Every Timing That Matters, How to Curl Your Hair With Lasting Shape and Minimal Friction and The Best Short Haircuts for Fine Thin Hair to Boost Volume.