
A pile of clothes on a bedroom chair usually means storage space ran out three months ago. You walk into the bedroom with a tape measure, eyeing an empty corner beside the window, trying to figure out if framing real walls will eat the floor or finally solve the clutter.
Learning how to build a closet in a room gives you permanent, functional storage without paying custom cabinet shop rates. It takes about eight to twelve hours of focused carpentry across a single weekend. Using basic dimensional lumber, pocket screws, and smooth plywood, you can frame, divide, and hang a dedicated wardrobe that matches your floor plan.
1. Map Out Minimum Clearances and Wall Layout
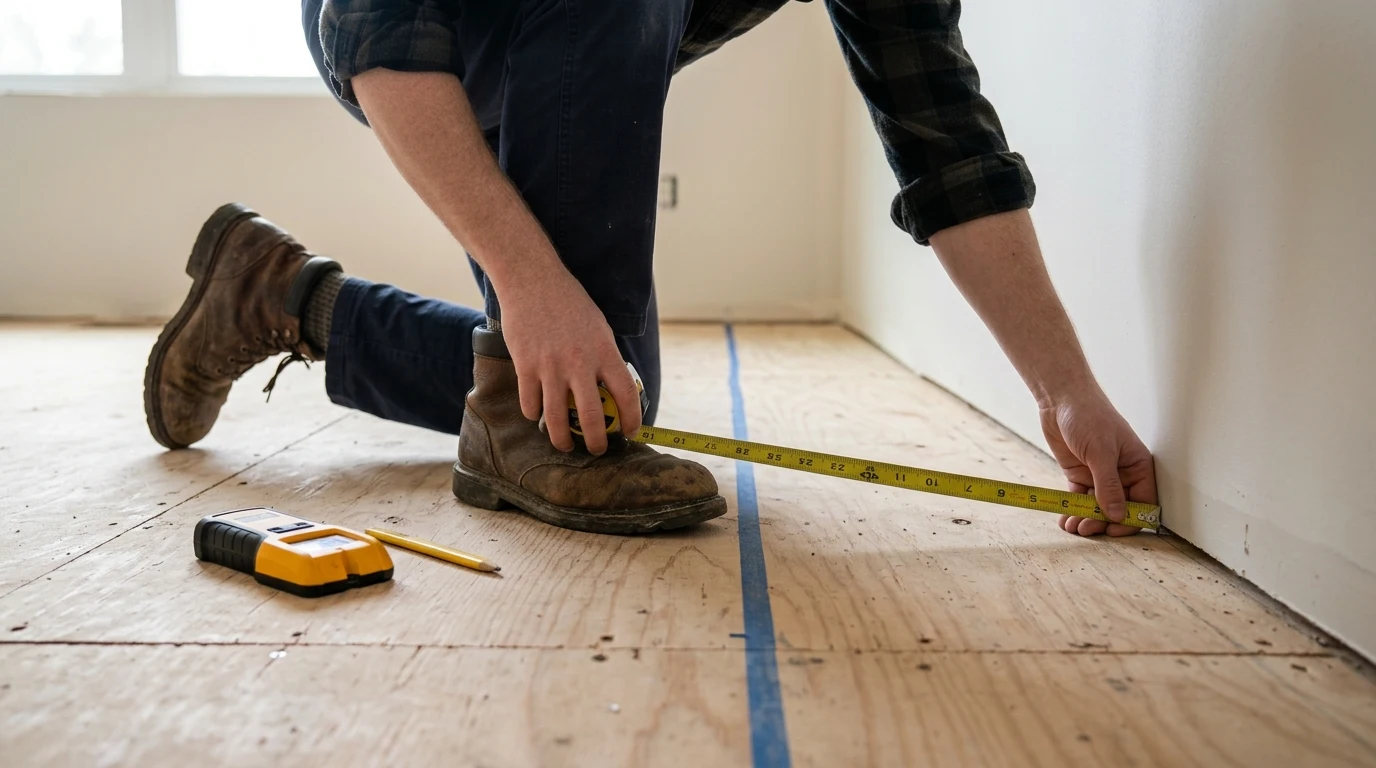
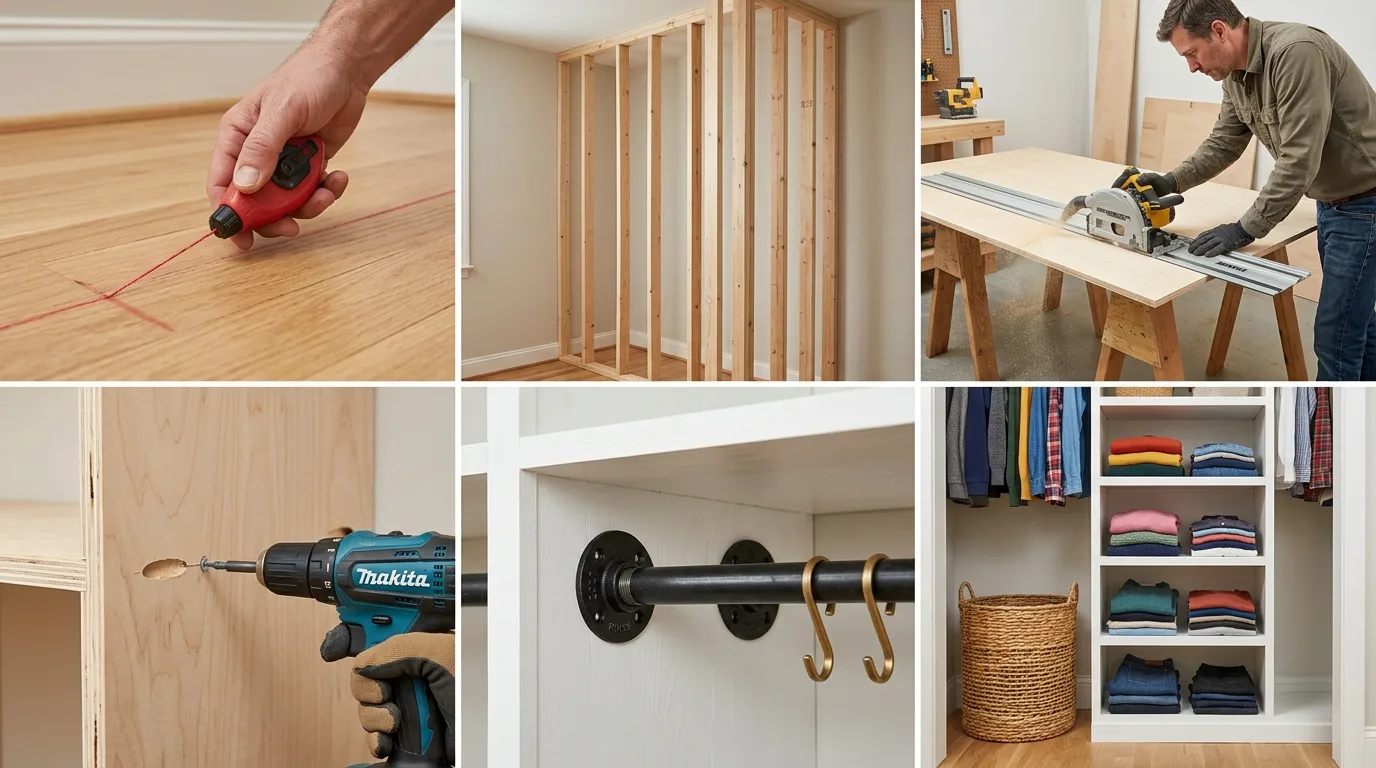
Start by pulling a chalk line across the subfloor at twenty-six inches from the existing back wall. A standard clothes hanger measures seventeen to eighteen inches wide, meaning a finished inside space needs a minimum depth of twenty-four inches so coat sleeves do not bunch against the door. Mark stud positions along the existing house walls using an electronic stud finder.
Transfer your floor lines directly to the ceiling joists using a long carpenter level or a weighted plumb bob. Failing to align the top plate with the bottom plate causes doors to bind and leaves drywall seams cracked. This initial layout phase suits anyone dealing with bare framing or finished drywall in older ranch homes.
2. Fasten the Bottom Base Runner into the Floor
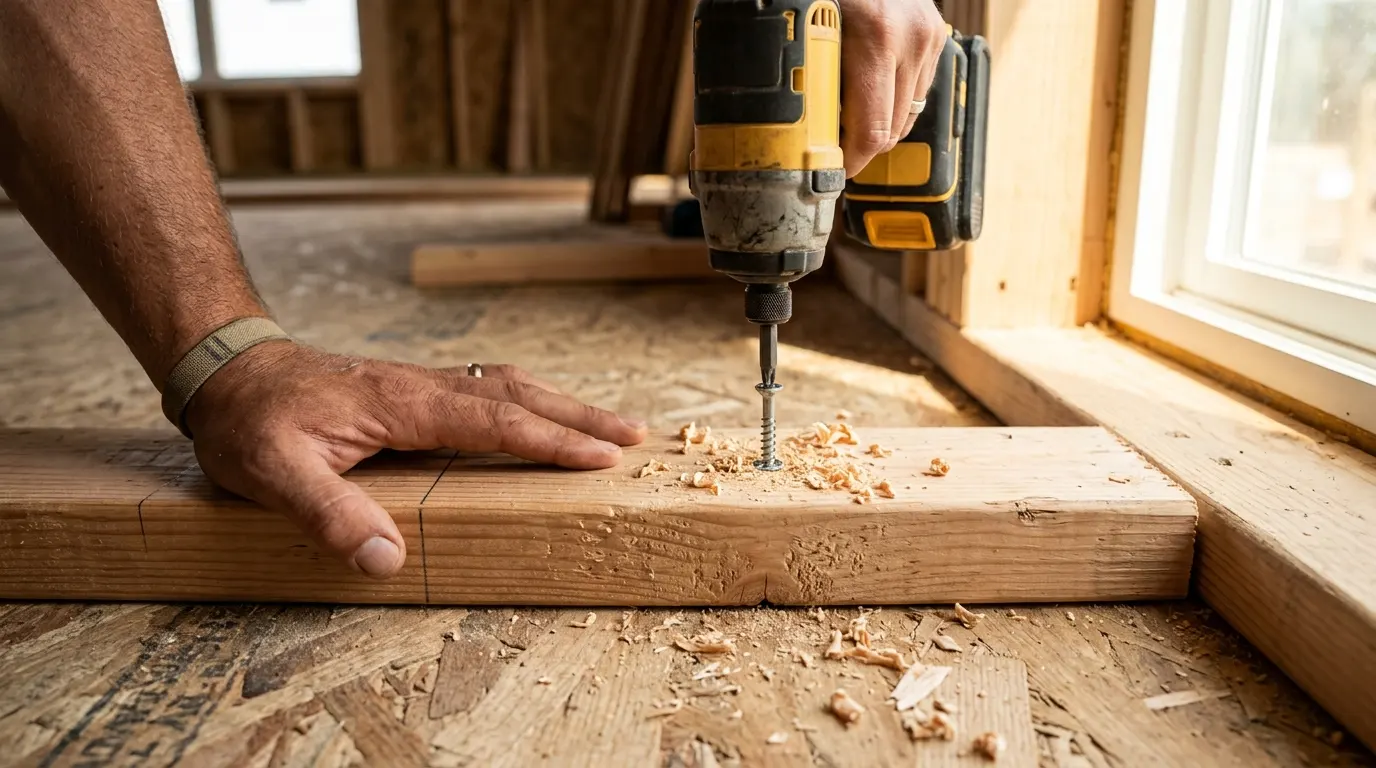
Cut straight two-by-four spruce studs down on a miter saw to match your total closet footprint, subtracting one-half inch on each exposed end to allow for drywall overlap and baseboards. Place these sole plates directly on the floor. For wood subfloors, secure the lumber using two-and-a-half-inch construction screws driven directly into the floor joists below.
On concrete slabs, swap wood fasteners for three-sixteenth-inch masonry screw anchors driven through pilot holes drilled with a hammer drill. Skipping the pilot hole will snap the screw heads off every single time. Expect to spend around fifteen to twenty-five dollars in 2026 on heavy-duty framing fasteners for this base step.
3. Raise Wall Framing Studs and Plumb the Corners
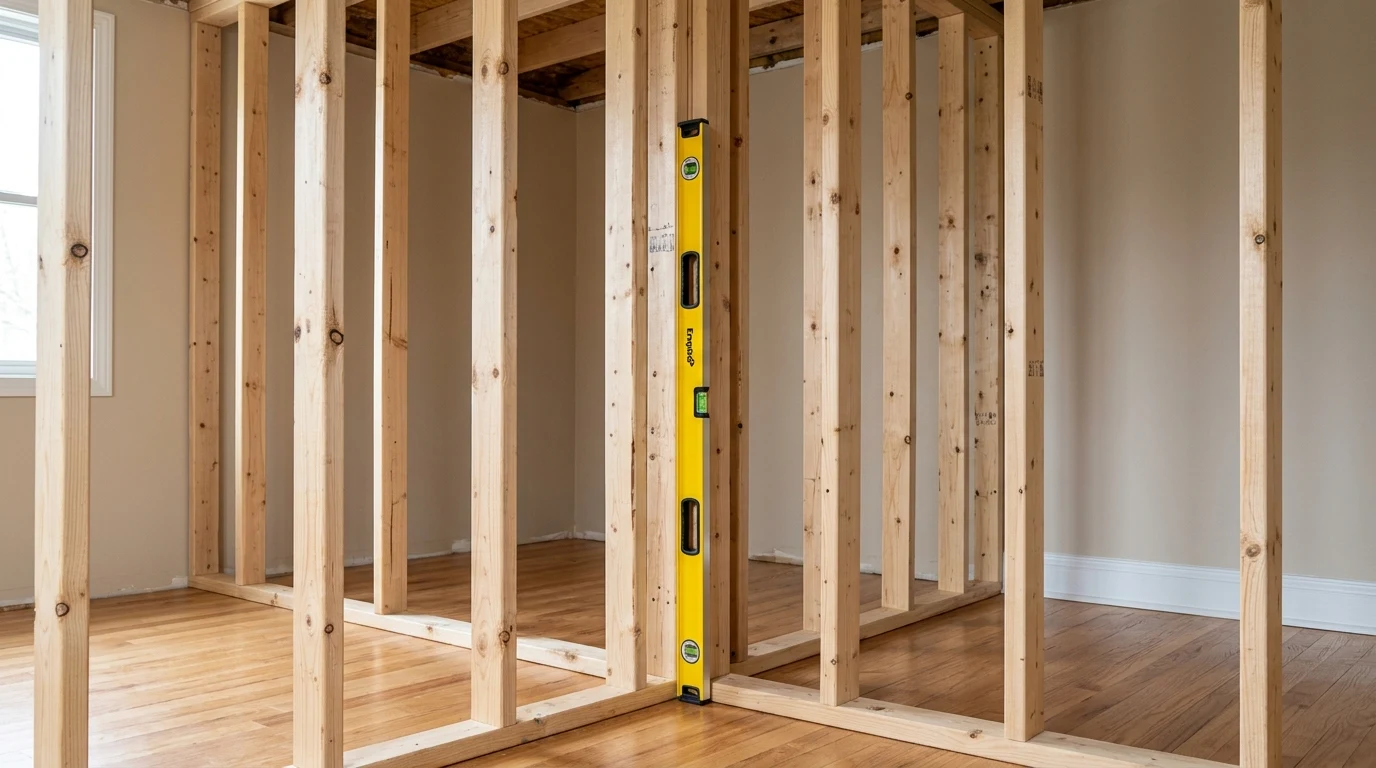
Cut your vertical two-by-four wall studs to height, deducting three inches from total ceiling height to account for the combined thickness of the top and bottom plates. Space the wall studs sixteen inches apart on center across your front and side partitions. Toe-screw the studs into the plates using three-inch framing screws driven at a thirty-degree angle.
Double up studs at every outside corner to create an interior nailing surface for corner drywall sheets. If the frame leans even one-quarter inch out of plumb, hanging sliding or bi-fold doors later becomes an absolute nightmare. Leave this heavy framing step out if you plan to install modular freestanding wardrobes that only require simple anti-tip wall brackets.
4. Frame the Rough Door Opening with a Sturdy Header
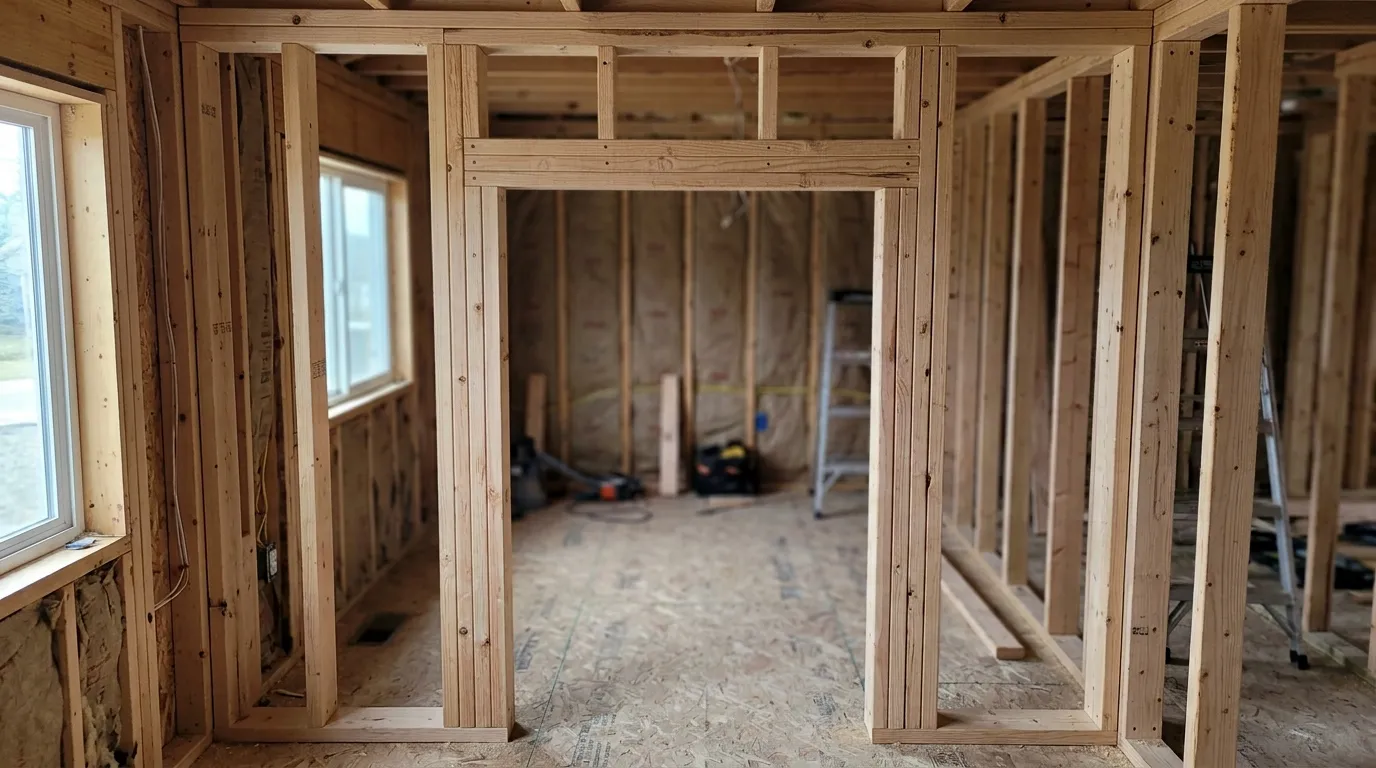
Measure the total rough opening dimensions recommended by your pre-hung door manufacturer, adding two inches to the door width and two-and-a-half inches to the door height. Construct a structural header across the opening using two two-by-fours sandwiched around a one-half-inch plywood spacer, securing it over supporting jack studs on each side.
Nail short cripple studs between the top of the header and the top ceiling plate on standard sixteen-inch centers to carry drywall loads. A common beginner error is making the rough opening the exact size of the door slab, which leaves zero clearance for jamb shimming or squaring. Pair this framed opening with solid wood jambs rather than cheap hollow particleboard cores.
Budget Reality for a Custom Room Build
Setting aside three hundred to five hundred dollars in 2026 covers two sheets of three-quarter-inch sanded plywood, seven framing studs, drywall sheets, joint compound, and a sturdy closet railing. Hiring a general contractor for the same space routinely runs between fifteen hundred and three thousand dollars. You save substantial labor costs by cutting the interior components and hanging your own dry panels.
5. Rip Three-Quarter-Inch Plywood for the Central Carcass
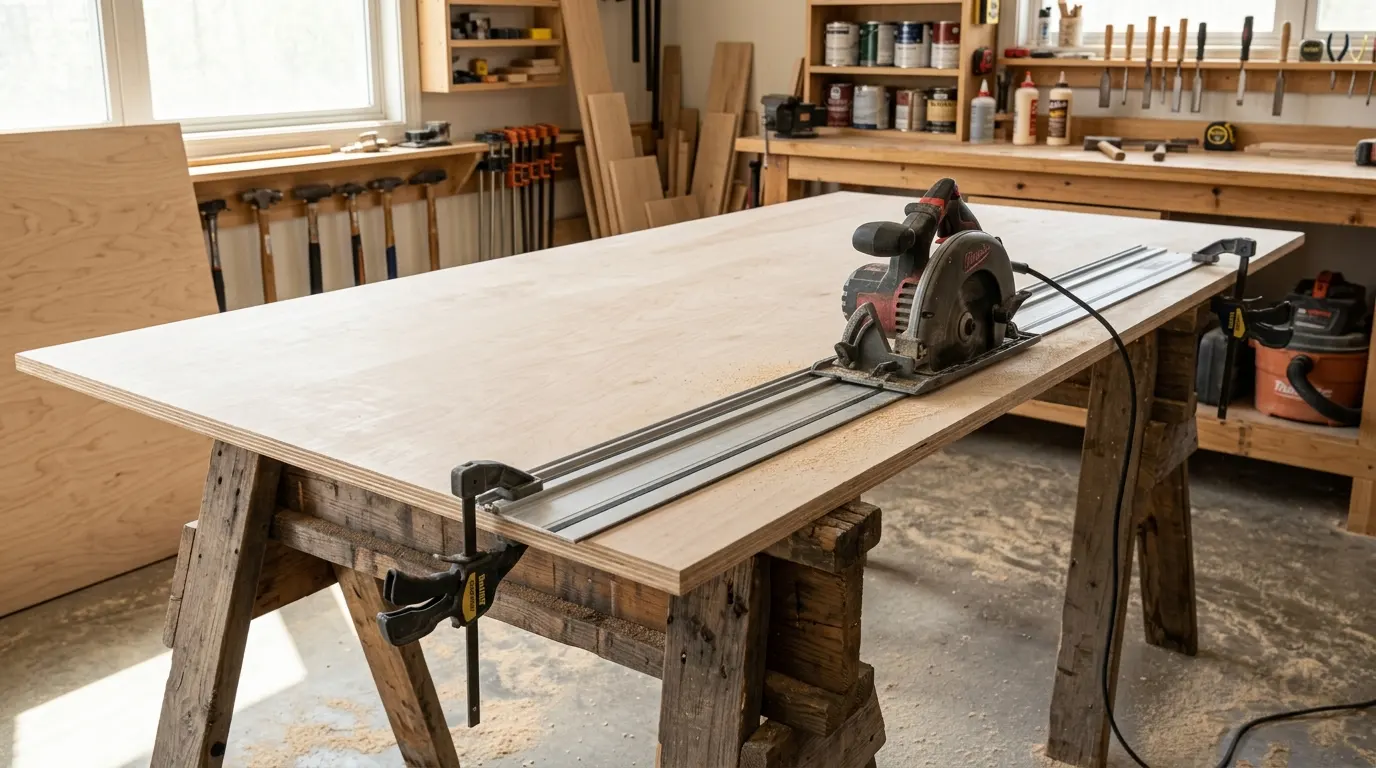
Take two sheets of three-quarter-inch sanded birch or pine plywood and rip them into fourteen-inch-wide strips using a circular saw guided by a straight-edge cutting track. A dedicated track saw prevents splintered veneer and produces glass-smooth edges, but a clamped aluminum level works if you take slow passes.
Support the end of the plywood sheet on sacrificial insulation foam or sawhorses so the cut panel does not break off under its own weight before the blade clears the timber. This structural core forms your vertical partition and your main shelf tower. Adding a closet to a room with custom plywood dividers maximizes vertical space that bare wire shelving wastes.
6. Bore Pocket Holes and Assemble the Center Storage Tower
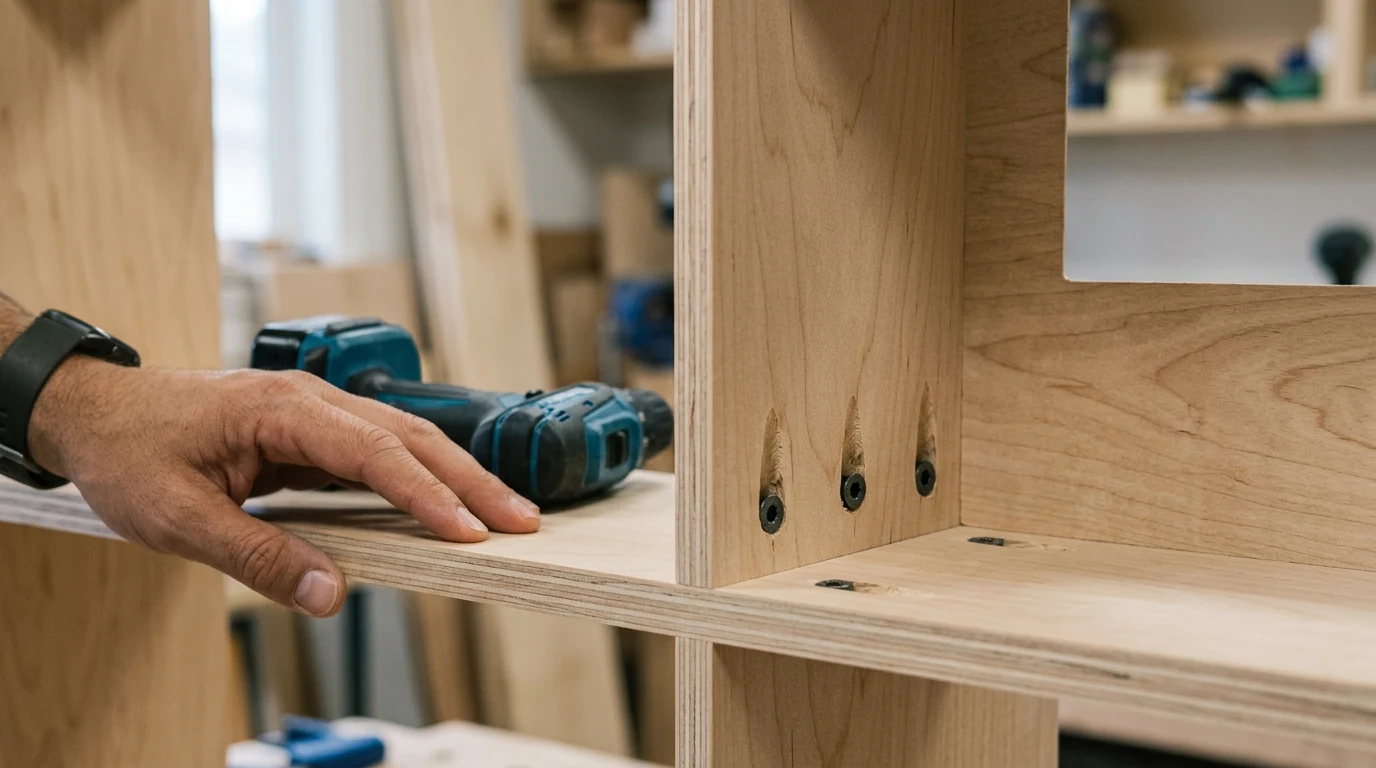
Drill pocket holes along the outer side panels and vertical divider using a dedicated pocket hole jig set for three-quarter-inch material thickness, placing roughly six holes per joint. Join the shelves to the outer tower uprights with one-and-one-quarter-inch coarse pocket hole screws, driving them perfectly straight to prevent the tips from blowing out the finished plywood face.
To keep your storage balanced, calculate shelf spacing by taking the inside height of ninety inches, subtracting the thickness of your horizontal dividers, and dividing evenly. This approach leaves clear openings for shoes, folded knitwear, and storage bins. Pair this assembled core with an iron-on birch veneer edge banding to hide the raw plywood layers.
7. Slide and Level the Finished Tower onto the Base
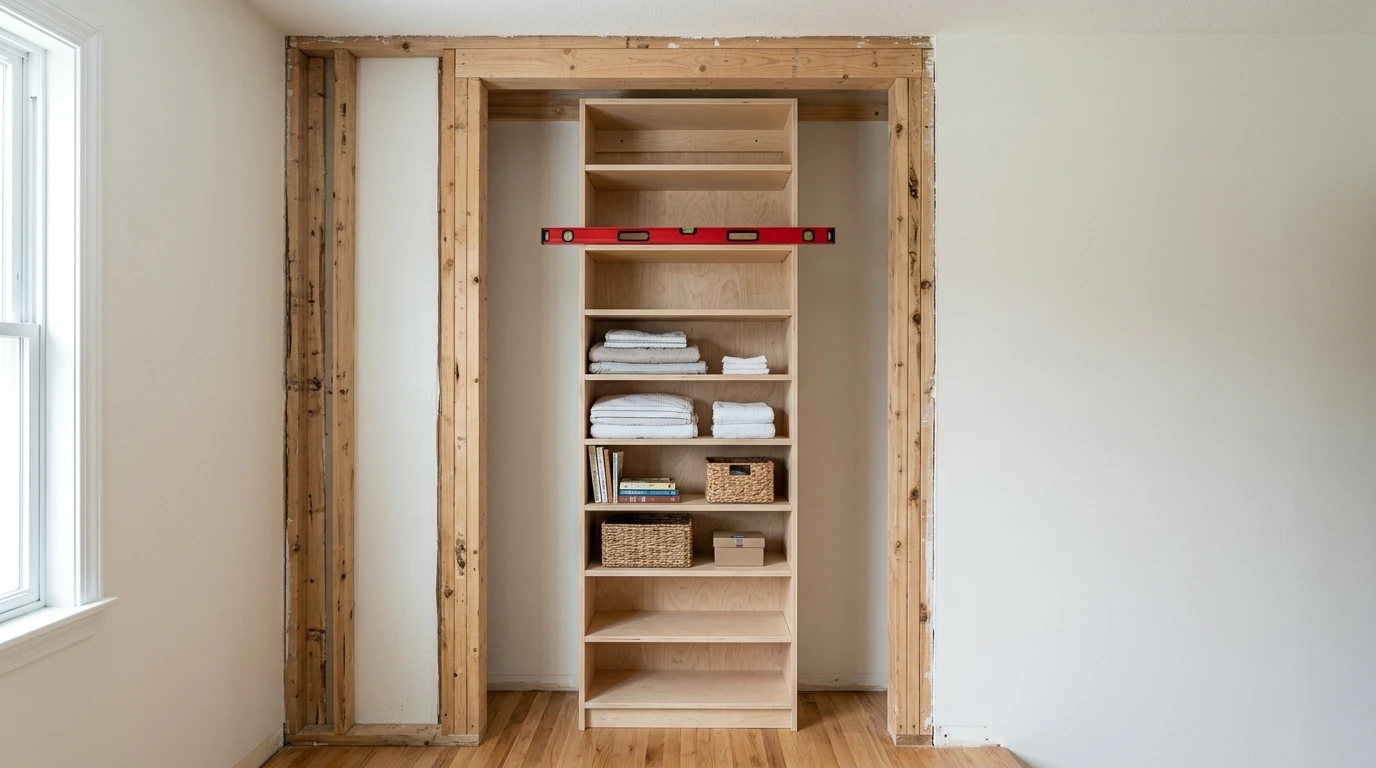
Set the assembled plywood storage unit directly on top of your anchored two-by-four floor runner inside the framed closet footprint. Drive two-and-a-half-inch construction screws through the back cleats of the tower straight into the wall studs behind, checking for square with a four-foot level across both vertical sides.
Shims must be driven under the tower base if your room floor slopes toward the center of the house. Fastening a crooked unit means drawers will roll open automatically and clothes hanging rods will sit crooked. This built-in carcass supports the horizontal closet rods on either side, making a room a closet build rock solid for heavy coats.
8. Cut and Mount Heavy-Duty Industrial Pipe Railing
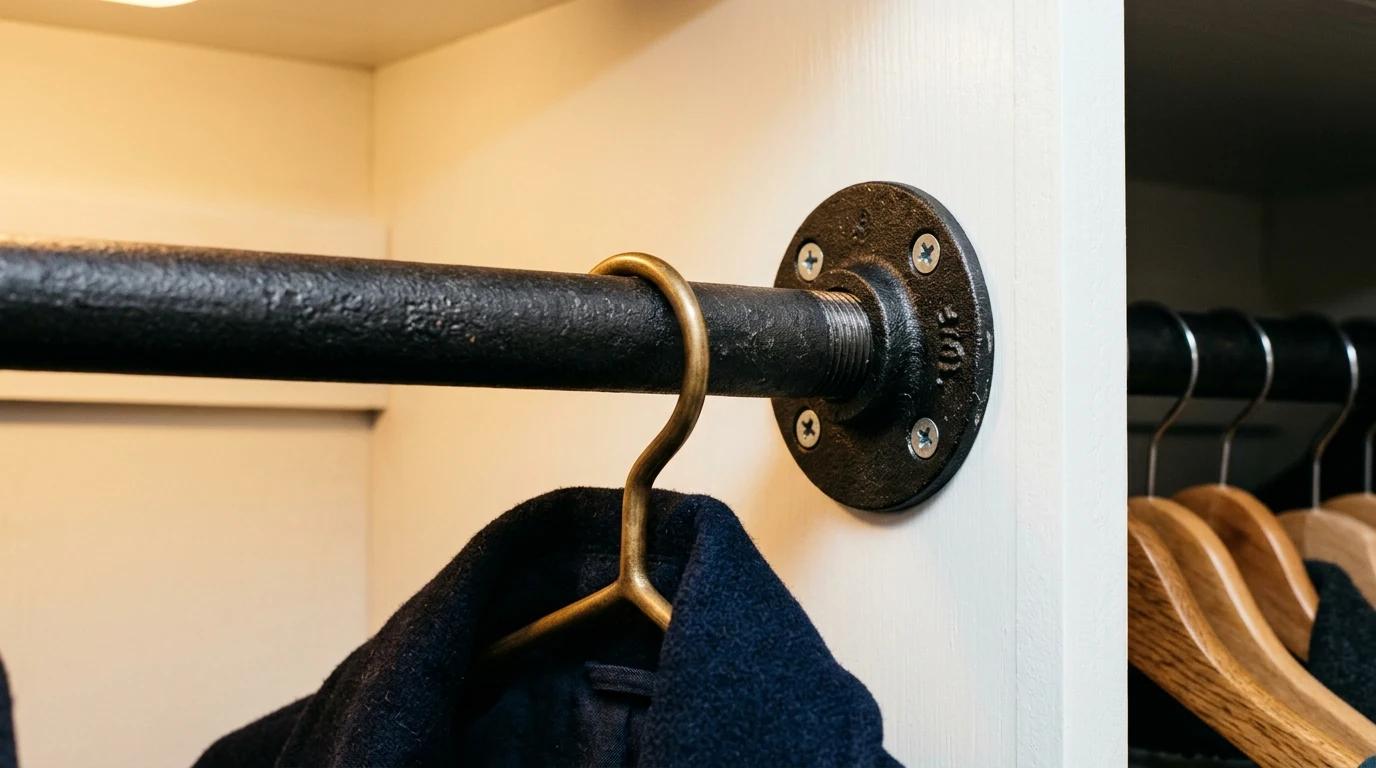
Skip flimsy plastic-coated closet poles that bow in the middle. Purchase a ten-foot length of half-inch threaded black iron gas pipe and have it cut down to fit your hanging nooks using an inexpensive metal pipe cutter. Screw half-inch round floor flanges onto both ends of the pipe.
Fasten one flange directly into the side of your plywood tower and the opposing flange into a wall stud using one-and-one-quarter-inch wood screws, mounting the rod roughly two inches down from your upper shelf. Black pipe costs around five dollars for long lengths and holds fifty winter coats without flinching. This rigid setup suits homes needing maximum garment density in tight areas.
9. Construct Fitted Drawer Boxes with Smooth Slide Clearances
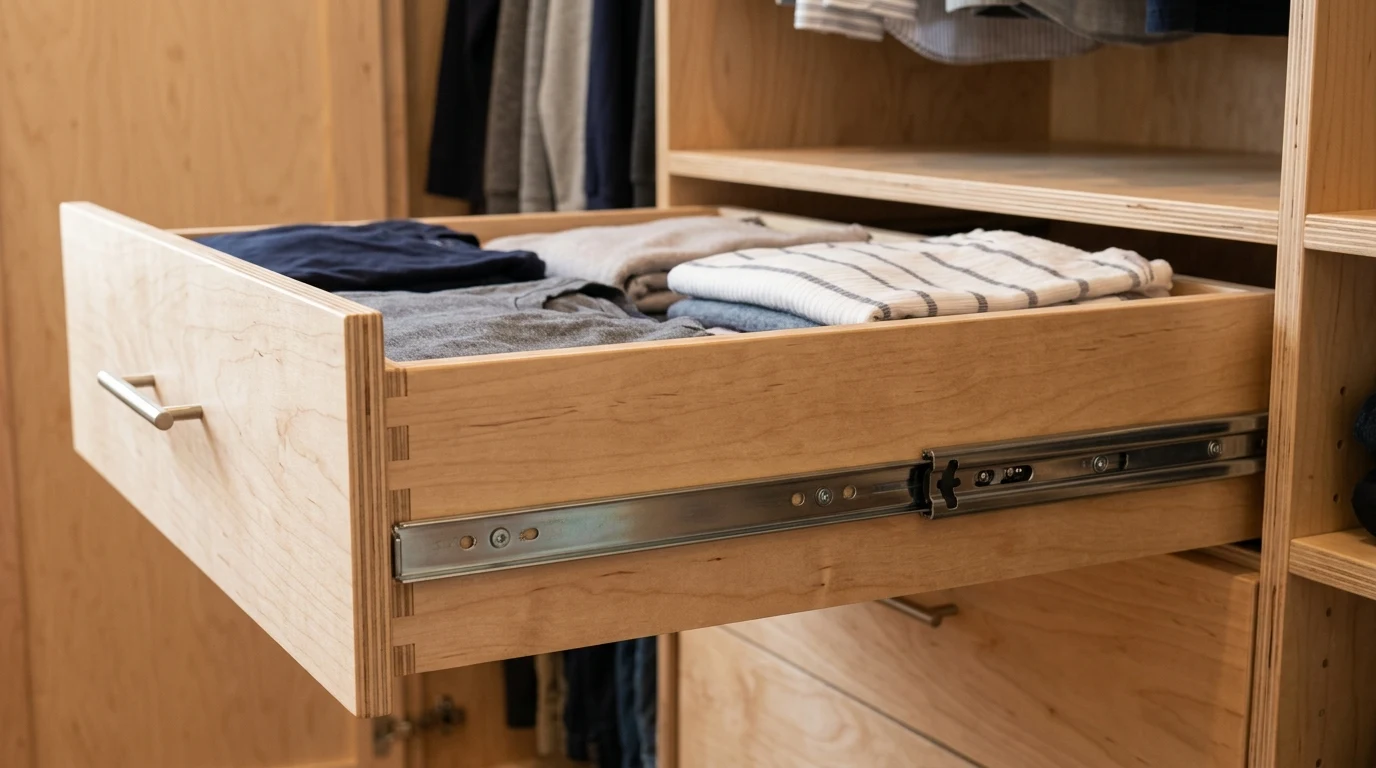
Build four drawer boxes from half-inch sanded plywood, cutting your front and back pieces one inch narrower than the finished carcass opening to leave a precise one-half-inch clearance on each side for ball-bearing slides. Fasten the bottom panels using one-and-one-quarter-inch brad nails and wood glue driven into routed grooves.
Mount your twelve-inch full-extension drawer slides one-half inch back from the front face of the plywood box. Drawer fronts made from three-quarter-inch stock should sit flush with the surrounding frame, so adjust the slide bracket until the box rests one-quarter inch back from the exterior lip. This meticulous drawer sizing represents the most technical phase of making a closet in a small room.
10. Trim the Face Edges with Solid Pine Moulding
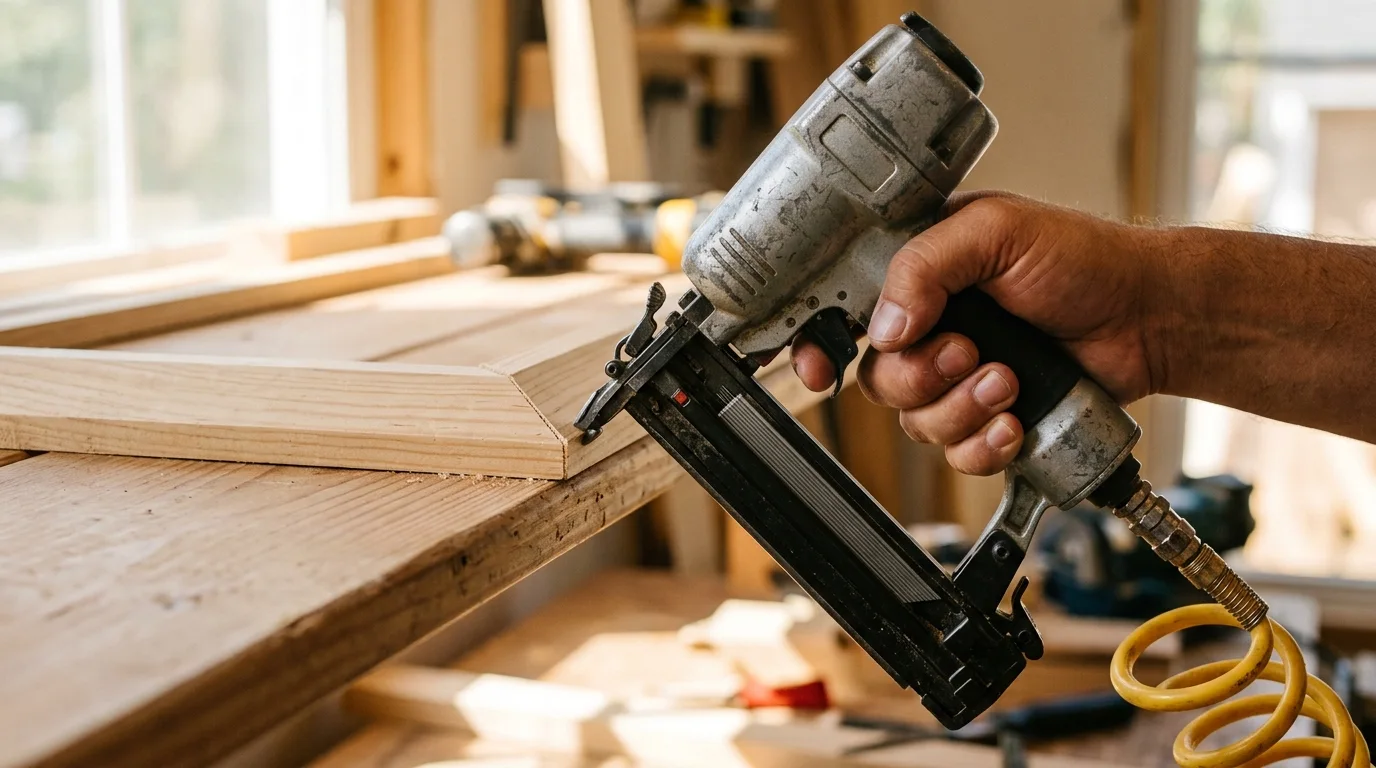
Cover every visible raw plywood edge and baseboard seam using half-inch by three-quarter-inch solid pine lattice moulding. Cut your meeting corners at clean forty-five-degree bevels on a miter saw, testing each cut against a scrap piece before pinning it permanently.
Secure the pine trim to your plywood face using a pneumatic brad nailer loaded with two-inch eighteen-gauge finishing nails, sinking the heads slightly beneath the wood surface. Fill all pin holes with stainable wood putty and sand everything smooth with one-hundred-and-twenty-grit paper. This trim layer turns raw shop carpentry into finished cabinetry, elevating an office update how to build a diy closet project into a permanent home feature.
11. Hang Drywall and Apply Two Coats of Washable Enamel
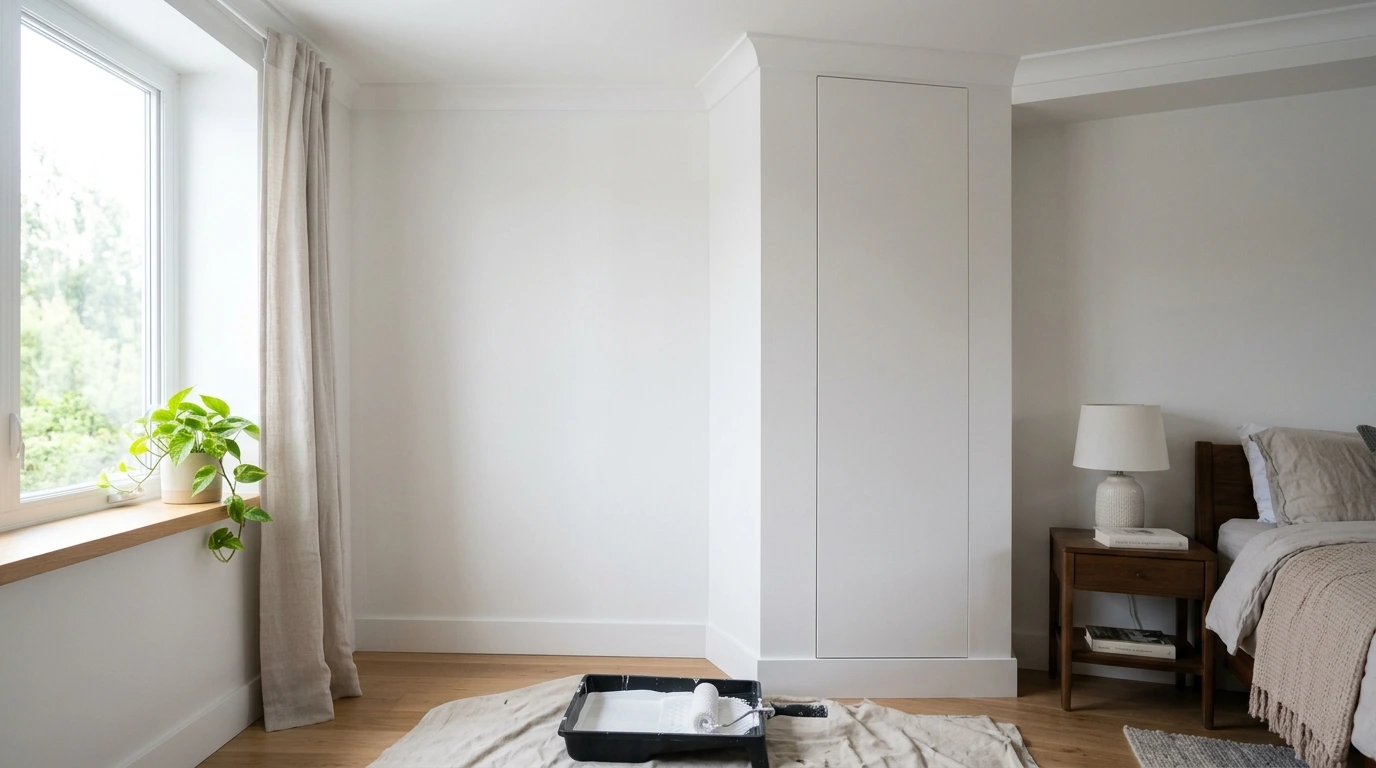
Hang one-half-inch drywall sheets horizontally across the exterior studs, securing them with one-and-one-quarter-inch drywall screws driven every eight inches along the studs. Tape the seams with paper tape embedded in all-purpose joint compound, feathering three successive coats out twelve inches to conceal the butt joints.
Once sanded flat, prime the raw drywall and plywood surfaces with an acrylic stain-blocking primer. Roll two coats of satin or semi-gloss washable enamel over the shelves and walls using a small microfiber roller and a one-and-a-half-inch angled sash brush for clean cut-ins. Semi-gloss enamel resists marks from plastic hangers and shoe soles that quickly ruin flat latex paint.
How to Build a Closet in a Room from Scratch
You have your floor framed, your plywood tower anchored, and your black iron pipe bolted to the walls. What remains is hanging your choice of bypass doors or leaving the build as an open modern dressing niche. Taking on this project transforms dead wall space into an organized system that holds three times what a standard department-store wardrobe manages.
If you are torn on where to start this weekend, build the central plywood tower first. Getting the central shelving unit assembled on your workshop floor gives you physical components to measure against, ensuring your hanging rods and wall plates fit your exact wardrobe needs without guessing.
Five Common Questions About Building a Room Closet
Can you frame a closet directly over existing carpet?
Never nail or screw framing plates directly over wall-to-wall carpeting. Compressible fibers cause the bottom plate to bounce, which loosens fasteners and cracks surrounding drywall seams over time. Cut the carpet and pad out along your chalk lines using a utility knife, exposing the bare subfloor before anchoring your framing lumber.
What is the most functional width for a bedroom closet?
A standard functional reach-in closet requires a minimum width of four feet to provide usable hanging space beside shelving. Anything narrower than four feet leaves barely enough clearance for hangers to clear the door opening, making drawers difficult to pull out.
Do closet walls require permits in residential bedrooms?
Building non-load-bearing partition walls that do not move electrical conduits or heating ducts rarely requires a structural permit in most municipalities. However, if your new closet encloses an existing HVAC vent or alters fire egress paths from an egress window, local building codes mandate plan approval before closing the walls.
How much weight can black pipe closet rods hold?
A standard half-inch black iron pipe supported by threaded flanges at four-foot spans easily holds upwards of one hundred and fifty pounds without sagging. Traditional hollow aluminum or wooden closet dowels typically bow under fifty pounds of dense winter clothing.
What door style works best for cramped bedroom layouts?
Bypass sliding doors or double-fold doors function best in compact spaces because they do not require three feet of clear floor clearance to swing open. Sliding tracks install directly inside the framed header and glide smoothly past nightstands and bed corners.
Related reads: 12 Living Room Wall Decor Ideas That Finally Fix a Blank Wall, Flattering Cherry Cola Hair Color Formula and Mixing Guide and Red Marble Bathroom Ideas: 13 Ways to Use the Stone Without Overdoing It.