
Why do so many frontal installations look seamless in ring-light videos but reveal obvious demarcation lines, lifting corners, and rigid parts in broad daylight? Getting a lace system to lie flat requires understanding tension mechanics, grid ventilation, and braid foundations rather than slathering on extra glue.
When styling frontal wig hairstyles black women often battle lifting side tabs, bulky lumps at the crown, and stiff synthetic movement. Every issue traces back to a mechanical error during foundation prep or lace selection. Fixing these nine common mistakes gives you versatile styling freedom without damaging your natural perimeter.
Choosing a 13×4 Lace Frontal When You Want Deep Curved Side Parts
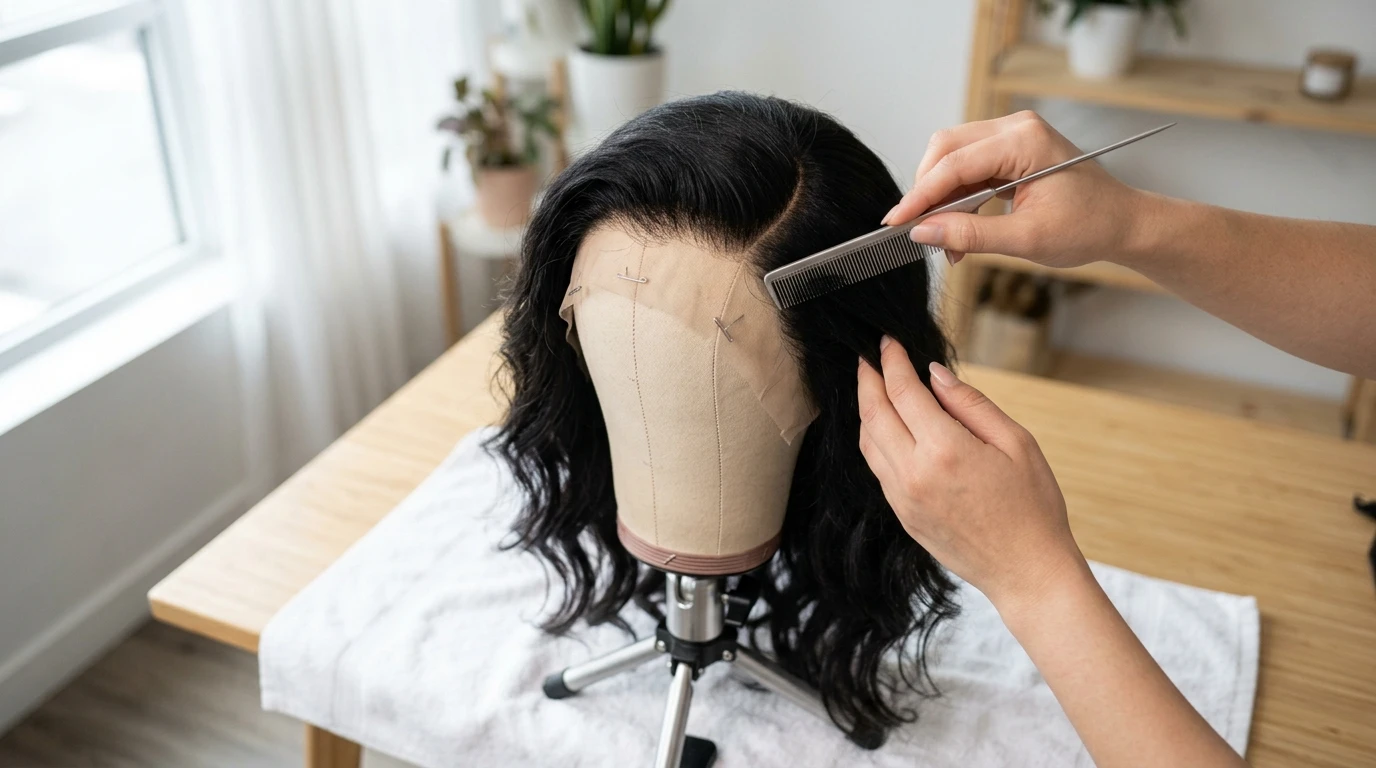
A 13×4 lace unit gives you ear-to-ear coverage across the hairline, but it only extends four inches backward toward the crown. If you attempt an arching side part or a C-curve part that extends past the temple, the parting comb hits machine-sewn tracks behind the lace barrier. The visible track edge ruins the illusion of natural scalp emergence.
Switch to a 13×6 lace frontal structure if you prefer deep parting flexibility. The six-inch depth allows your comb to travel back to the true crown zone. For high updos and complete ponytail elevation, invest in a black women 360 frontal wig instead of a front-only system. A 360 unit places lace around your entire head perimeter, keeping wefts hidden when hair pulls upward.
Thick Braids Underneath Creating an Unnatural Lumpy Silhouette
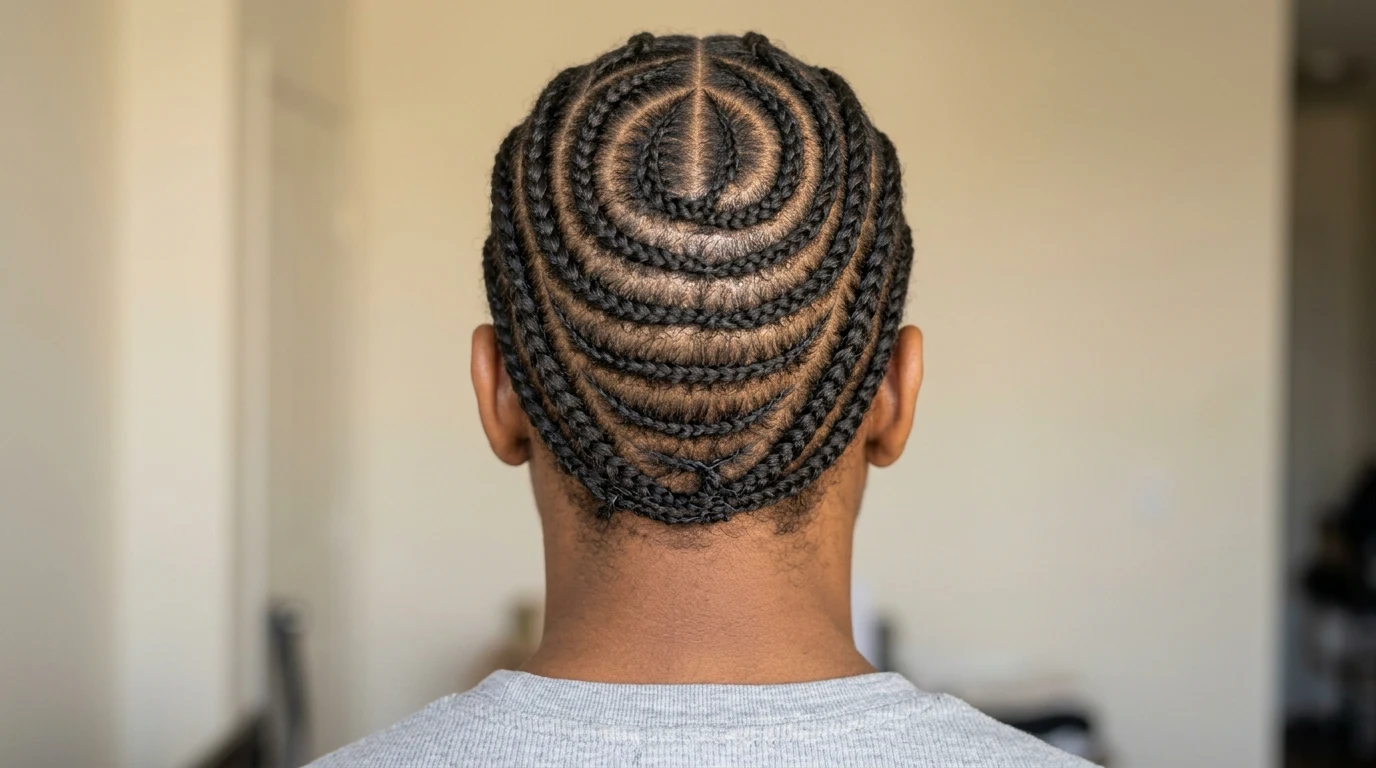
Bulky, hasty cornrows underneath a wig cap force the lace and cap mesh to float an eighth of an inch above the scalp. That tiny air pocket creates visible bulk at the vertex and puts horizontal pull along the hairline tape.
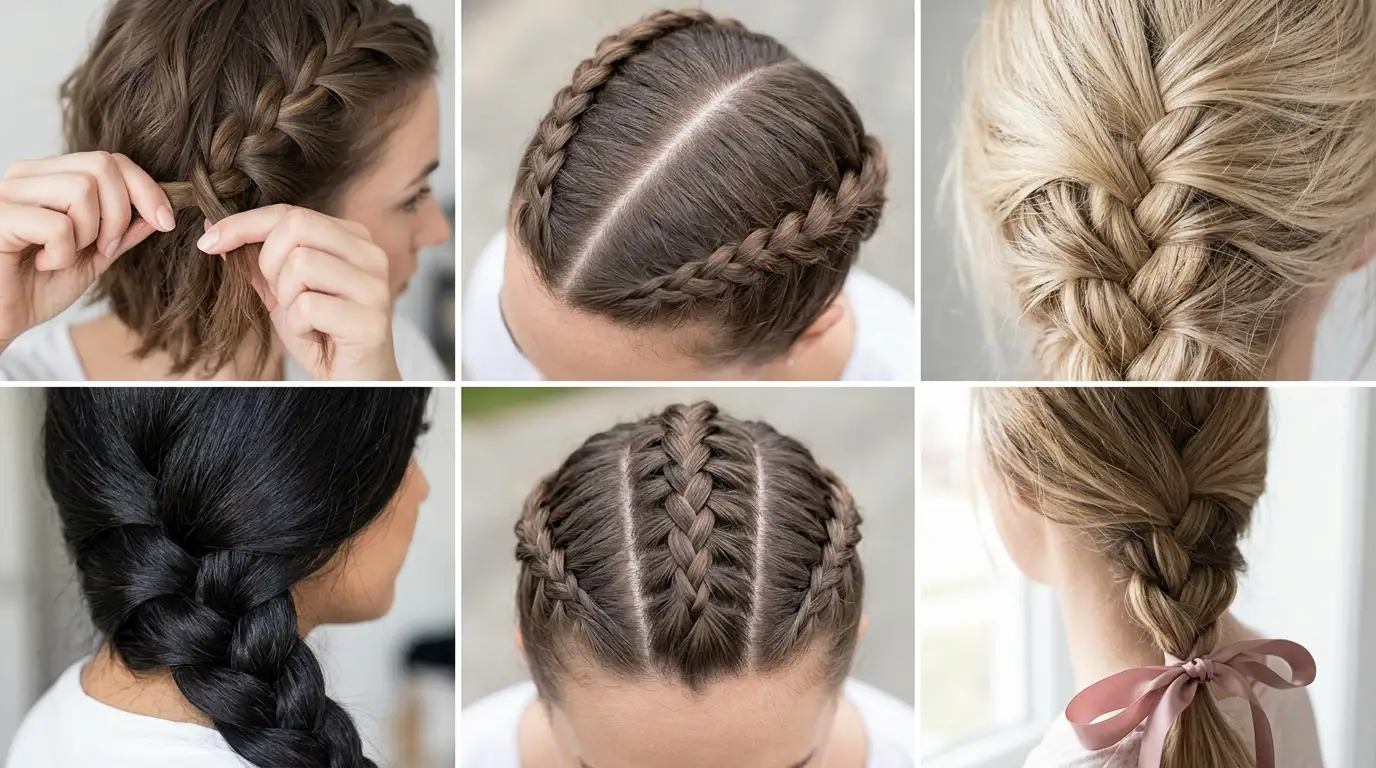
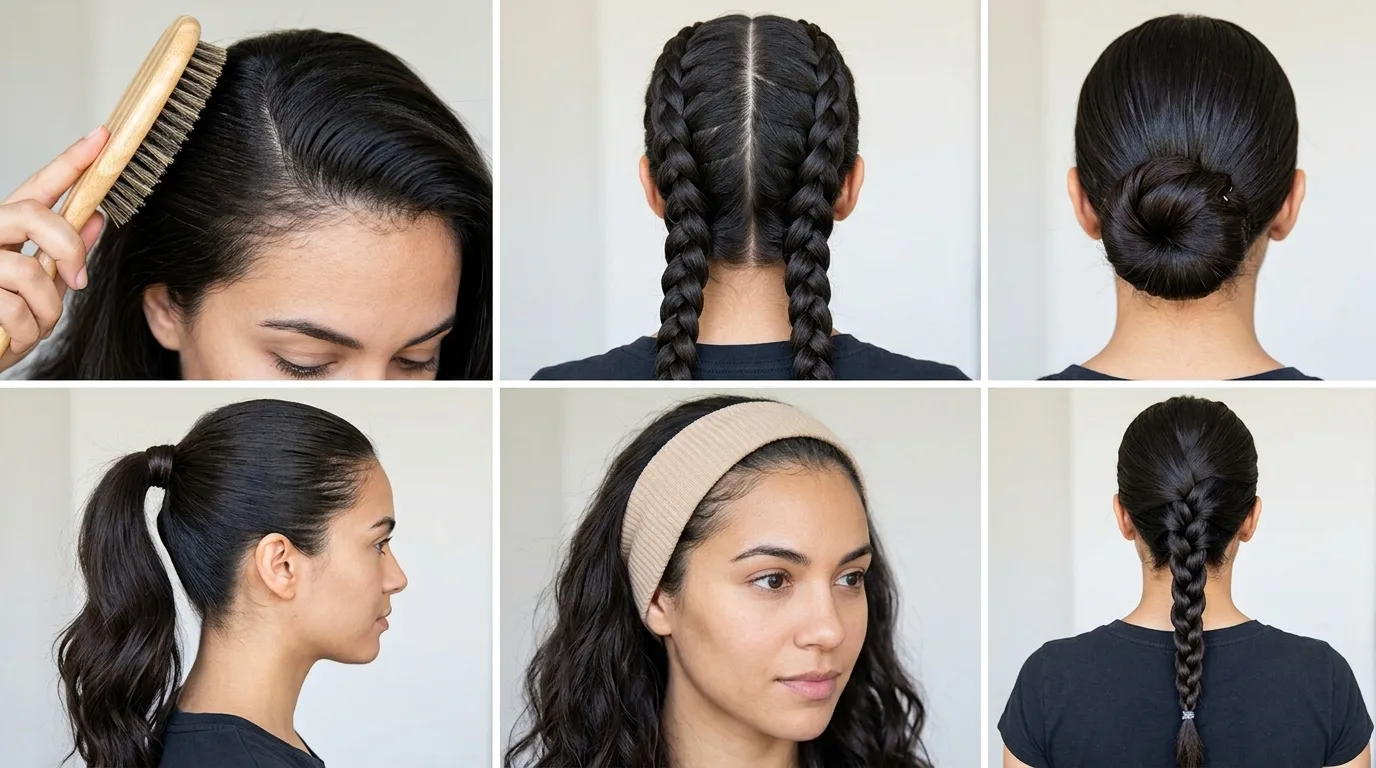
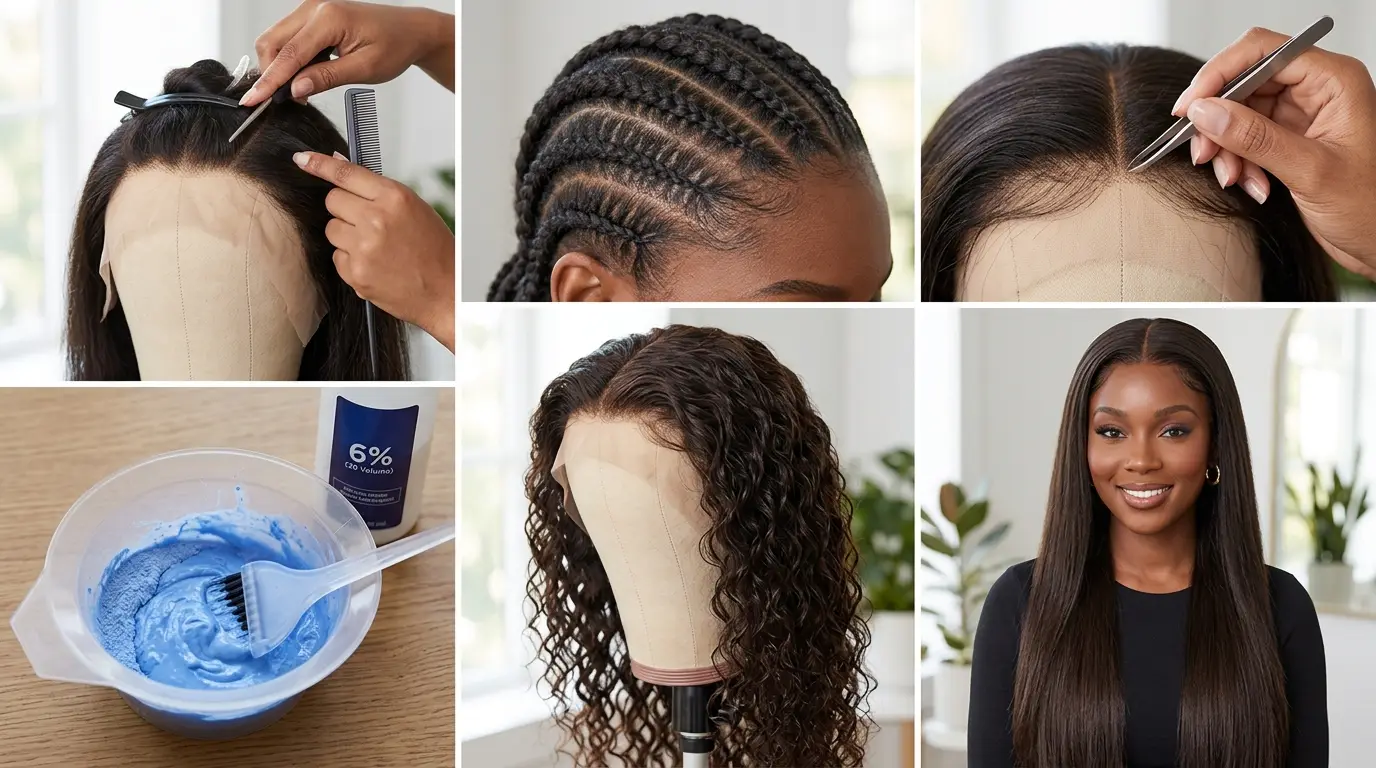
Braid clean, micro cornrows using the bee-hive or straight-back pattern with eight to twelve neat rows. Keep each braid thinner than a standard pencil. Cross the tail ends at the nape and stitch them flat against the base scalp using curved needles and nylon thread. Smooth down any flyaway natural roots with a dab of wax stick before pulling on an ultra-thin nude stocking cap.
Rigid Factory Hairlines That Look Like Solid Plastic Rims
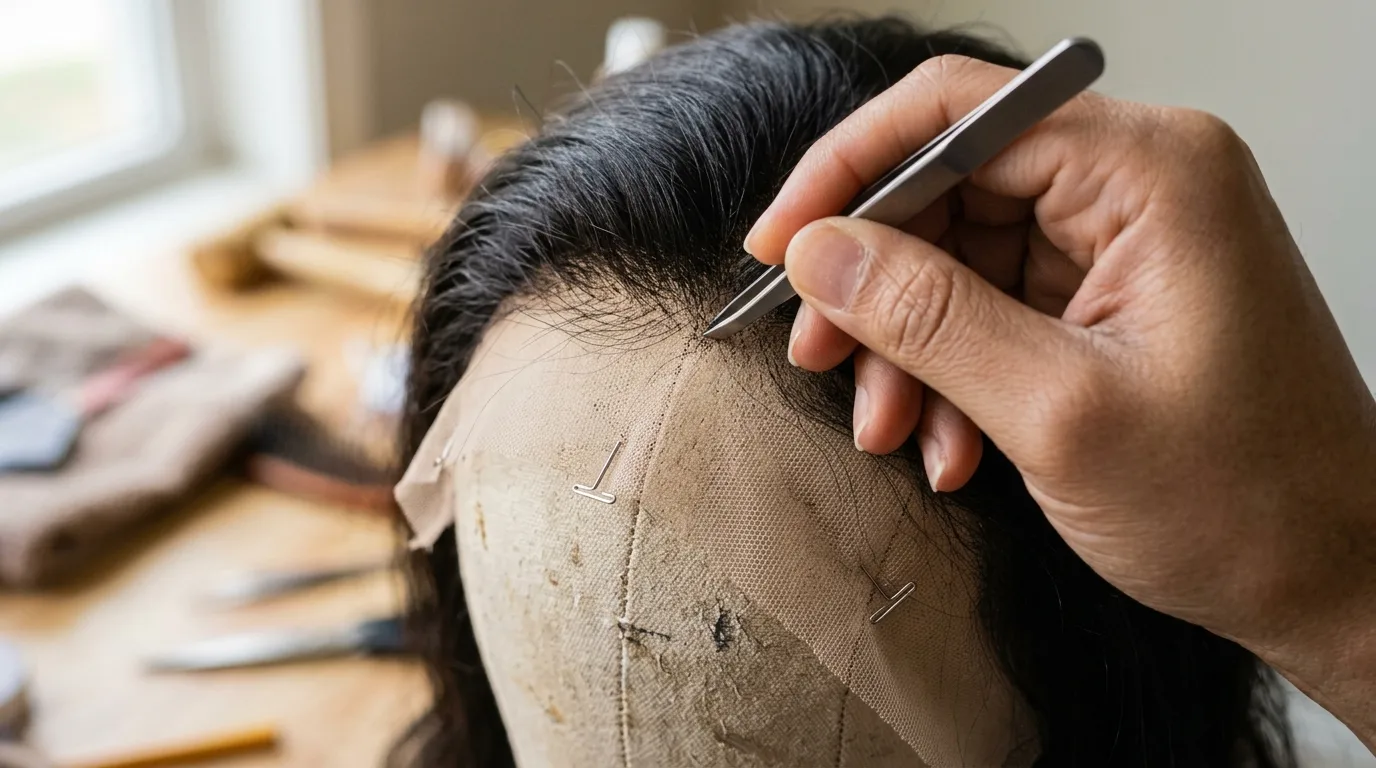
Factory frontals arrive with machine-punched, dense hair clusters right at the front seam. Wearing that unplucked rim creates a stark, harsh line across the forehead that screams artificial hairpiece.
Place the unit on a canvas block head. Secure it with T-pins pushed through the ear tabs and crown. Grip a pair of slanted stainless steel tweezers. Pluck individual strands moving backward in diagonal motions, skipping every second knot to create a low-density gradient. The first half-centimeter of hair must look sparse and soft, gradually thickening as it travels deeper toward the center crown.
| Problem | What Causes It | What to Do Instead |
|---|---|---|
| Lace lifting at ear tabs | Natural skin oils dissolving glue | Clean with 91% alcohol, cut relief slits around ears |
| Shiny white parting line | Unbleached black knots on light lace | Apply 20-volume developer and blue bleach powder for 20 mins |
| Stiff, motionless lengths | Heavy silicone serum buildup | Wash with clarifying shampoo and air dry on a wig stand |
Skipping the Knot Bleaching Step on Dark Virgin Hair
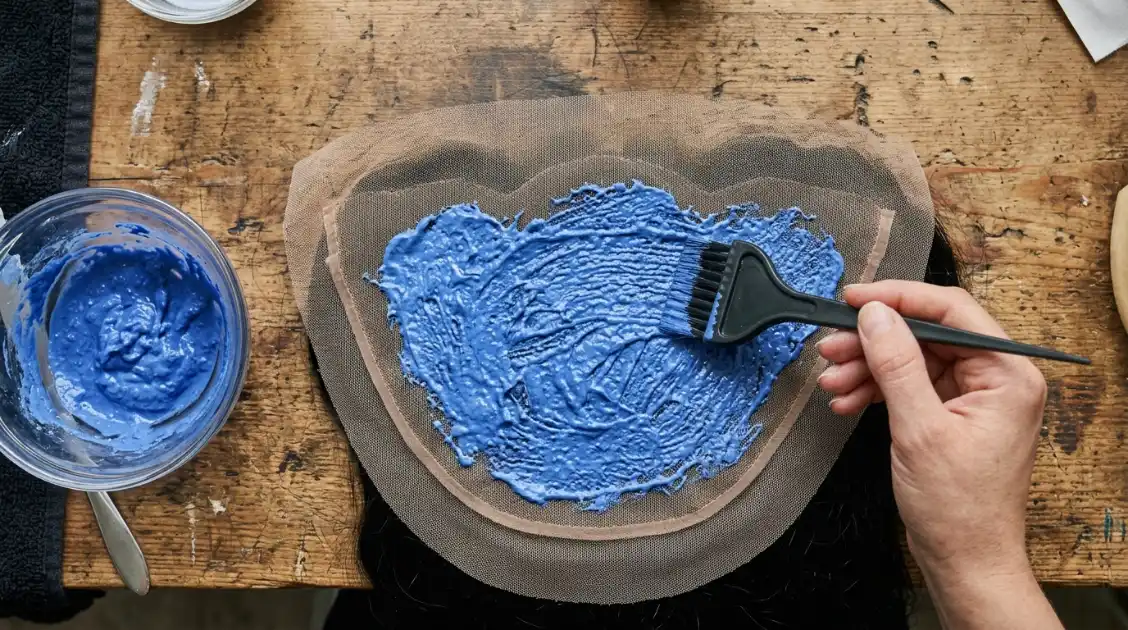
Every bundle of frontal wig human hair black features tiny dark knots where strands tie into the mesh base. Leaving these dark grid points intact produces a visible checkerboard pattern across your scalp line.
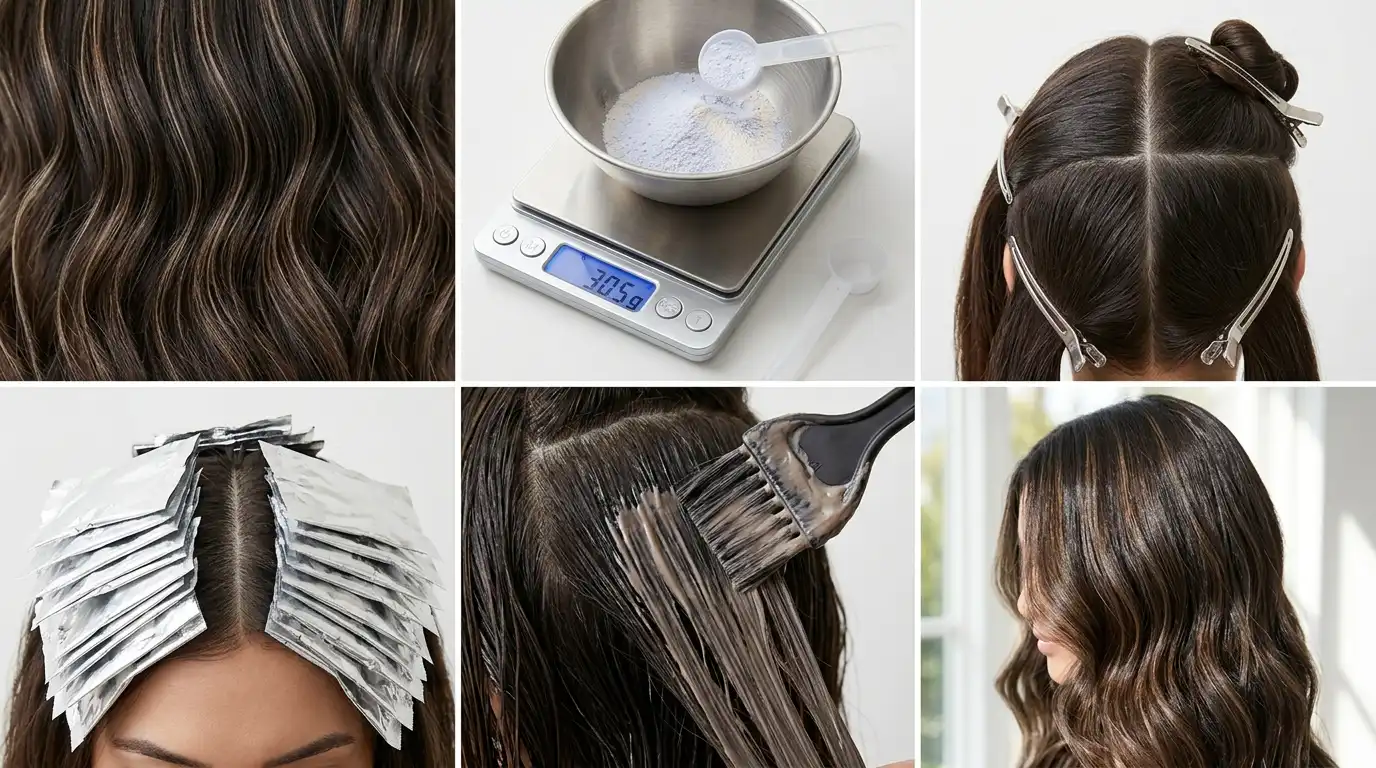
Flip the frontal inside out on a foam head. Mix two scoops of blue powder lightener with 20-volume cream developer until the consistency matches thick paste. Spread the mixture across the lace underside with an applicator brush, taking care not to press through the grid holes into the hair fibers. Let it process for twenty minutes until the dark knots turn pale honey blonde. Neutralize the chemical process immediately with a purple toning wash.
Thick Grey Swiss Lace Standing Out Against Brown Skin Tones
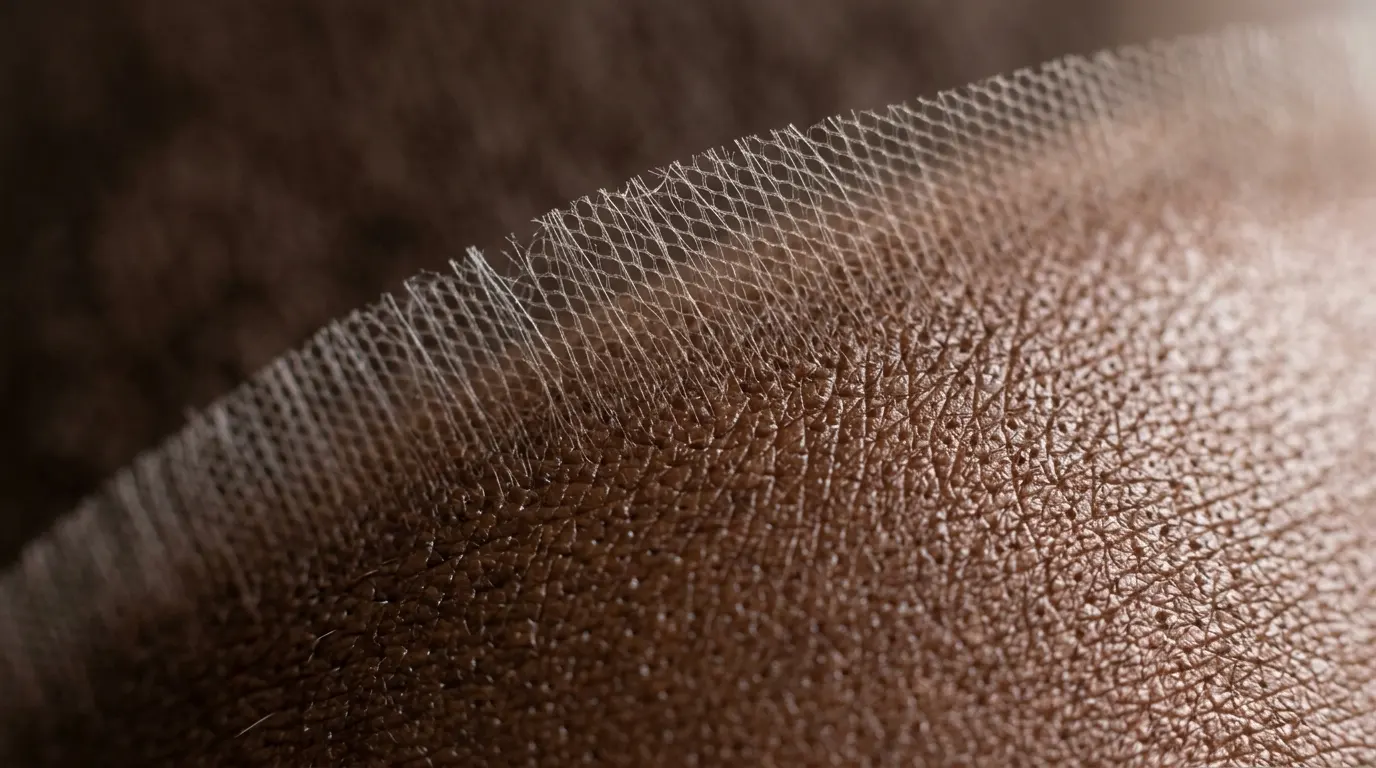
Traditional thick Swiss or brown synthetic lace produces an obvious grey, chalky line along deep complexions. It lacks the transparency needed to dissolve against the epidermis under outdoor sunlight.
Select a black frontal wig hd lace base made of ultra-sheer Swiss film measuring under 0.08 millimeters in thickness. If the lace still reads slightly cool against your skin undertone, dust the underside of the mesh with a loose mineral foundation powder that matches your exact forehead tone. Alternatively, wipe a specialized liquid lace tint over the lace mesh using a makeup sponge before laying the front down.
Lace Frontal Mistakes and How to Correct Them
Before adding heat tools or styling cuts, check your base balance. A properly placed lace edge should sit approximately one to two millimeters ahead of your real biological hairline, never plastered directly across your delicate natural baby hairs.
Applying bond onto real edge hair suffocates follicles and leads to traction damage over time. Always test liquid adhesives with a small forearm patch test forty-eight hours before installation to rule out contact dermatitis from synthetic resins.
Laying Heavy Liquid Glues Over Sweaty Forehead Skin
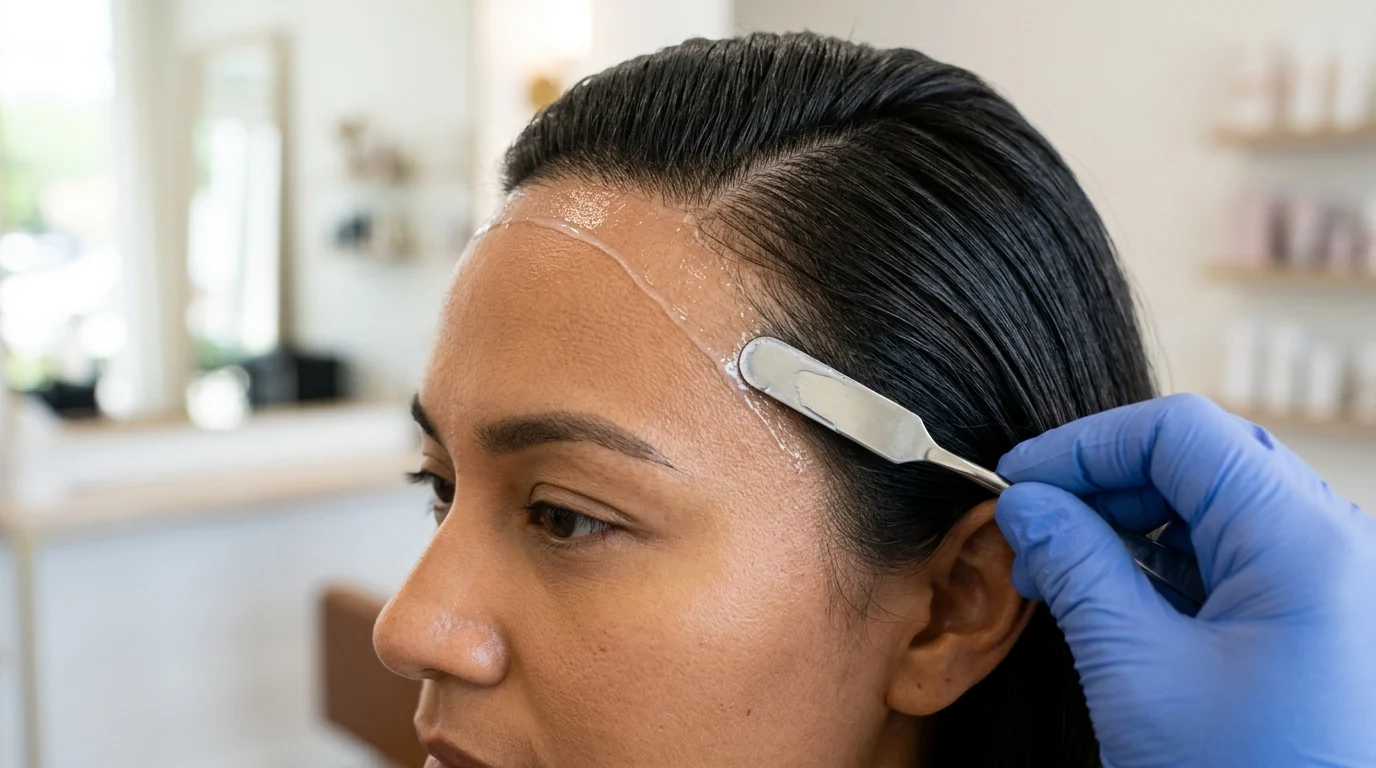
Applying wig bond directly onto oily or sweaty skin guarantees the lace will slip within twenty-four hours. Skin oils break down acrylic and water-based adhesives, turning the bond into a milky white liquid residue along the temples.
Wipe your entire forehead skin zone three times with 91% isopropyl alcohol using a lint-free cotton pad. Once the skin is matte and dry, wipe on a thin layer of skin barrier protector. Spread your lace glue in ultra-thin, translucent layers using the flat edge of a metal spatula. Allow each coat to turn completely clear before spreading the next layer. Press the lace down only after the final coat achieves tacky adhesion.
Tangled Matted Ends on Long Textured Lace Units

Wearing a black 40 inch frontal wig delivers dramatic length, but excessive strand friction against winter wool coats causes heavy matting at the neck base. Synthetic blends or mistreated hair bundles knot up rapidly without proper mechanical separation.
Comb through long strands twice daily starting from the bottom two inches using a wide-tooth carbon comb. Hold the hair shaft firmly above the combing zone to stop excess tension from pulling individual strands out of the delicate lace grid. Before bed, divide long lengths into two loose twists and tuck them inside a long mulberry silk bonnet.
Over-Saturating Defined Textures with Heavy Hair Oils
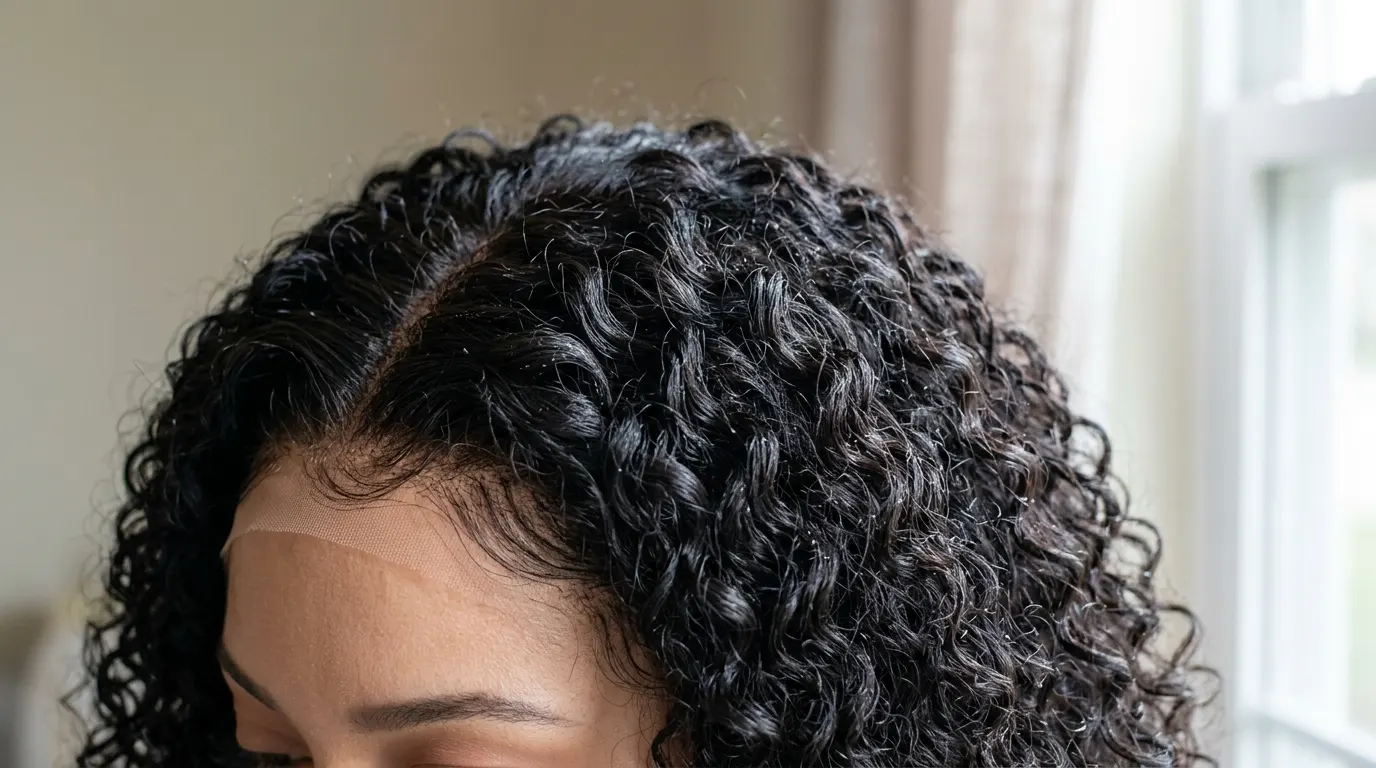
When managing frontal curly wig hairstyles, drenching the ringlets in heavy castor oil or thick mineral hair creams produces limp, greasy strings that collect dust. Heavy oils also run downward toward the forehead, dissolving your lace bond prematurely.
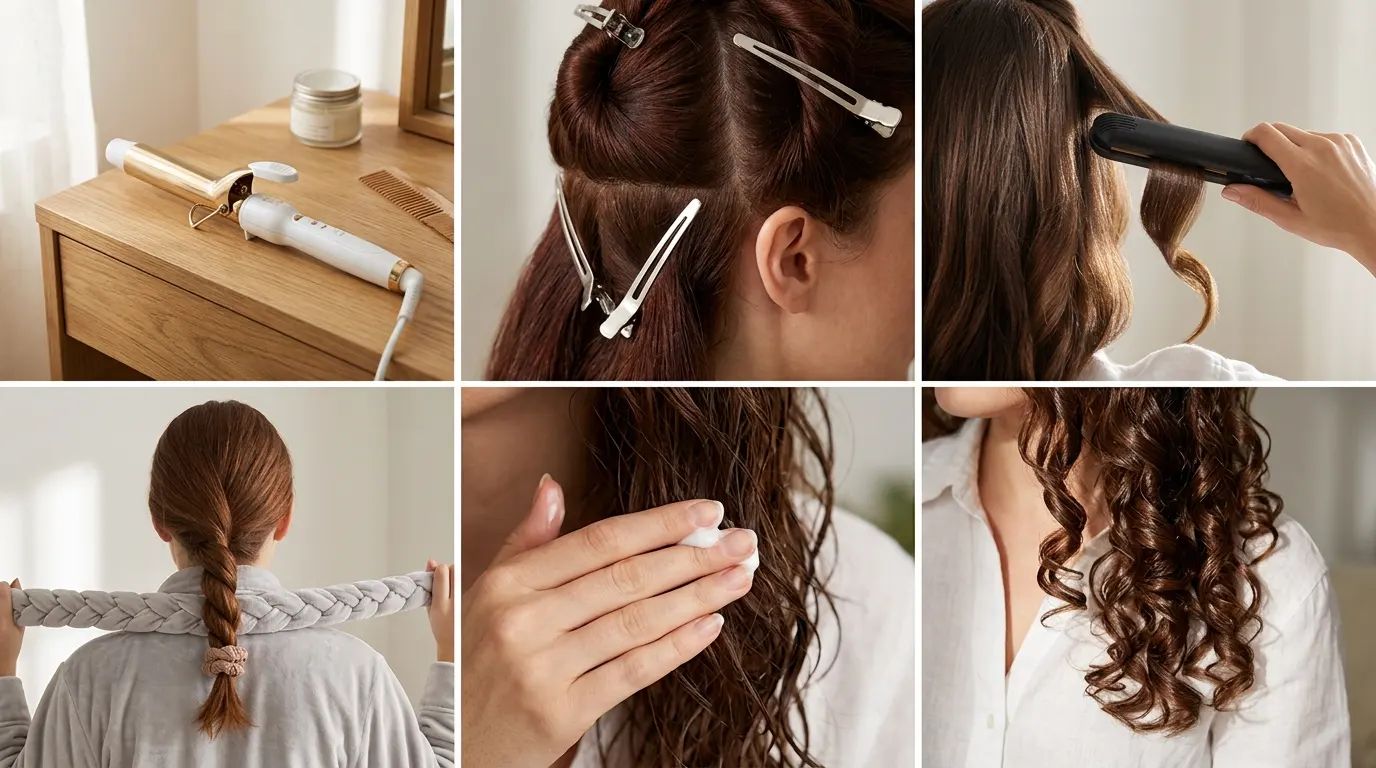
Hydrate curly textures using pure water mixed with two tablespoons of leave-in conditioning milk in a continuous spray bottle. Rake the liquid through using a flexible detangling brush to define individual coil clusters. Distribute an alcohol-free foam mousse from roots to ends, then let the unit air dry completely without touching the curl coils.
Scalp Tension Headaches from Incorrect Cap Circumference

Standard medium caps measure 22.5 inches in circumference. Pulling an undersized cap over a 23.5-inch head circumference exerts intense pressure across the temple arteries and stretches the lace out of square.
Measure your head circumference using a soft tailoring tape running from the front hairline, behind the ears, around the nape hollow, and back to the front. If you fall between sizes, buy a large 23-inch shell and tighten the adjustable elastic straps at the rear nape. Never rely on the ear tabs to hold the wig down against head tension.
Managing Your Lace Investment for the Long Run
The single problem that costs the most money is aggressive glue removal that rips holes directly through fragile HD lace. Ripping off a lifting wig pulls out hand-tied hair knots and tears the perimeter beyond repair.
Always saturate the glued perimeter with an oil-based adhesive release solvent, allowing it to sit undisturbed for three full minutes until the bond liquefies completely. The lace should slide freely off your skin without resistance, protecting your real edges and preserving your lace investment for repeat installations.
Frequently Asked Questions
Is a frontal unit considered a full wig?
A standalone frontal is just a 13×4 or 13×6 hairpiece that covers the hairline from ear to ear and must be sewn onto wefts. A frontal lace wig is a complete head unit featuring a frontal piece integrated into a full cap with sewn-in tracks.
How much should you expect to pay for a human hair lace frontal in 2026?
Expect to spend between $120 and $240 for a virgin human hair frontal piece alone, depending on lace transparency and length. Complete virgin human hair lace front wigs range from $200 to $480 for standard densities.
How do you put on a frontal wig without glue?
Use a wide adjustable velvet grip band sewn inside the cap along the rear perimeter. Pair this with small silicone grip strips placed along the forehead band to hold the lace flat against the skin using mechanical friction rather than chemical adhesive.
What is the honest truth about daily lace frontal maintenance?
Lace frontals are high-maintenance pieces that require daily care, edge touch-ups every four to seven days, and gentle satin wrapping every single night. They do not function as a wake-up-and-go protective style without consistent perimeter upkeep.