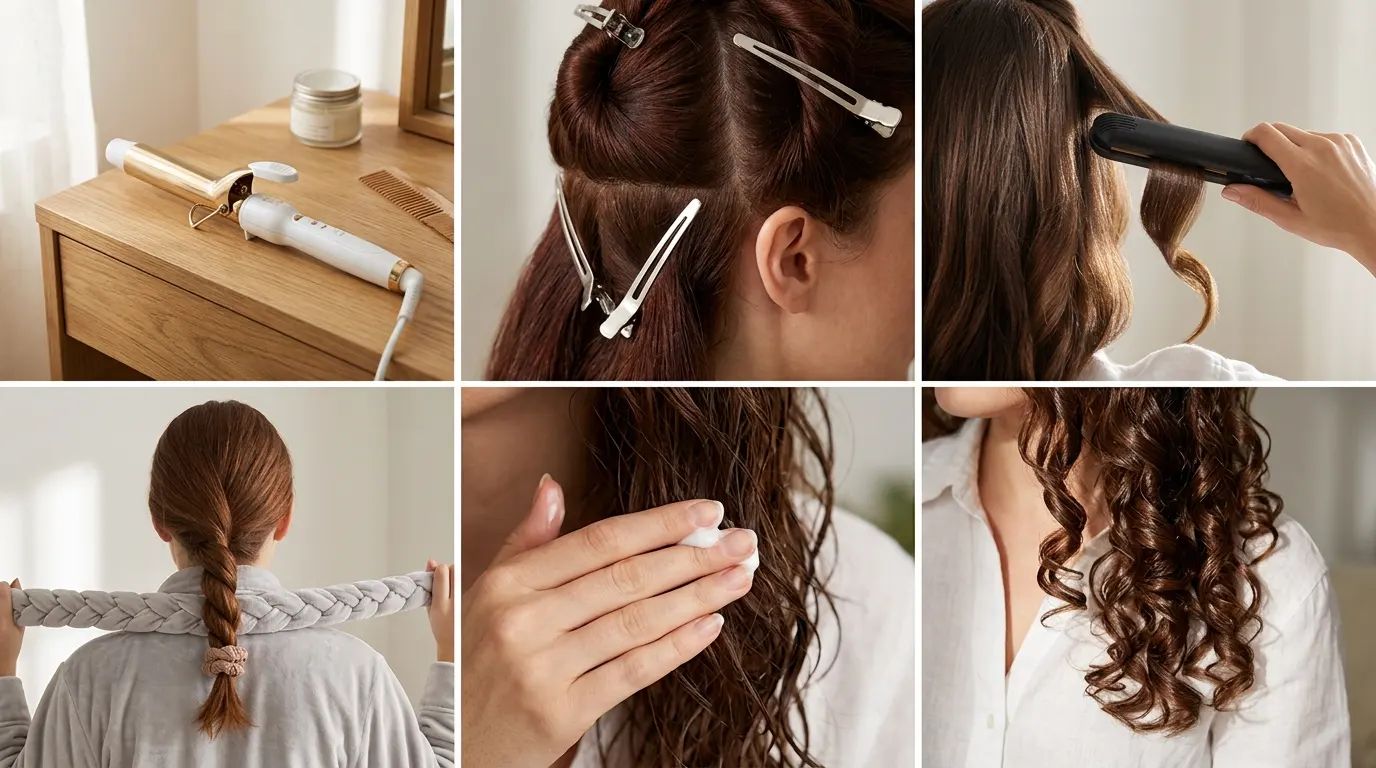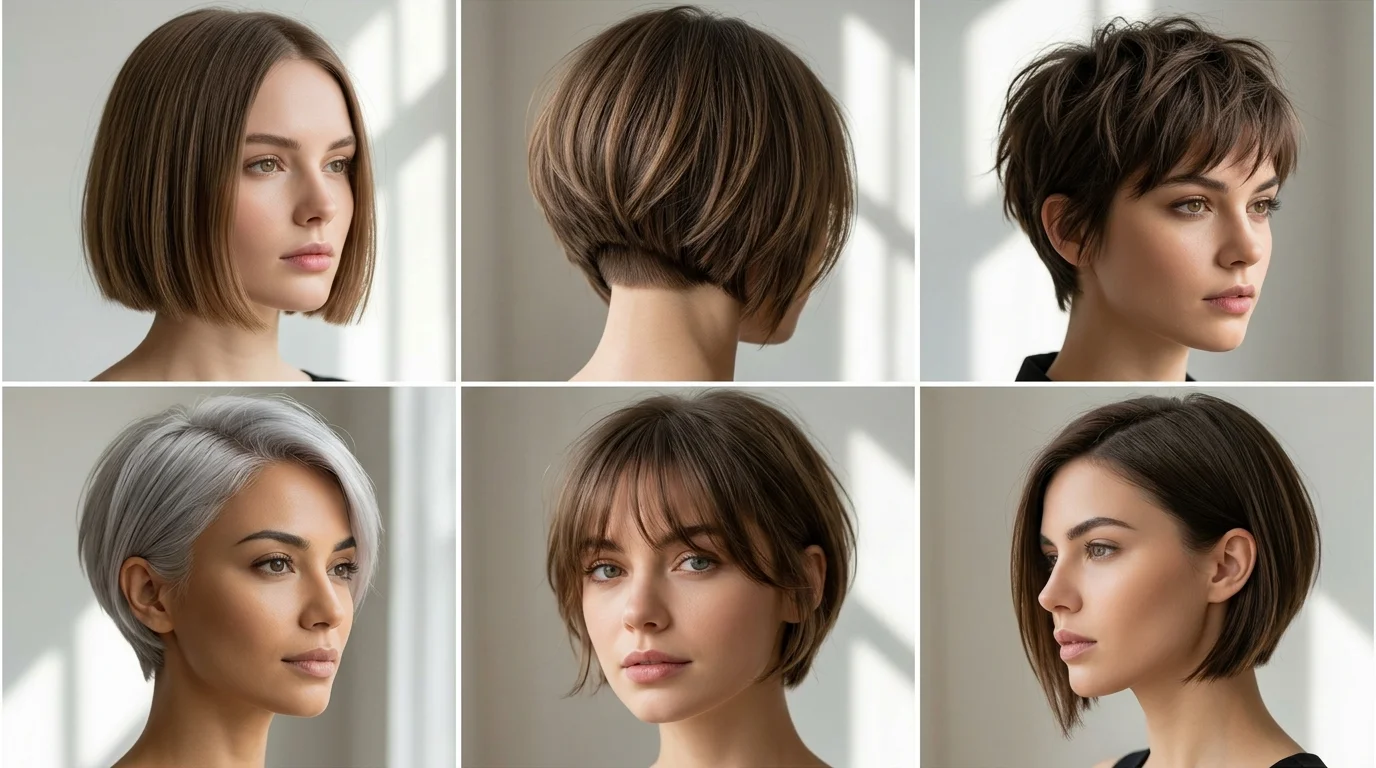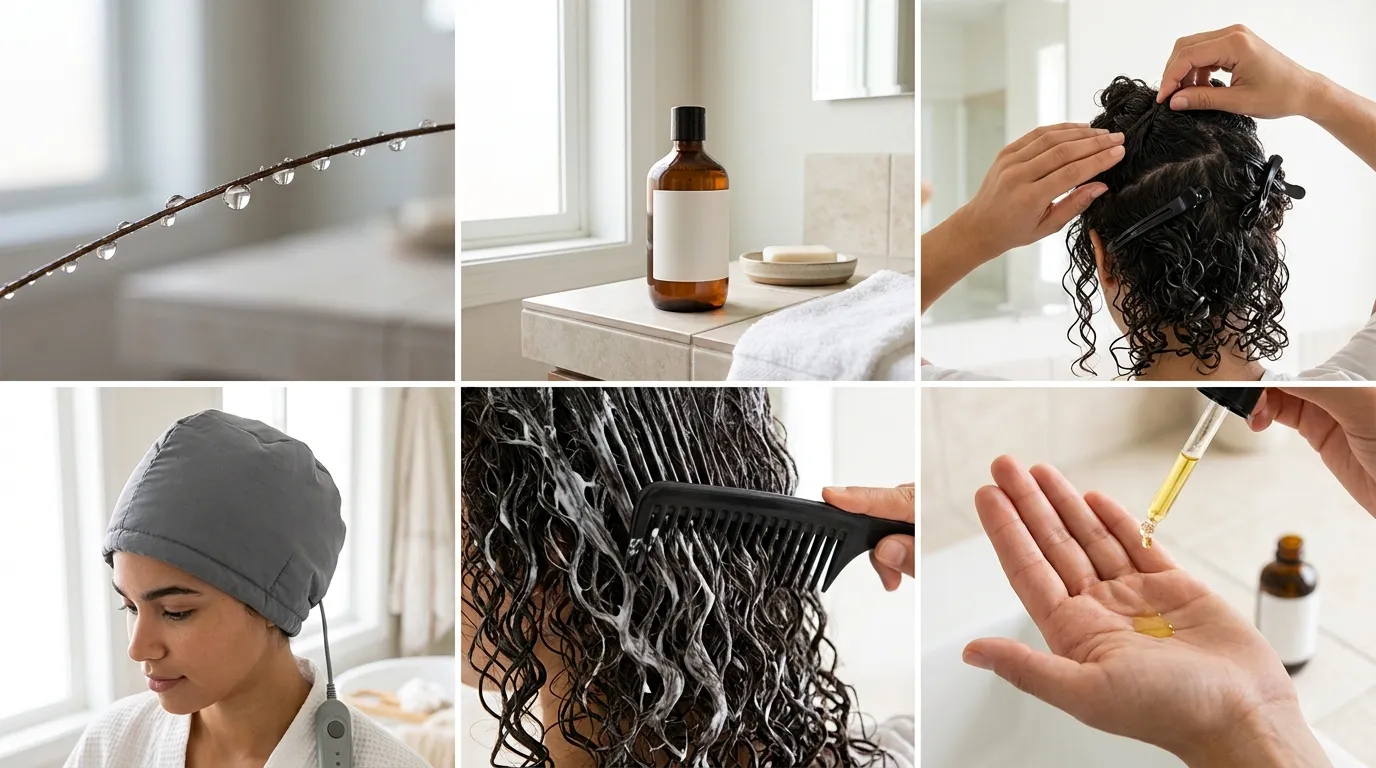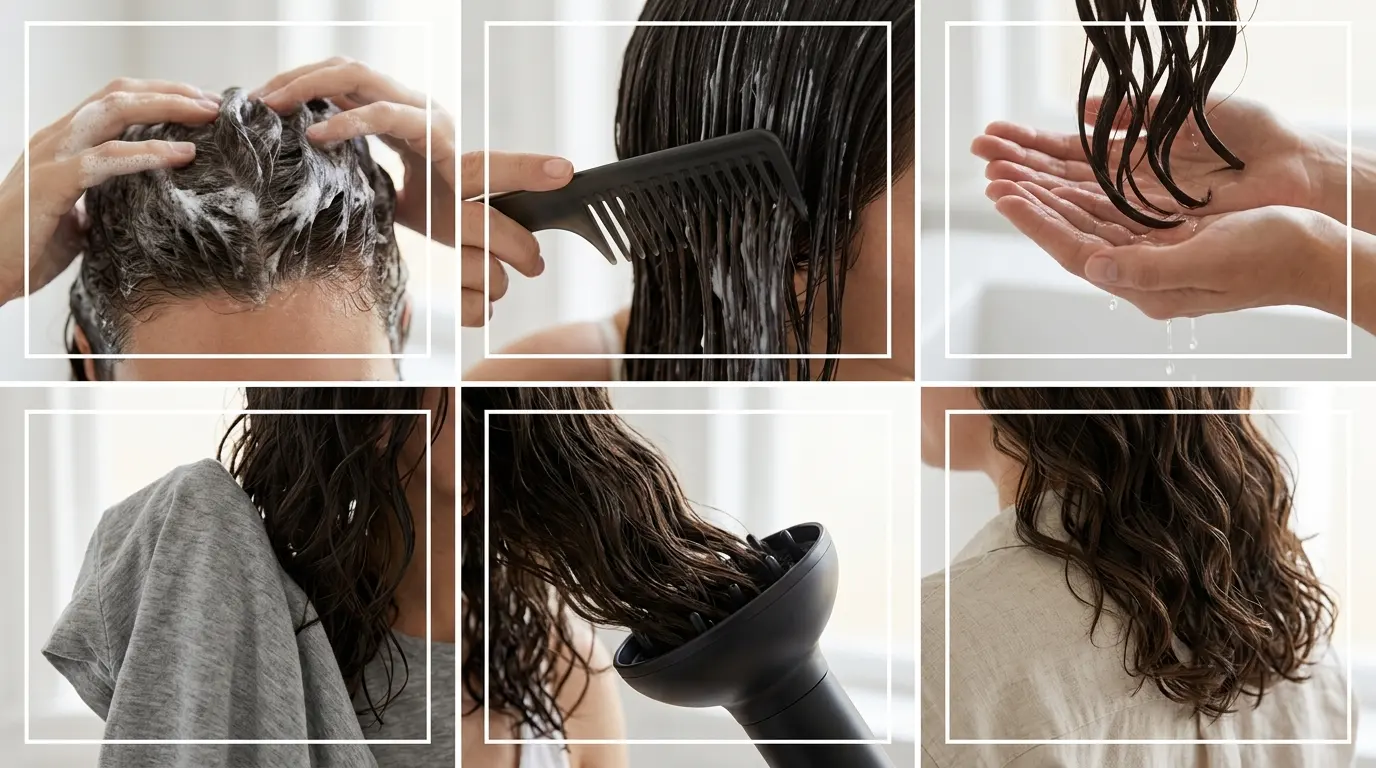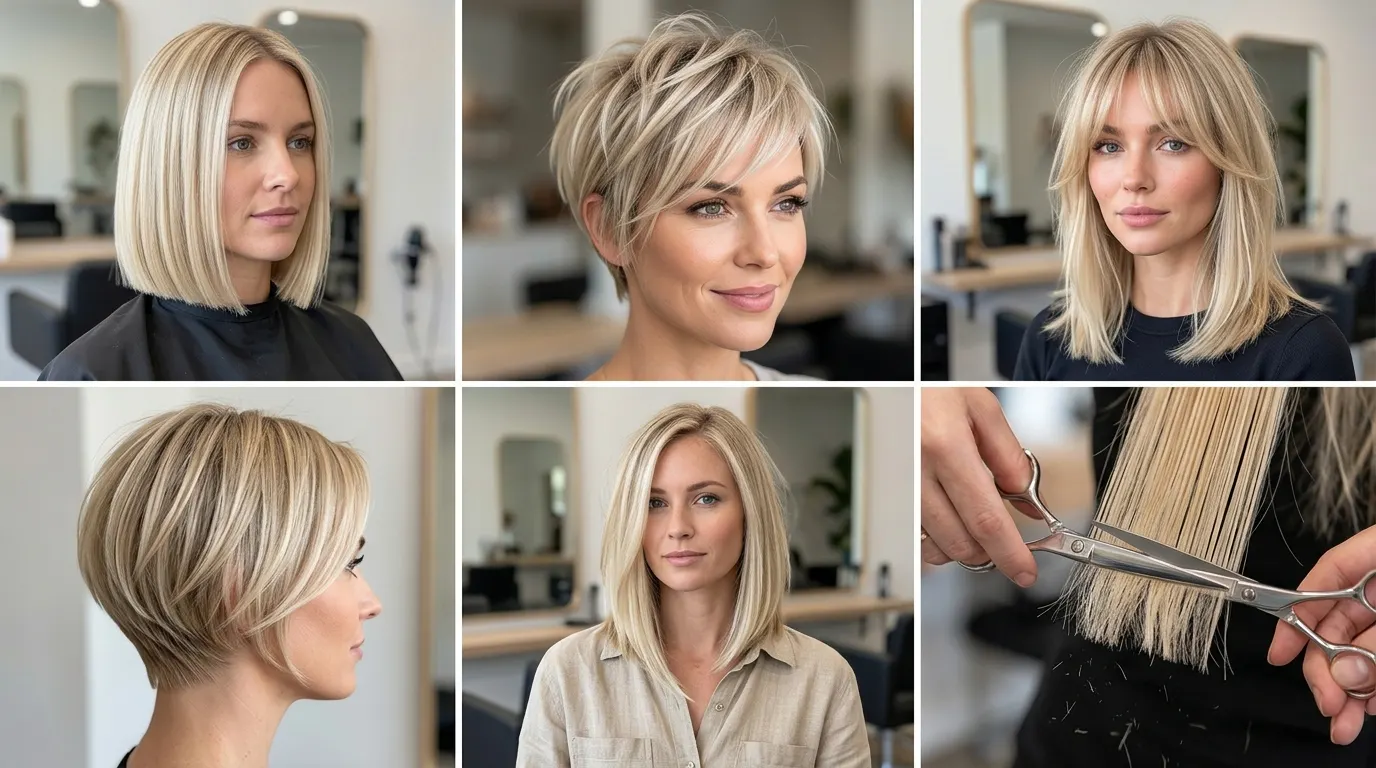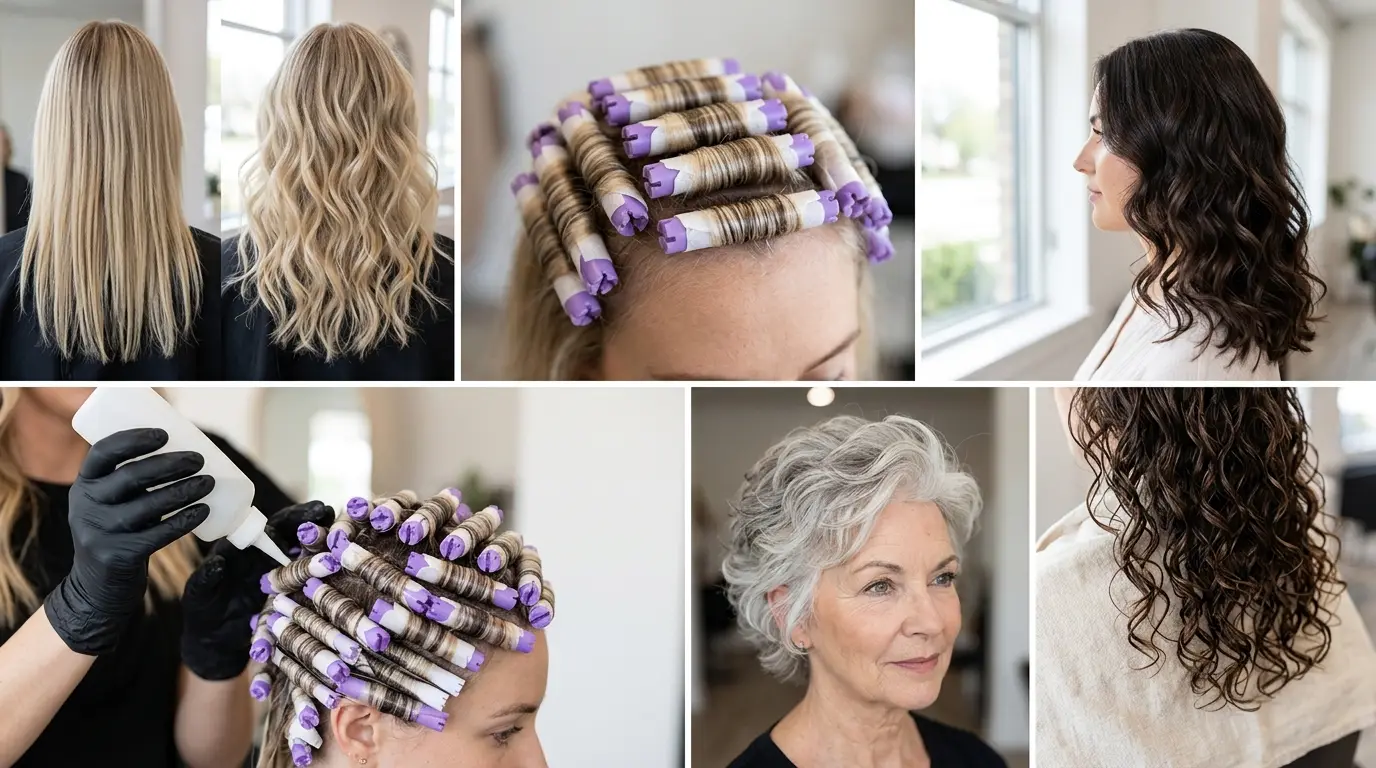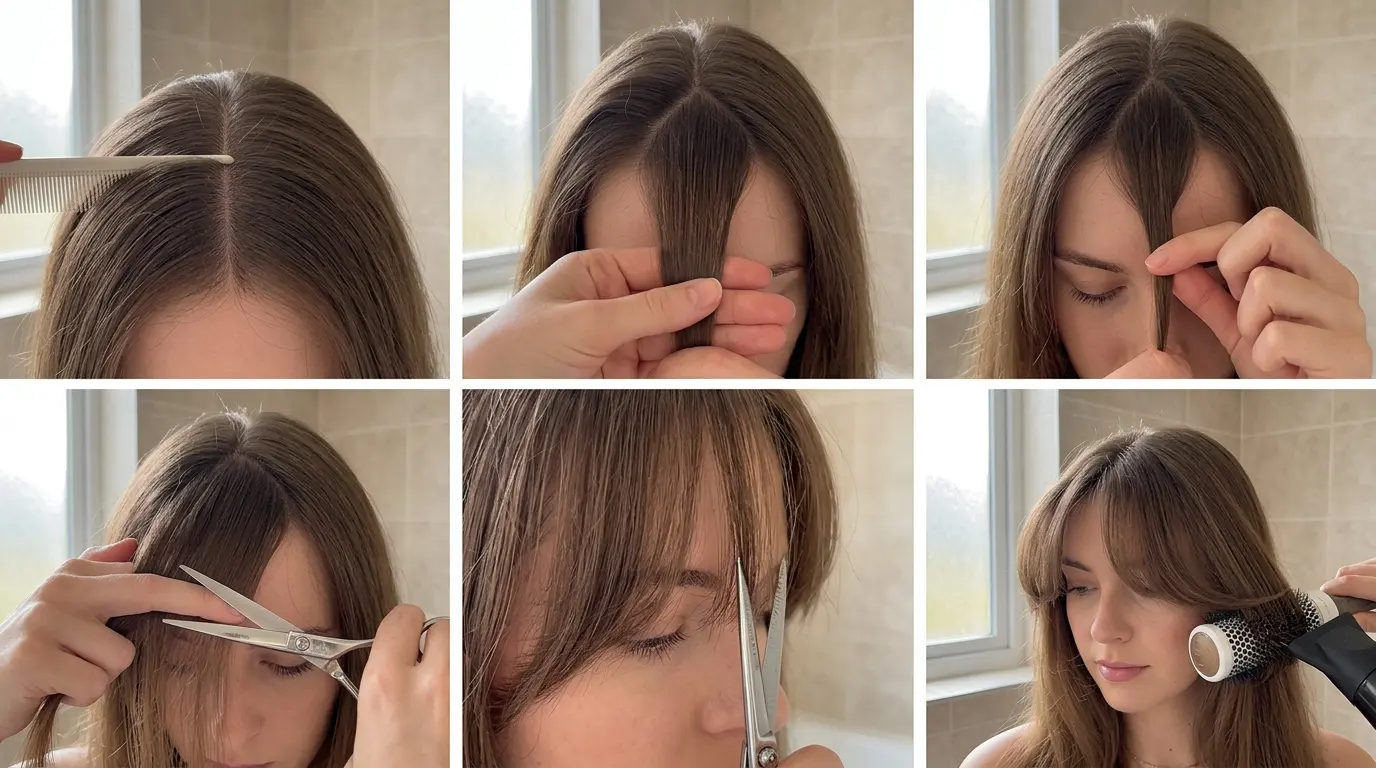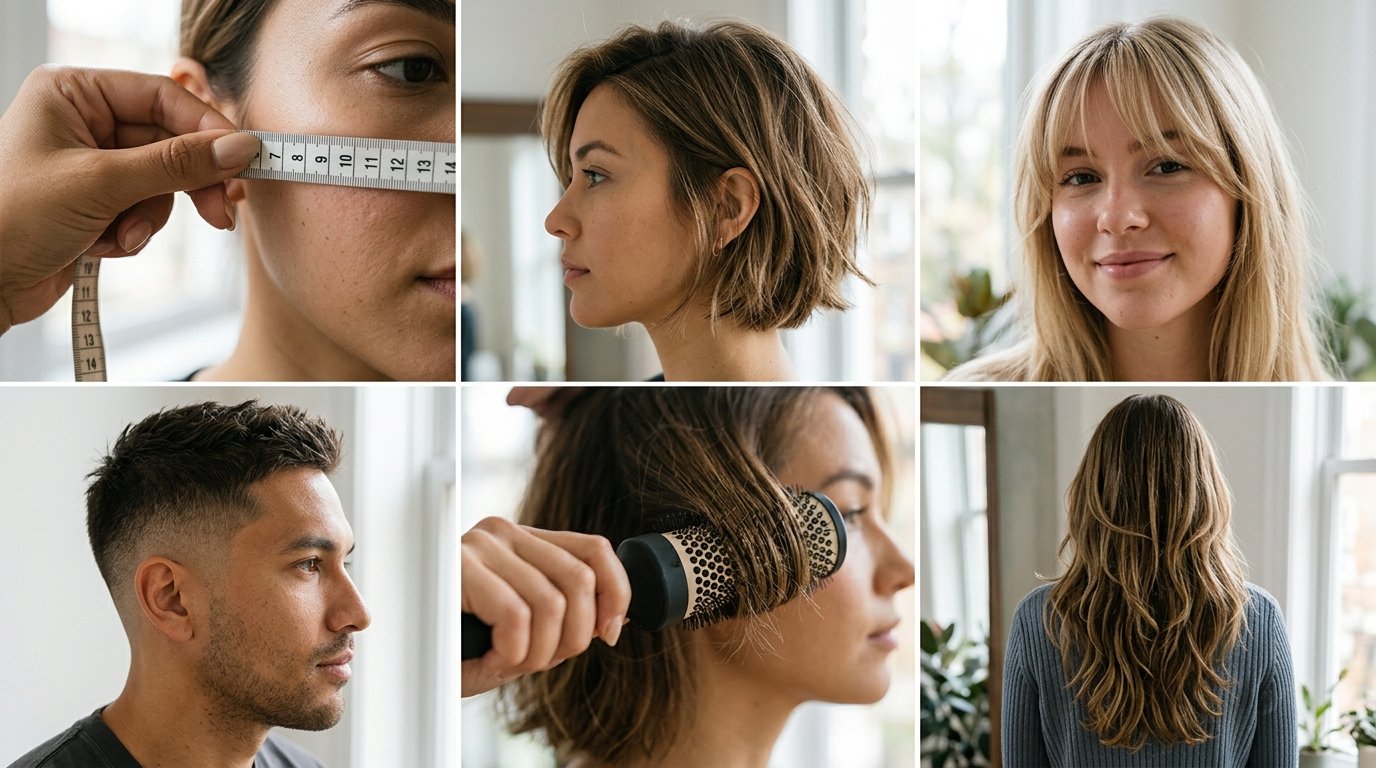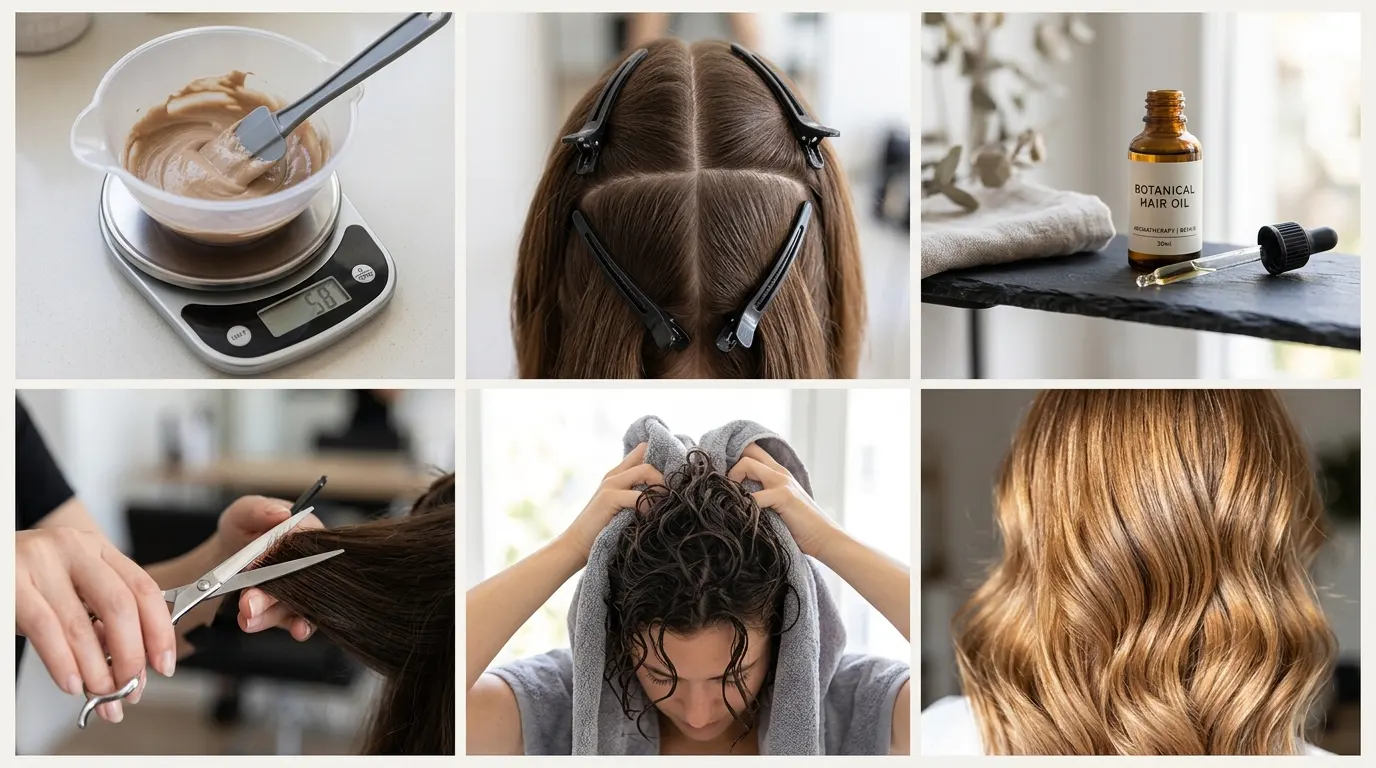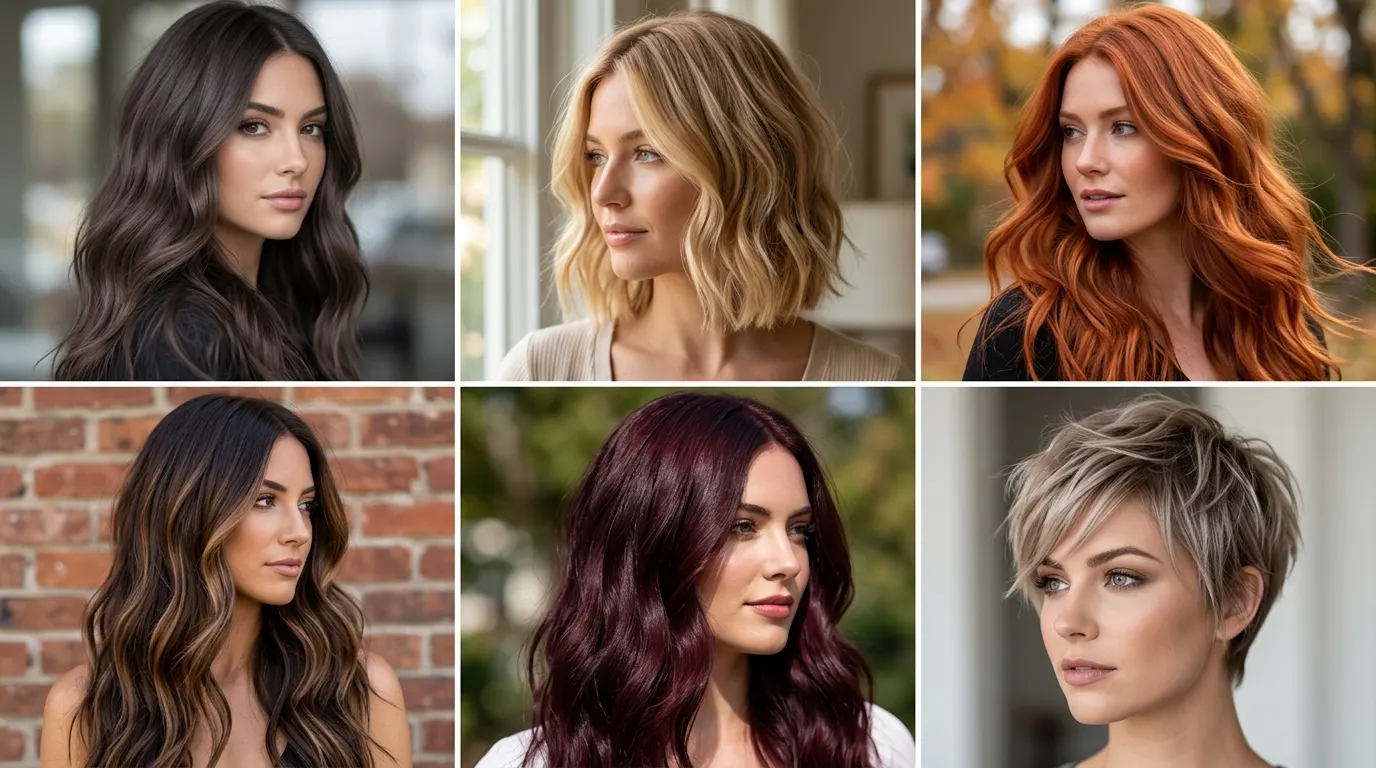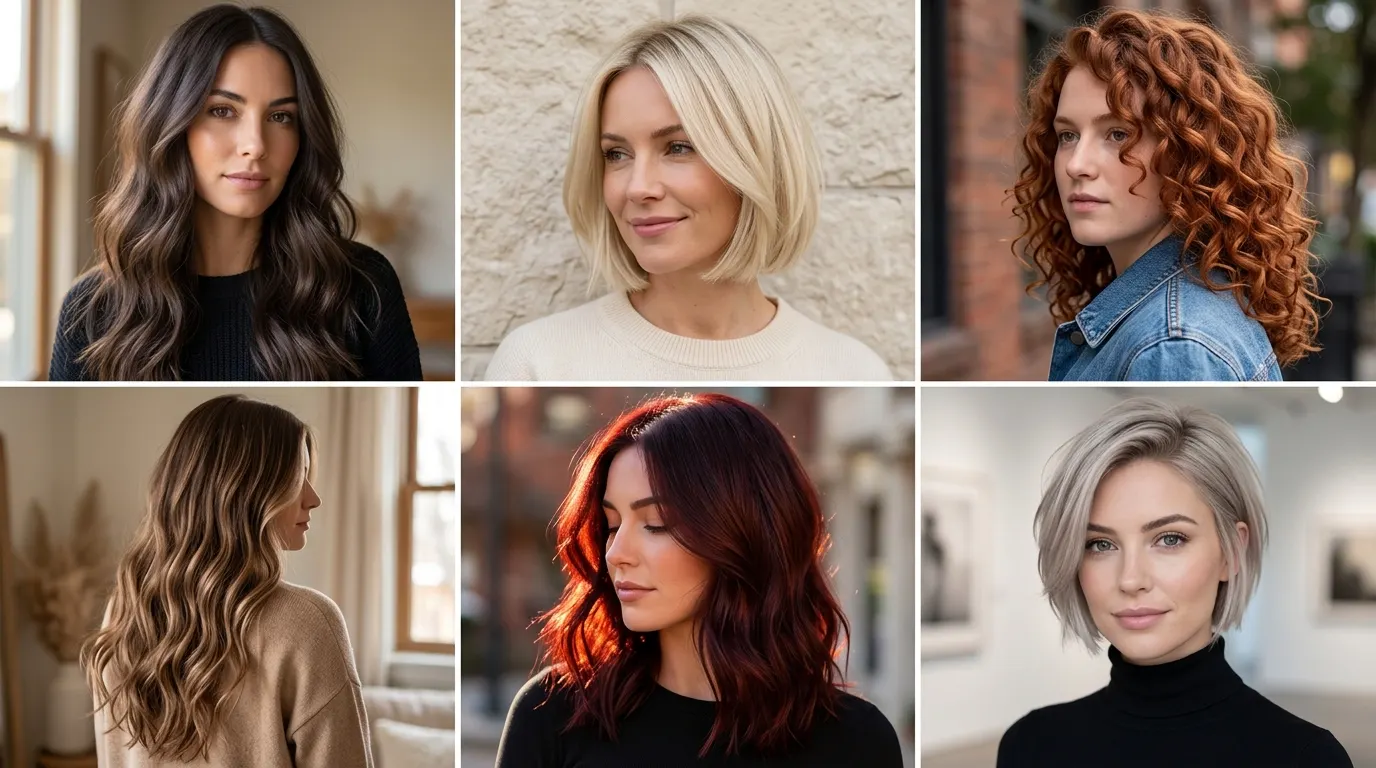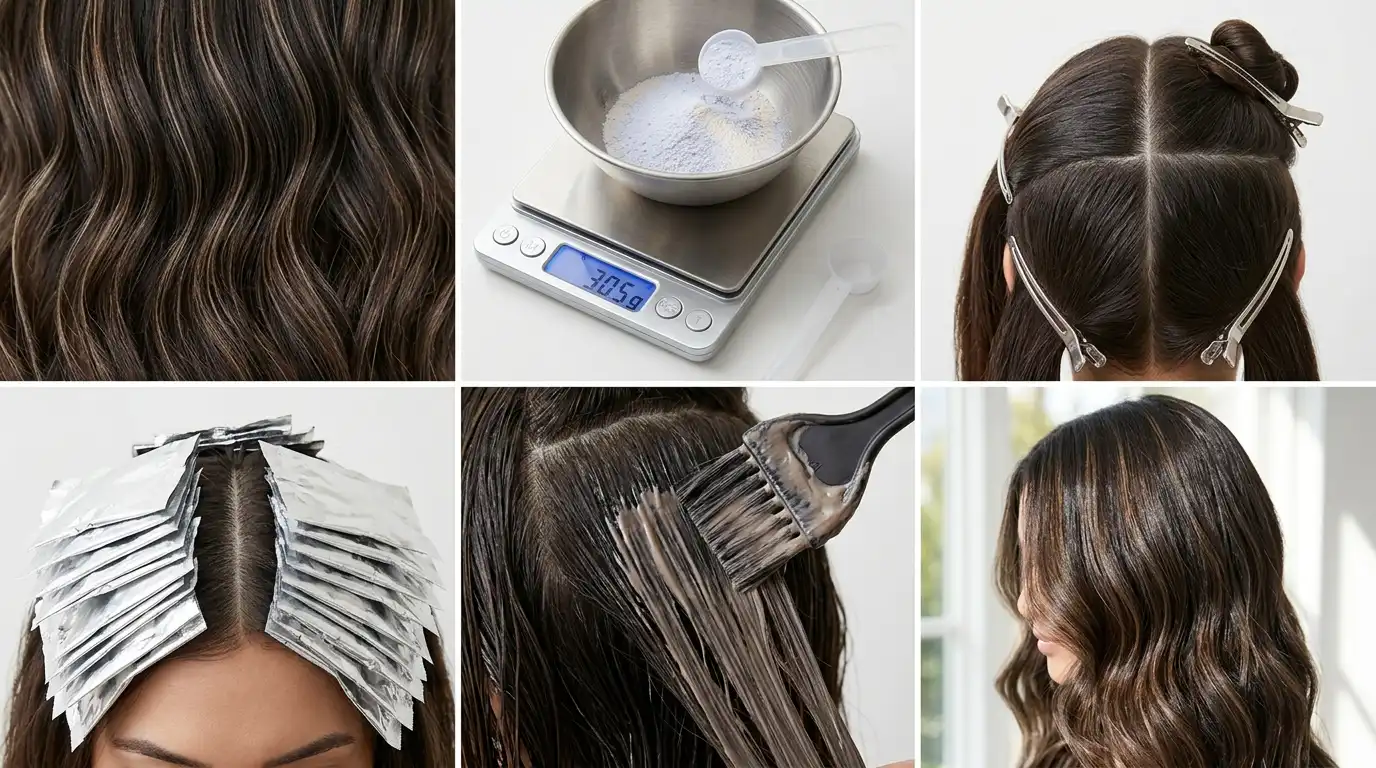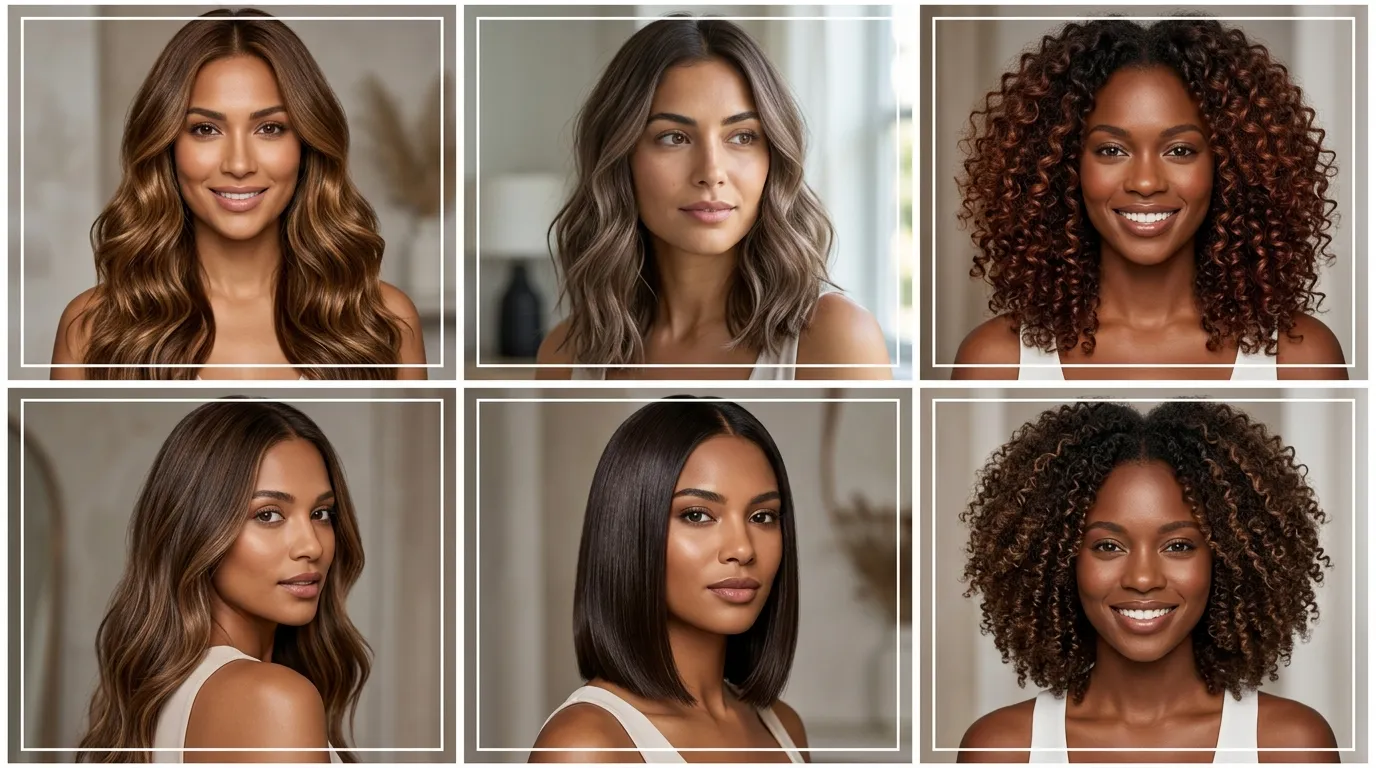


You save the photo. You take it to the salon. You walk out with something that looks nothing like it.
That is not the stylist failing, usually. It is that the cut in the photo depends on a density and a curl pattern that may be nothing like yours, and no scissors can add hair you do not have.
So the curly hairstyles for natural curls that actually work start from your own hair rather than someone else’s. Two questions decide almost everything: how much hair you have, and how tightly it coils. Everything below follows from those.
Why Curly Cuts Go Wrong More Often Than Straight Ones
Curly hair shrinks. That is the whole problem in two words.
Wet curly hair can hang six to eight inches longer than its dry length, so a stylist cutting it wet is guessing where every curl will land once it springs up. Sometimes the guess is close. Often it is not.
Then there is layering, which people skip past when discussing cuts and which does most of the real work. Layers control volume, hold the shape, and let curls spring up instead of sitting flat.
Get the layering wrong and you get the triangle. Wide at the bottom, flat at the top, and no product fixes it.
So the cut is the foundation. The routine matters afterward, but only afterward.
1. Work Out Your Density Before Anything Else
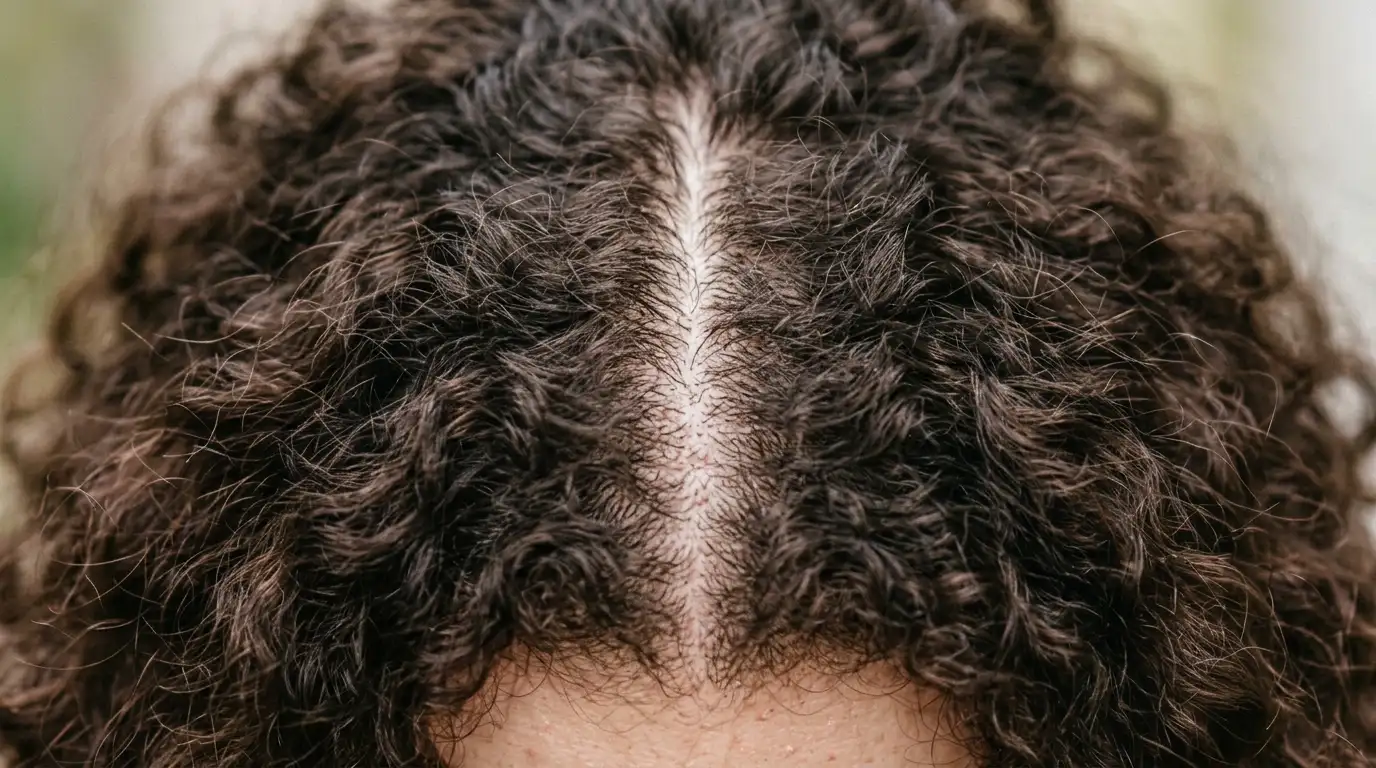
Density means how many strands you have, and it is different from how thick each strand is.
You can have fine individual strands and still have a lot of them. That combination reads as full because the curl pattern is doing the volume work rather than the strand thickness.
Here is why it matters. Fullness in a photo often depends entirely on having enough hair to fill that silhouette. High layers on lower density hair create gaps rather than shape, and you end up wondering what went wrong.
Check yours by parting your hair and looking at how much scalp shows. Very little means high density. Quite a lot means low.
Tell your stylist that answer before they pick up scissors.
2. Know Your Curl Pattern and Where It Changes
Most curly hairstyles for natural curls get chosen without this step, which is why so many of them disappoint.
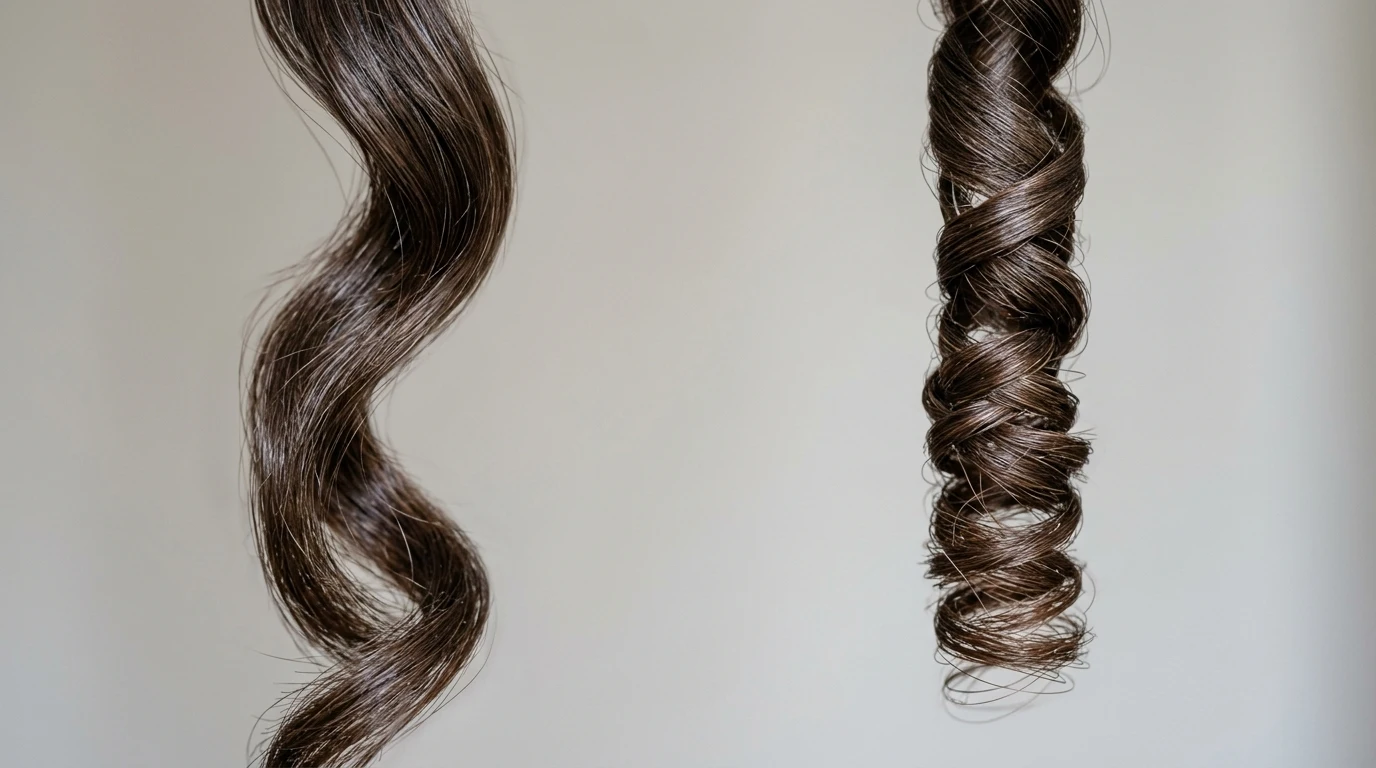
Patterns run roughly from 2 for waves, through 3 for spirals, to 4 for coils, with letters marking how tight each one gets.
Most people are not one number though. A common setup is looser at the crown and tighter below the ears, which reads as inconsistency in the mirror but is simply how that hair grows out of the head.
Do not fight it. A cut shaped around mixed patterns looks deliberate. One forcing uniformity never does.
Tighter patterns shrink more, so a 3B or 3C spring factor is dramatic next to a 2C wave.
Assess this on dry, undisturbed hair. Wet or freshly styled tells you nothing.
3. Insist on a Dry Cut, Every Time
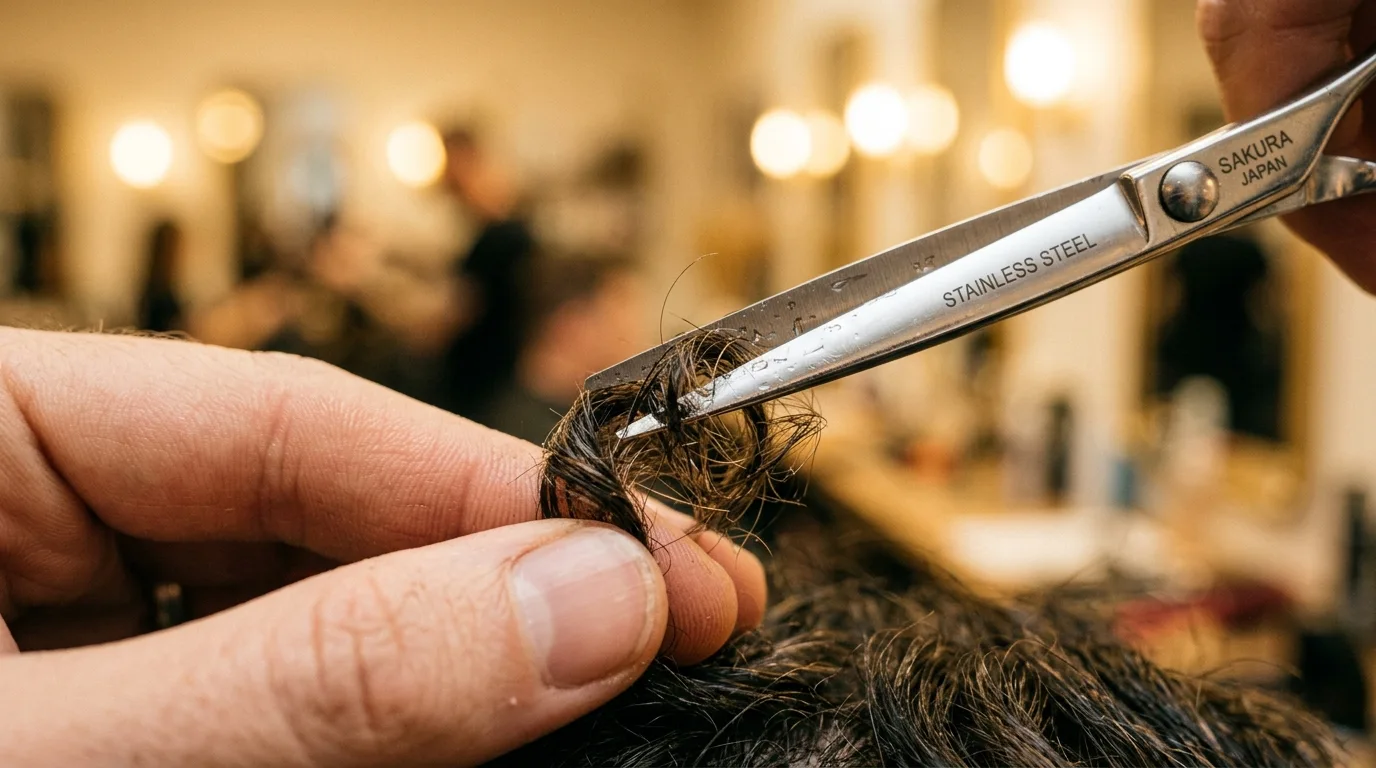
If you take one thing from this post, take this. Curly hair gets cut dry, on clean styled curls.
The reason is the shrinkage above. A stylist working on wet hair cannot see where any individual curl finishes.
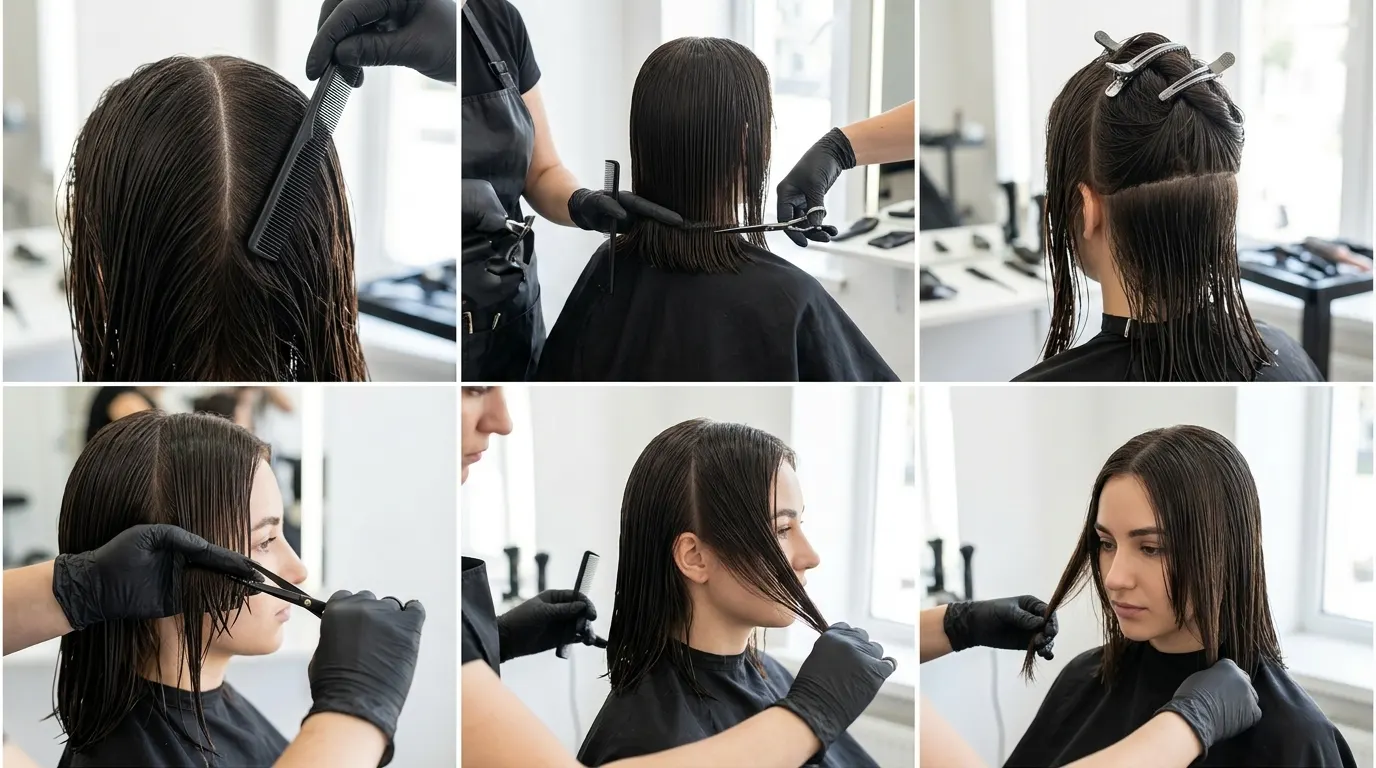
Good dry cutting is done curl by curl, taking length from individual spirals rather than chopping through wet sections. You can see it in a finished cut when the pattern stays consistent from root to tip with no odd flat patches at the crown.
Ask before booking whether the salon dry cuts. A stylist who does not will not become one during your appointment.
Bangs especially. Cut dry and deliberately uneven so every curl springs at its own length.
4. Point Cutting Stops the Triangle
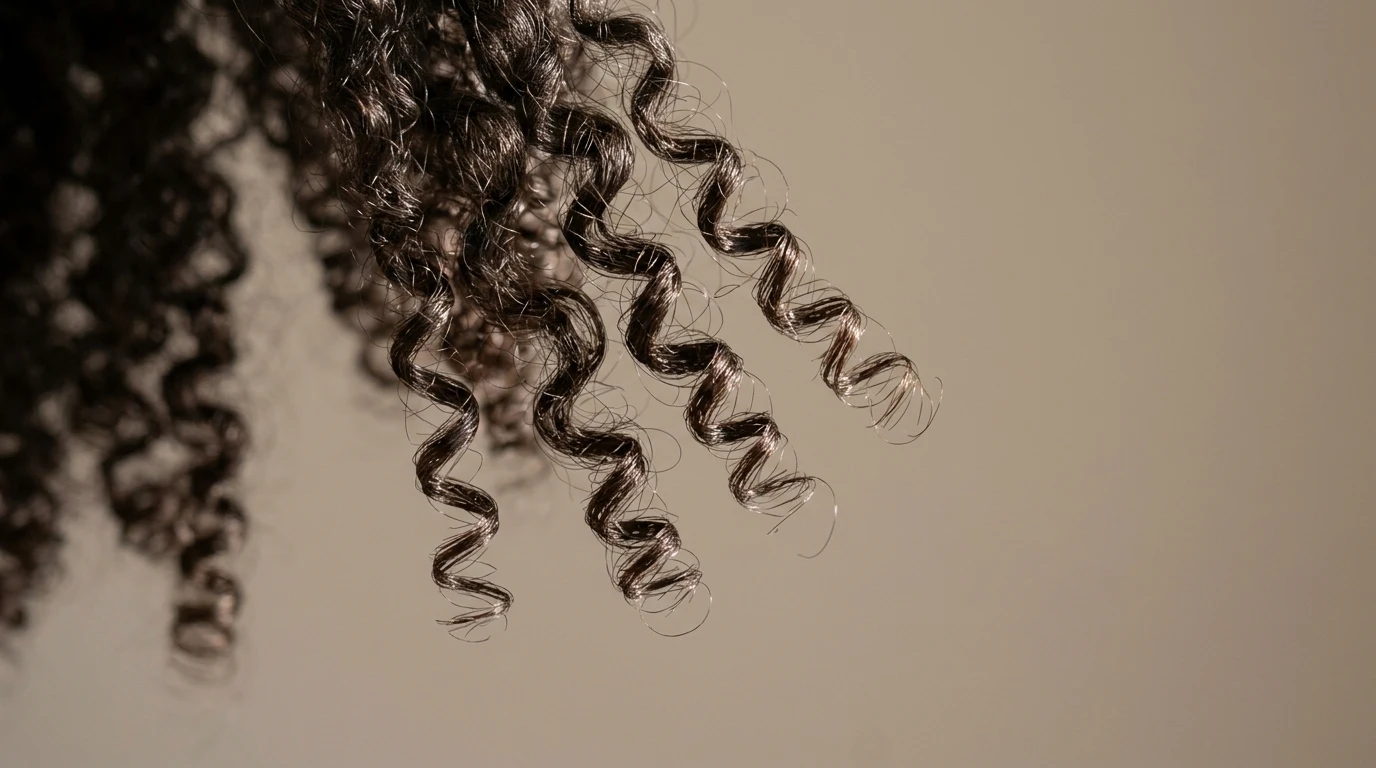
Bulk gathers at the ends, and blunt scissors across a curly perimeter makes that worse.
Point cutting is the fix. The stylist cuts into the ends at an angle rather than straight across, which stops sections clumping together into heavy triangular weight at the bottom.
You can see it working when curls separate individually rather than forming solid blocks near the ends.
Ask for it by name. It is standard technique among curl specialists and almost never happens by accident.
Where this matters most is longer lengths on medium to high density, since that combination has the most weight to manage. On a short cut it matters less.
5. Curly Hairstyles for Medium Hair That Keep Their Bounce

Medium length is where curls usually get their best volume, and where the wrong cut costs you most.
The shape that works places internal layers to hold volume through the mid lengths rather than piling it at the bottom. Root area sits closer to the head, mids and ends carry the fullness.
That needs medium to high density to work. Enough weight to fall naturally without going flat below the ears.
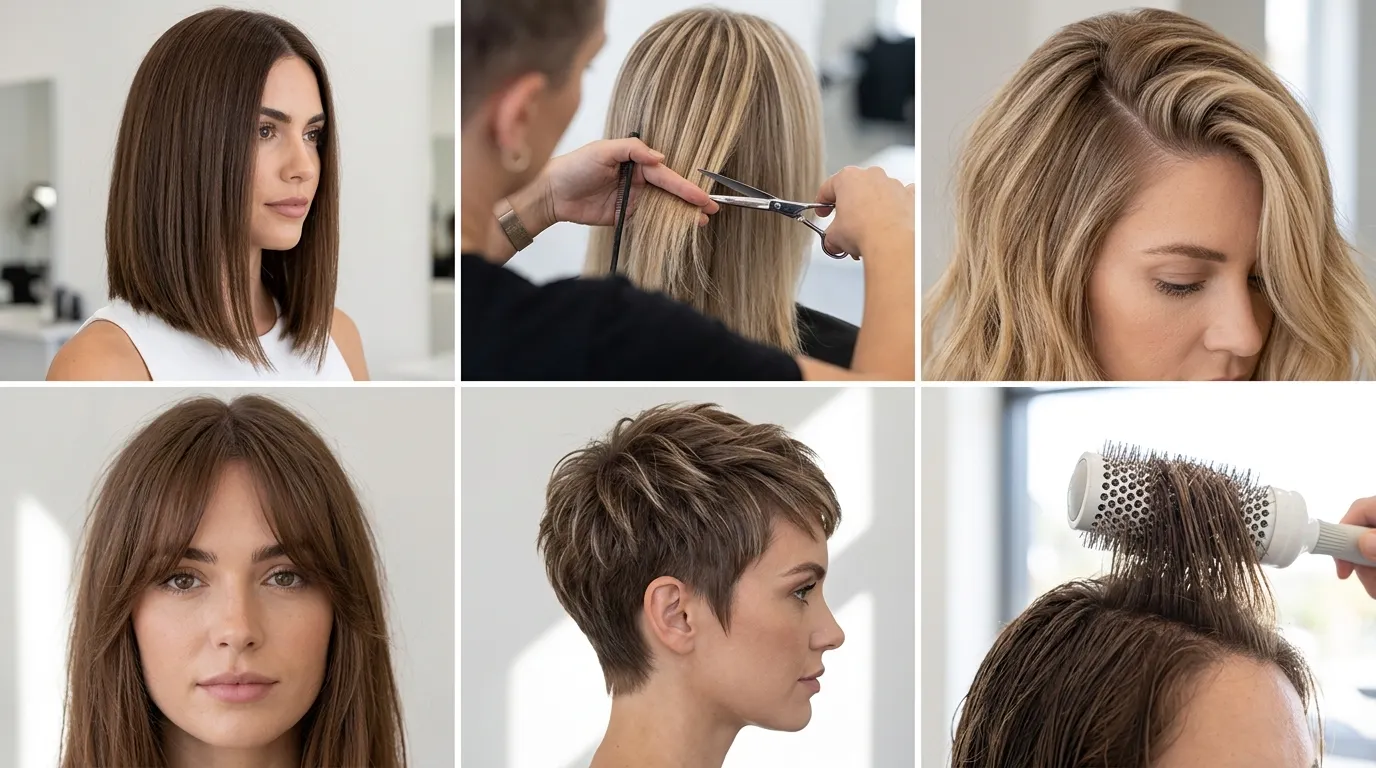
A medium shag is the reliable version. Shape without surprises, and it grows out gracefully rather than collapsing.
If you have fine, lower density hair, ask for layers placed to build volume through the crown without thinning the ends, which is the mistake most non-specialists make.
6. Short Curly Hairstyles and What They Demand

Cutting short exposes everything. There is nowhere for a bad shape to hide.
A curly bob has to be cut dry on styled curls, and it needs regular shaping or the perimeter goes heavy and boxy as it grows.
Tapered shapes work differently. Sides cut close and tight, top left long enough for curls to fully form, point cut to keep bulk down. Around three inches on top is usually enough for the pattern to show.
Pixies suit tight patterns because the spring gives the shape its structure.
The honest tradeoff with short is maintenance. You are back in the chair more often, and the architecture blurs faster than length does.
7. Match the Shape to Your Face, Not the Trend
Weight placement changes how a face reads more than length does.
Volume sitting at the jawline and below gives width exactly where oval and longer faces want it. On a round face, that same placement reads wider than intended.
Oval and heart shapes carry mid length volume well because width at the sides balances a narrower chin.
For rounder faces, the useful trick is placing width at the jaw rather than the cheekbones, which narrows the overall silhouette instead of adding to it.
Curls framing outward from the temples rather than falling down is another approach worth asking about.
None of this is a rule you must follow. It is just what tends to happen.
8. How to Define Curls on Wash Day
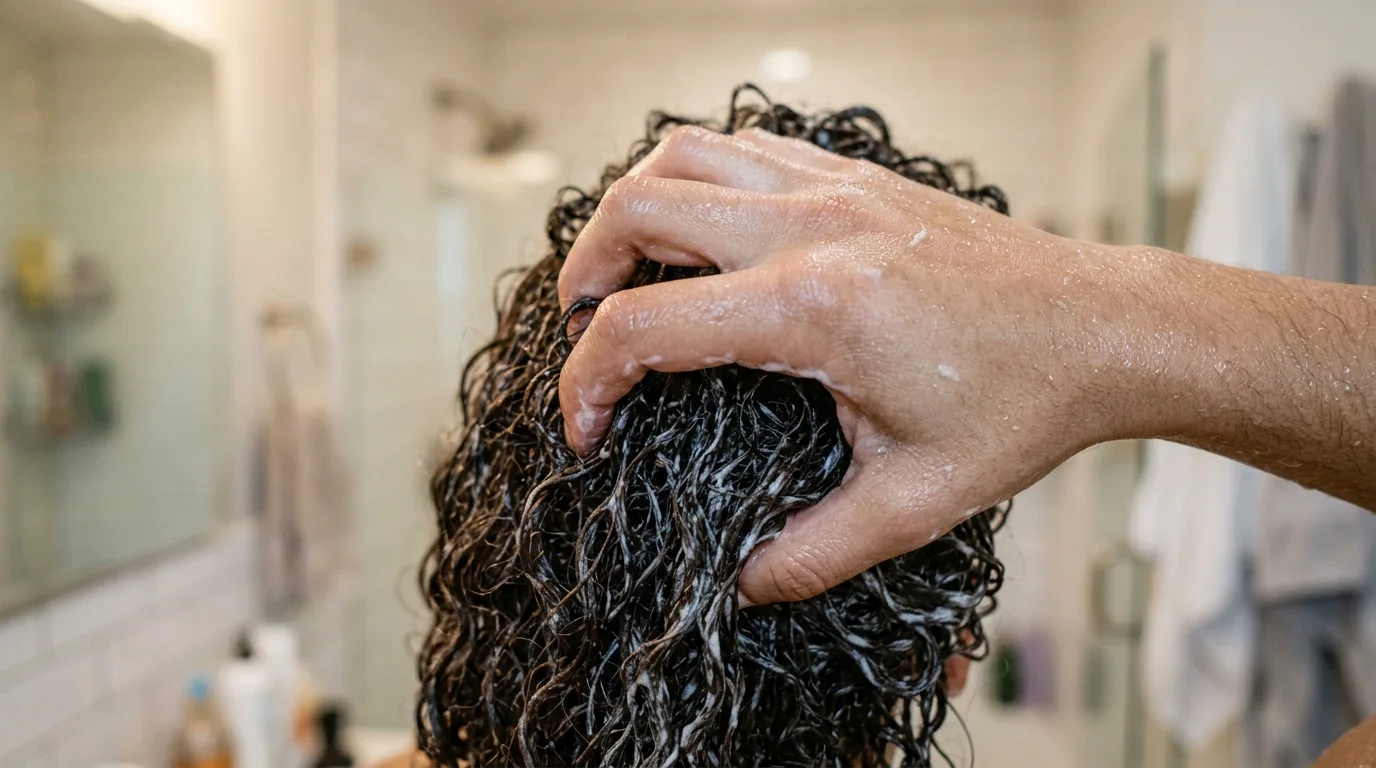
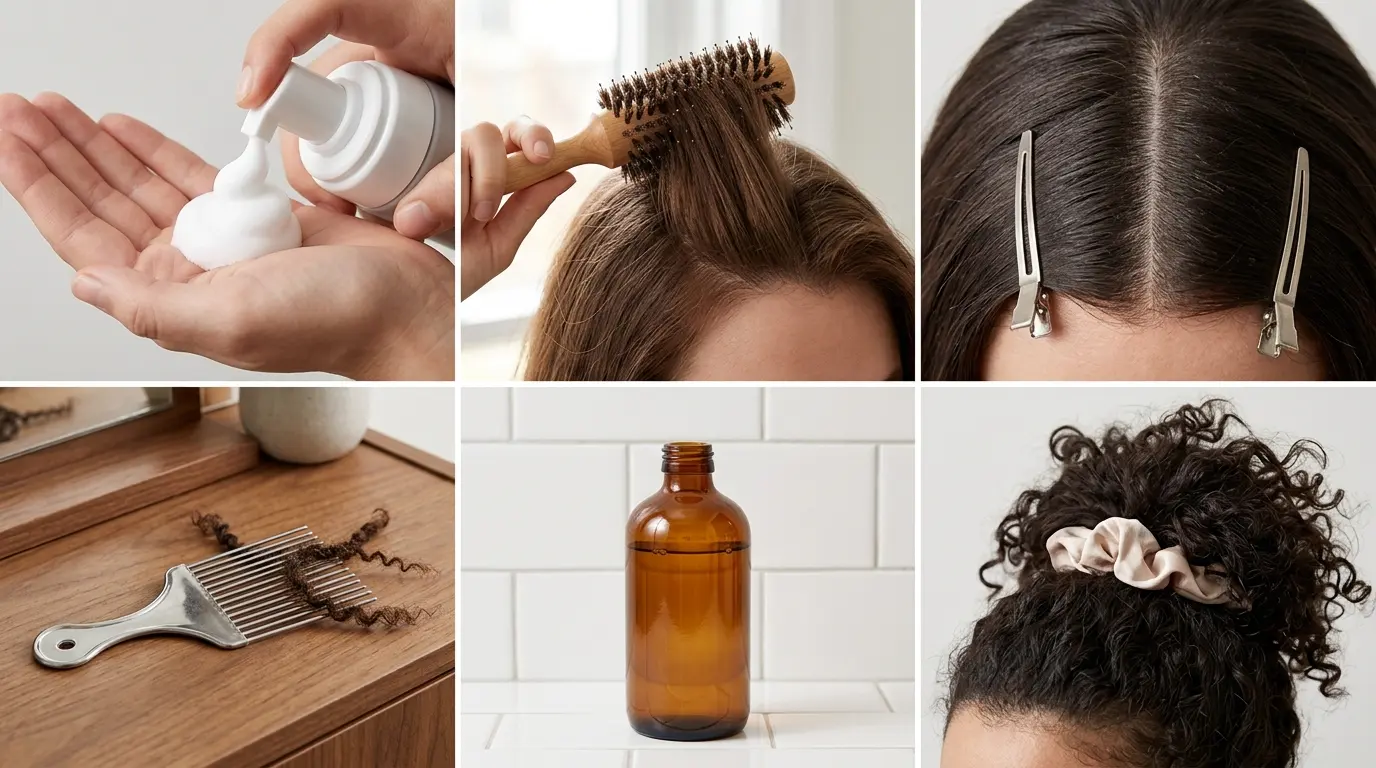
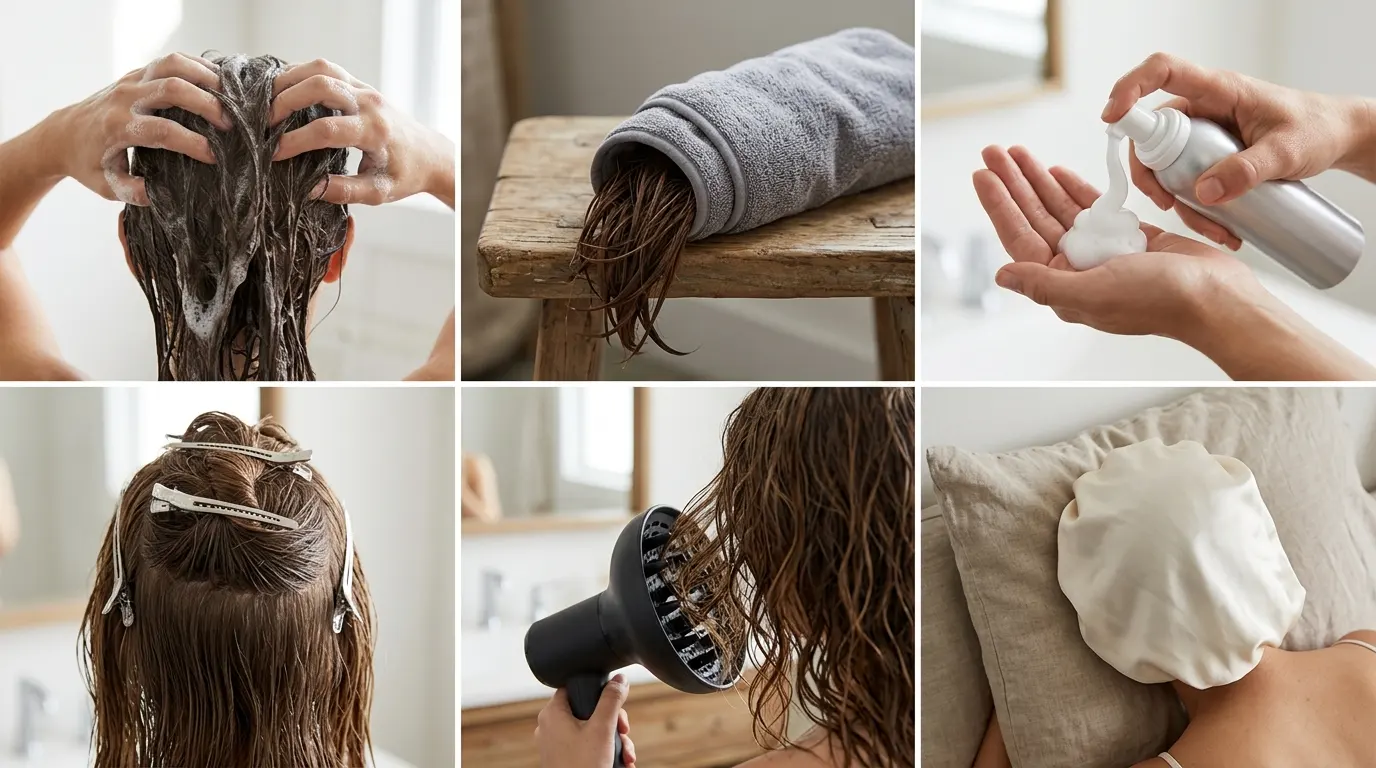
Product goes onto soaking wet hair. Not damp, not towel dried, soaking.
Leave-in conditioner first, then a curl defining cream or gel to hold the shape. Scrunch upward rather than rubbing.
Never a regular towel. The loops catch and lift the cuticle, which is frizz before you have even started. Microfiber towel or an old cotton t-shirt instead.
Plopping works well here. Wrap the hair up in that t-shirt and leave it while you do something else.
The commonest mistake is not using enough product. Curls need more than feels reasonable, and under-applying gives you definition that collapses within the hour.
9. Frizz Free Curly Hair Comes Down to Not Touching It
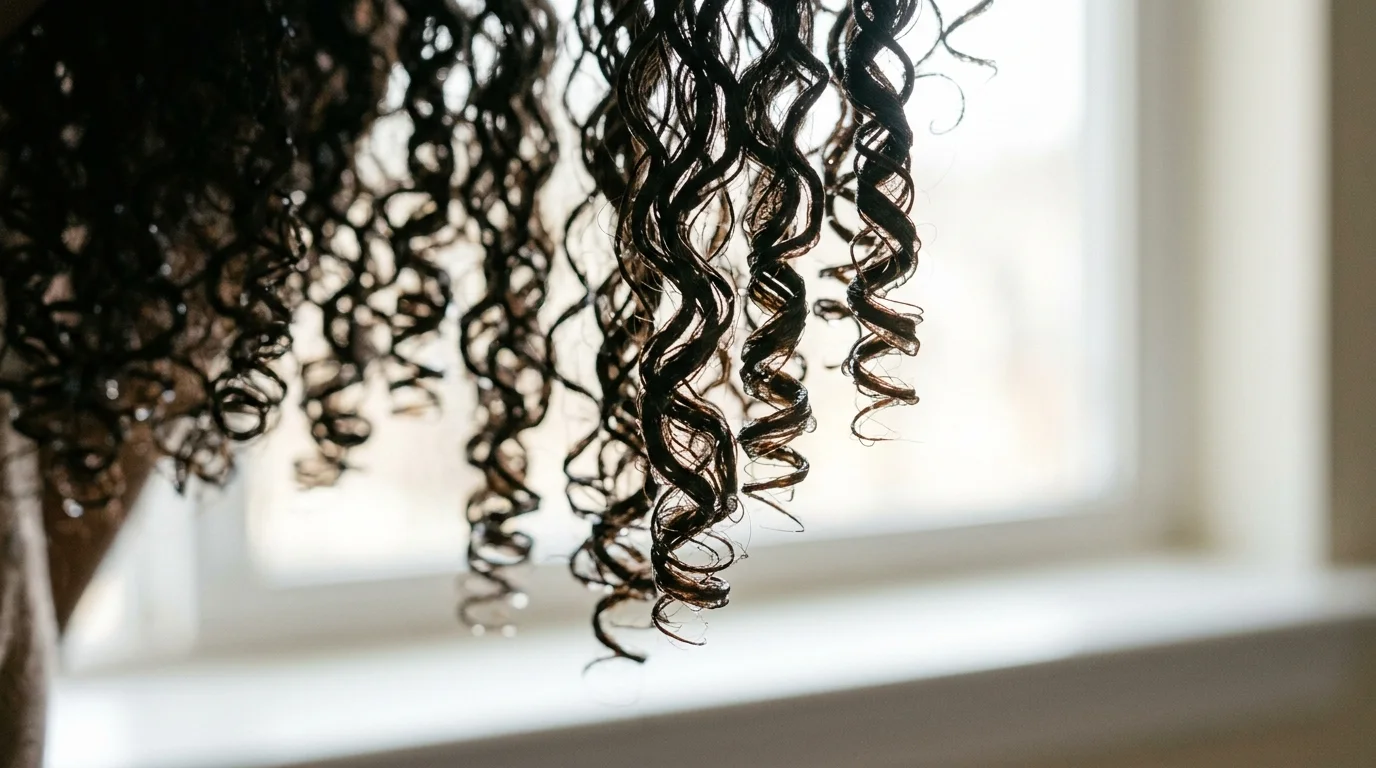
Here is the rule that changes everything, and almost nobody follows it.
Do not touch your hair while it dries. Not to check. Not to scrunch. Not once.
Every touch breaks the gel cast forming around each curl clump, and once that cast is broken, frizz moves in. Leave it completely alone until it is bone dry.
Air drying gives the most natural result. A diffuser on low speeds it up without disturbing the pattern, which matters on cold mornings.
Once fully dry, then you can intervene. Flip your head upside down and shake gently from root to tip to break the cast, separate the clumps and build root volume.
Humidity will still fight you. That is honest rather than defeatist.
10. The Detangling Brush and When to Use It
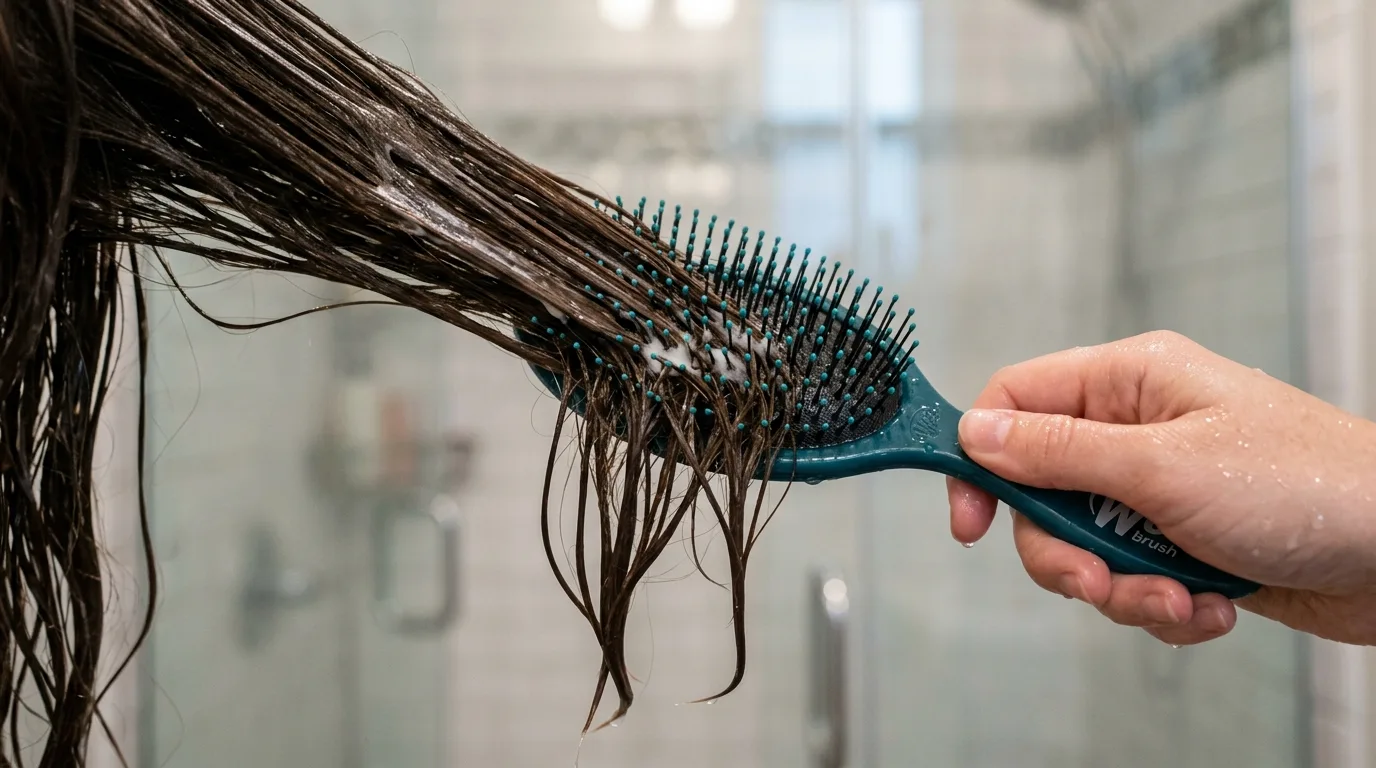
Timing matters more than the tool.
Wet hair only, and ideally with conditioner still in it. A detangling brush or a wide tooth comb both work when the hair has slip.
Never brush curly hair dry. It shatters the clumps, creates frizz through the whole head, and disrupts the pattern you spent the morning setting.
Work from the ends upward in small sections rather than dragging from the root down. Faster and far less breakage.
Once dry, fingers only. Separating individual curls by hand is fine. Anything with teeth is not.
11. Hair Porosity Changes Which Products Work
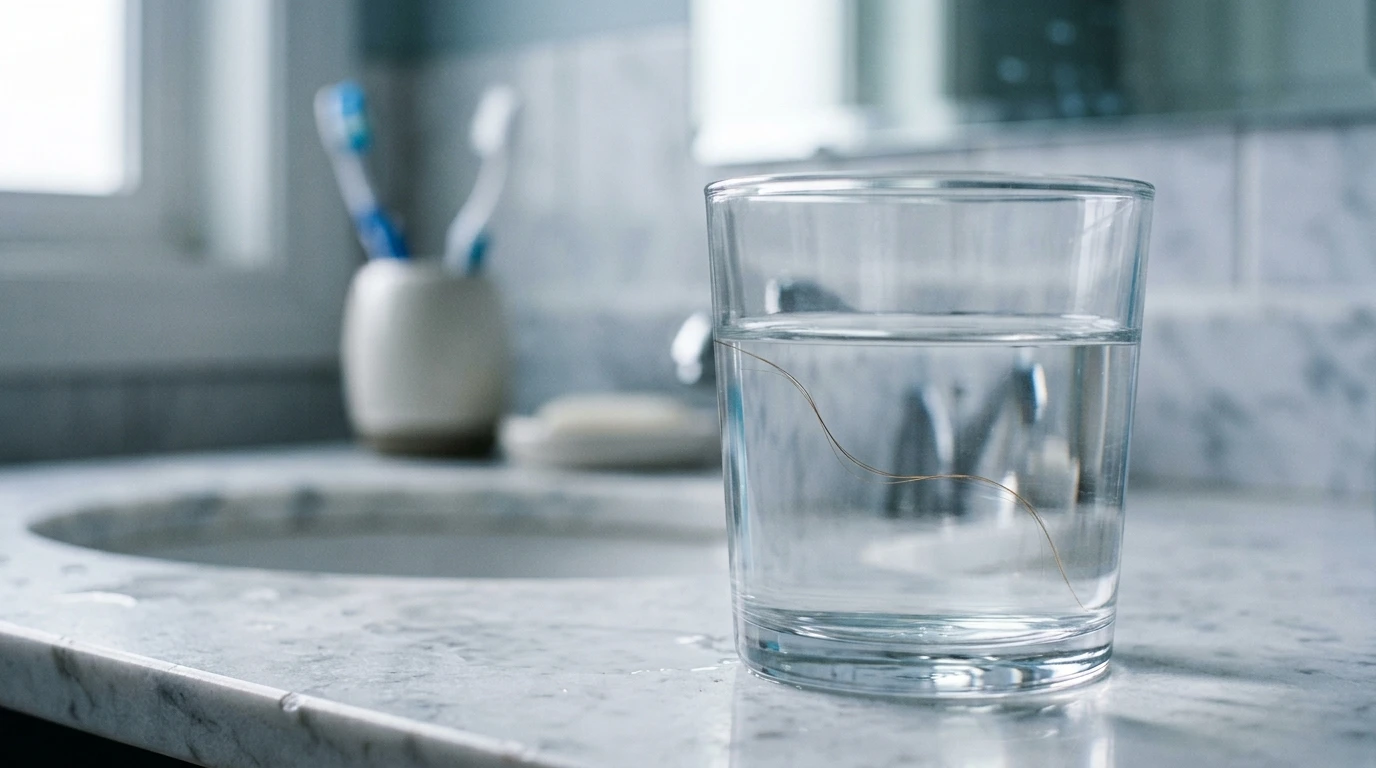
Porosity is how readily your hair takes in and holds moisture, and it explains why a product someone raves about does nothing for you.
High porosity hair absorbs quickly and loses moisture just as fast, which means uneven shrinkage and drier ends. It generally wants heavier creams and sealing oils.
Low porosity hair resists absorption, so heavy products sit on top and weigh the curls down. Lighter formulas layered thinly work better.
Test it by dropping a clean strand in water. Quick sinking suggests high porosity, floating suggests low.
Whichever you are, avoid piling on heavy products. Weighed down curls lose their spring and no cut compensates.
12. Nighttime and the Satin Bonnet

What happens overnight decides how day two looks.
A satin bonnet is the simplest answer. It stops the friction against cotton pillowcases that roughens the cuticle and flattens the shape while you sleep. A satin pillowcase does a similar job less reliably.
For tying up, use a silk scrunchie rather than a thin elastic. Elastics crease and snap fragile curl patterns at the tie point.
Pineappling helps too. Gather everything loosely on top of your head with that scrunchie before bed.
Day three hair is often better than day one, so protecting it overnight is worth the small effort of putting something on your head.
13. Protective Styles and Finger Coils
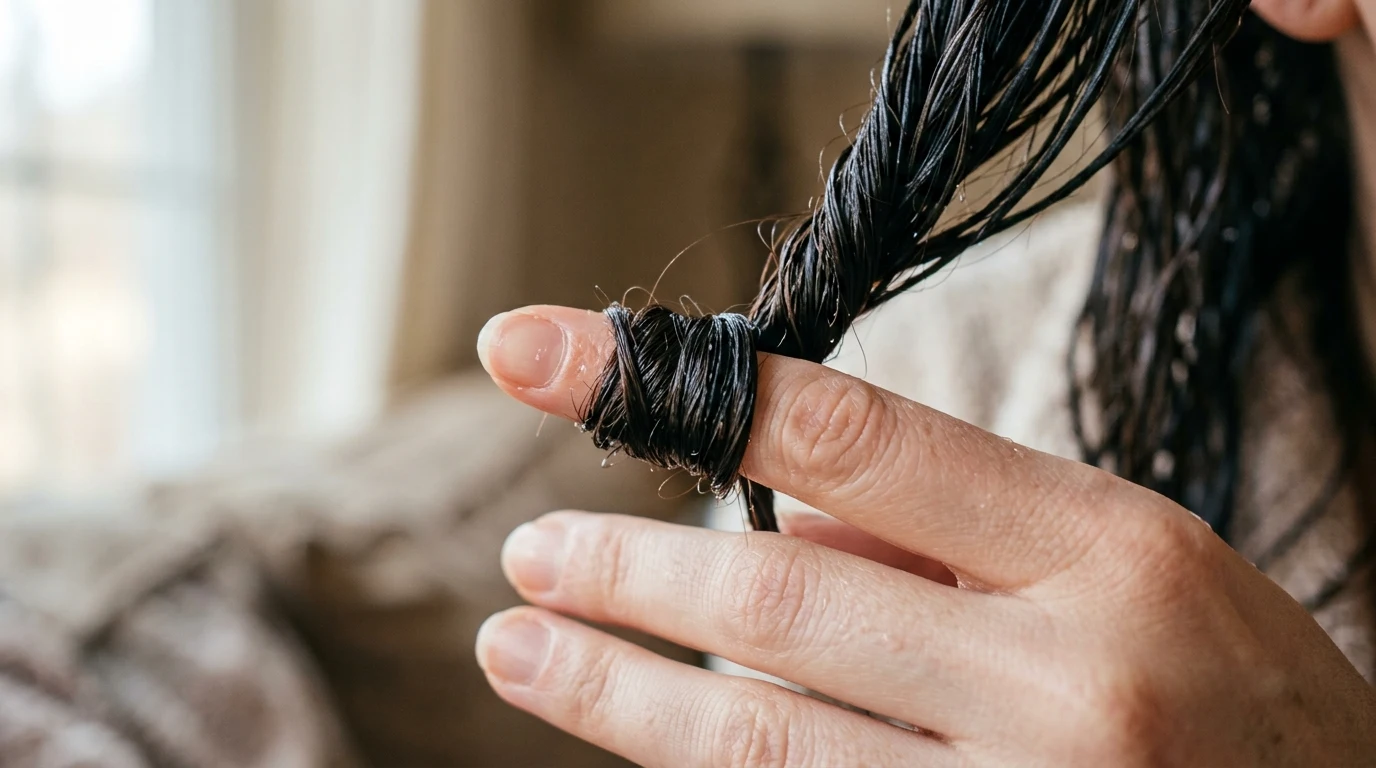
Sometimes the answer is not styling the curls at all.
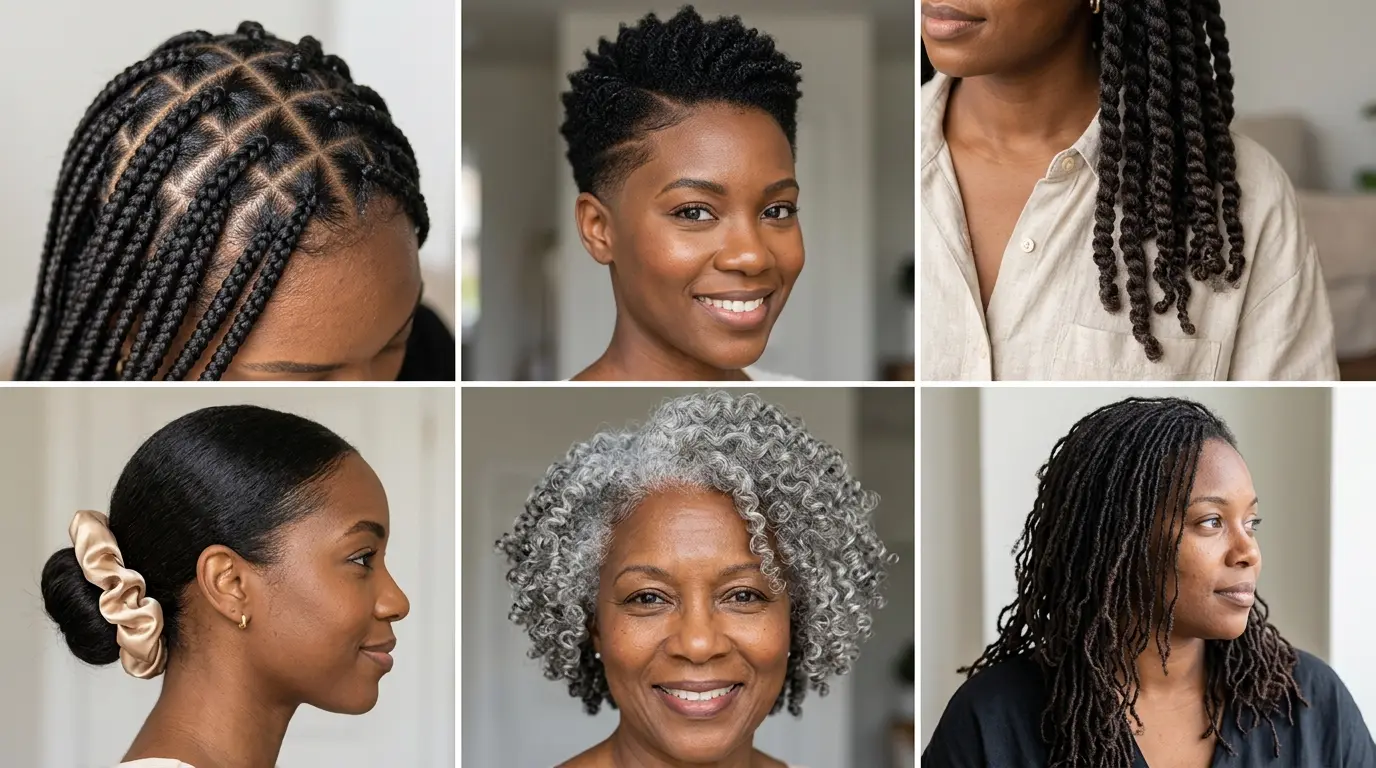
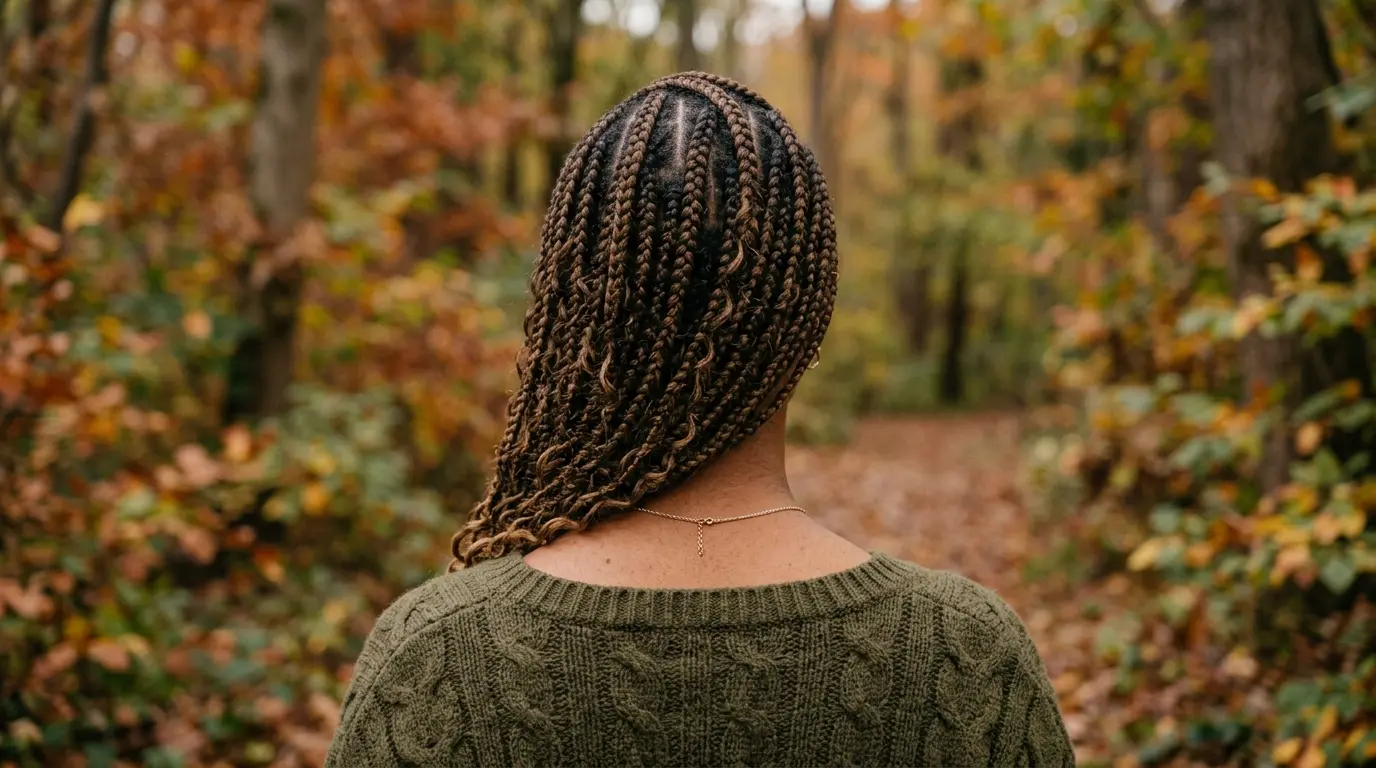
Box braids are among the most used protective styles for curly and coily hair. Hair is sectioned into squares and each section braided root to tip, often with added braiding hair for length.
Finger coils are the other route. Wrap small sections of wet, product coated hair around your index finger from root to tip, then slide the finger out to leave a defined spiral.
Budget two to four hours depending on density. They last up to a week with proper nighttime protection.
The advantage is gentleness. No mechanical damage at all, which suits fragile, thinning or transitioning hair.
14. Colour That Works With the Curl Pattern
Placement is everything on textured hair, far more than the shade itself.
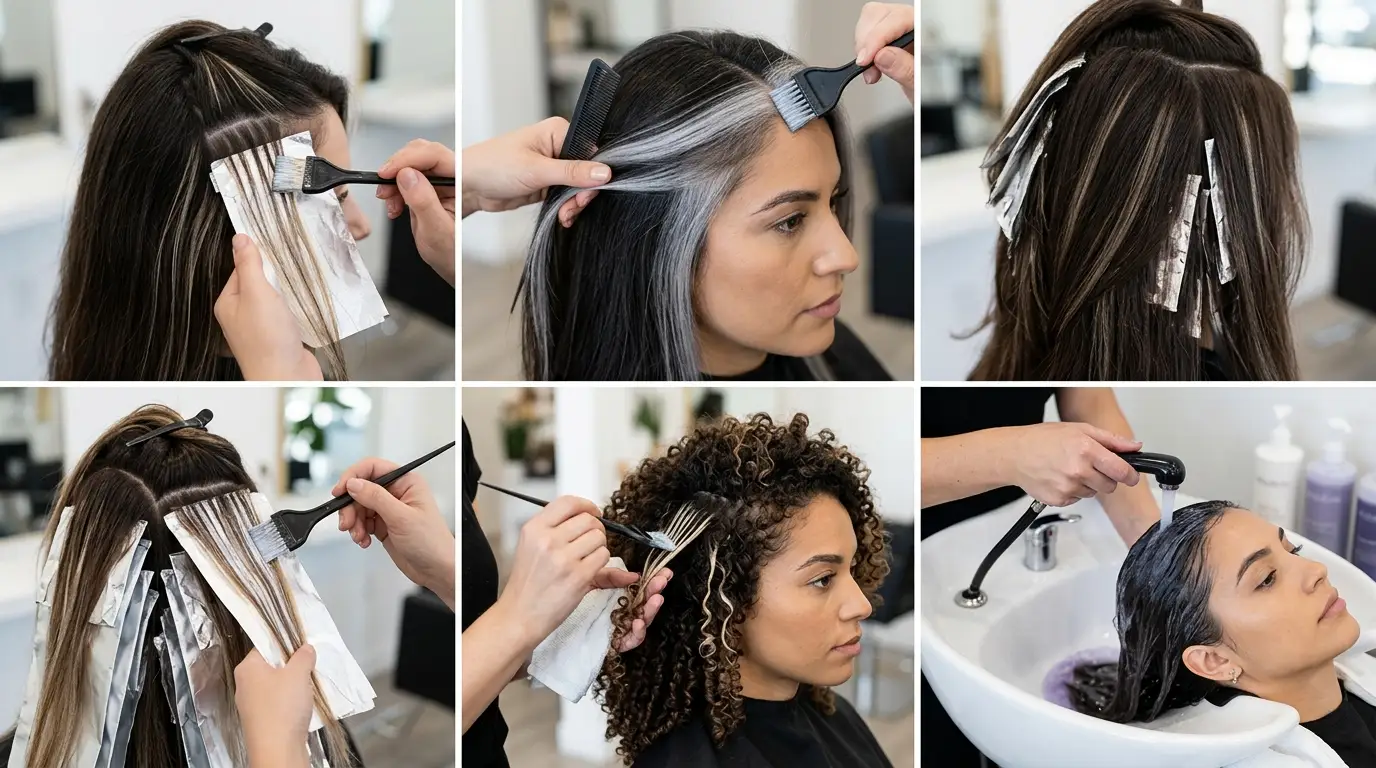
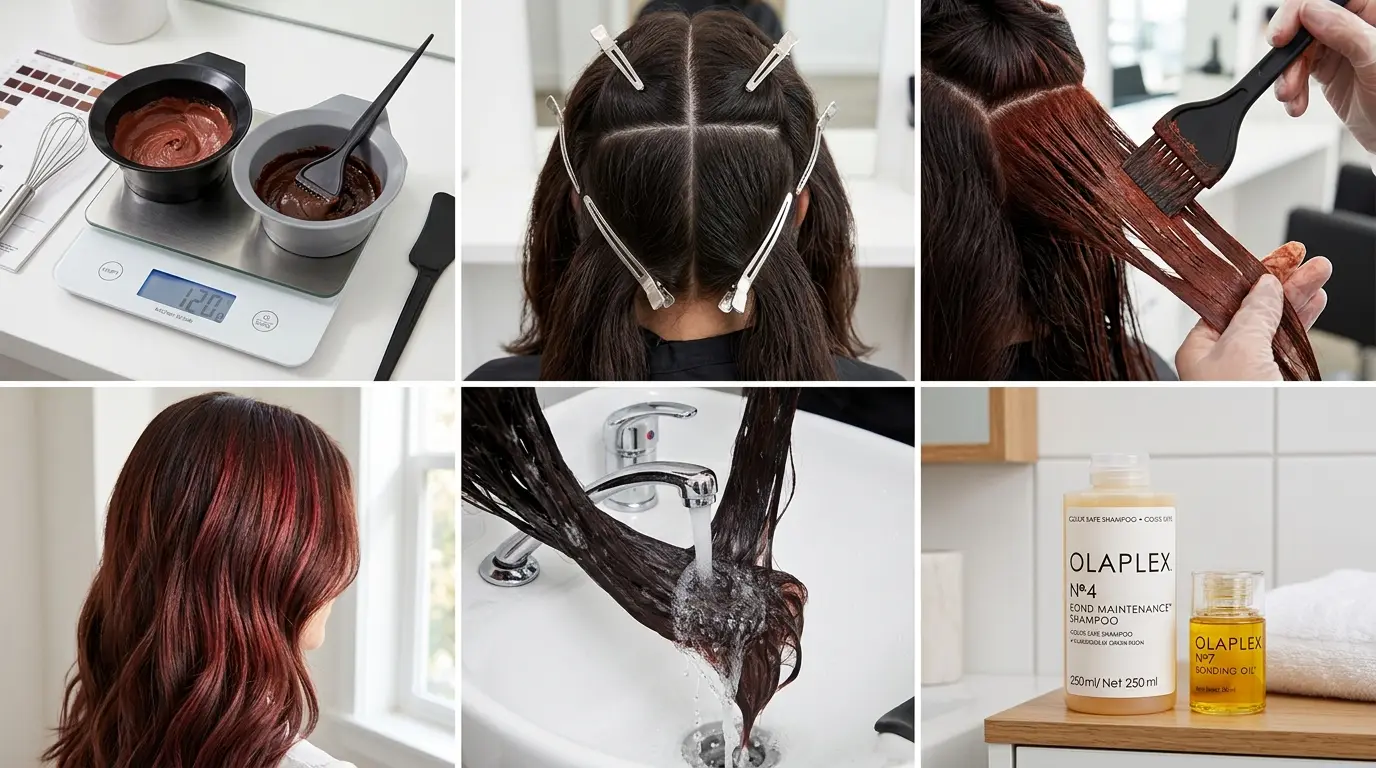
Highlights painted onto individual curl clumps read as woven ribbons through the hair. Foiled in sections, the same colour reads as stripes.
The lightest pieces belong on the outermost curls near the face and ends, with the interior left dark. That is what creates depth without looking processed.
Keeping the roots untouched makes grow out a non issue for months, which is genuinely freeing.
Blonde is the high maintenance choice, since lightened curls dry out fast. If your natural base is darker than a mid brown, the regrowth starts fighting you within weeks.
Practical Tips and a Realistic Curly Hair Routine
Wash and condition every three to five days depending on your curl type. Daily washing strips the moisture curls need to hold their shape.
Trim every six to eight weeks to keep the shape intact. Curly cuts blur faster than straight ones because the shape is doing more work.
Skip heavy products entirely. Weight is the enemy of spring.
Photograph a good hair day from three angles. It becomes the reference you take to a new stylist, which communicates far better than a stranger’s photo does.
One honest limitation. A tightly curled, heavily layered shape needs almost nothing on day one and becomes genuinely unpredictable by day three, because those curls shrink and expand unevenly as they lose moisture.
Patch test any new product on a small area first, particularly if you have a sensitive scalp.
Frequently Asked Questions
How do I find a stylist who can actually cut curls? Ask two questions on the phone before booking. Do they cut curly hair dry, and have they trained in a specific curl method. Vague answers mean keep looking. Instagram is useful here, since curl specialists tend to post their own clients rather than stock images, and you can look for hair similar to yours.
My curls are looser on one side than the other. Is something wrong? No, and it is extremely common. Sleeping position, how you carry a bag, even which side you part all affect it over time. A cut shaped to your actual growth rather than an imagined symmetry handles it. Nothing needs correcting.
How long does it take to see improvement after changing my routine? Give it about six weeks of consistency before judging anything. Hair that has been brushed dry and heat styled for years needs time for new growth and for the existing lengths to recover their pattern. Changing three things at once also makes it impossible to know what helped.
Can I still use heat on curly hair? Occasionally, with a heat protectant and the lowest setting that works. The risk with curls is heat damage that permanently loosens the pattern in patches, which does not grow back and can only be cut out. If you straighten regularly, expect that eventually.
What should I buy first if my budget is small? A microfiber towel or a cotton t-shirt you already own, and one curl cream. Those two change more than any expensive system. Add the satin bonnet next. Everything else can wait until you know what your hair actually responds to.
Building the Version That Suits You
Start with the two answers. Density, then pattern. Everything about the cut follows from those and nothing useful can be decided without them.
Then find someone who cuts dry, and take a photo of your own good hair day rather than a stranger’s.
The curly hairstyles for natural curls that keep working are the ones matched to hair that already grows that way. Not the ones forced into a shape it was never going to hold.
Then leave it alone while it dries. That single habit does more than any product on the shelf.
Related reads: Curly Hair Routine on Straight Hair That Actually Creates Lasting Shape, How to Curl Your Hair With Lasting Shape and Minimal Friction and The Complete Step-by-Step Wavy Curly Hair Routine for All-Day Clumps.