

The parting is the entire style. Everything else is detail.
Most people book with a saved photo, sit down, and only notice once the first three rows are in that the line is falling somewhere they did not expect. At that point it cannot move without taking the whole front section out and starting again.
Side part fulani braids give you a softer, less symmetrical look than the centre version. The mistake is treating placement as something the braider decides in the chair, when it is the one decision you cannot undo afterward.
So this covers where the line should fall, what to say before anyone picks up a comb, and how to keep the front rows comfortable for the weeks that follow.
Why the Parting Decides Everything Else
Fulani braids are built around visible parting. The scalp is part of the design rather than something hidden under hair.
Which means the line you choose is the first thing anyone sees, and the braid size, the beads and the length all arrange themselves around it.
A centre parting reads as balanced and traditional. Move it off centre and the whole style softens, with more hair falling on one side and a diagonal sweep across the front.
The other thing a parting does is set the tension pattern. Where the sections meet, the pull happens, and that determines how comfortable the next four weeks feel.
So this is not a styling detail you leave to the chair. Decide it beforehand.
1. Choose Where the Line Actually Falls
Your natural parting is the starting point, not the answer.
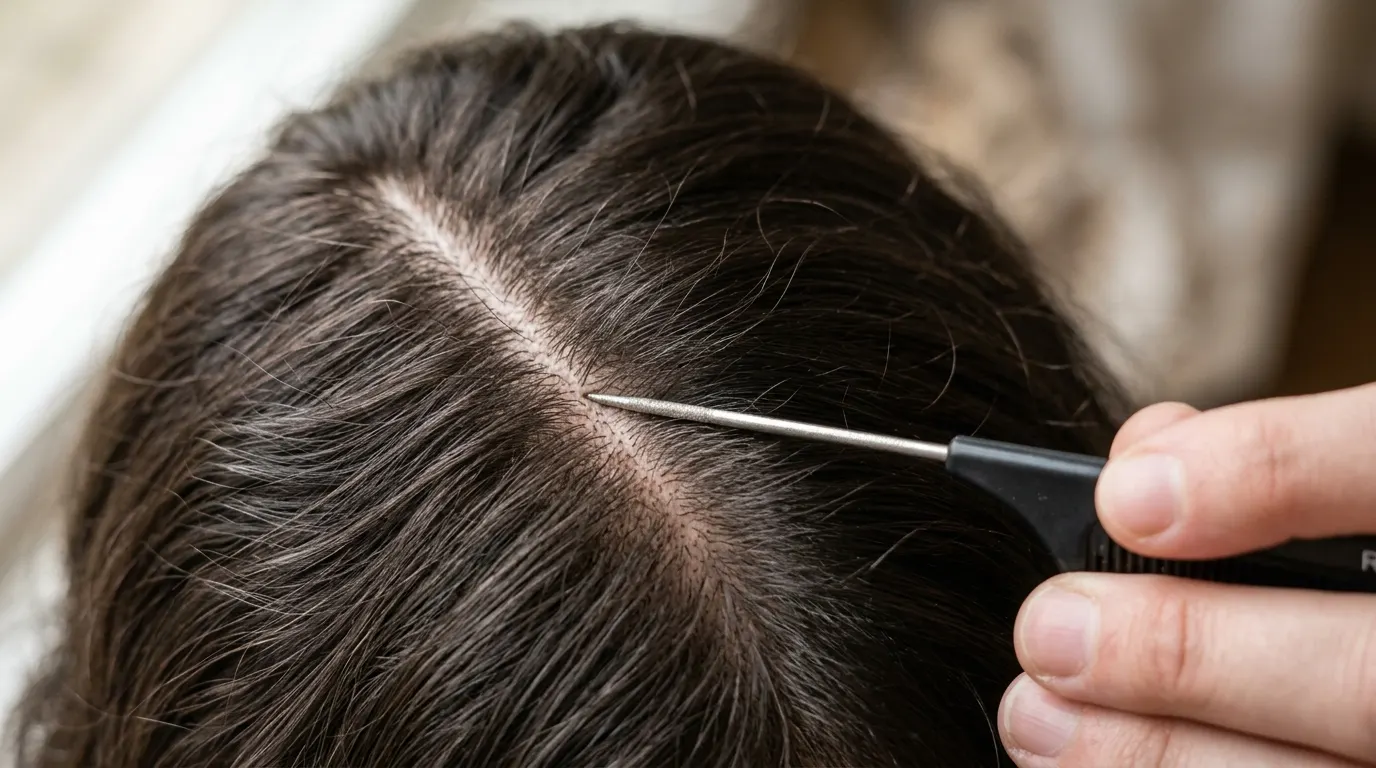
Find where your hair separates on its own when you push it back with wet hands. That is usually the easiest line to maintain and the one that lies flattest.
Then decide how far off centre you want to go. A shallow side part sits an inch or so from the middle and reads as subtle. A deep one starts above the outer edge of the eyebrow and creates real asymmetry.
Deeper partings suit rounder faces because the diagonal breaks up width. Shallow ones suit longer faces.
Ask your braider to draw the line with a rat tail comb and hold a mirror up before a single braid goes in. That thirty seconds saves a whole appointment.
2. Ask for Generous Spacing Rather Than Maximum Detail
There is a temptation to want as many rows as possible, and it works against you.
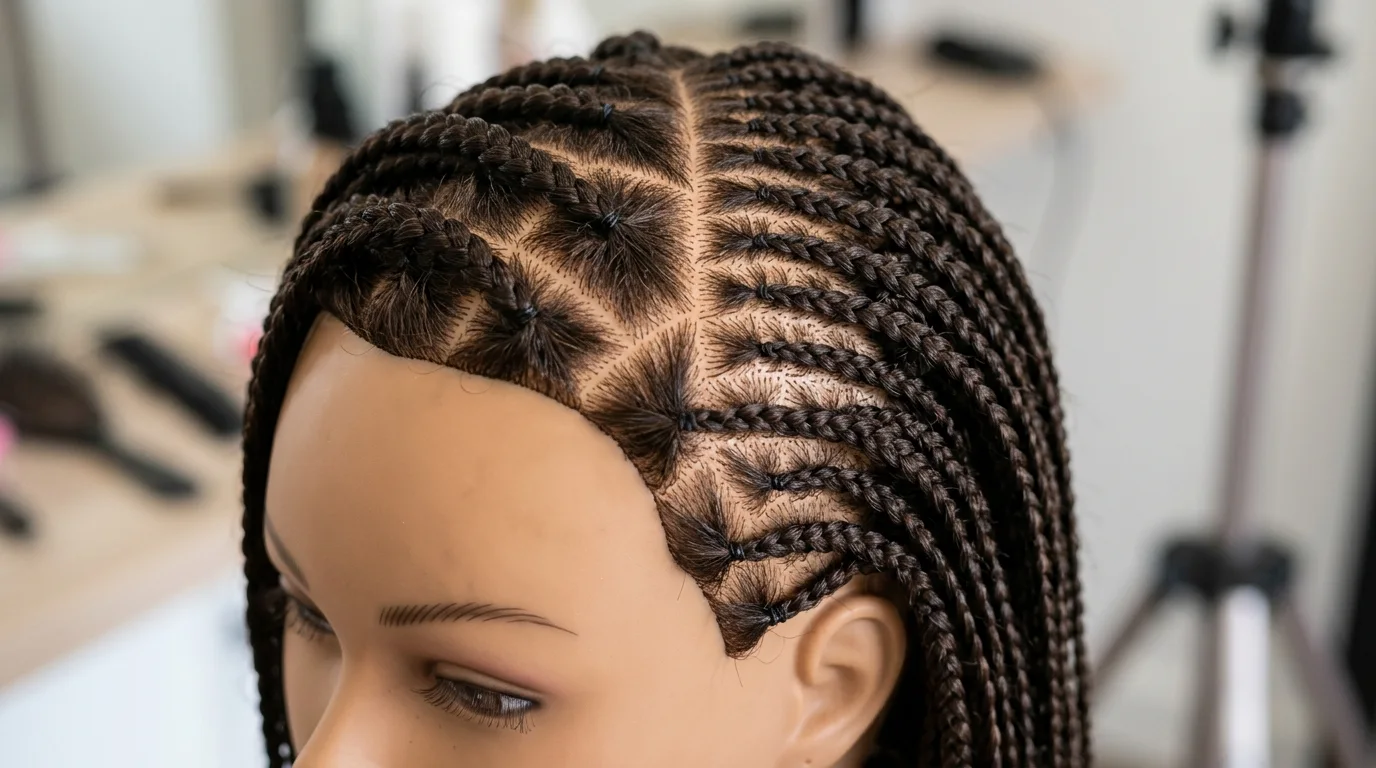
Crisp, generously spaced parting is more comfortable and easier to keep clean than crowded sections. Overcrowding a small area increases tension across that patch of scalp, and it makes washing and oiling genuinely difficult afterward.
Finer rows do show more detail. They also take considerably longer in the chair and cost more.
The honest trade is between how intricate the pattern looks on day one and how your scalp feels on day ten.
Ask for spacing you can get a nozzle or an applicator tip between. If you cannot reach the scalp, you cannot care for it.
3. Two Cornrows or One Down the Middle
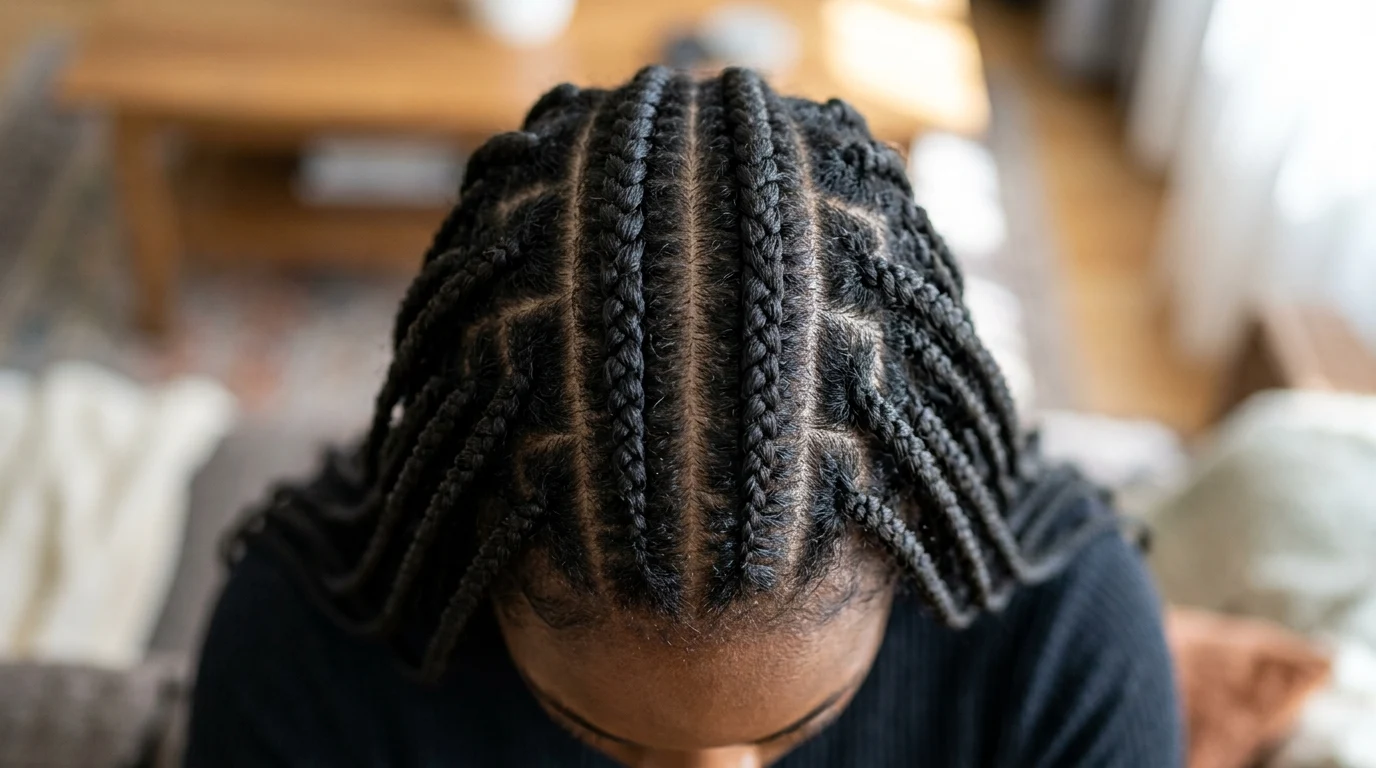
The classic Fulani layout runs a single cornrow down the centre with braids either side.
With a side parting, that centre row moves off axis and can look unbalanced on its own. Two parallel cornrows running down the middle solve it, since the pair reads as intentional where one looks displaced.
The two row version also gives you more surface to work with for beads, which sit better spread across two lines than crowded onto one.
Where this does not work is on very fine or cropped hair, since two rows means each has less hair to hold and they can look sparse.
Bring a photo showing the row count specifically. Braiders interpret the word Fulani very differently.
4. Front Rows Should Feel Secure, Never Tight
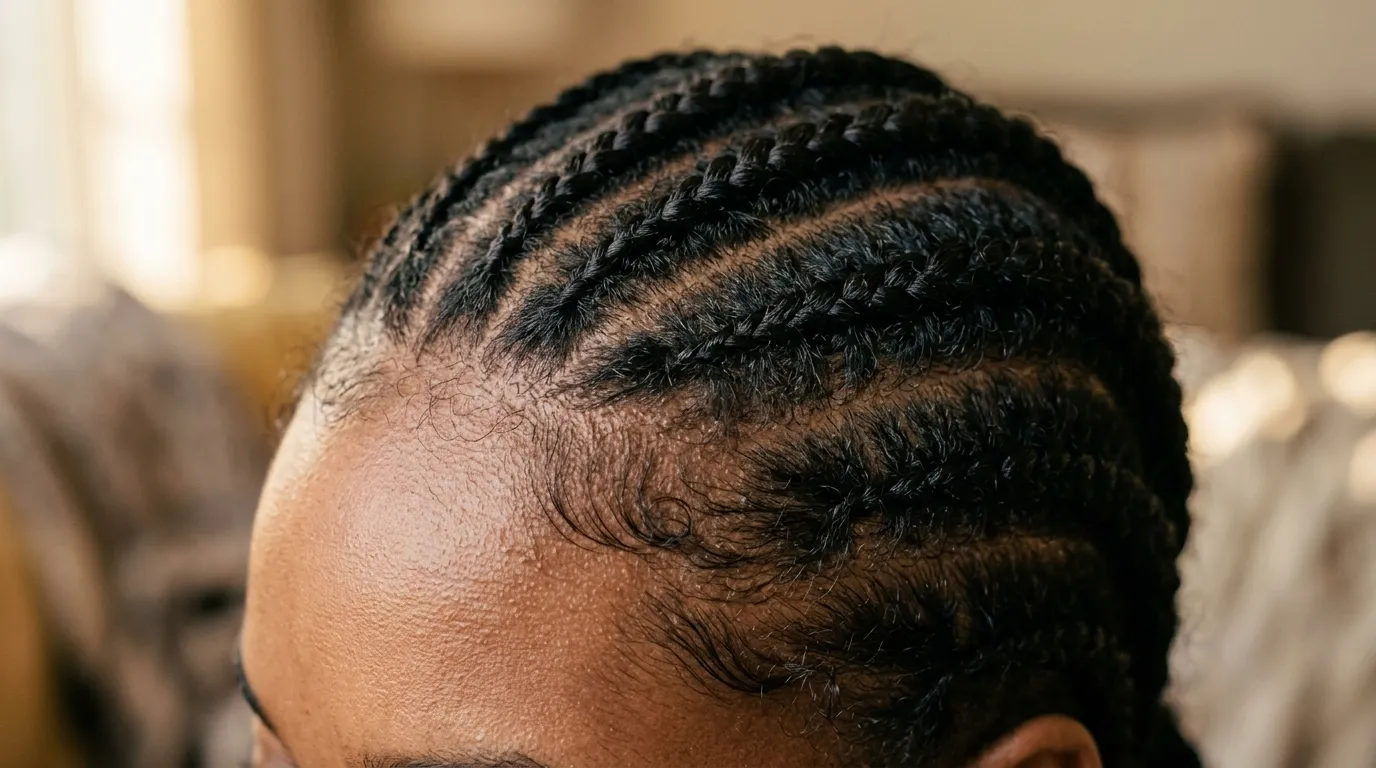
This is the most important line in the post.
The front rows should feel firm and held, never pulled. If your eyes feel stretched, if it stings, or if you get a headache in the chair, that is too tight and it will not settle down.
Say so immediately. A good braider will loosen it, and every hour you wait is another hour of that section being done wrong.
Tension at the hairline is where traction damage starts, and the temple area is the most fragile part of the scalp.
Small bumps or tenderness on the first night are common. Pain, stinging or visible pulling at the roots are not, and they are worth taking the style down over.
Never let anyone braid your baby hairs into the design.
5. Fulani Braids With Beads Without the Weight
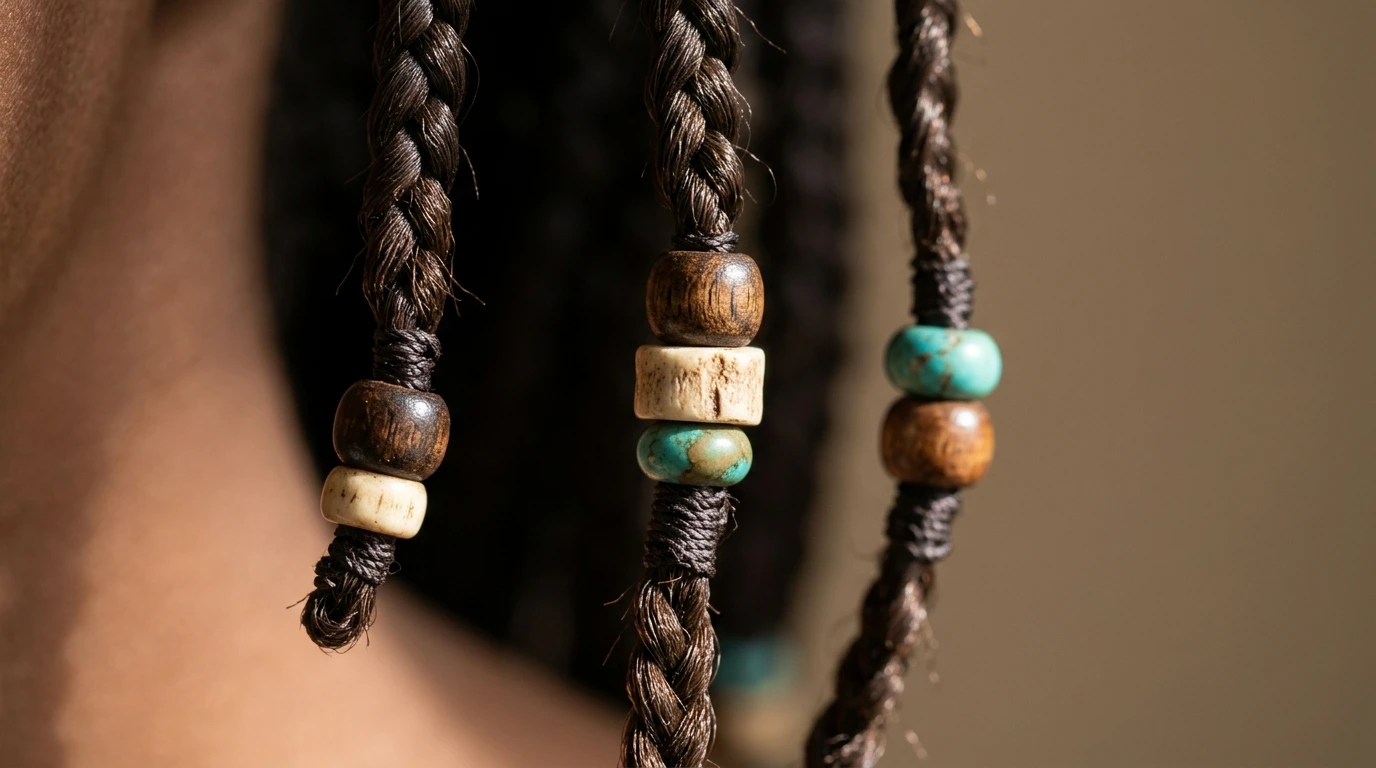
Beads are the signature, and there is a right way to use them.
They work best supporting the braid pattern rather than overwhelming it. A limited palette gives a refined finish, while mixing sizes and materials creates stronger contrast if that is what you want.
Keep the heavier pieces away from the delicate temple braids. Weight at the hairline pulls on the most fragile section you have.
Choose smooth attachments that will not catch on the braids as they move.
One point worth making plainly. Cowrie shells and beads in this style carry cultural meaning for the Fula people. Wear them with that respect rather than treating cultural ornamentation as a costume accessory.
6. Fulani Braids With Curls in the Back
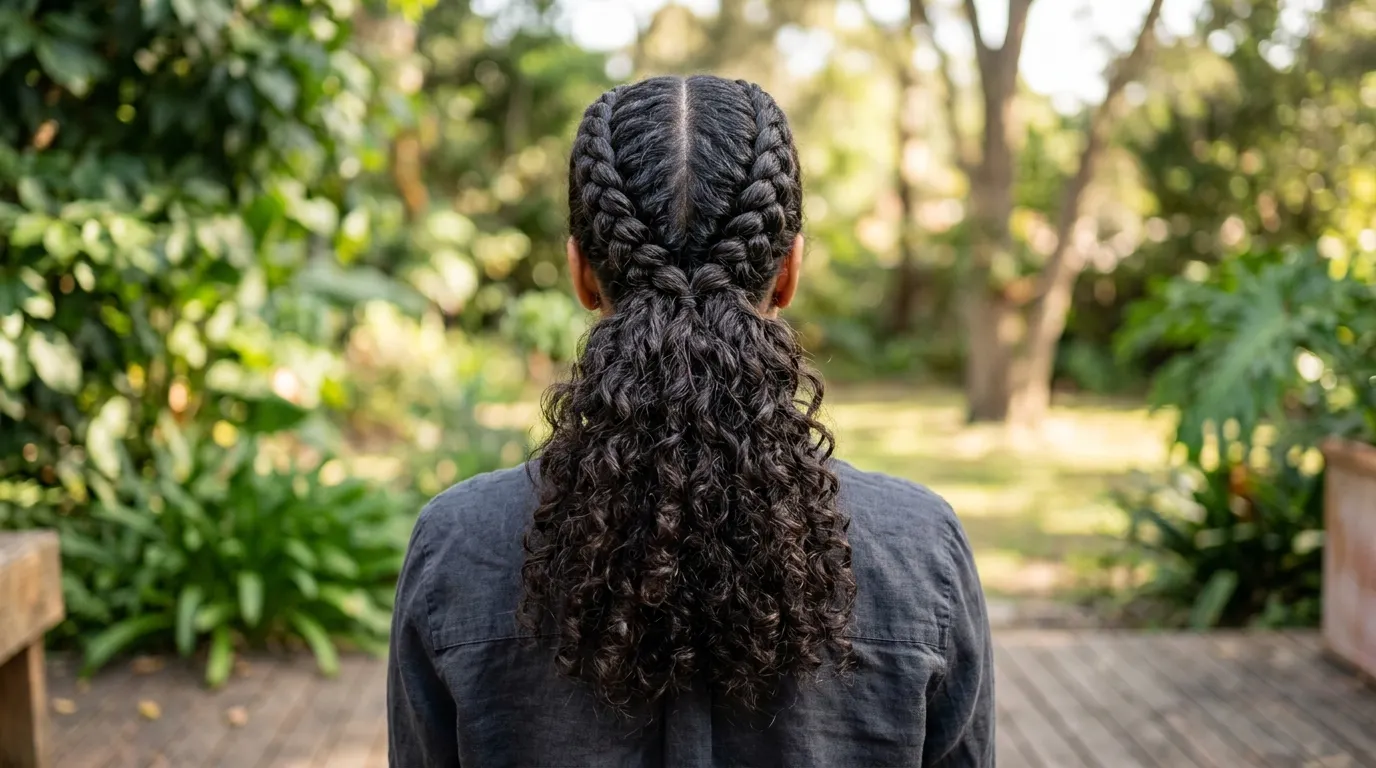
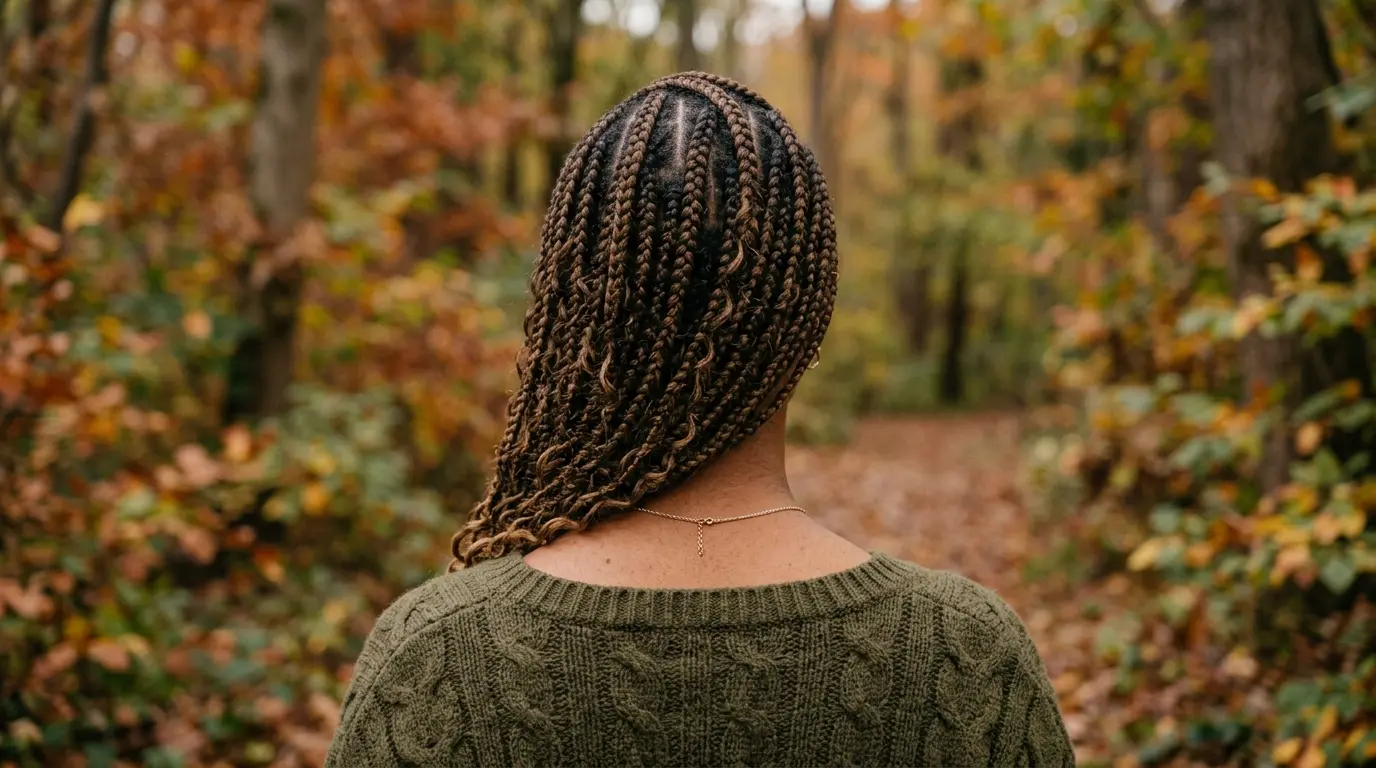
Adding loose curls behind the braided front is one of the most popular variations, and it changes the maintenance completely.
The braided section stays put for weeks. The curly section needs handling like loose hair, which means detangling, moisture and nightly protection.
Curly extension hair gets attached where the braids finish, so decide the transition point in advance. Too high and the braid pattern is lost, too low and the curls read as an afterthought.
With a side parting, keeping the curls slightly heavier on the fuller side balances the whole shape.
The honest downside is lifespan. The curly portion tangles and loses definition well before the braids need to come out.
7. Fulani Braids Half Up Half Down and Other Ways to Wear It
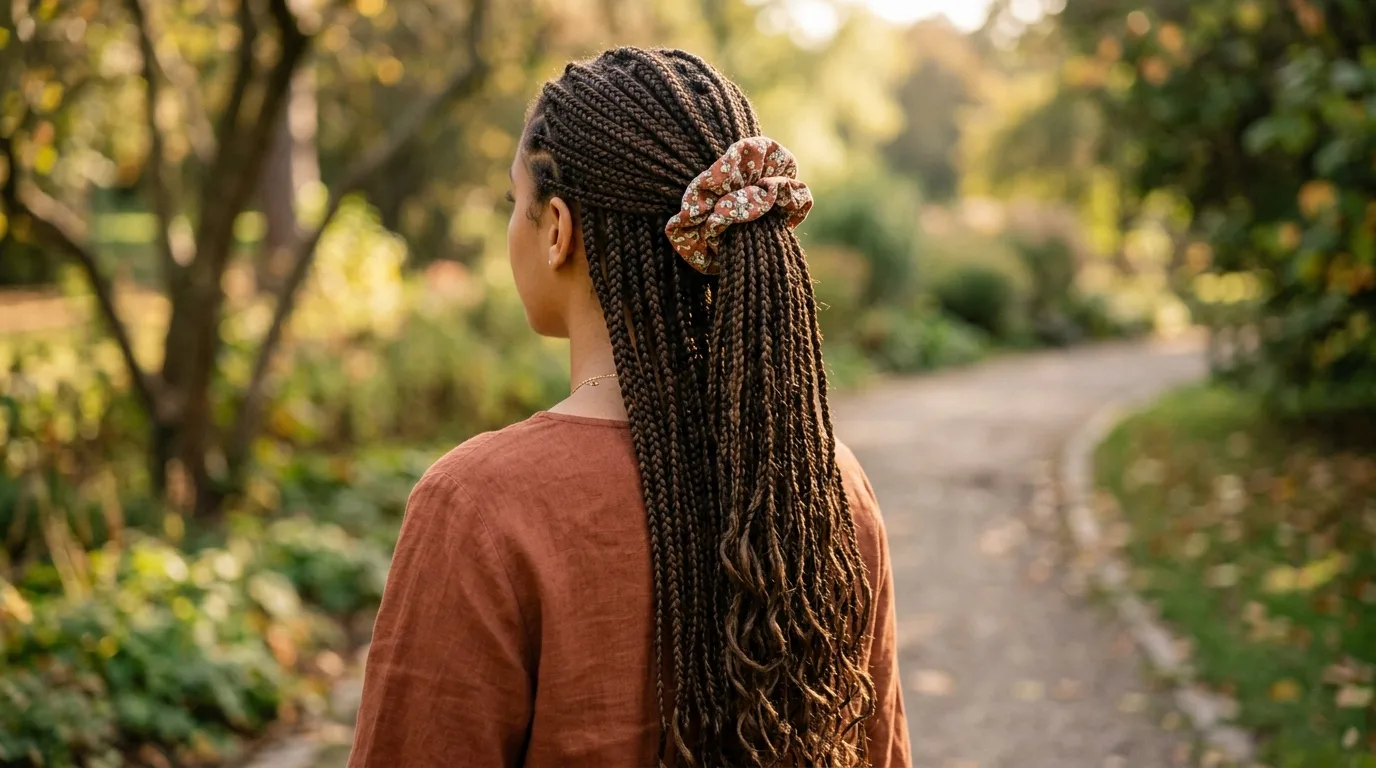
Once the braids are in, the styling starts.
Fulani braids half up half down works particularly well with a side parting, because gathering the top section shows the parting line clearly while the rest keeps it relaxed.
Use a fabric scrunchie rather than a thin elastic, and keep the gather relaxed. Pulling everything up hard adds weight to the exact sections that are already under tension.
A low bun, a half ponytail and a side sweep all sit within easy hairstyles for fulani braids that need no extra tools.
Avoid anything that pulls the front rows backward. High ponytails are the fastest route to hairline stress in any braided style.
8. How Long Do Fulani Braids Take to Install

Time depends on two things only. Row count and braid size.
A handful of chunky rows finishes in a few hours. Fine, closely spaced rows with beads threaded throughout will take most of a day, and adding curly extension length pushes it further again.
Ask for the estimate when you book rather than on the morning, and ask one specific question with it. Does the quote include washing and drying beforehand? Many braiders quote braiding time alone, which is how a five hour booking turns into eight.
Eat properly first. Sitting still that long on an empty stomach makes normal tension feel like pain, and you will not judge tightness accurately.
If you cannot sit for extended periods, ask whether the work can be split across two days. Some braiders will, most will not.
9. How Long Do Fulani Braids Last
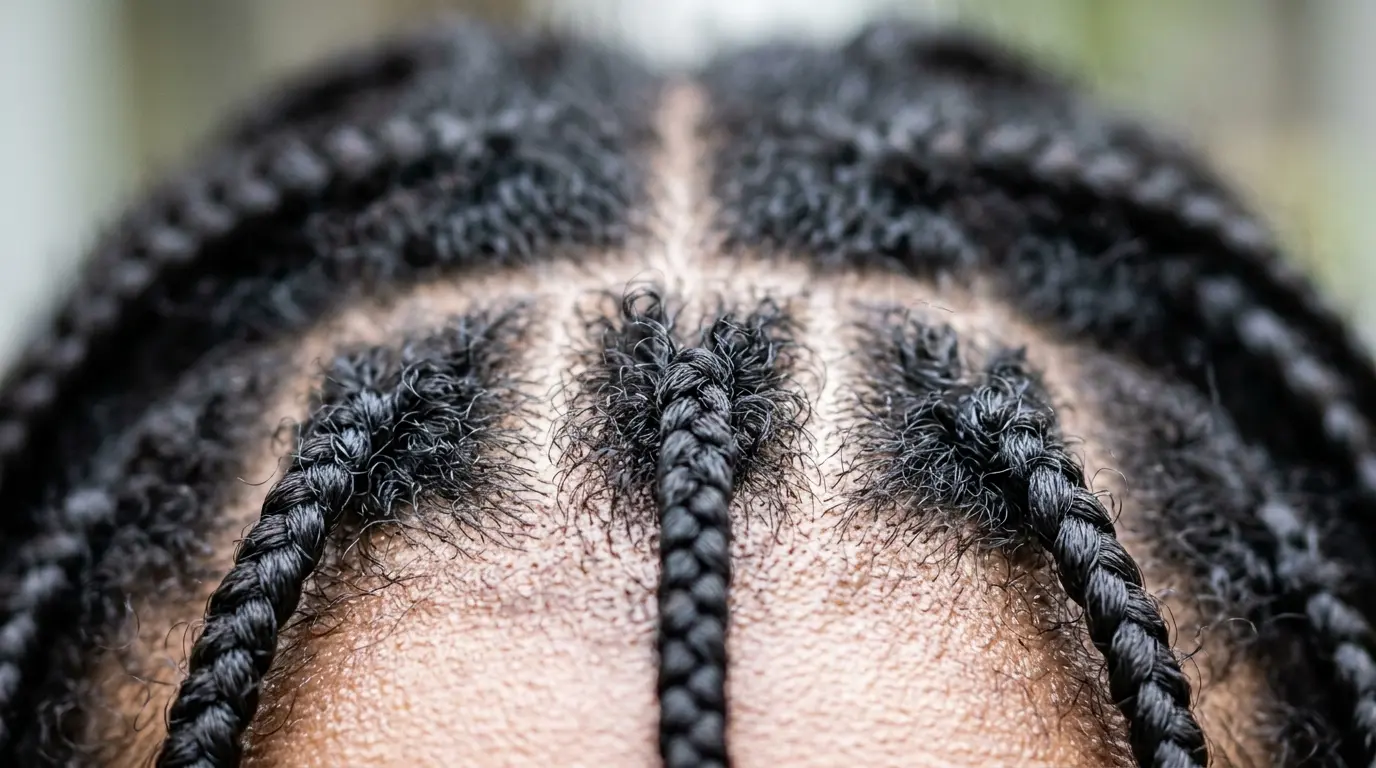
Most people get several weeks out of a set, with the front rows aging faster than the length.
What ends the style is usually not the braids. It is the regrowth lifting the parting and the frizz gathering at the roots.
Six to eight weeks is a common upper limit, and pushing much beyond that starts working against your hair rather than protecting it. Matting at the roots is difficult to detangle and that is where breakage happens.
Sleeping in a satin bonnet or on a satin pillowcase extends the life noticeably by reducing friction.
If the parting has closed up and the front rows have lifted, it is done. Take them out rather than trying to salvage them.
10. Fulani Braids vs Tribal Braids
These two names get used interchangeably online and they are not the same thing.
Fulani braids are a specific style with a documented origin among the Fula people, defined by the cornrow down the centre, the braids at the sides, and the beadwork.
Tribal braids is a broad, vaguer commercial term that covers a wide range of patterned braided styles, often including Fulani elements without the specific layout.
Why this matters practically is booking. Asking for tribal braids gives your braider almost no information, while asking for Fulani braids with a side parting and two centre rows gives them everything.
Use the specific name and the specific details. You will get closer to your photo.
11. Are Fulani Braids Good for Your Hair
Braided styles protect the ends by tucking them away, and that is a genuine benefit for anyone trying to retain length.
But protective only holds if the installation is right. Tension does damage regardless of how protective the style is in theory, and the hairline takes it first.
Give your scalp a break between sets. Back to back installations with no rest period is how gradual thinning happens.
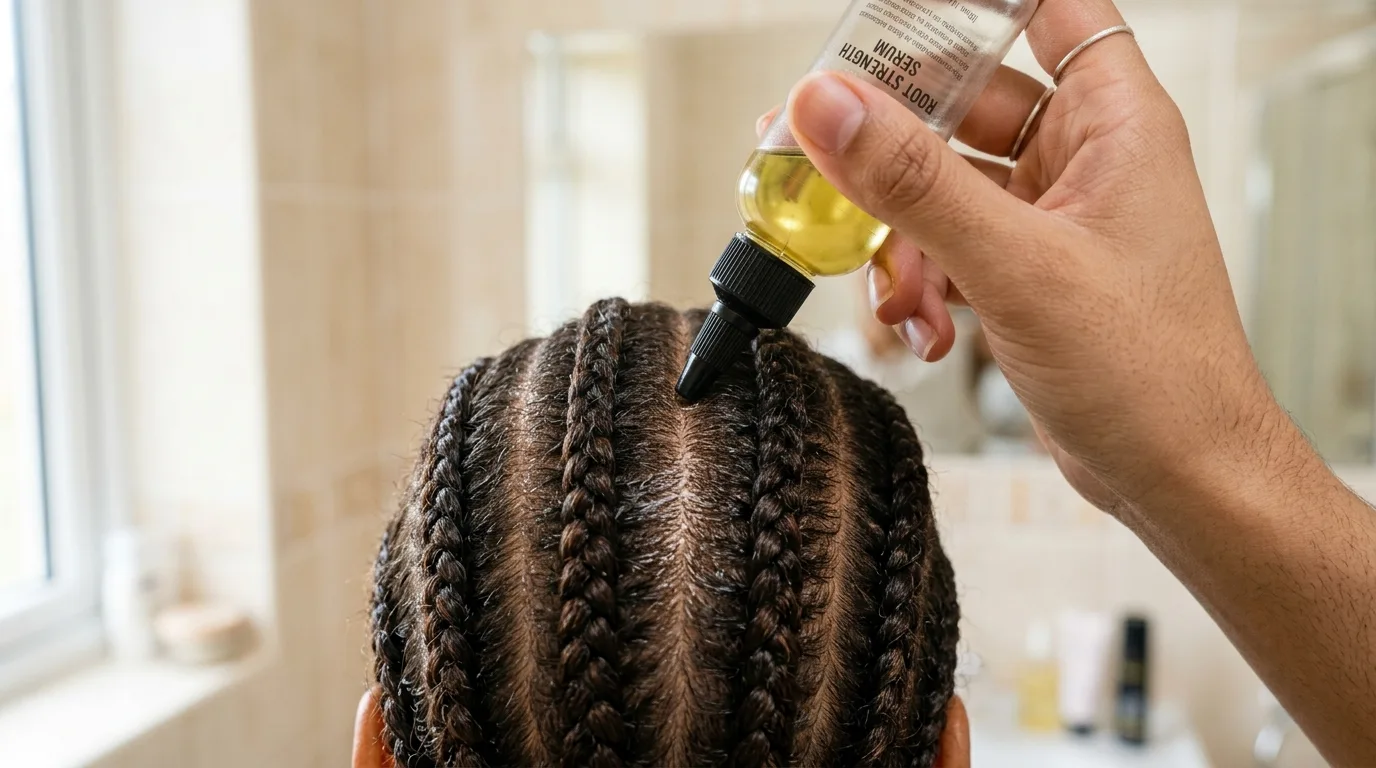
Keep the scalp clean and moisturised while the braids are in. Diluted shampoo in an applicator bottle reaches between closely set rows better than lathering the whole head.
If you notice tenderness that lasts, thinning at the temples, or bumps that do not settle, speak to a dermatologist rather than waiting.
12. Checking the Angle Before You Commit
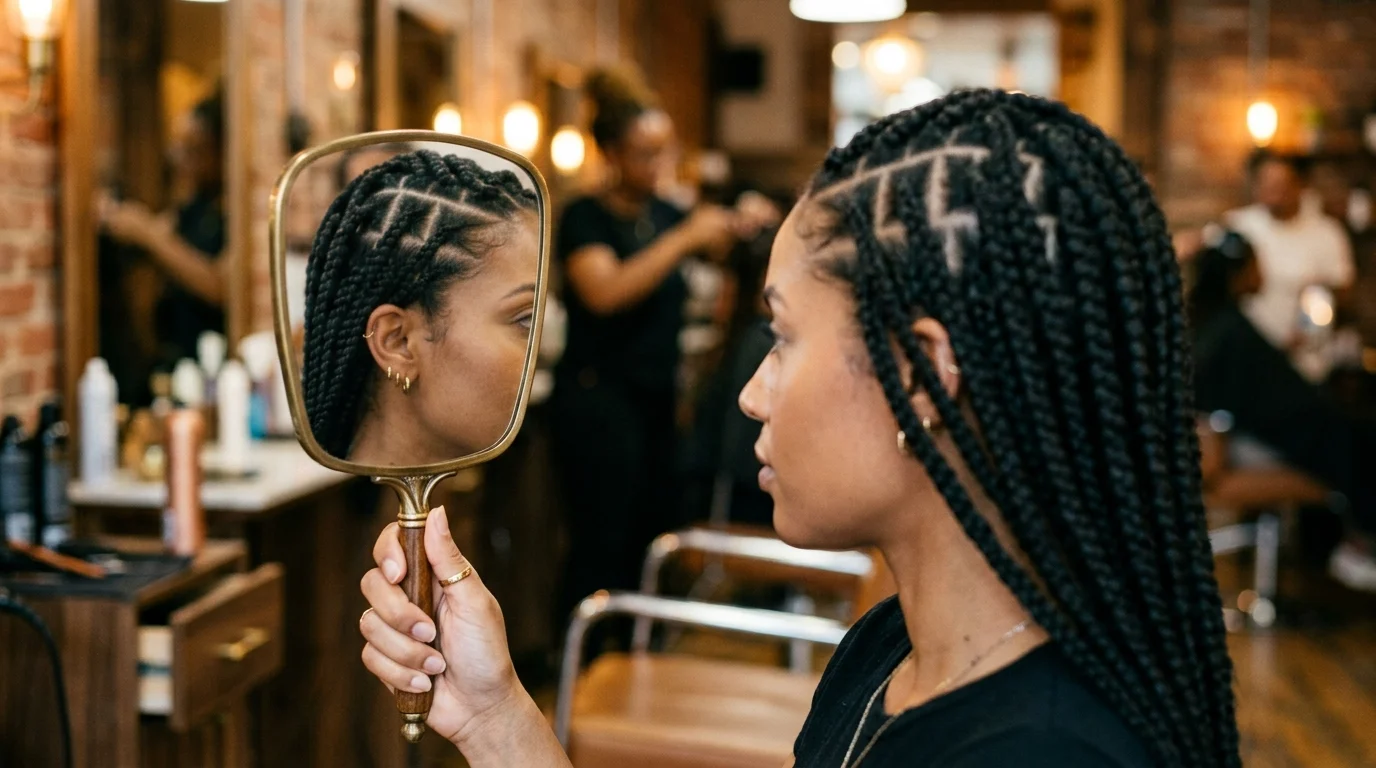
A detail that saves disappointment. Look at your reference photo and work out what angle it was taken from.
Side part fulani braids photograph very differently from the front than they do from the parted side, and most saved images are shot from the flattering angle.
Ask your braider to check the parting from that same angle during the appointment rather than only straight on.
Agree beforehand how firmly the braid texture should be set as well, since some styles are shown smoothed flat while others have deliberate texture.
Two mirrors help here. Straight on tells you almost nothing about how the line reads in profile.
Practical Tips for the First Week
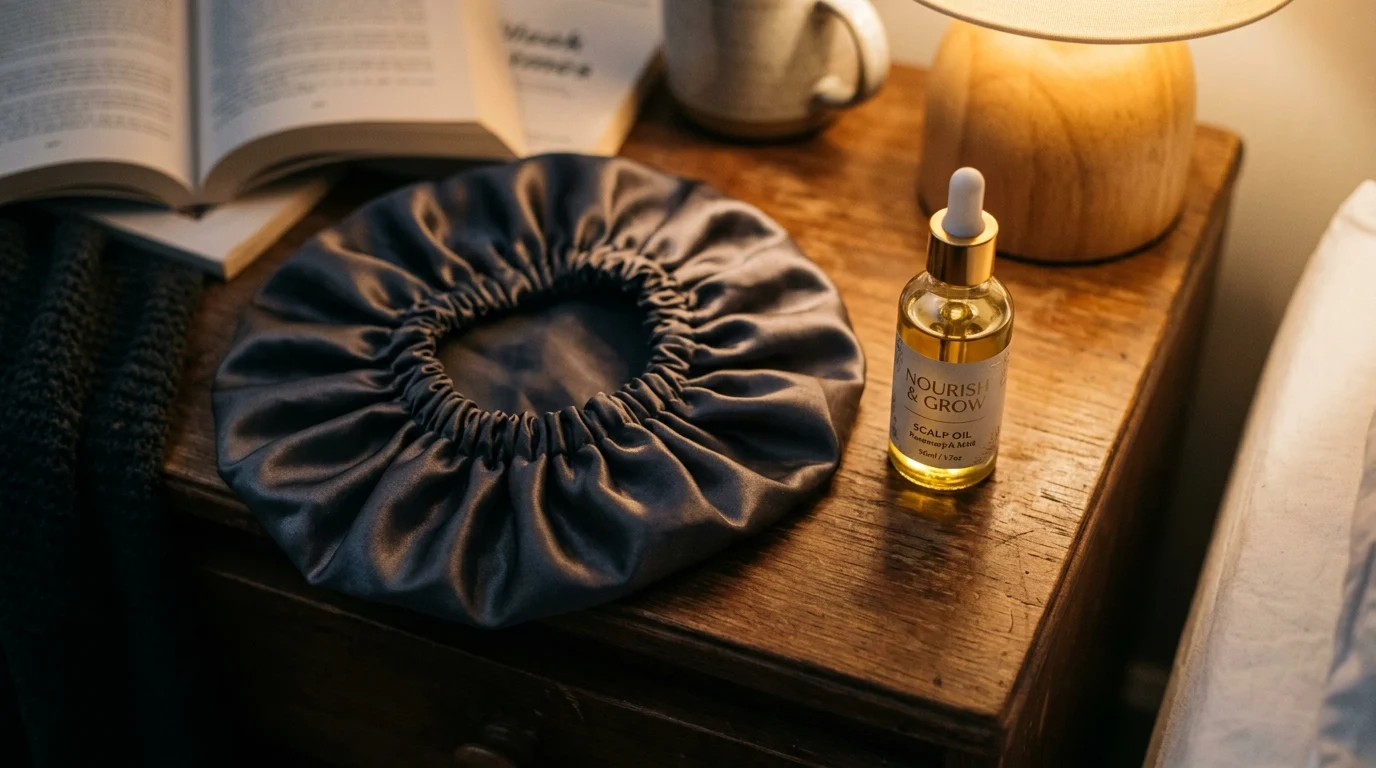
Sleep in a bonnet from the first night. Friction is what turns tidy braids into frizzy ones and it happens while you are asleep.
Use a light oil on the scalp rather than a heavy grease. Build up between rows is difficult to wash out and it attracts lint.
Wait a few days before any high styling. The front sections need to settle, and pulling them up immediately after installation is asking for soreness.
Take a photo on day one from three angles. It gives you something to compare against when you are deciding whether the style is still holding.
One honest downside of an extended install. The first two nights are uncomfortable no matter how well it was done, and that is normal rather than a sign of a problem.
Frequently Asked Questions
Can I switch my parting to the other side later? Not without redoing the front. The braided sections are fixed once installed, and the parting is built into them. You can shift the way the length falls slightly, but the visible line stays where it was put. Decide before, not after.
What if my hair is too short for this? Extension hair solves length but you still need enough of your own to braid securely. Braiders generally want a few inches to work with. The nape is the usual sticking point, so ask for an honest assessment before booking rather than turning up hopeful.
Do I need to wash my hair before the appointment? Yes, and dry it completely with no dampness left. Freshly washed, detangled hair braids faster and holds better. Skip heavy leave in products on the day, since they make sections slippery. Ask whether your braider offers a wash service, because many charge separately for it.
Can I swim with these in? Yes, though chlorine and salt both strip moisture and speed up frizz. Rinse with clean water straight afterward and let everything air out fully rather than tying it up wet. Wet braids left bundled for hours develop a smell that is hard to shift.
How do I take them out safely? Slowly, and with conditioner. Cut extension hair well below your own hair length first, then unravel each braid by hand rather than pulling. Detangle a few braids at a time as you go. Rushing takedown causes more breakage than the whole install did.
Booking Yours With a Plan
Decide the parting before the appointment, then the row count, then everything else. That order stops you making the two decisions that cannot be undone while sitting in a chair.
Speak up in the first ten minutes if anything feels wrong. Braiders would far rather adjust early than have you take the style down in three days.
Side part fulani braids reward planning more than most styles, because the one element everybody notices is the one element you cannot change afterward.
Then bonnet on, oil the scalp lightly, and let it settle.
This post is general styling information rather than medical advice. If you have scalp pain, persistent tenderness or hair loss, see a doctor or a dermatologist.
Related reads: Flattering Ways on How to Braid Your Own Hair Step by Step, How to Curl Your Hair With Lasting Shape and Minimal Friction and The Best Short Haircuts for Fine Thin Hair to Boost Volume.