
Braiding your own locks successfully depends entirely on strand length, natural slip, and finger dexterity. Beginners working with freshly washed strands often battle constant unraveling, while individuals with waist-length manes fight arm exhaustion before reaching their ends.
Understanding your hair profile prevents frustration, dropped sections, and uneven tension. Once you evaluate your hair length and surface friction, learning how to braid your own hair step by step becomes a manageable routine. Here is how to select the right approach for your exact situation.
Choose the Classic Three Strand Braid for Arm Fatigue
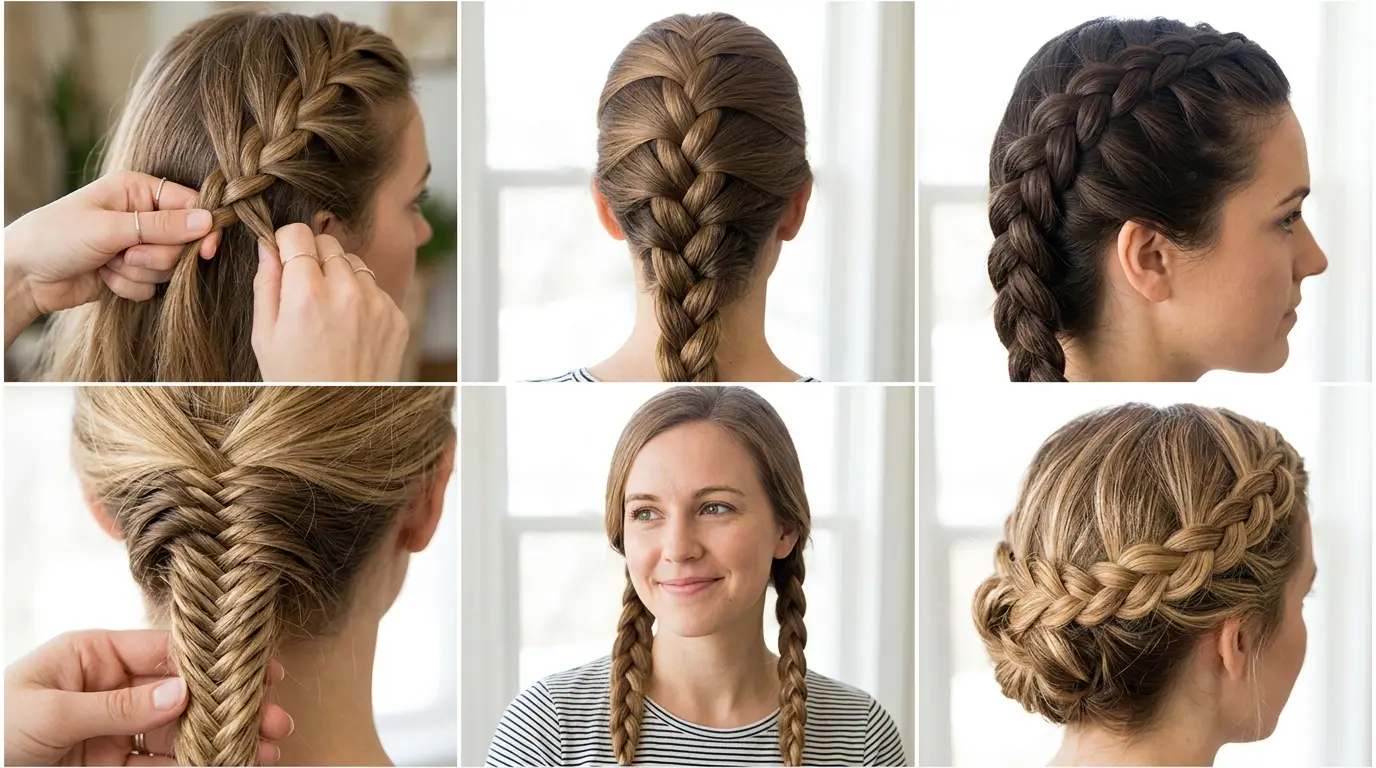
If your arms burn after three minutes of overhead work, the forward-facing three-strand braid is the exact match for your routine. It suits long-haired individuals who struggle with rear blind spots. Anyone with hair shorter than six inches should not pick this style because the strands will slip out of the weave before reaching the shoulder.
Comb through every knot using a wide paddle comb to eliminate snagging. Divide your locks into three equal ribbons behind one ear. Cross the right strand over the middle strand, making the right strand the new center.
Next, cross the left strand over the middle. Repeat this alternating pattern down to the final two inches. Secure the base using a clear hair elastic.
Pick the Side Braid for Shoulder Length Strands
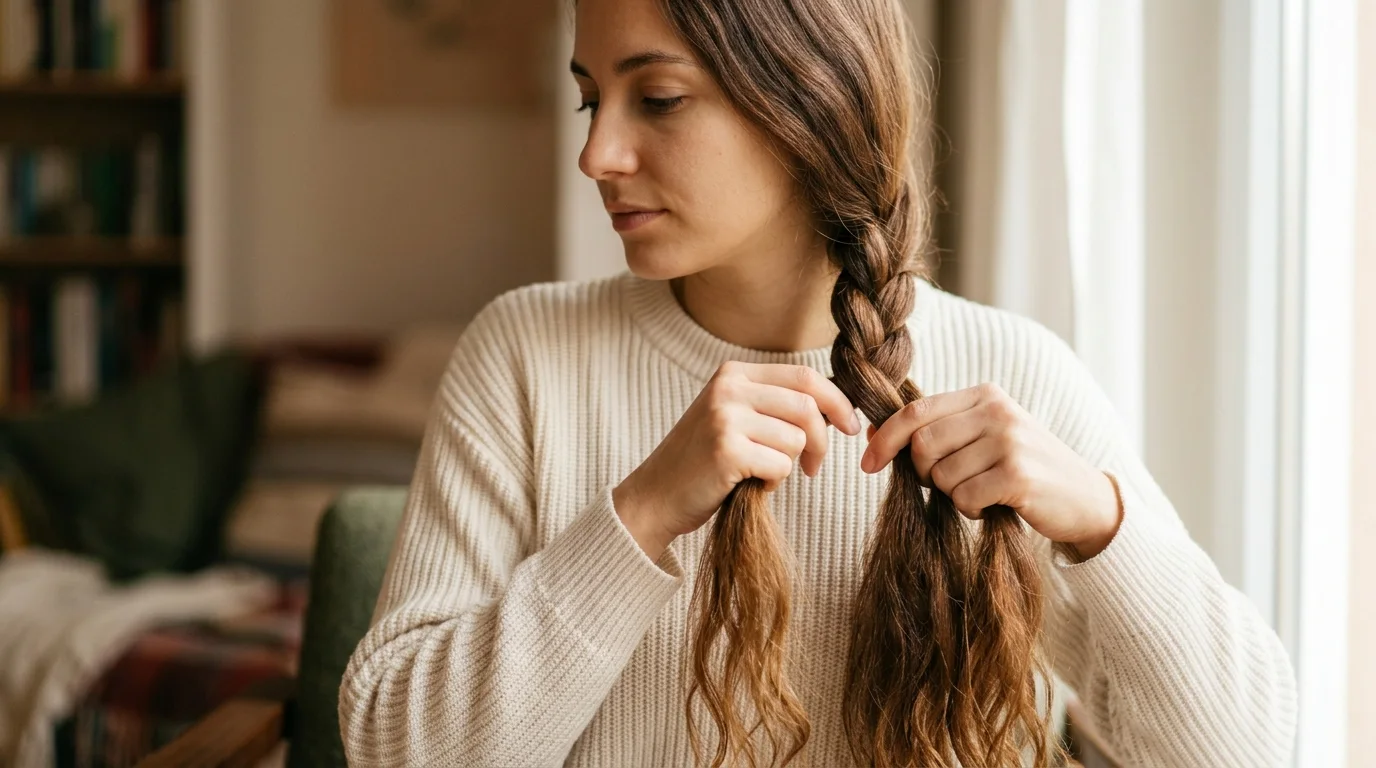
People with blunt bobs resting right at the shoulder seam need forward leverage. You can see every movement in a bathroom mirror without twisting your neck. This option fails on short, graduated layers because the back sections will drop out in clumps across your neck.
Sweep dry hair over your preferred shoulder. Work a dime-sized amount of matte styling paste between your palms to give slippery tips immediate grip before braiding.
Divide the cluster into three balanced sections. Keep your wrists resting lightly against your collarbone to maintain uniform tension. Pull each outer piece firmly over the center until you reach the ends.
Anchor the tail with an elastic band, then slide two bobby pins horizontally behind the ear to pin down loose nape hairs.
Select the French Braid for Active Workouts
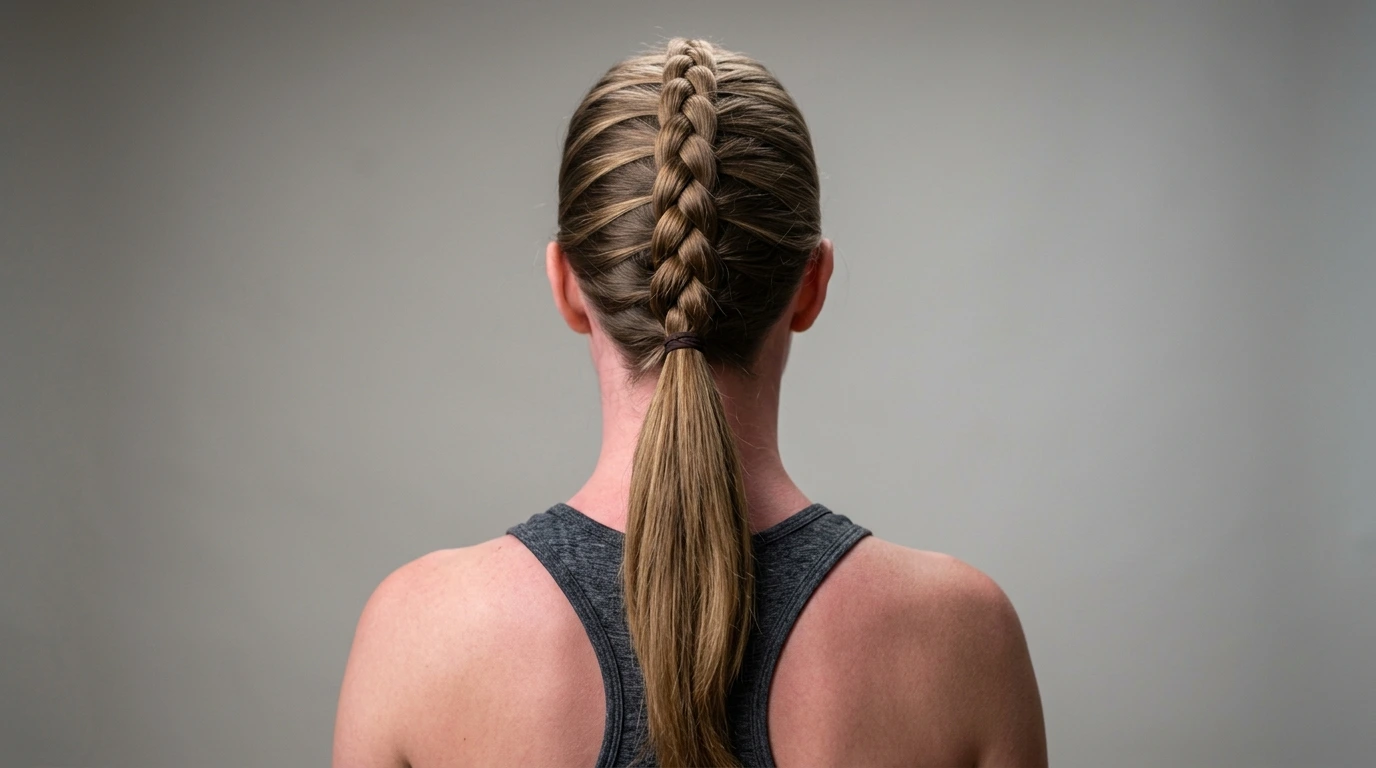
Gym sessions and running demand a secure, flat foundation that anchors all the way from the forehead to the neck. Choose this style when you need every stray flyaway pinned flat against the skull for hours. Skip this method if you have very short crops under five inches, as the front gathers will sprout outward like bristles.
Tilt your head slightly back to keep the nape skin taut. Gather a triangular section from your temples back to the crown. Divide this starter piece into three balanced strands and complete one full standard braid cycle.
Before the next pass, pick up a half-inch ribbon of loose hair from the hairline and merge it into the outer strand before crossing over. Continue down the scalp, keeping your hands flush against the head to prevent sagging pouches.
Try the Dutch Braid for Fine Hair Needing Volume
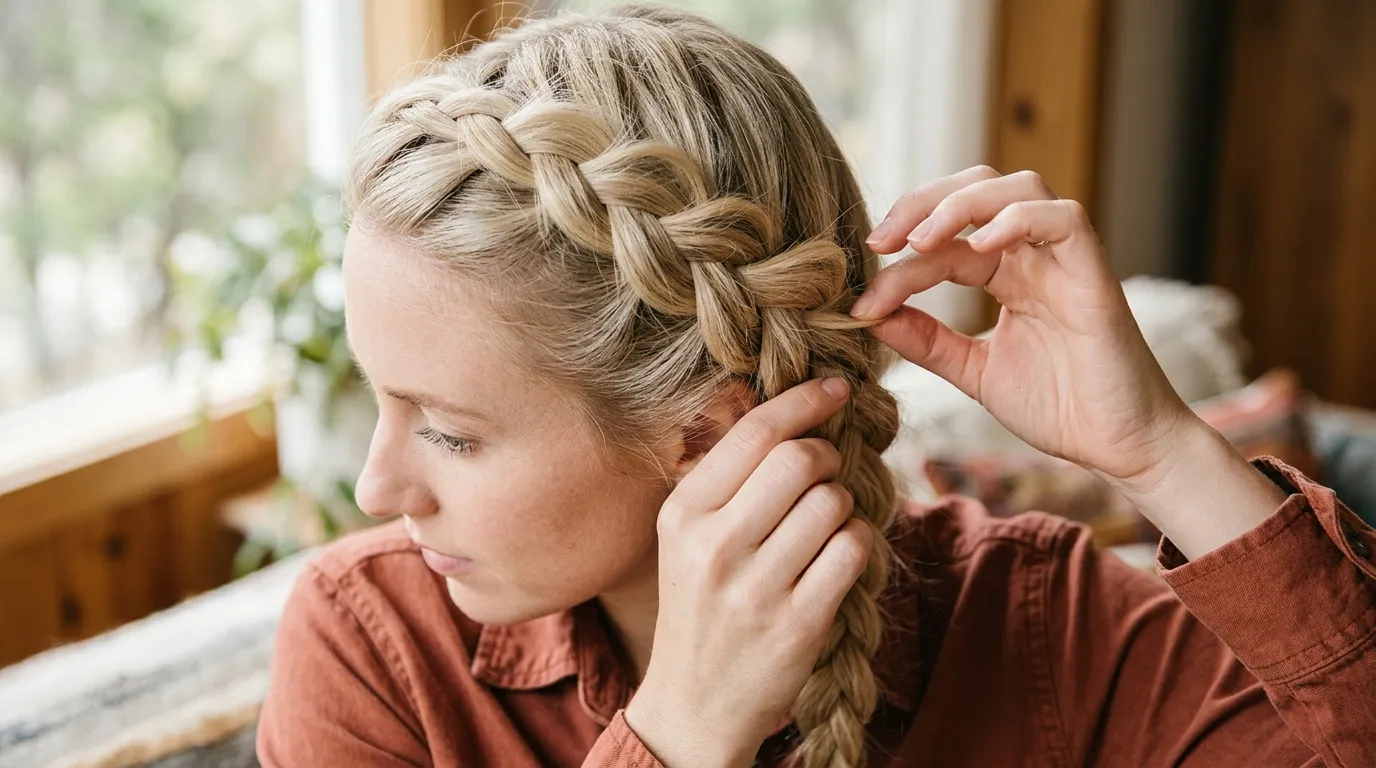
Flat, delicate strands often look compressed in standard under-hand weaves. A reverse technique forces the braid to sit proud on top of the scalp, creating an illusion of density. If your hair is currently breaking or suffers from extreme split ends, skip this style because the exposed ridges reveal frayed cuticles under direct light.
Separate a clean wedge at the front hairline using a metal tail comb. Instead of crossing pieces over the middle, bring each outer strand underneath the center section.
Incorporate narrow horizontal strips from the perimeter into each pass before moving underneath. Once secured at the ends, gently tug the outer loops sideways with your fingertips. This pancaking method expands the visual width of the braid by double.
Use Twin Pigtails for Heavy Hip Length Hair
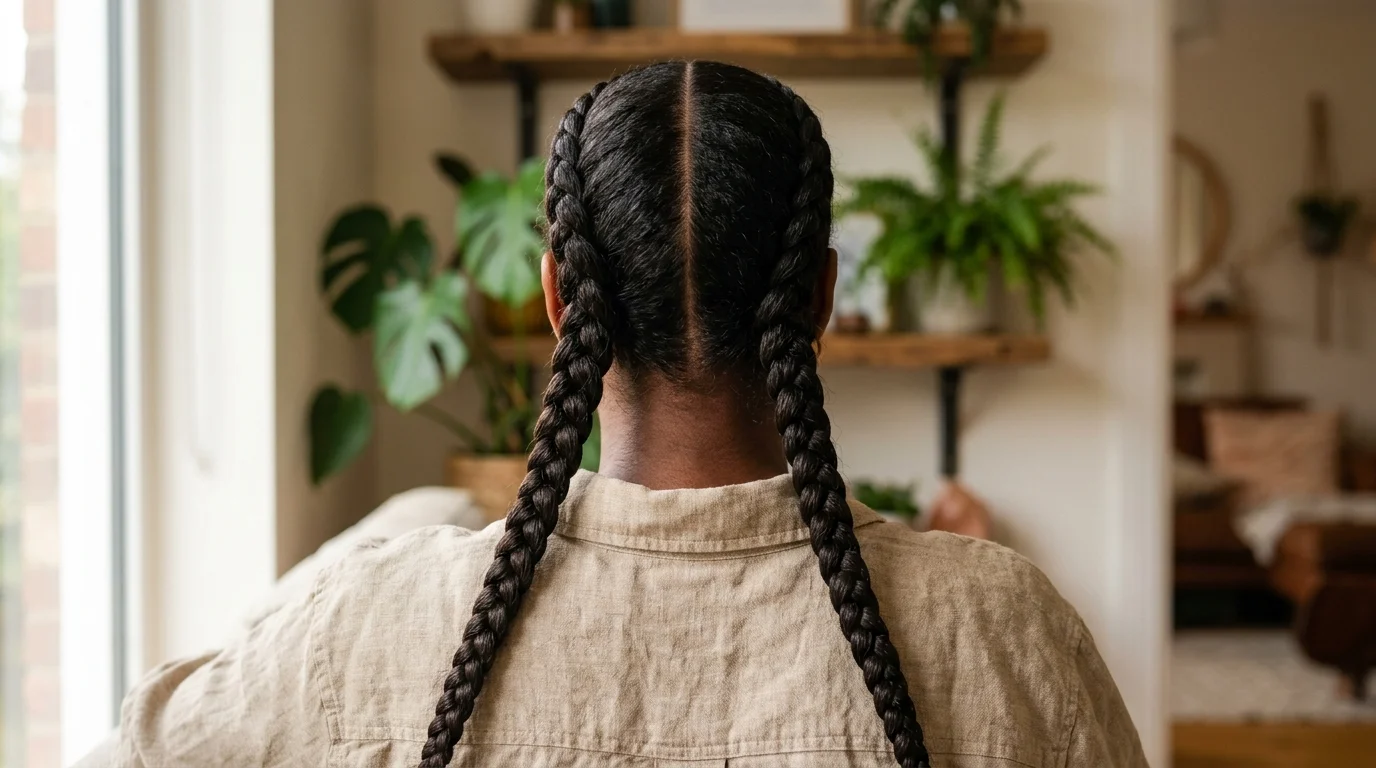
Maneuvering four feet of dense hair down the center of your spine causes severe shoulder strain and tangled tail ends. Splitting the weight into two symmetrical halves distributes the physical load and allows you to pull the working ends forward over your chest. People with thin, sparse hair should avoid twin braids because the center line exposes scalp thinning down the entire back of the head.
Use a tail comb to draw a clean line from your forehead straight down to the nape. Clip the left half out of the way.
Work through the right half, dividing it into three equal ropes. Braid the ends smoothly over your shoulder where your hands stay relaxed at chest height. Mirror the process on the opposite side, keeping the initial tension tight near the earlobes.
Opt for the Crown Halo Braid for Second Day Texture
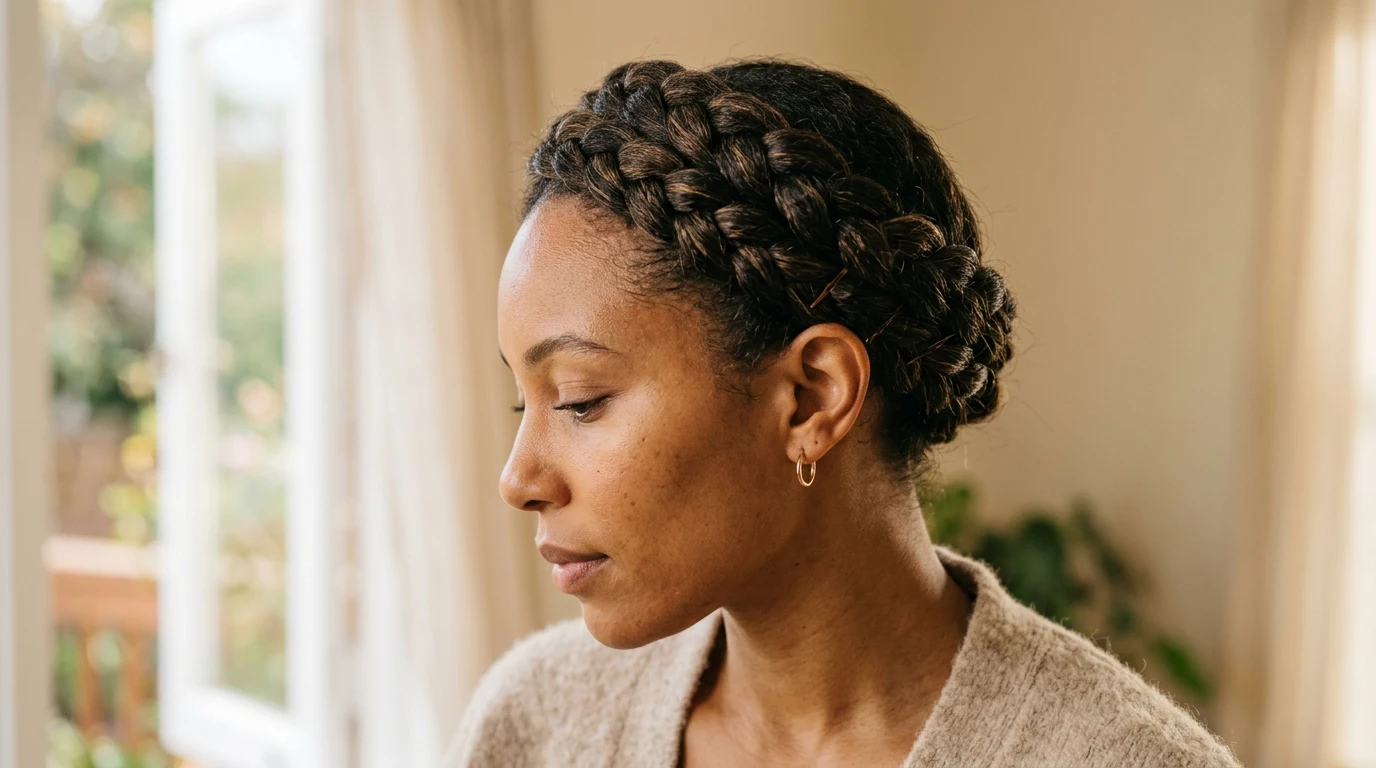
Oily roots and day-two texture provide natural hold that makes elaborate pinning effortless. This wrap-around style conceals unwashed roots while protecting ends from daily friction. If you have fine hair that is freshly shampooed and conditioned, avoid this choice because the silky strands will slide completely free of the pins within an hour.
Part hair down the center and create two basic three-strand plaits behind each ear. Fasten each tail with a tiny polyurethane band.
Lift the right braid, wrap it flat over the top of your head like a headband, and secure the tip behind the opposite ear using four interlocking bobby pins. Fold the left braid across the forehead in front of the first, tucking the loose tail underneath the thicker plait before pinning.
Select the Fishtail Plait for Ultra Smooth Hair
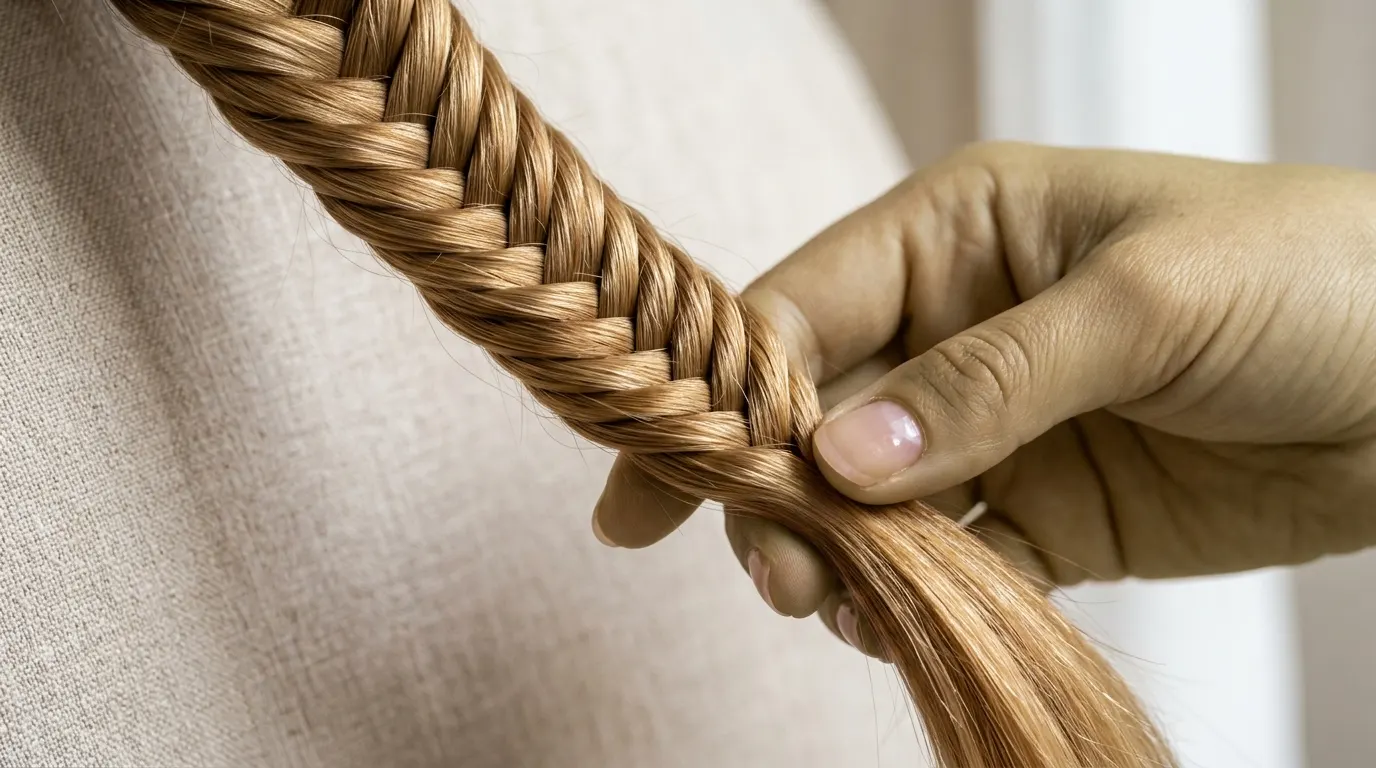
Glass-smooth, straight hair easily slides out of standard three-strand configurations. A two-strand herringbone layout locks silky textures together using hundreds of overlapping micro-threads. Beginners pressed for time should not choose this pattern, as the small sections require ten to fifteen minutes of repetitive hand movements.
Divide your ponytail into two equal thick halves. Take a thin, one-eighth-inch ribbon from the outside edge of the left section and cross it over to merge into the right section.
Take a matching sliver from the far outside of the right side and fold it into the left. Keep your grip firm and consistent. Work down the entire length, maintaining equal ribbon thickness to keep the woven pattern symmetrical.
Use Small Cornrows for Short Tresses Under Three Inches
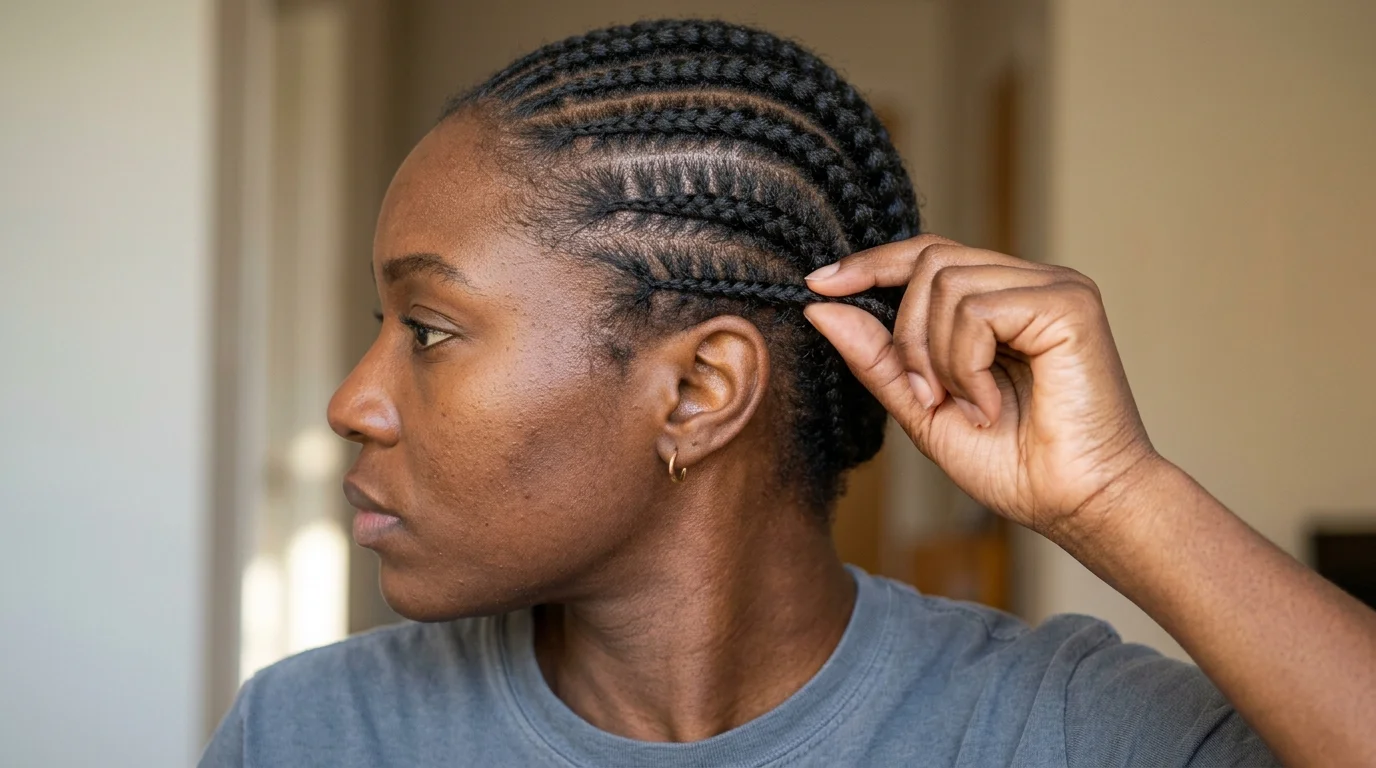
Cropped pixie lengths cannot form hanging plaits, but you can build structured rows right against the scalp. This method suits short, textured tresses needing neat perimeter control. Anyone with tender scalps or active follicle inflammation should avoid this technique due to the baseline tension required.
Carve a narrow, one-inch-wide track along the side of your head with a rattail comb. Isolate three tiny starter pieces at the hairline.
Braid them tightly using an underhand motion, picking up micro-wisps from the track with every stitch. Keep your knuckles skimming the scalp at all times. Secure the small tail with a drop of styling paste and a mini rubber band.
Match Your Hair Type and Situation to the Braid
| Hair Variable | Best Braid Match | Why It Works | Avoid This Choice |
|---|---|---|---|
| Arm Fatigue | Classic Side Braid | Hands rest forward on the collarbone | Single Back French Braid |
| Fine Slippery Texture | Reverse Dutch Braid | Raised ridge allows manual pancaking | Loose Crown Halo |
| Heavy Waist Length | Symmetrical Twin Plaits | Cuts strand weight and bulk in half | Single Central Plait |
| Short Pixie Crops | Micro Scalp Cornrows | Grabs short two-inch pieces cleanly | Hanging Fishtail |
| Second-Day Oily Roots | Pinned Crown Halo | Capitalizes on natural sebum grip | Silky Three-Strand Braid |
| Sweaty Cardio Workouts | Tight French Braid | Locks loose perimeter hairs to scalp | Relaxed Side Plait |
Choose Accent Braids for Uneven Layered Hair
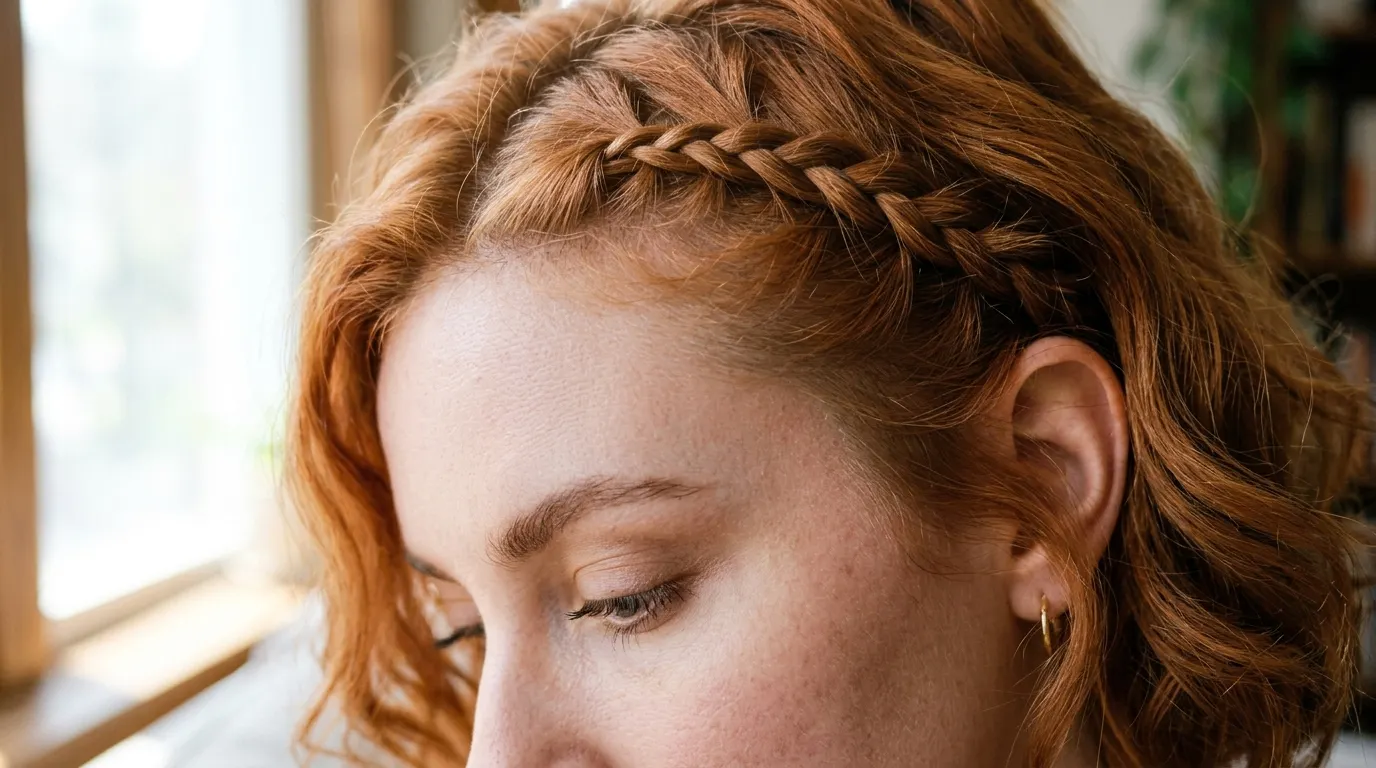
Face-framing layers and curtain bangs constantly drop out of larger structural plaits. Weaving a dedicated mini-braid along the front hairline isolates those awkward lengths while leaving the longer bulk loose. People with uniform, one-length blunt hair do not need this fix, as their strands are already long enough to reach unified styles.
Carve out a two-inch section directly along your temple where the shortest layers live. Apply a pump of lightweight hair oil to smooth split ends.
Weave a compact three-strand plait following the curve of your hairline toward the ear. Tuck the end beneath the top canopy of your long hair and slide a bobby pin upward against the grain to lock it invisibly in place.
Pick the Waterfall Braid for Thick Coarse Strands
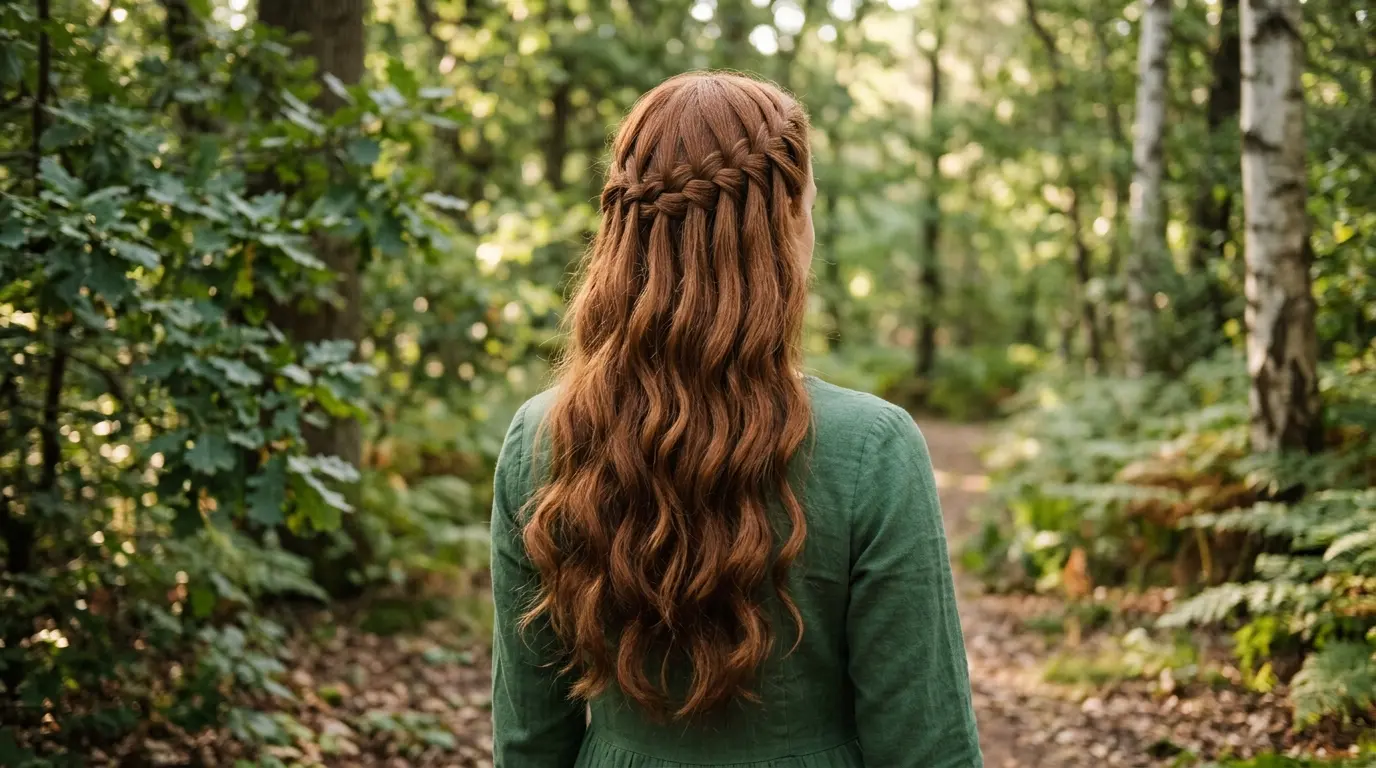
Heavy hair often feels suffocating when trapped completely against the neck during humid months. A cascading horizontal weave secures the upper canopy away from your eyes while allowing the lower layers to move freely. Thin hair profiles should skip this option because dropping sections out of the weave leaves the remaining lower hair looking sparse.
Take a three-inch section at the temple and cross the top strand over the middle, then the bottom strand over the middle.
Drop the bottom strand completely, letting it fall down alongside your cheek. Pick up a new piece of hair directly behind the dropped strand to act as its replacement, and cross it over the center. Continue this drop-and-replace method around the curve of your skull.
Try the Rope Twist for Absolute Beginners
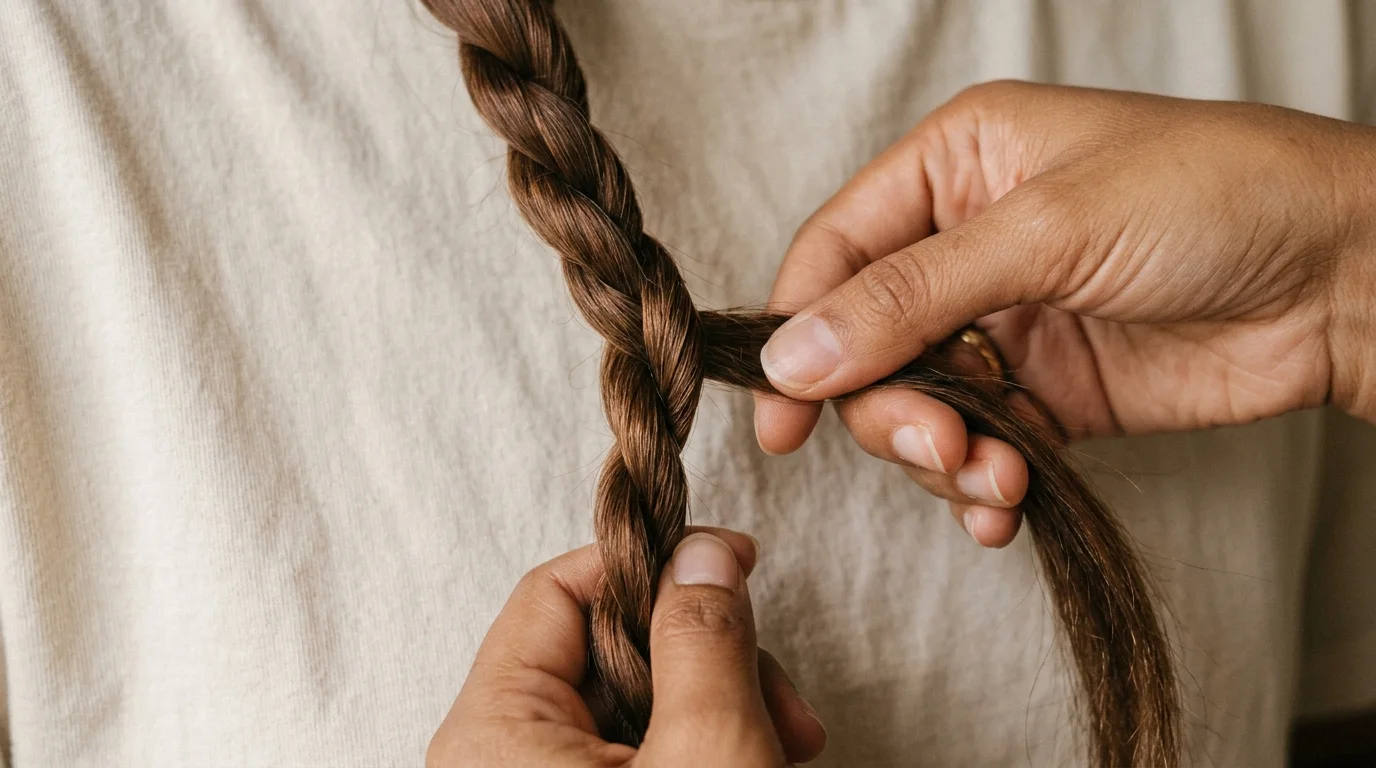
If coordinating three separate sections feels impossible for your fingers, the two-strand rope twist eliminates the confusion. It works best on medium to coarse textures with natural bite. Fine, straight textures should avoid the rope twist unless coated in texturizing spray, as the twists tend to unravel instantly without mechanical friction.
Pull hair into a secure ponytail base using a snag-free elastic. Divide the ponytail into two equal ropes.
Twist both individual ropes clockwise between your fingers until firm. Next, wrap the two twisted ropes around each other in a counter-clockwise direction. Wrapping in the opposite direction from the individual twists creates counter-tension that prevents the rope from unwinding. Secure the bottom tip with a band.
Pick the Low Nape Braid for Professional Settings
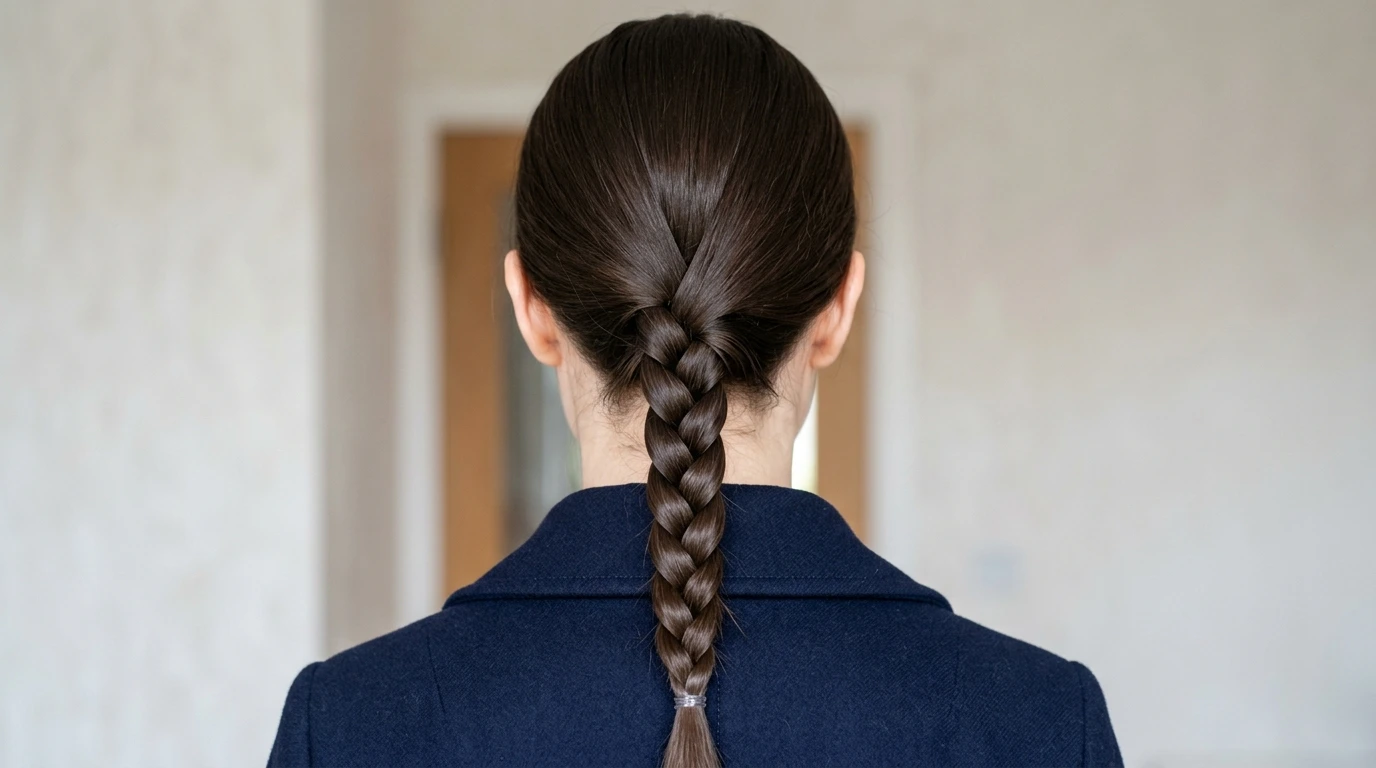
Office settings often call for neat, restrained styling that stays secure from morning meetings through evening commutes. A low nape braid rests flat against the spine, providing a polished silhouette that does not interfere with coat collars. Those with short layered bobs should pass on this, as neck movements will pull the lower layers free within an hour.
Brush all hair straight down the back. Smooth three drops of jojoba oil through the lengths to control static flyaways.
Divide the hair into three uniform bundles right at the occipital bone. Braid downward with calm, even pressure, keeping your hands pressed against your upper back. Fasten the bottom with a neutral-colored elastic that matches your natural shade.
Select Micro Braids for Fine Bang Control
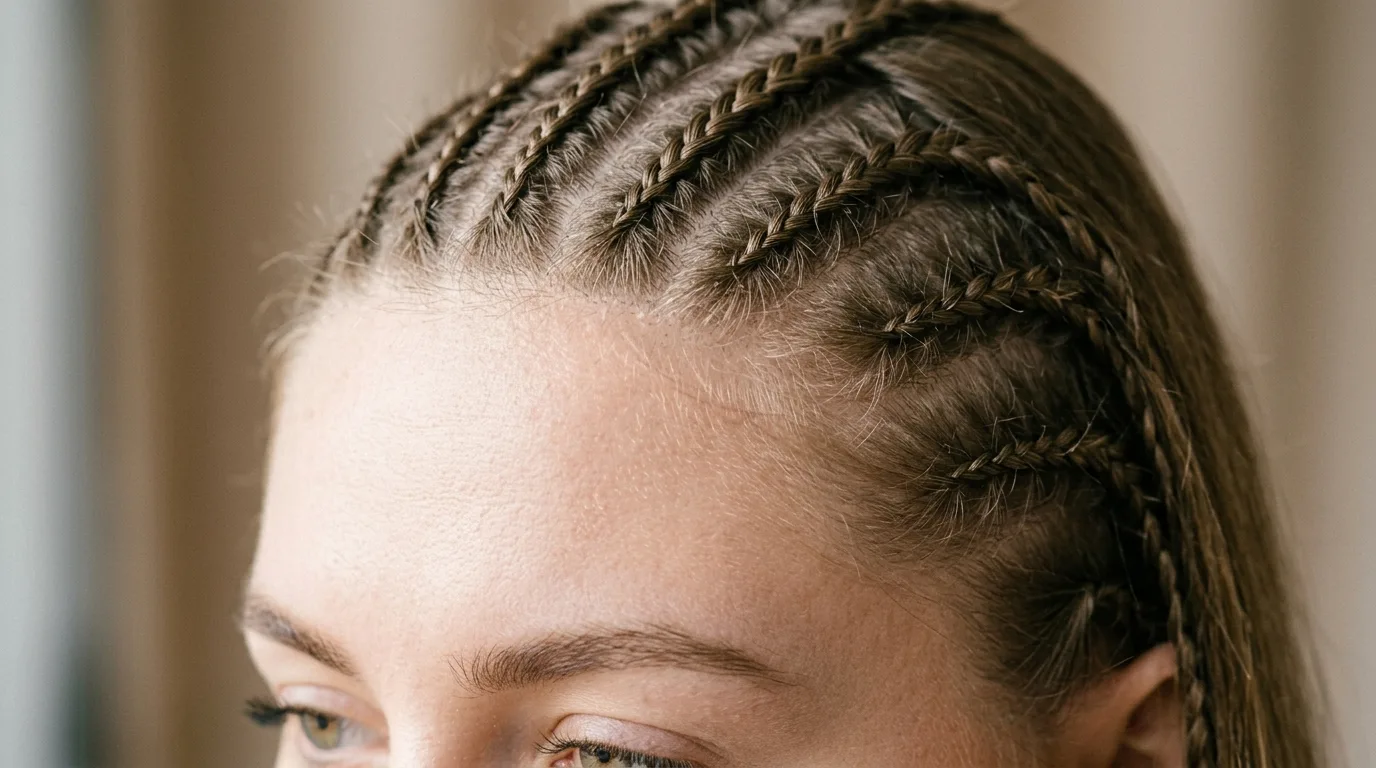
Growing out bangs creates an awkward transitional length that falls directly across the eyes. Tiny hairline braids pick up these short wisps cleanly without requiring heavy styling pomades. People with coarse, curly textures might find micro braids too tedious to take down without knotting delicate hair shafts.
Isolate your fringe using horizontal sectioning clips. Divide the fringe into three micro-strands no wider than a matchstick.
Plait the pieces tightly toward the side of your head, adding loose hairs only from the top edge. When you reach the temple, pin the tail flat against the scalp and comb the rest of your hair forward to conceal the pin.
Use the Four Strand Plait for Dramatic Dimension
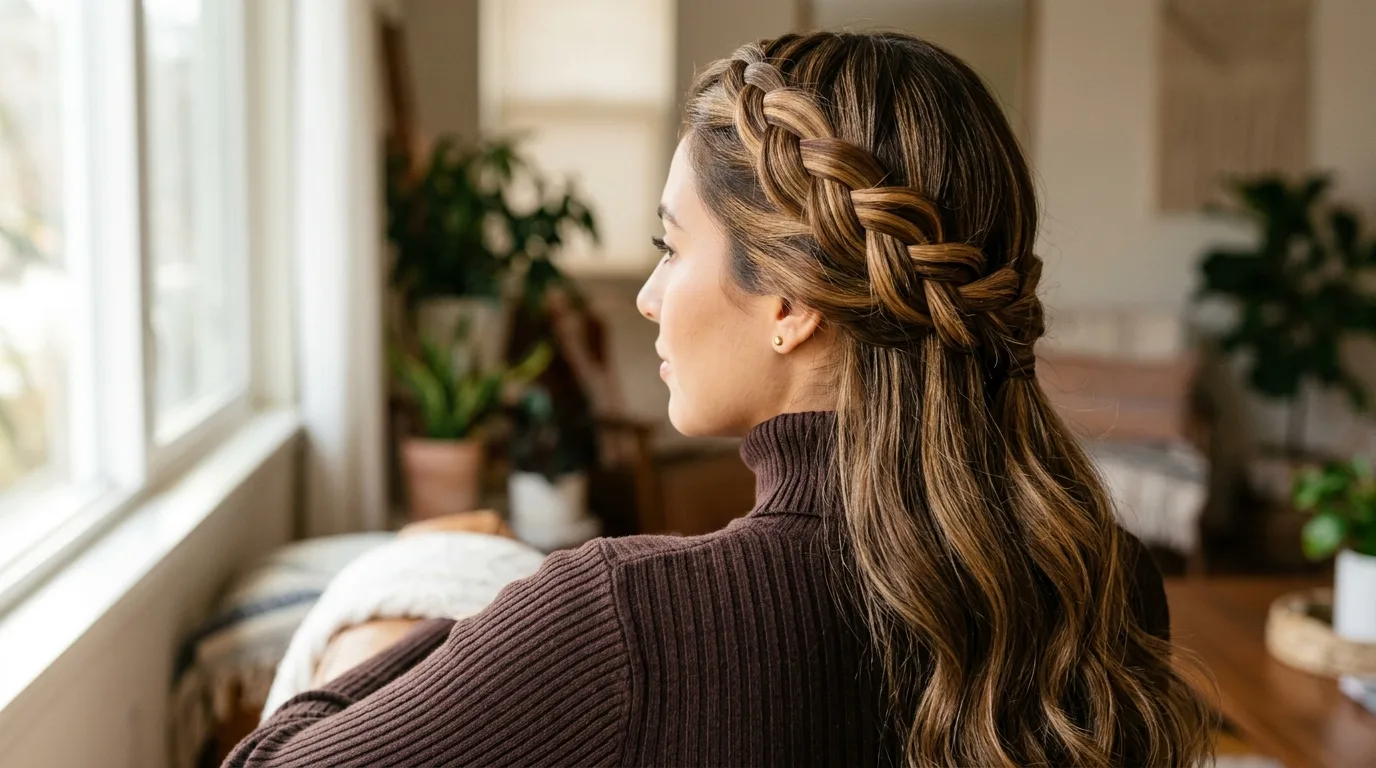
When standard braids look too narrow on thick, dimensional color, a four-strand weave creates a broad, ribbon-like tapestry. This intricate pattern shows off dimensional highlights and balayage contrasts. Anyone working with severe arm fatigue or slippery silk textures should avoid it, as dropping one strand ruins the entire geometric balance.
Divide your hair into four numbered ribbons from left to right. Take strand one on the far left, weave it over strand two, under strand three, and over strand four.
Repeat the sequence by starting with the new outermost strand, alternating the over-under cadence down the length. Maintain light, steady tension to keep the flat ribbon shape from twisting into an uneven cord.
Decisions for the Undecided Braider
If you stand before your mirror with tired arms and tangled locks, stop overthinking complex multi-strand patterns. Divide your hair cleanly over one shoulder, rub a pea-sized drop of paste on your fingertips, and build a standard three-strand side plait. It gives you full visual control, eliminates rear blind spots, and builds the finger muscle memory needed for advanced styles later.
Questions Real People Ask About Choosing a Braid
Which braid is easiest to do on your own head?
The three-strand side braid is the simplest because your hands work at chest height and you can see every cross in the mirror. It eliminates the blind coordination and shoulder pain required for rear plaits.
Is French or Dutch braiding easier on yourself?
Most people find Dutch braiding easier because moving strands underneath allows your thumbs to hold the base securely against the scalp. French braiding requires scooping hair over, which often leads to loose, drooping pockets along the nape.
Should I braid wet or dry hair?
Braid hair when it is completely dry or lightly damp. Wet hair stretches under tension and snaps as it dries, leading to broken hair shafts and frizz along the braid lines.
How do I stop my braids from looking messy?
Consistent section size and clean parts make the biggest difference. Comb through each gathered piece with a fine-tooth comb before crossing it over to prevent stray strands from bubbling out.
Why do my braids always end up loose at the back?
Your hands are drifting too far away from your skull while you work down the head. Keep your fingers resting directly against your scalp to lock in baseline tension with every pass.
Related reads: Flattering Hairstyles for Thin Hair and Round Face Shapes, Flattering Cherry Cola Hair Color Formula and Mixing Guide and Side Part Fulani Braids: Getting the Parting Right.