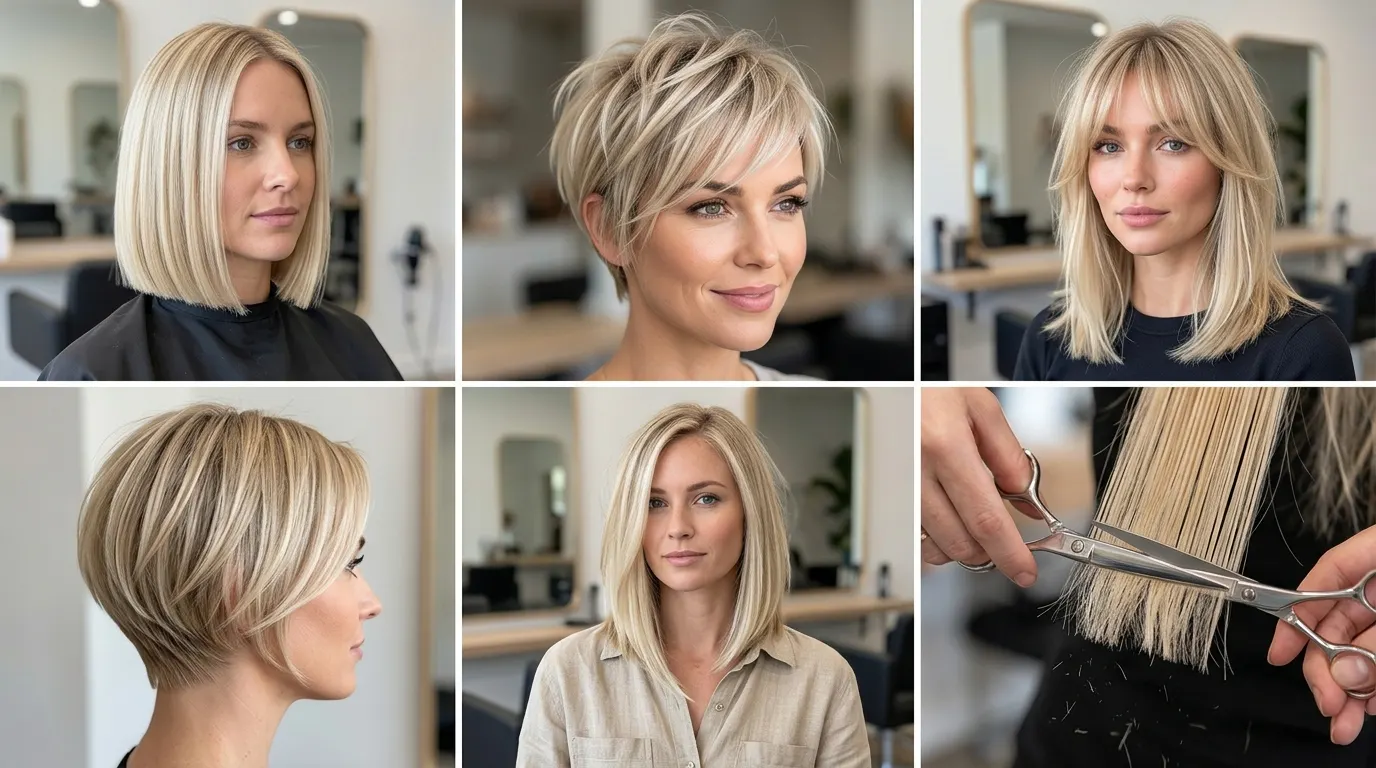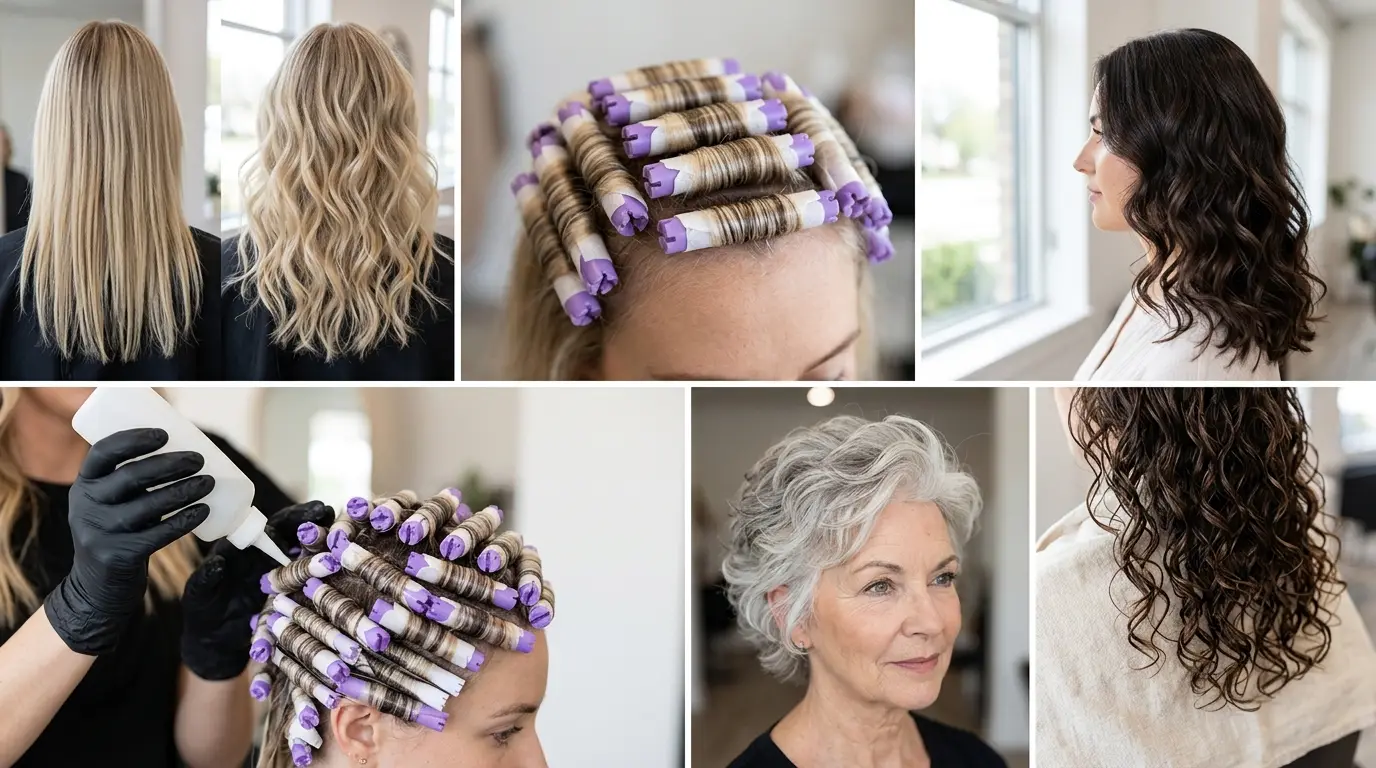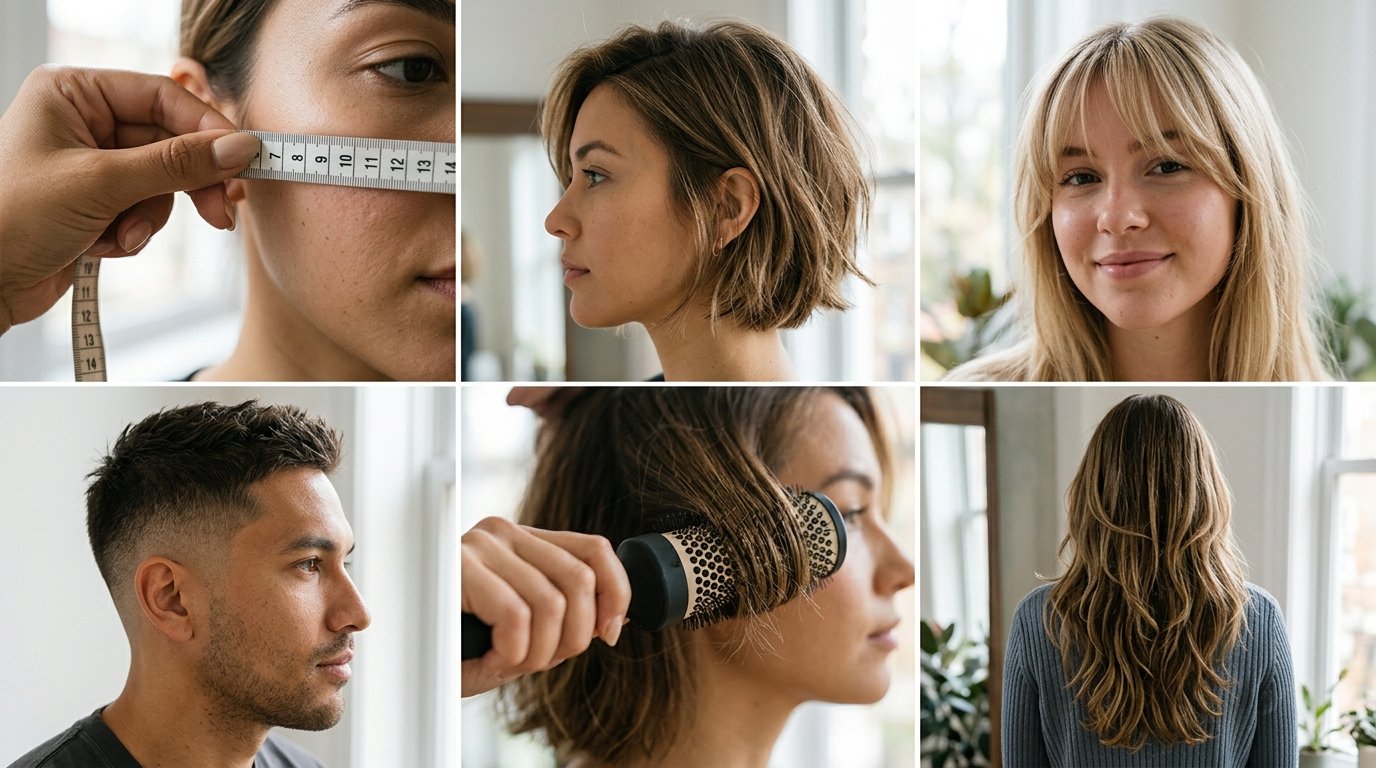

Learning how to do a hair transformation at home successfully requires analyzing your natural base level, calculating developer strength, and honoring chemical resting windows. Diving into dramatic shifts without a structural plan leads to chemical breakage, uneven pigment bands, and patchy textures. True hair makeovers balance lifting pigments, precision cutting geometry, and deep internal bond repair.
Preparing the Hair Canvas for Color
Evaluating Natural Base Depth and Porosity
Color cannot lift existing artificial dye. If your hair carries dark box pigment, applying a lighter blonde mixture will only bleach the virgin roots, creating glowing orange bands around your crown. Identify your starting level on the international color chart, from level 1 black to level 10 extra-light blonde. Porous ends absorb pigment faster than healthier roots, meaning they turn muddy if saturated with the same formula.
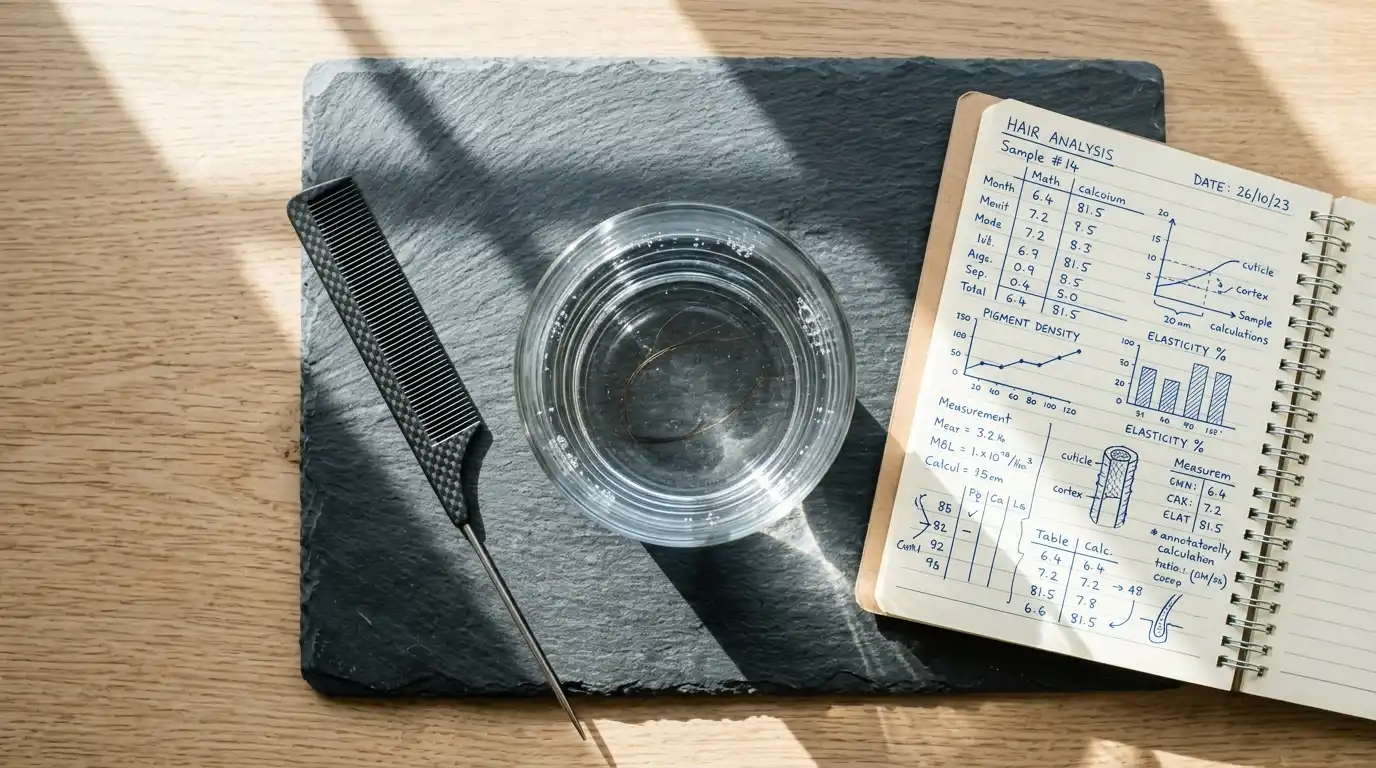
Test your hair porosity by dropping a clean, shed strand into a cup of room-temperature water. If the strand sinks within two minutes, your cuticle is open and fragile. Heavily processed ends require a protein filler or a diluted toner formula to prevent them from soaking up excess ash and turning slate grey. Virgin hair with low porosity requires longer processing windows to lift cleanly.
Gathering Precision Tinting Tools
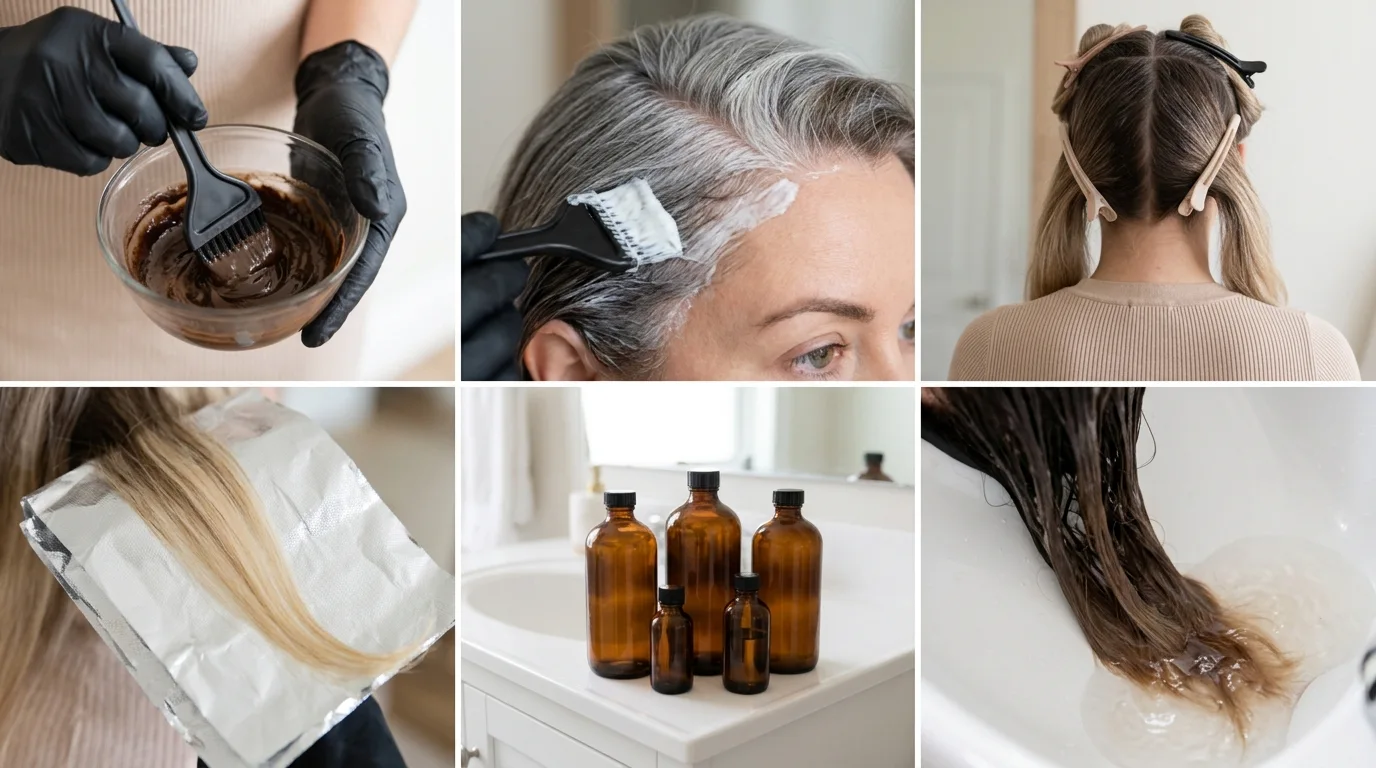
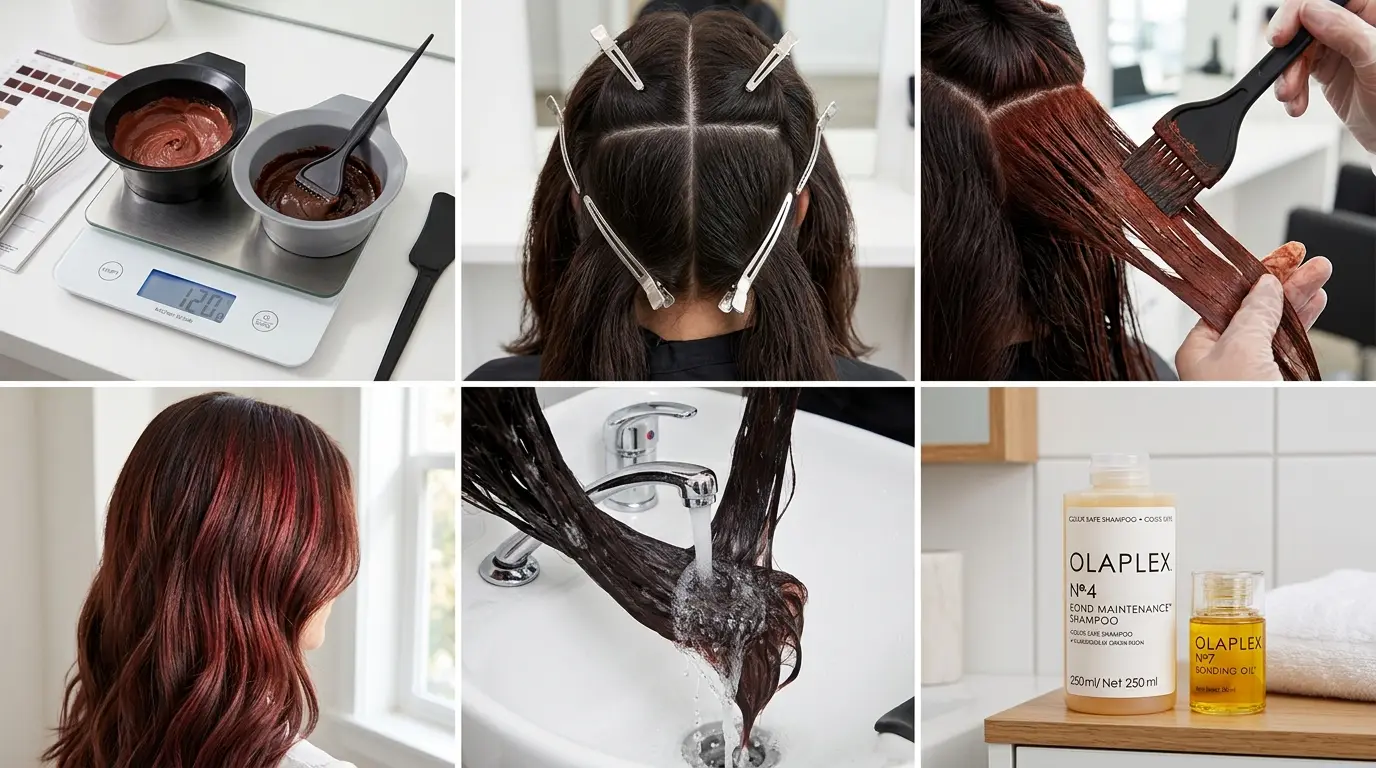
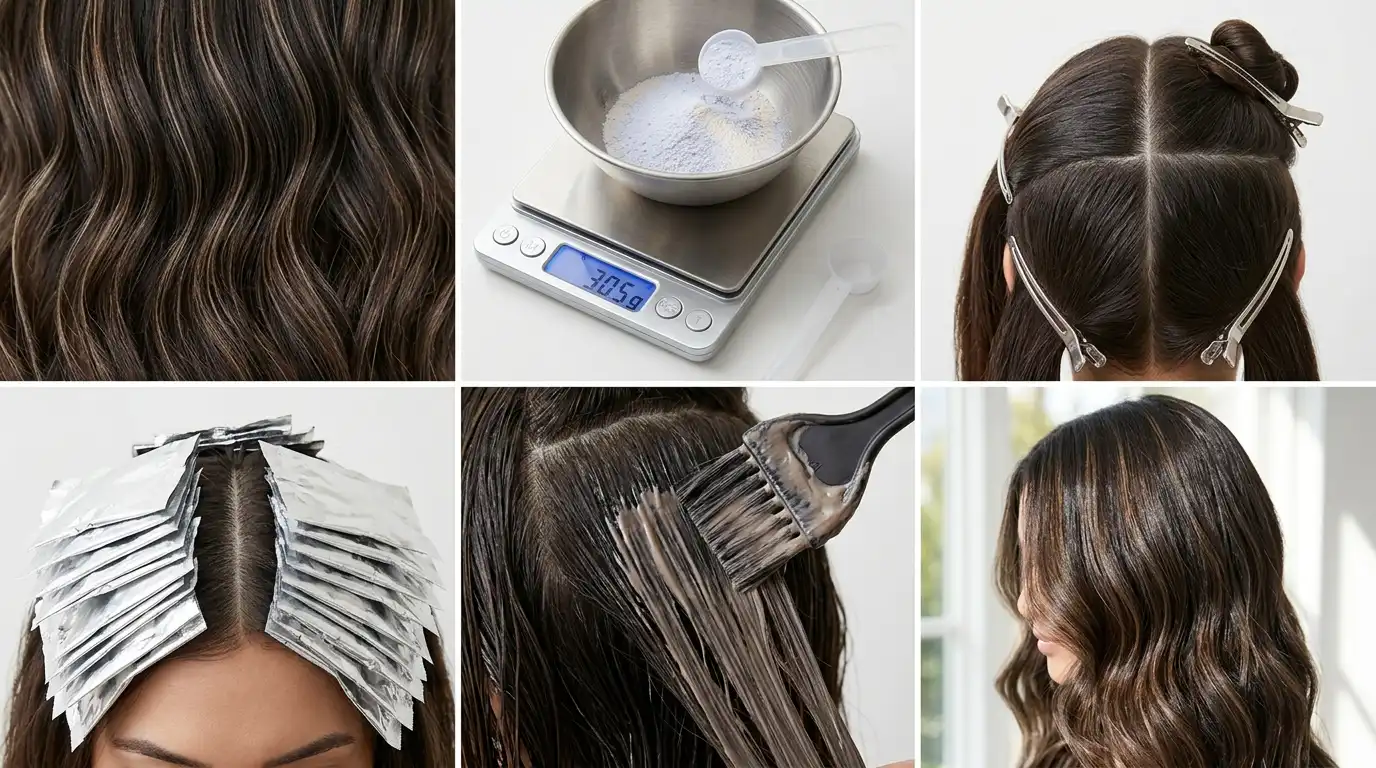
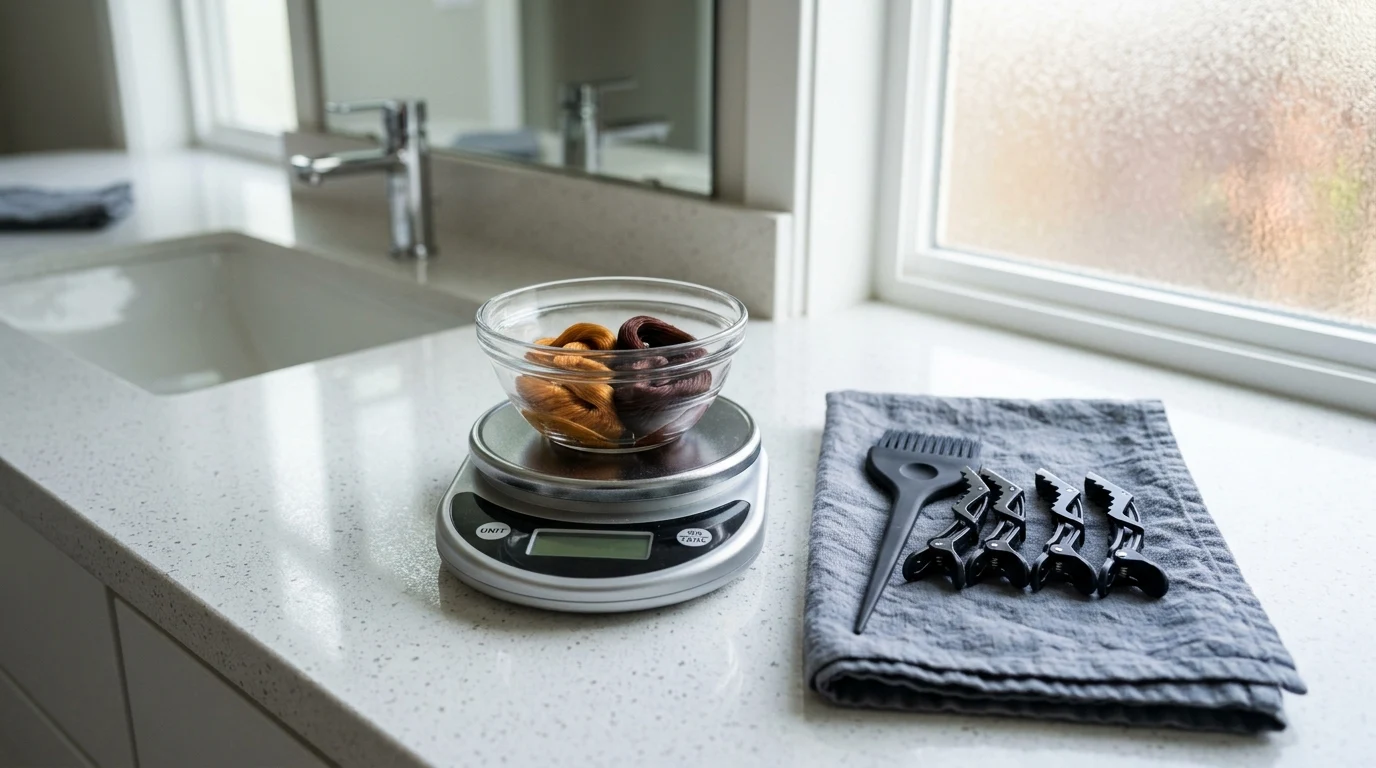
Avoid plastic tools with rough seams that snag delicate strands. Invest twenty to thirty-five dollars in 2026 for a professional tinting kit consisting of two non-metallic mixing bowls, an ergonomic silicone brush, wide-tooth sectioning combs, and four heavy-duty alligator clips.
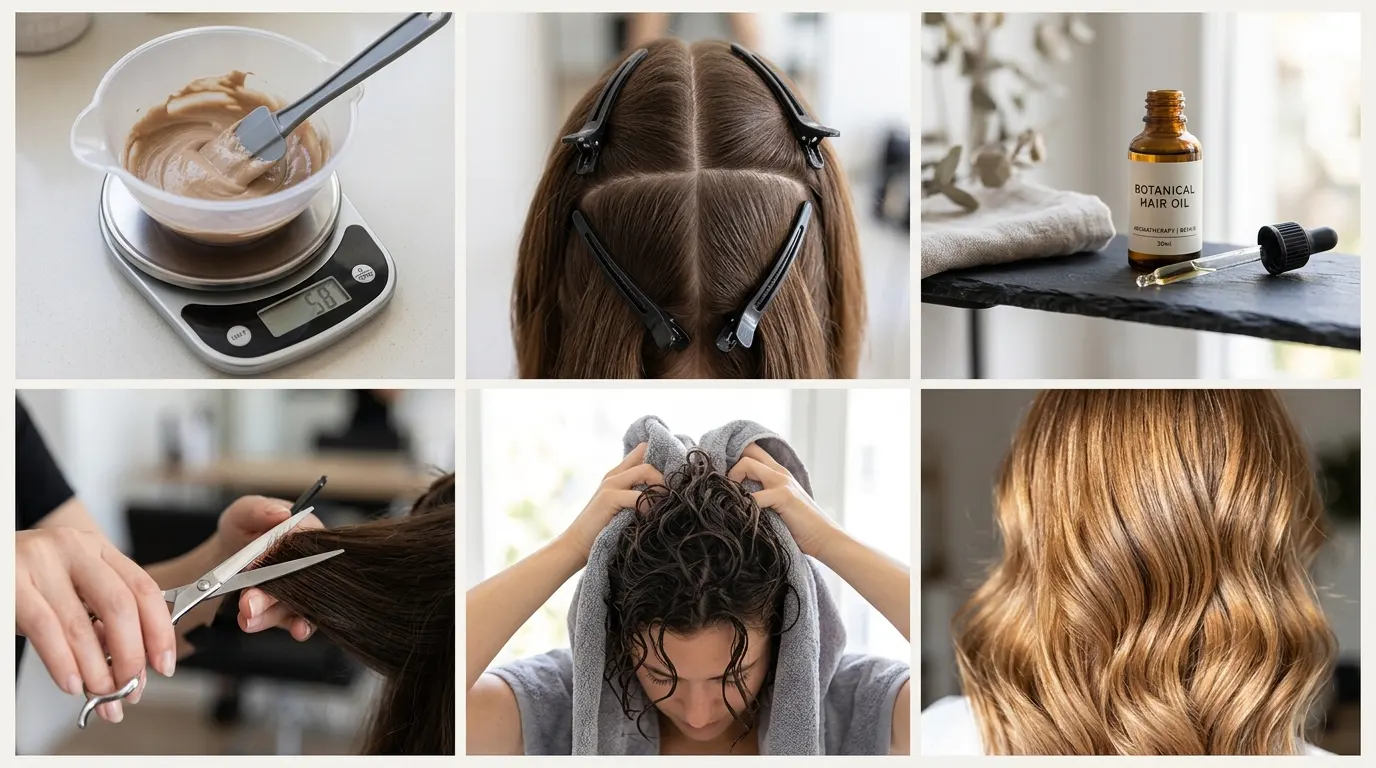
Metal bowls oxidize hydrogen peroxide prematurely, which compromises lift and damages hair fibers. Mix every formula on a digital kitchen scale measuring in grams rather than relying on measuring cups. Professional formulas operate on strict 1:1 or 1:2 weight ratios. Squeezing tubes by sight alone results in patchy coverage and uneven chemical concentration.
Keep a dedicated stopwatch running beside your station so you never guess processing intervals.
Chemical Lifting and Formulating Neutral Tones
Formulating Developer Ratios for Controlled Lift
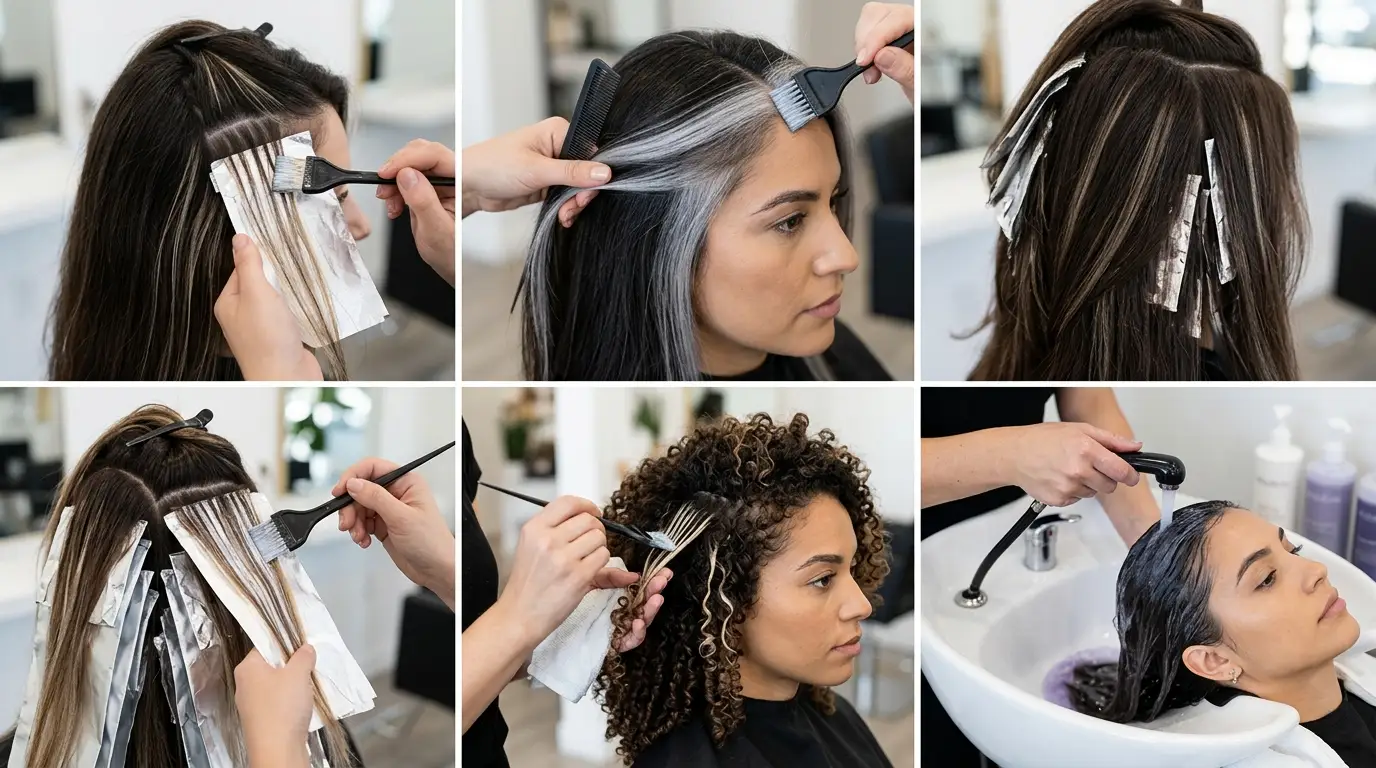
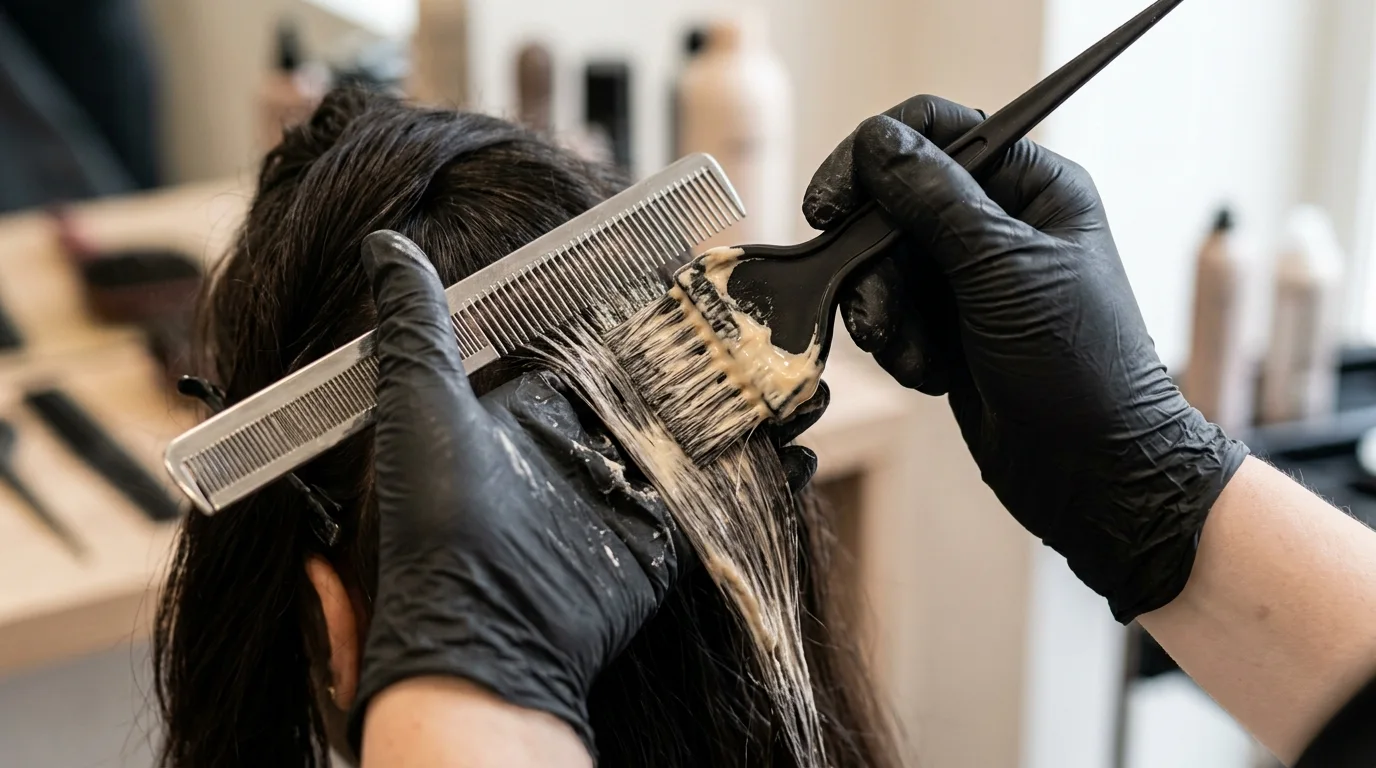
Lifting dark brunette locks to a golden honey or beige blonde requires controlled developer selection. Use 20-volume developer to achieve up to two levels of lift on delicate roots. Reserve 30-volume developer strictly for dark, resistant mid-lengths, and keep 40-volume away from the scalp to avoid chemical burns.
When transitioning milk chocolate brown strands around level 5 lightness up to a medium blonde at level 7 or 8, mix 30 grams of 7 Medium Blonde with 30 grams of 8.2 Beige Blonde, balanced with 60 grams of 20-volume developer. Apply the formula to the mid-lengths first, allowing it to sit for fifteen minutes before coating the warmer scalp zone for an additional twenty minutes.
Always keep bleach away from previously lightened ends, as overlapping lightener snaps compromised disulfide bonds instantly.
Neutralizing Underlying Warmth with Toners
Bleaching dark strands reveals raw brassy undertones: red at level 4, orange at level 7, and pale yellow at level 9. Counteracting these tones requires consulting the direct opposites on the color wheel. Green cancels red, blue cancels copper orange, and violet neutralizes yellow.
Apply an acidic demi-permanent pearl blonde toner mixed with a dedicated 5-volume developer to damp strands for twenty minutes. Acidic formulations seal the raised outer cuticle scales without lifting your underlying natural base. Work the toner through using a wide-tooth comb to ensure seamless root-to-end saturation. If your ends grab color too quickly, rinse them under cool water thirty seconds ahead of the crown.
Monitor your toner under bright natural window light rather than yellow bathroom bulbs to judge tone depth accurately.
Restructuring Hair Bonds and Moisture Integrity
Repairing the Keratin Matrix at Home
Drastic lightening splits polypeptide chains within the cortex, leaving strands gummy when wet and brittle when dry. Standard silicone hair masks coat the cuticle to provide temporary slip, but they fail to repair underlying structural damage.
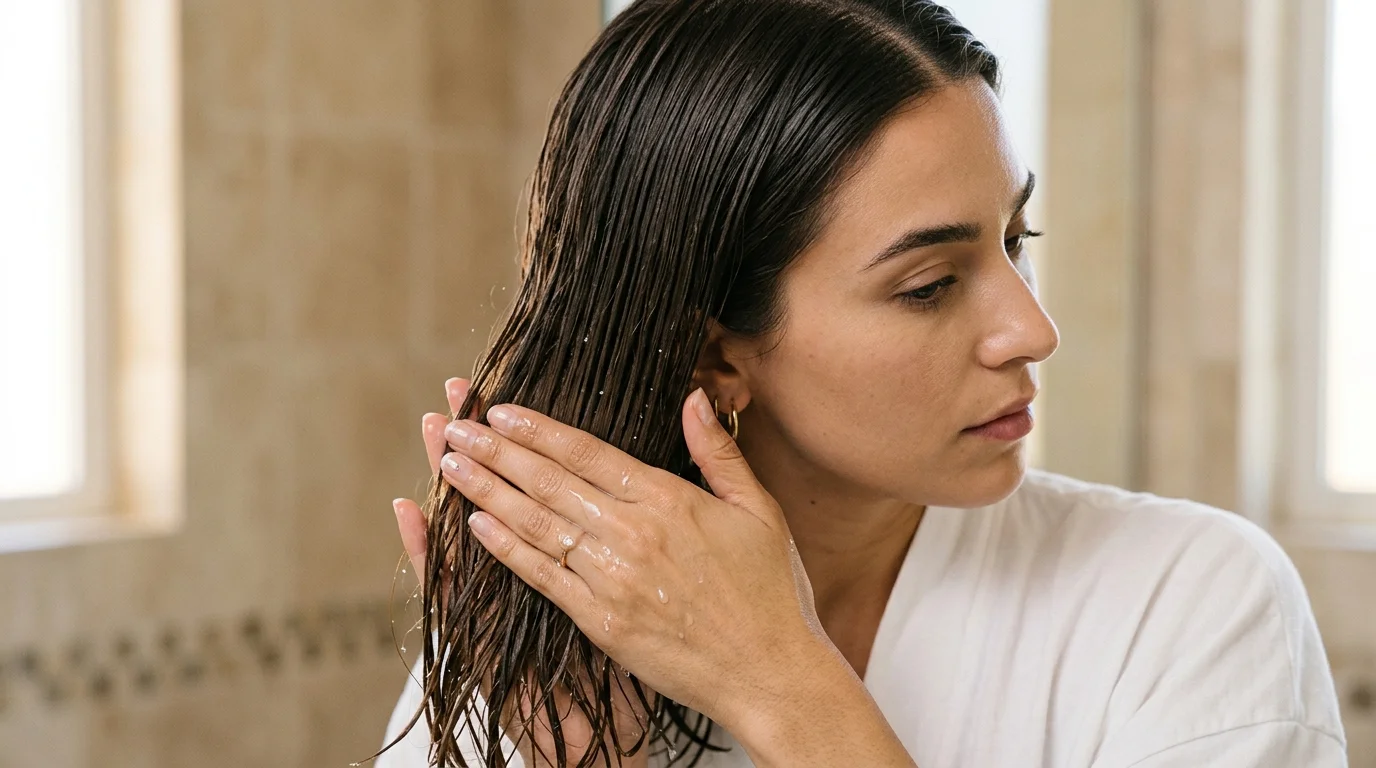
Apply a targeted bioactive peptide treatment to clean, towel-dried hair after rinsing out lightener. Skip traditional conditioner before applying peptide masks, as conditioning agents form an occlusive barrier that blocks small molecules from penetrating into the cortex. Distribute two pumps evenly through lengths and leave it completely undisturbed for a full four minutes before applying styling products or applying gentle heat.
This four-minute window allows the peptides to rebuild broken disulfide bonds from the inside out.
Balancing Deep Hydration and Elasticity
Hydration means nothing if the hair shaft cannot retain moisture. Fine hair overloaded with heavy plant butters goes limp, while coarse hair starved of moisture breaks off during styling.
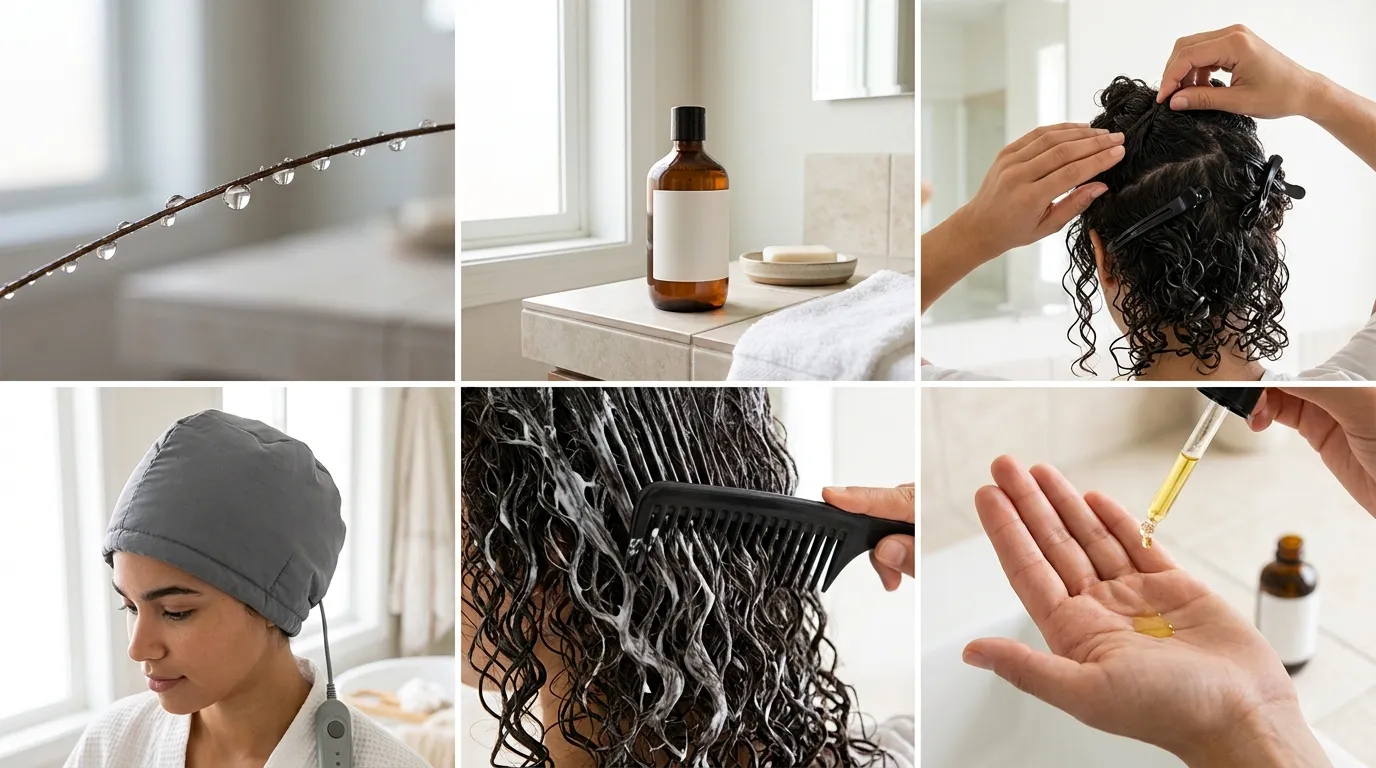
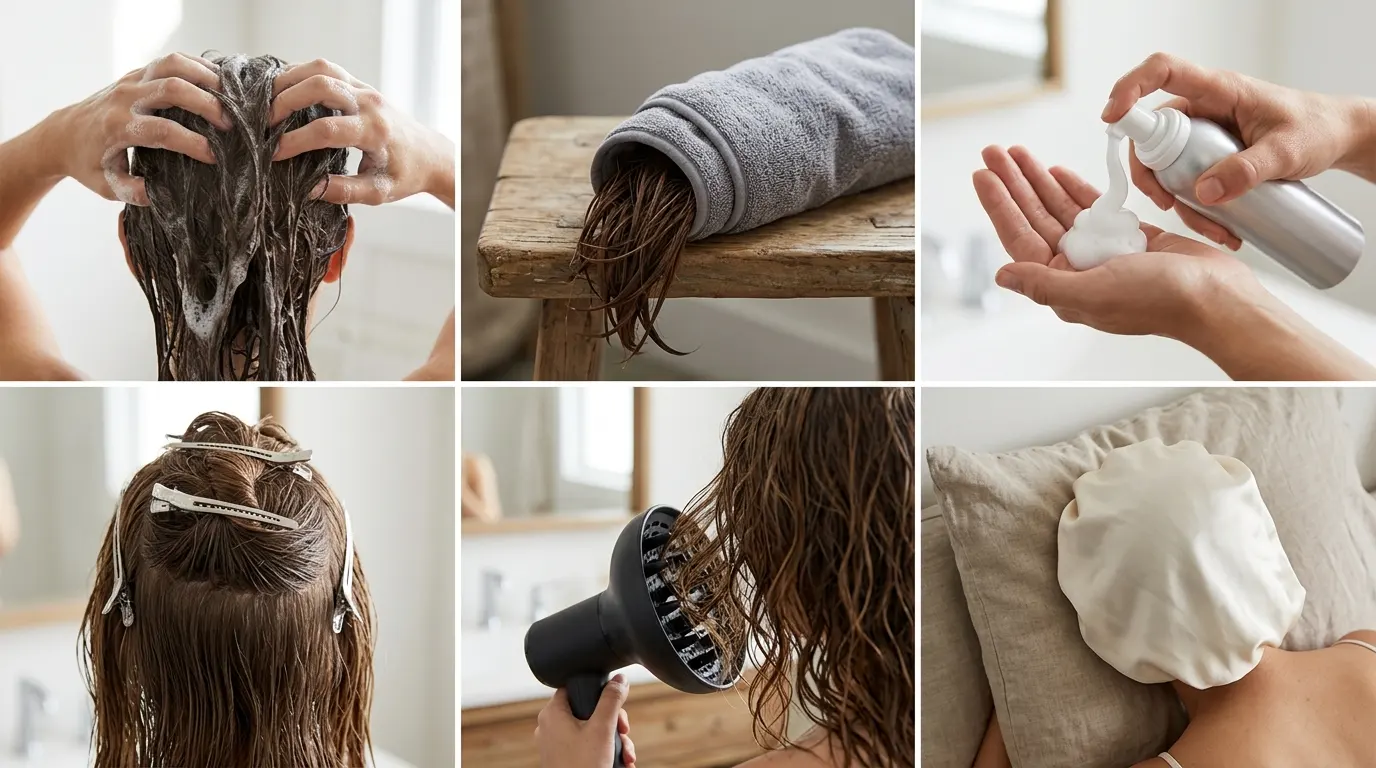
Once bond treatments have set, balance your regimen with a weekly moisturizing mask containing hydrolyzed wheat protein and panthenol. Warm the mask between your palms, rake it through mid-lengths, and trap moisture beneath a shower cap for fifteen minutes under warm air from your blow dryer. Rinse with cool water to contract the outer cuticle layers.
Conduct an elasticity test every fortnight by stretching a single wet hair strand: healthy hair stretches twenty percent and returns to resting length without snapping.
Precision Cutting and Weight Removal Techniques
Removing Length Safely with Sectioning
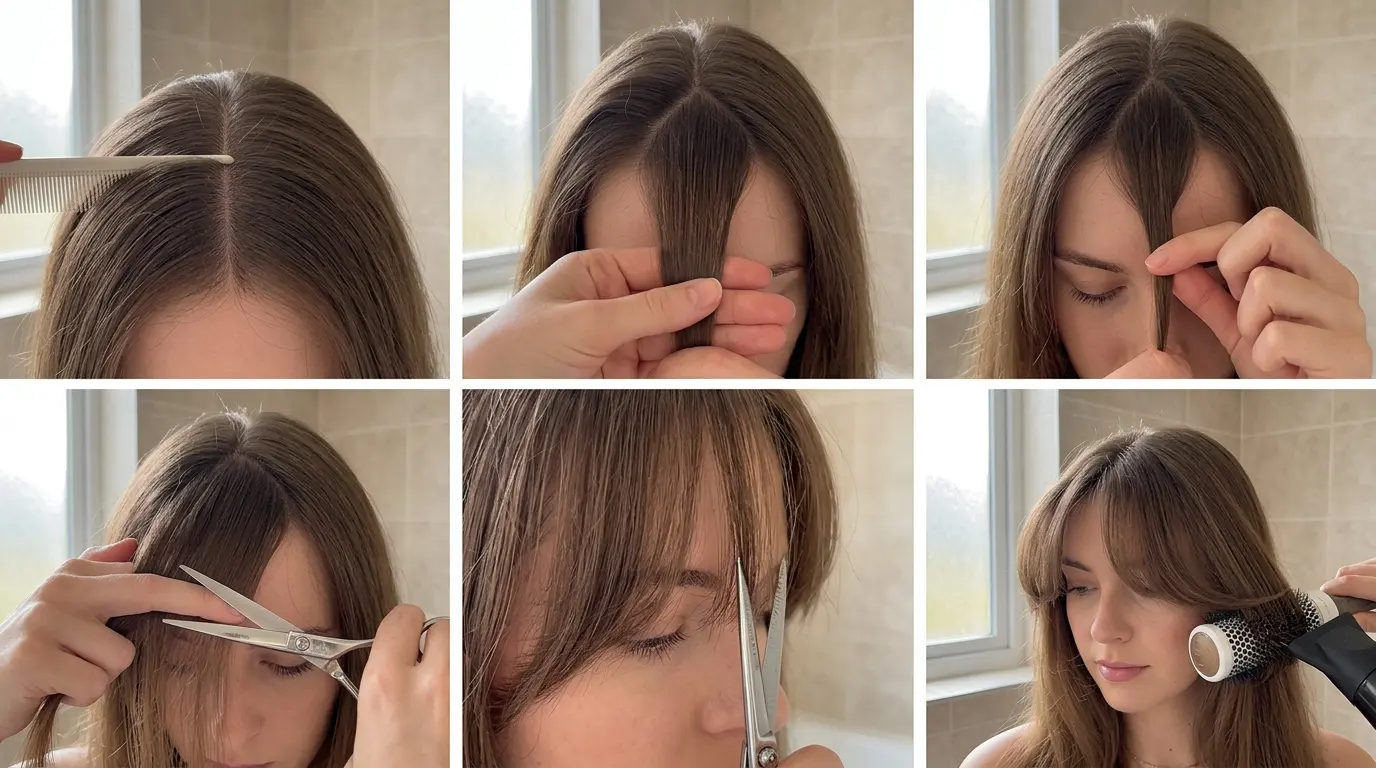
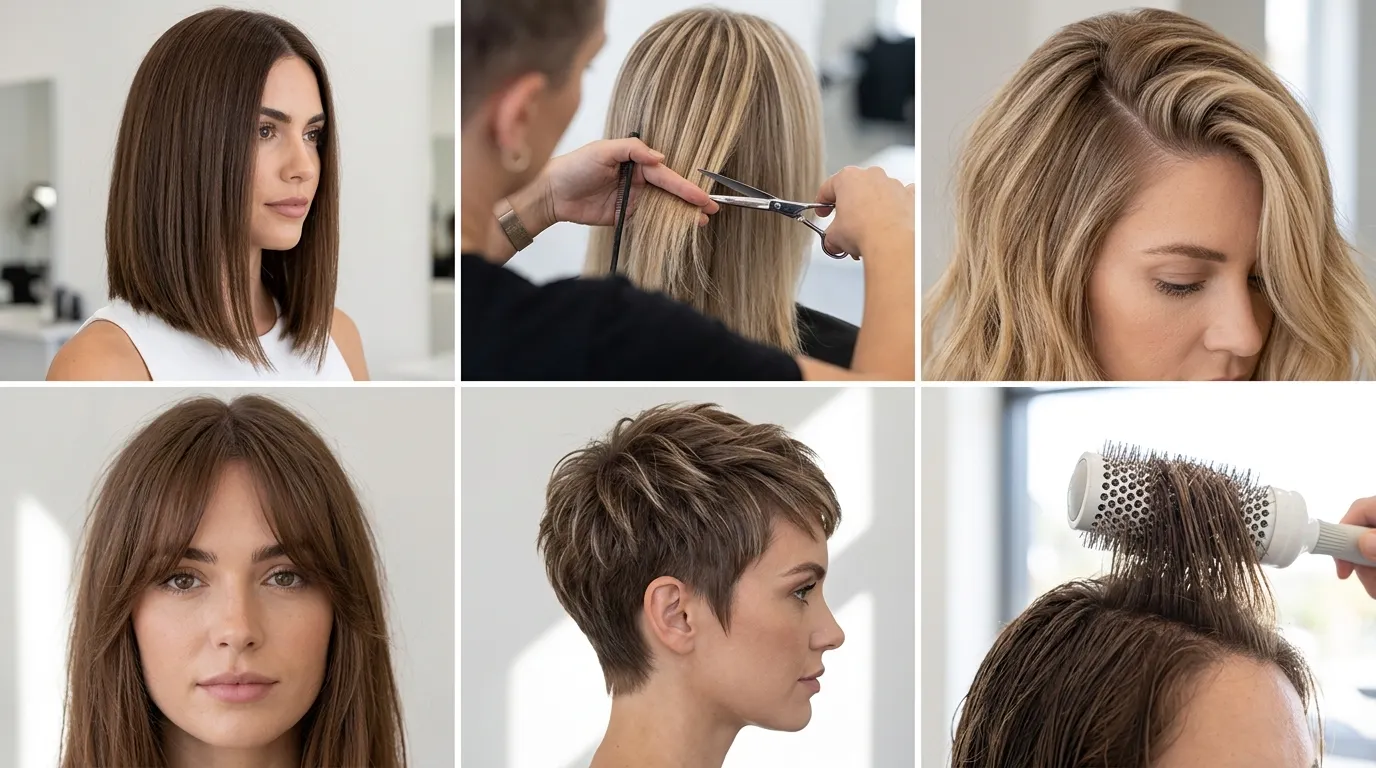
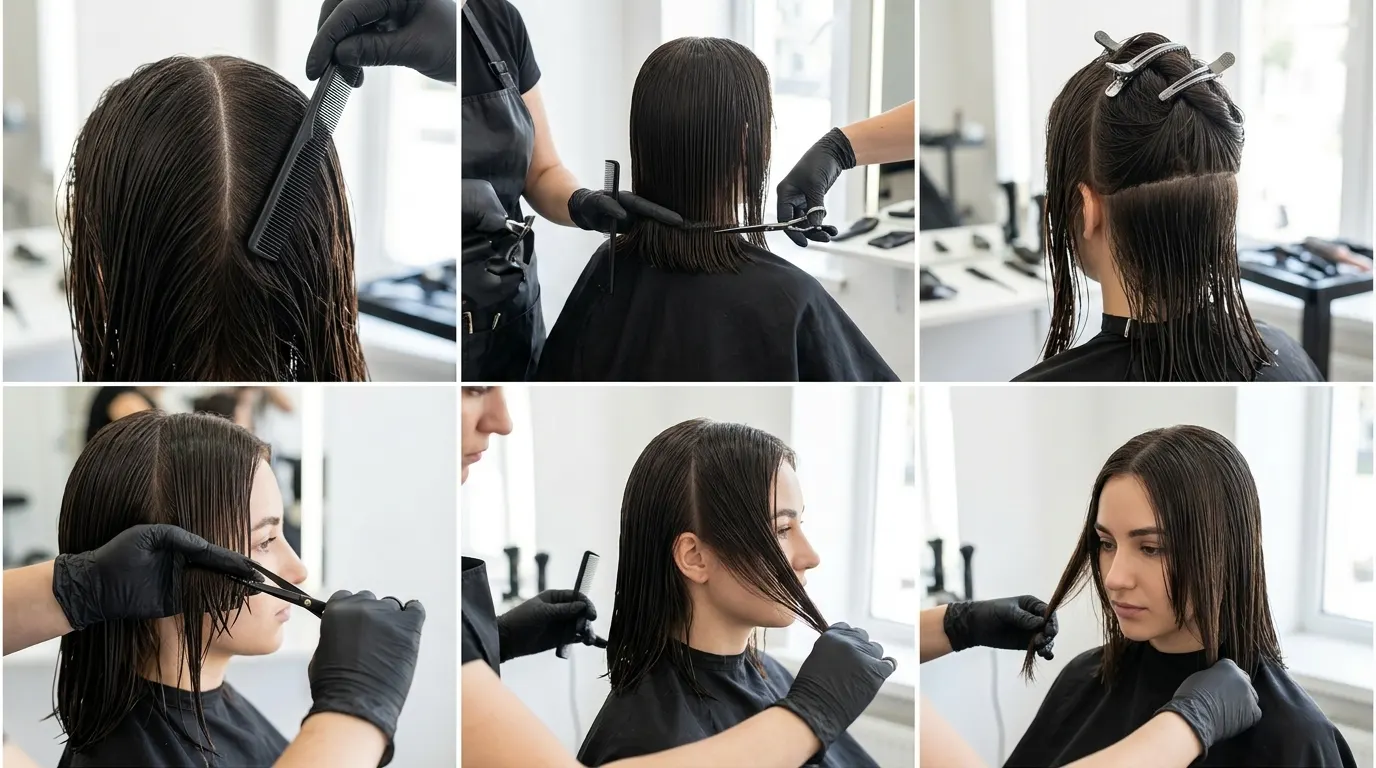
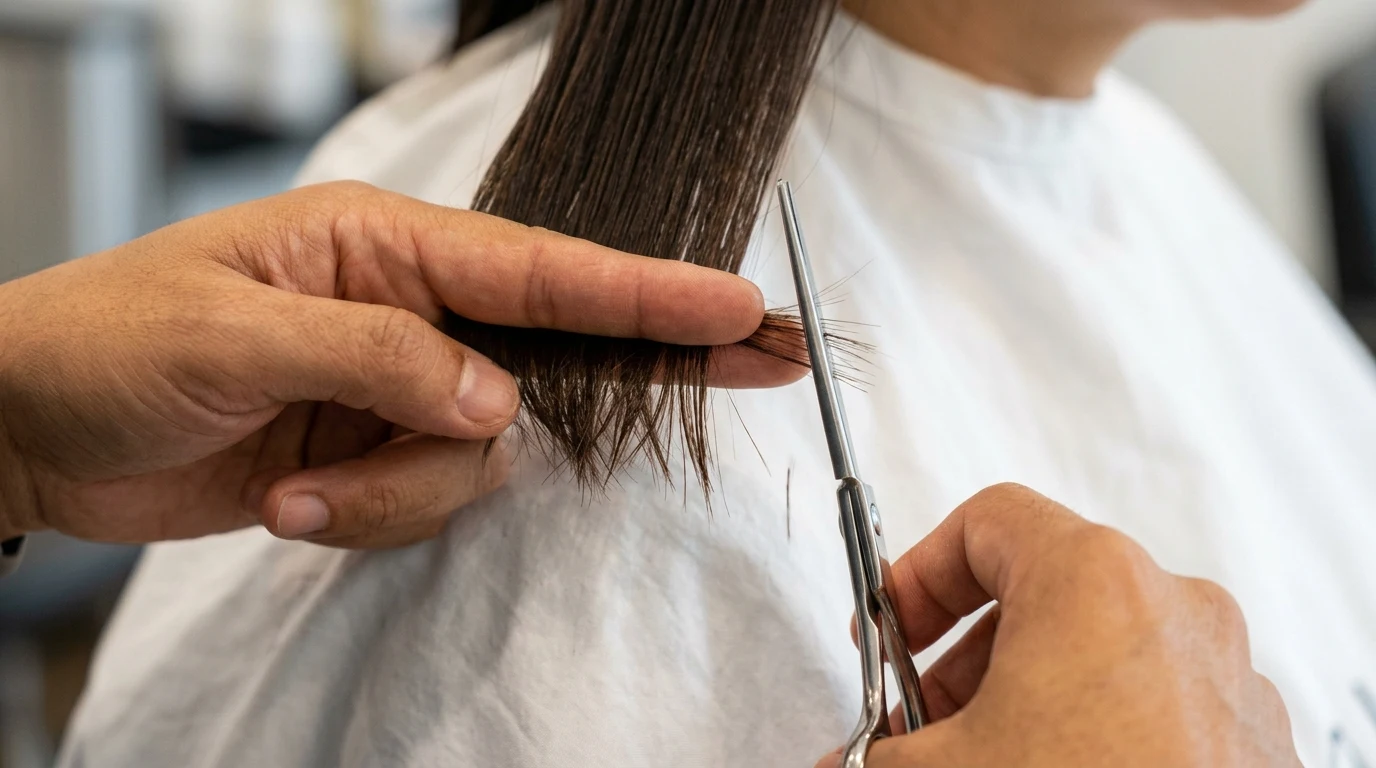
Executing a major length reduction requires dividing the hair into four clean quadrants. Part the hair straight down the center from the forehead to the nape, then section ear to ear across the apex. Secure the top sections with clips to isolate the bottom layers.
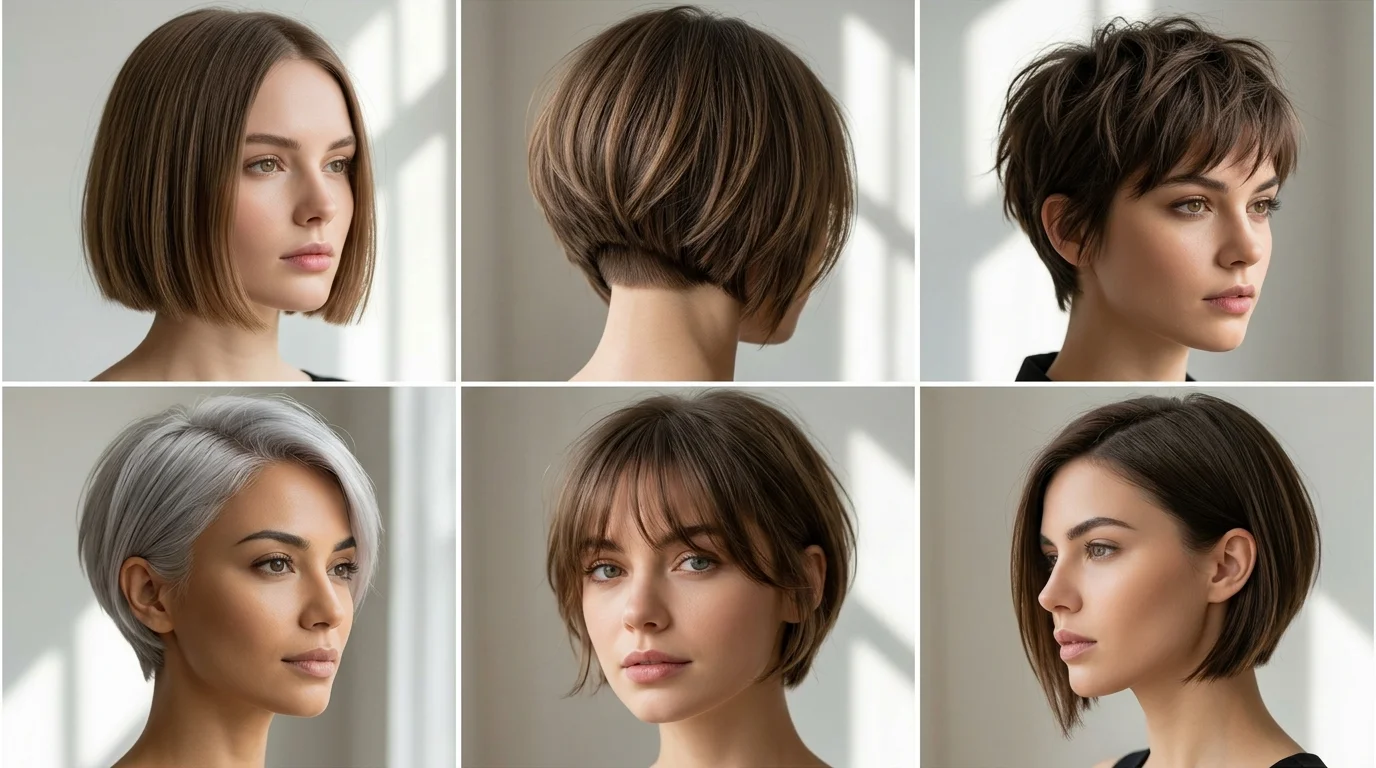
Comb the nape hair smooth against the neck, tilt your chin slightly down, and establish your horizontal perimeter line using sharp five-inch shears. Never use dull kitchen scissors; stamped metal blades crush hair ends, creating split ends within forty-eight hours. Cut in small, half-inch increments using point-cutting motions, angling shear tips upward at forty-five degrees into the hair ends to create a soft, diffused baseline.
Check your baseline symmetry by pulling matching strands from each side together beneath your chin.
Building Dimension with Ghost Layers
Heavy, blunt hair drags down facial features and collapses crown volume. Strategic interior layering creates movement without thinning out the delicate perimeter ends of fine hair.
Carve out a horseshoe-shaped section around the top of your crown and clip it away. Lift vertical sections of the remaining mid-lengths ninety degrees straight out from the skull. Snip the outer quarter-inch using vertical point-cuts, leaving the lower baseline untouched. When you drop the top horseshoe section over the cut interior, the longer exterior canopy falls over an invisible structural shelf that props up the hair from underneath.
This internal layering method creates natural fullness without exposing wispy, transparent ends.
Structural Styling and Curl Pattern Resets
Reviving Natural Texture with Defined Clumping
Years of flat-ironing and heat styling deform the spiral shape of natural curls and waves. Resetting your natural wave pattern demands water saturation, leave-in hydration, and gentle mechanical tension.
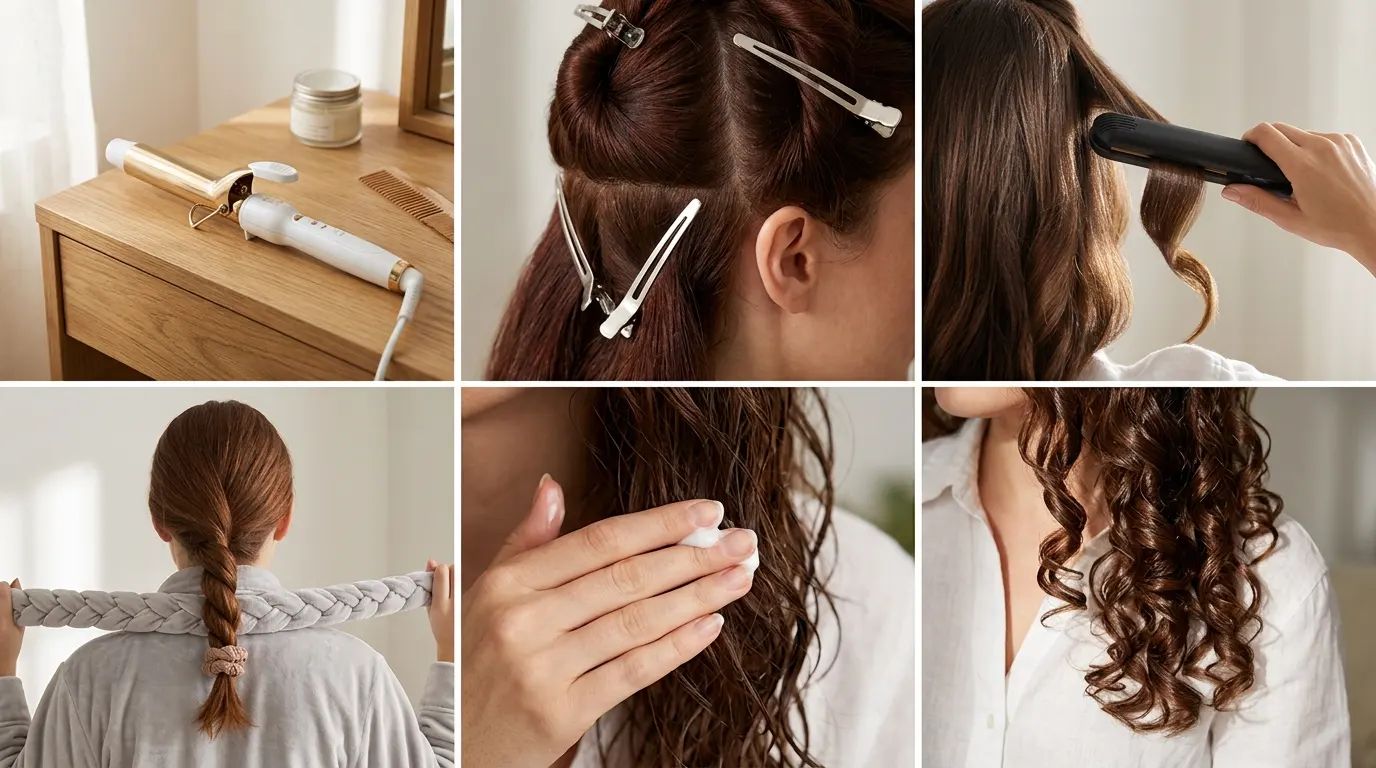
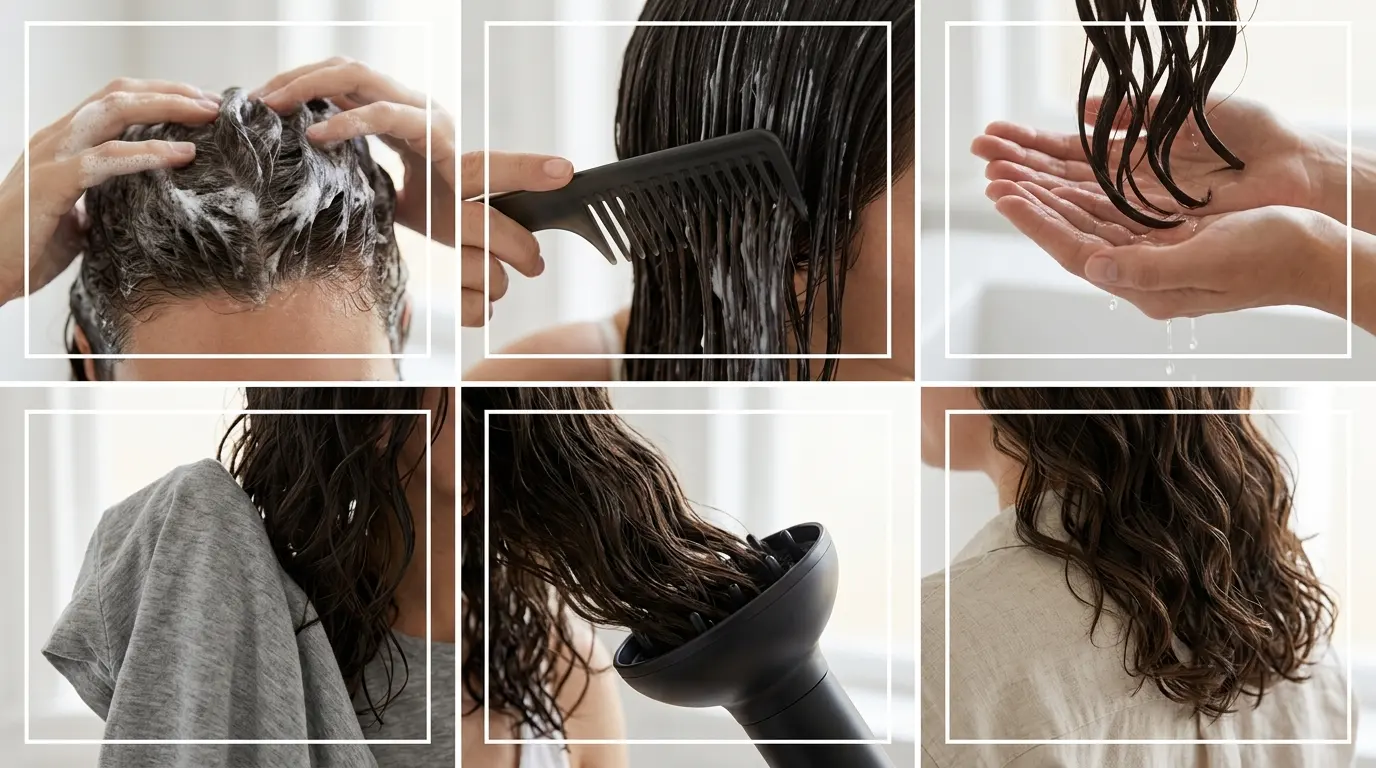
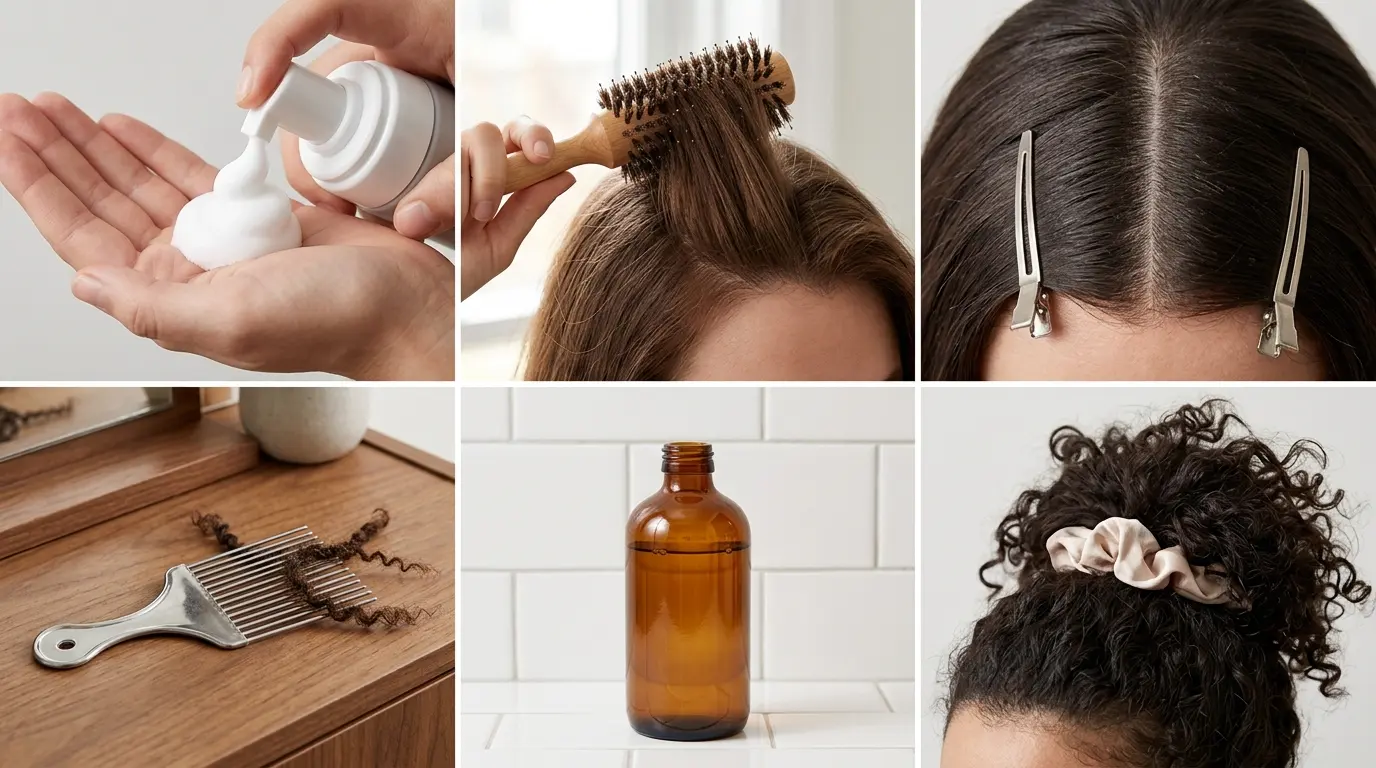
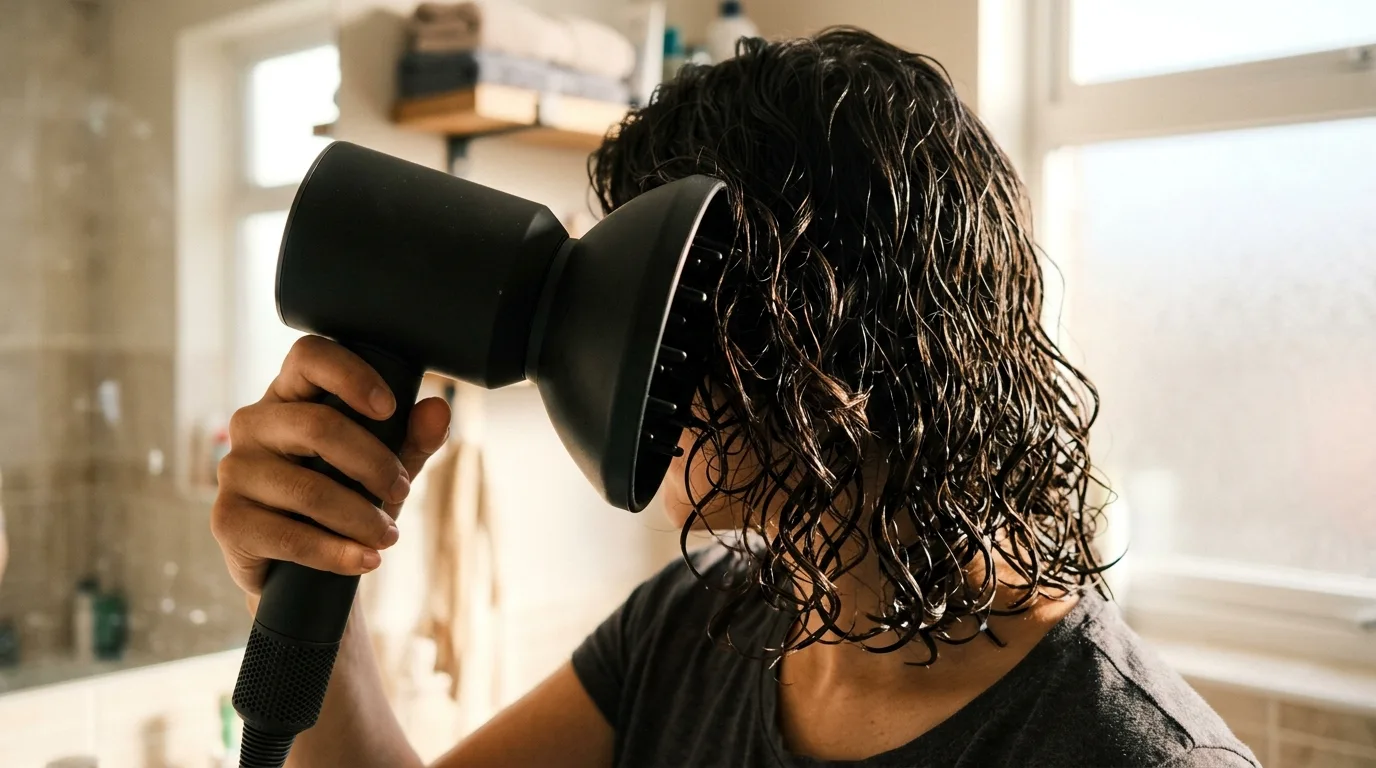
Apply a silicone-free curl cream to soaking wet hair straight out of the shower. Rake the cream through in vertical ribbons using a classic styling brush with nylon pins, angling the brush outward away from the scalp to build tension. Cup the ends in your palms and scrunch upward toward the roots until you hear a wet squishing sound. Diffuse on medium heat with the blow dryer held stationary against sections for ninety seconds to set curl clumps without creating frizz.
Never comb or brush dry curls, as disrupting dry clumps separates curl ribbons into a cloud of static.
Setting Structural Shape with Gel Casts
Fine and wavy hair textures often collapse within hours of styling unless locked into place with a firm cast. A water-based styling gel provides a protective barrier that seals moisture into the cuticle during the drying phase.
Glaze a quarter-sized amount of high-hold flaxseed or aloe-based styling gel over damp curl clumps using smooth praying-hands motions. Let the hair air-dry completely or diffuse until the shell feels hard to the touch. Once every strand is bone-dry, break the crisp cast by pressing two drops of jojoba oil into your palms and gently scrunching upward. The firm cast softens instantly, leaving bouncy, defined curls that resist ambient humidity.
Avoid touching or squeezing the hair while the gel cast is wet to prevent flyaways and fuzz.
Long-Term Maintenance and Upkeep Schedules
A successful home makeover does not end once the tools are washed and put away. Hair grows an average of half an inch every four weeks, shifting your toner balance, layer placement, and root contrast over time.
Keep your newly transformed hair vibrant by scheduling specific maintenance tasks according to a strict calendar:
- Every 7 days: Clarify scalp buildup with a chelating shampoo to remove hard water minerals that turn blonde hair brassy and weigh down natural curls.
- Every 14 days: Refresh faded ends with an acidic deposit-only gloss or color-depositing conditioner matching your target tone.
- Every 6 to 8 weeks: Touch up virgin root regrowth using your original 20-volume developer formula, taking care not to overlap lightener onto previously processed strands.
- Every 10 to 12 weeks: Dust the ends by trimming a conservative quarter-inch off the perimeter to eliminate split ends before they travel up the hair shaft.
Invest in a 100% mulberry silk pillowcase to prevent sleep friction from roughing up freshly smoothed cuticles.
Decisions for Common Hair Transformation Obstacles
Why does my hair feel dry and straw-like after bleaching?
High-alkaline lighteners strip natural lipids and force open the protective cuticle layer. Counteract structural dryness by alternating weekly protein treatments with ceramide-rich conditioning masks, and always finish styling with a low-pH leave-in spray.
How do I fix orange roots without darkening the rest of my hair?
Orange roots occur when developer lifts natural pigment without enough processing time or pigment concentration. Isolate the root area with sectioning clips and apply an ash-based demi-permanent toner at level 7 with 10-volume developer directly to the roots for fifteen minutes, leaving your cooler mid-lengths untouched.
Can I do a dramatic color shift and a layered cut on the same day?
Perform your color transformation first, rinse thoroughly, and apply a bond repair treatment before picking up your cutting shears. Hair shifts shape and expands when chemically altered, so cutting damp, newly colored strands ensures you shape the hair according to its new texture and movement.
Moving Forward with Your Transformation

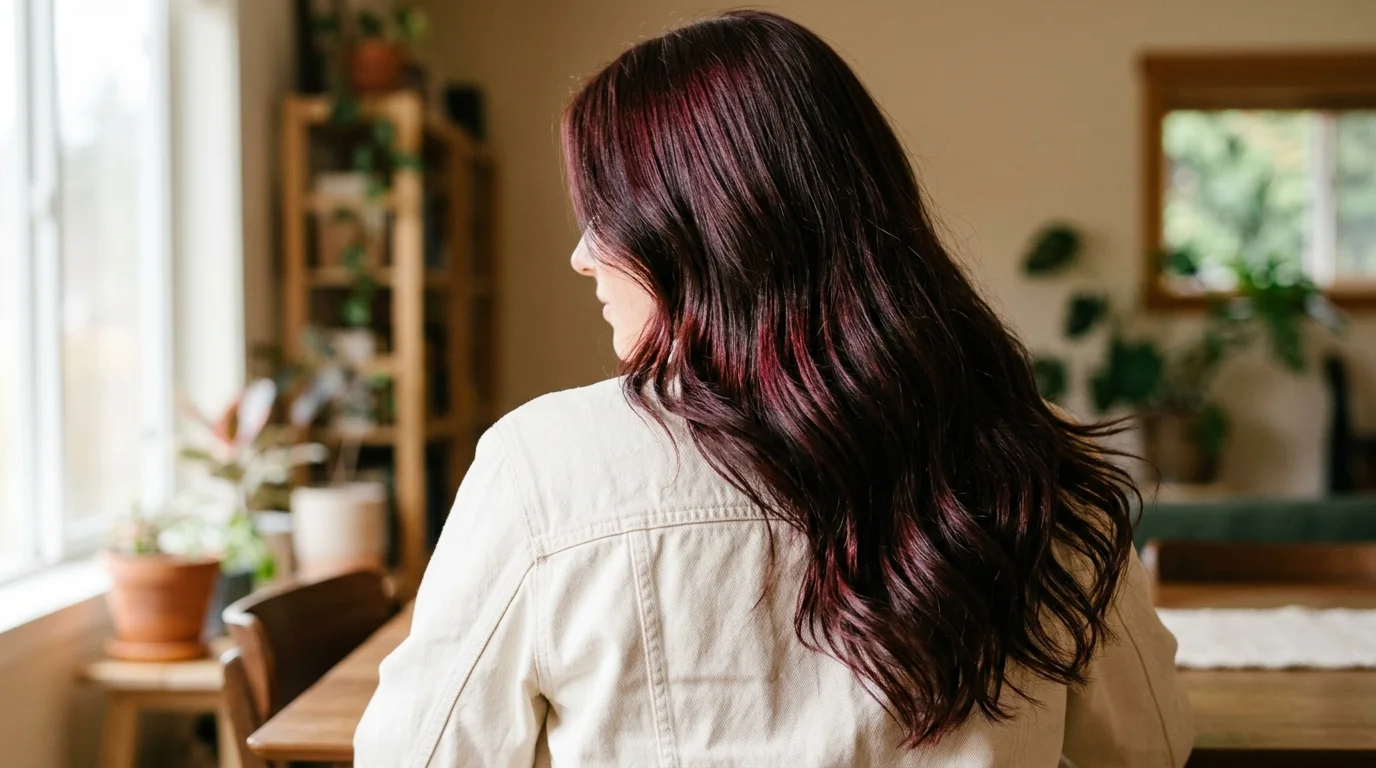
Executing a successful makeover at home comes down to preparation, patience, and realistic chemical boundaries. Take your time assessing your starting level, measure formulas accurately on a scale, and work in thin, manageable sections. By respecting your hair’s structural limits and supporting it with targeted bond repair, you can achieve a polished, vibrant hair transformation right in your own bathroom.
Related reads: How to Curl Your Hair With Lasting Shape and Minimal Friction, The Best Short Haircuts for Fine Thin Hair to Boost Volume and Low Porosity Hair Care: Solving Moisture Resistance and Cuticle Buildup.