
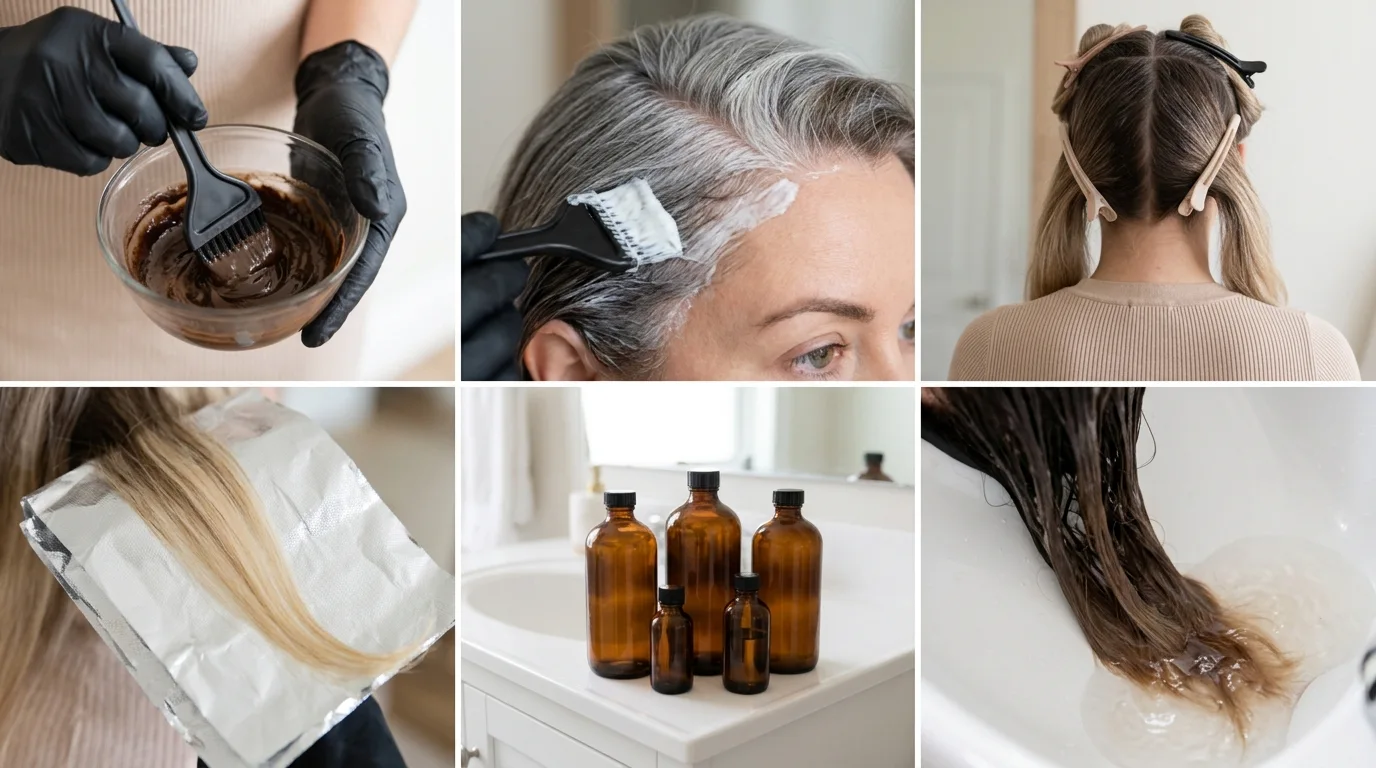
Bathroom sink color jobs fail because people treat dye like paint. Real hair is a dynamic, porous structure that reacts chemically to developer concentration, existing artificial pigments, and natural room temperature. Piling a single box mixture from roots to ends guarantees banding, dark ends, and patchy coverage.
Learning how to dye hair at home without ruining your cuticles comes down to identifying your exact starting condition before opening a single bottle. When you match your application method to your base shade and strand damage, you avoid costly color corrections down the road.
Different hair profiles demand distinct chemical strengths, processing windows, and mechanical tools. This guide organizes the process by thirteen realistic starting scenarios so you achieve reliable pigment retention without compromising follicle integrity.
Virgin Medium Brown Hair Shifting Two Shades Darker
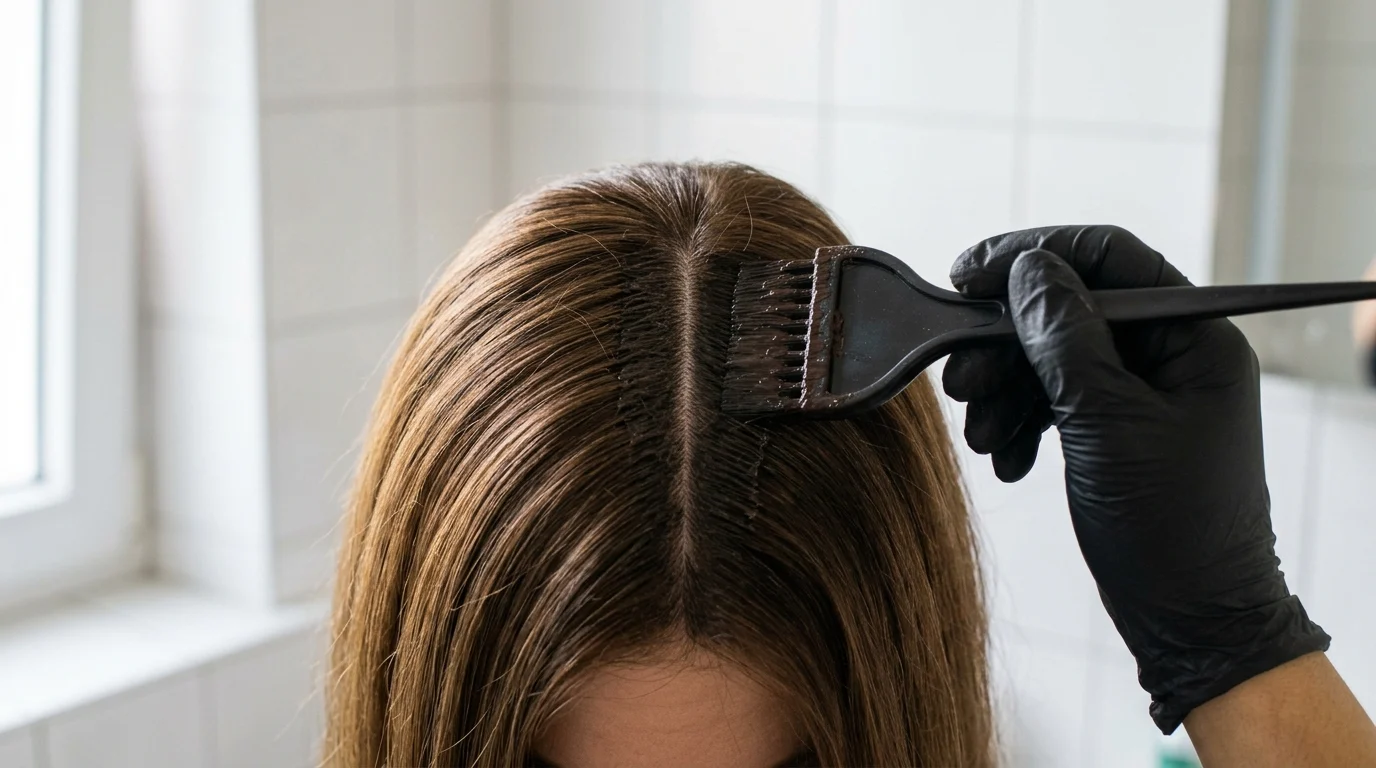
Natural uncolored strands feature closed, tight cuticle scales and consistent internal structure from scalp to perimeter. This scenario serves someone with never-colored hair who wants a rich espresso cast without red flare-ups. Skip this if you already have synthetic black dye on your mid-lengths, as color cannot lift color.
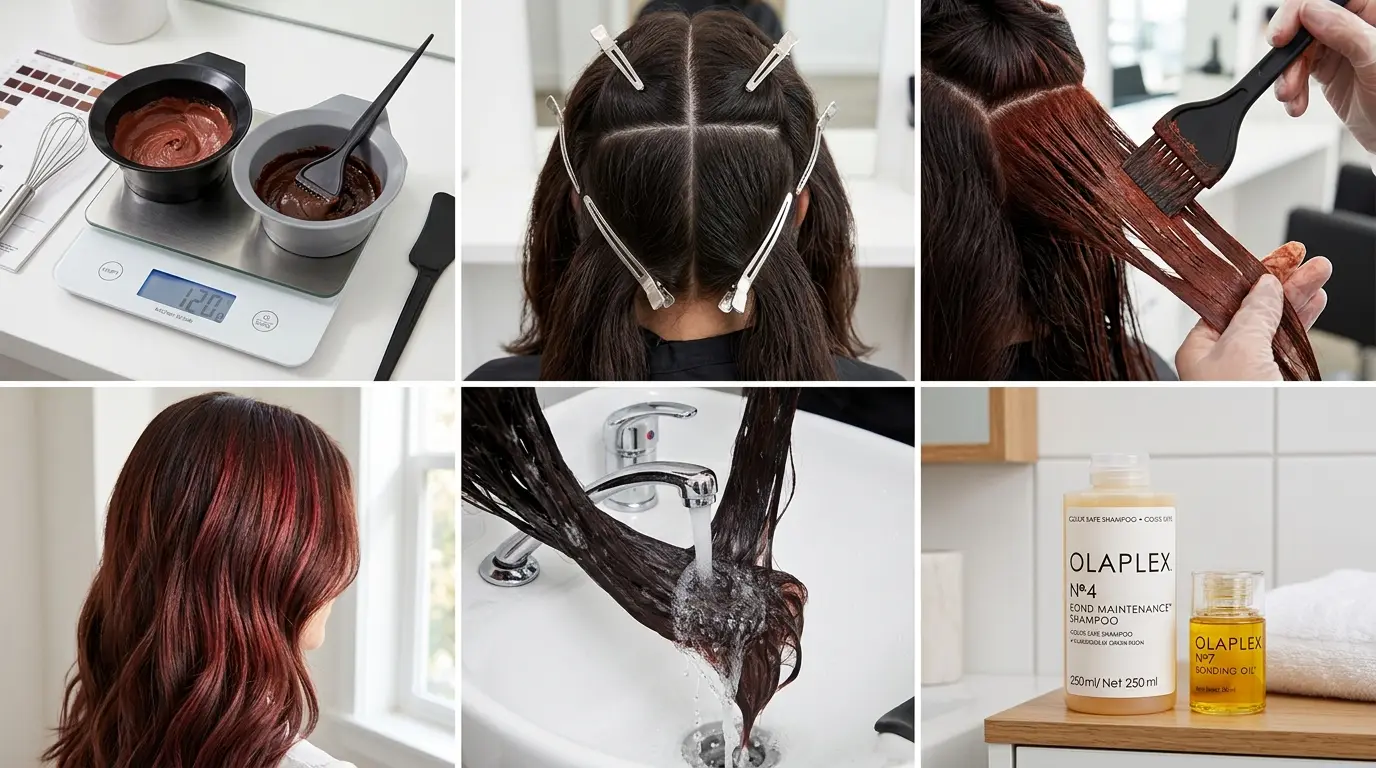
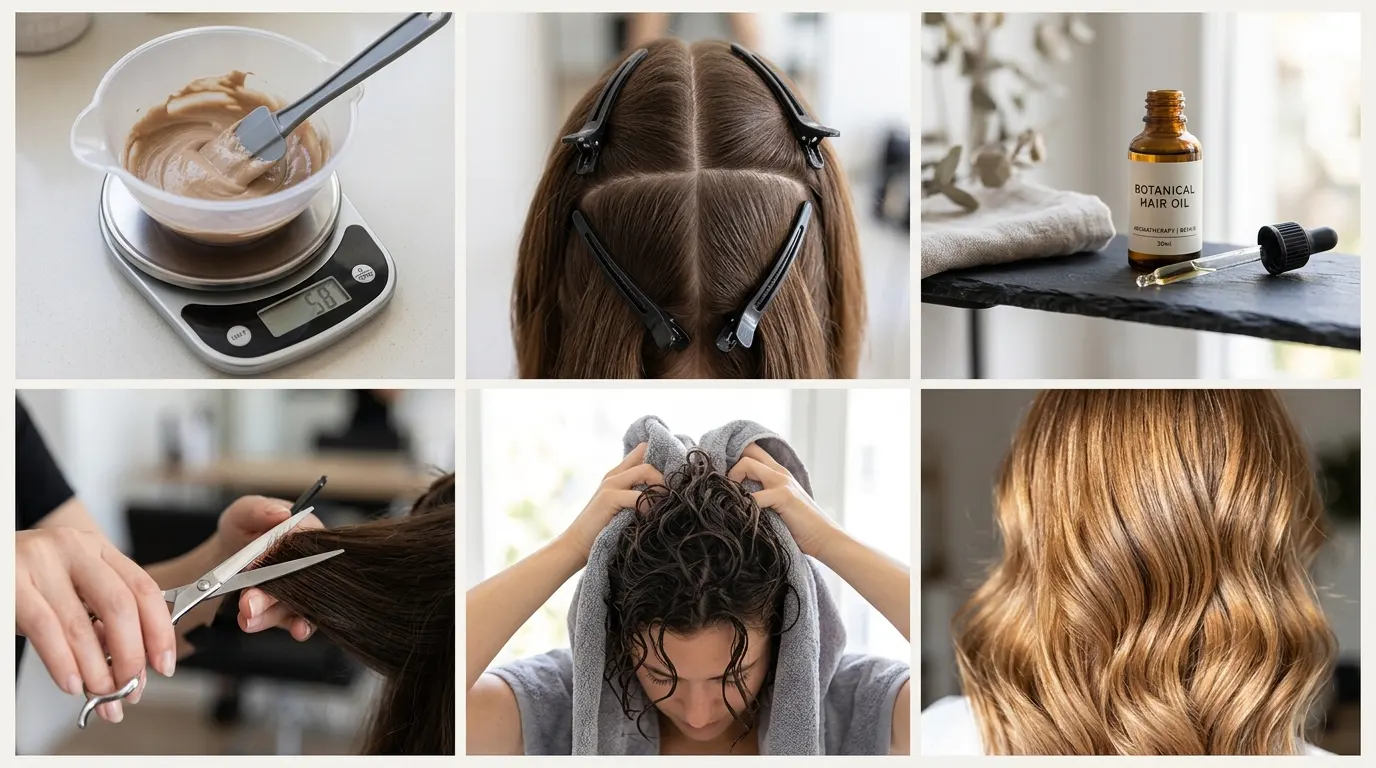
Pour equal parts neutral demi-permanent cream and 10-volume developer into a non-metallic bowl, maintaining a strict 1:1 ratio. In 2026, expect to spend around $11 to $14 for these salon-grade components at a local beauty supply shop. Apply barrier cream or petrolatum around your hairline and the tops of your ears to prevent staining.
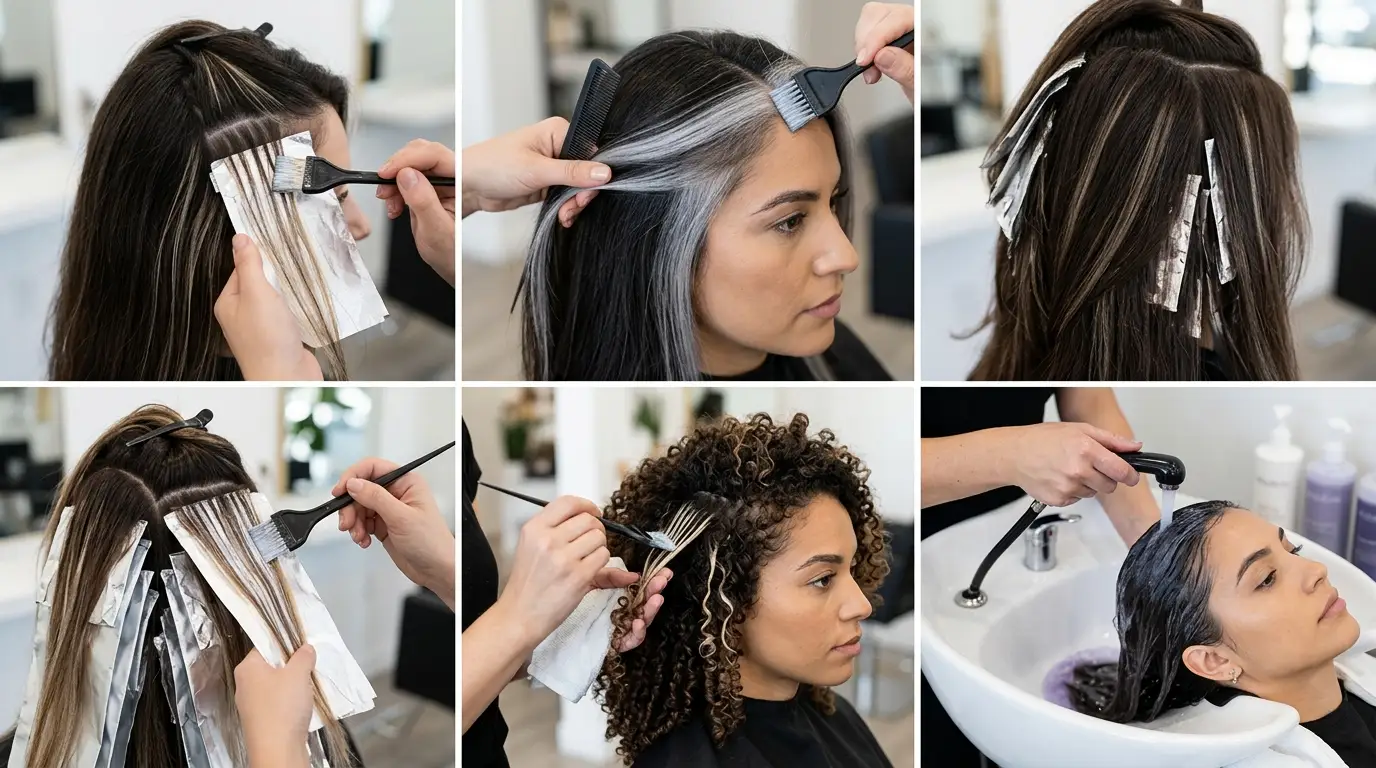
Section hair into four clean quadrants using plastic crocodile clips. Work from the back nape forward, applying the mixture with a synthetic tint brush from root to tip. Comb through with a wide-tooth plastic comb to guarantee saturated coverage. Let the mixture process for 25 minutes before rinsing with lukewarm water until the runoff is clear.
Resistant Coarse Gray Regrowth at the Temples
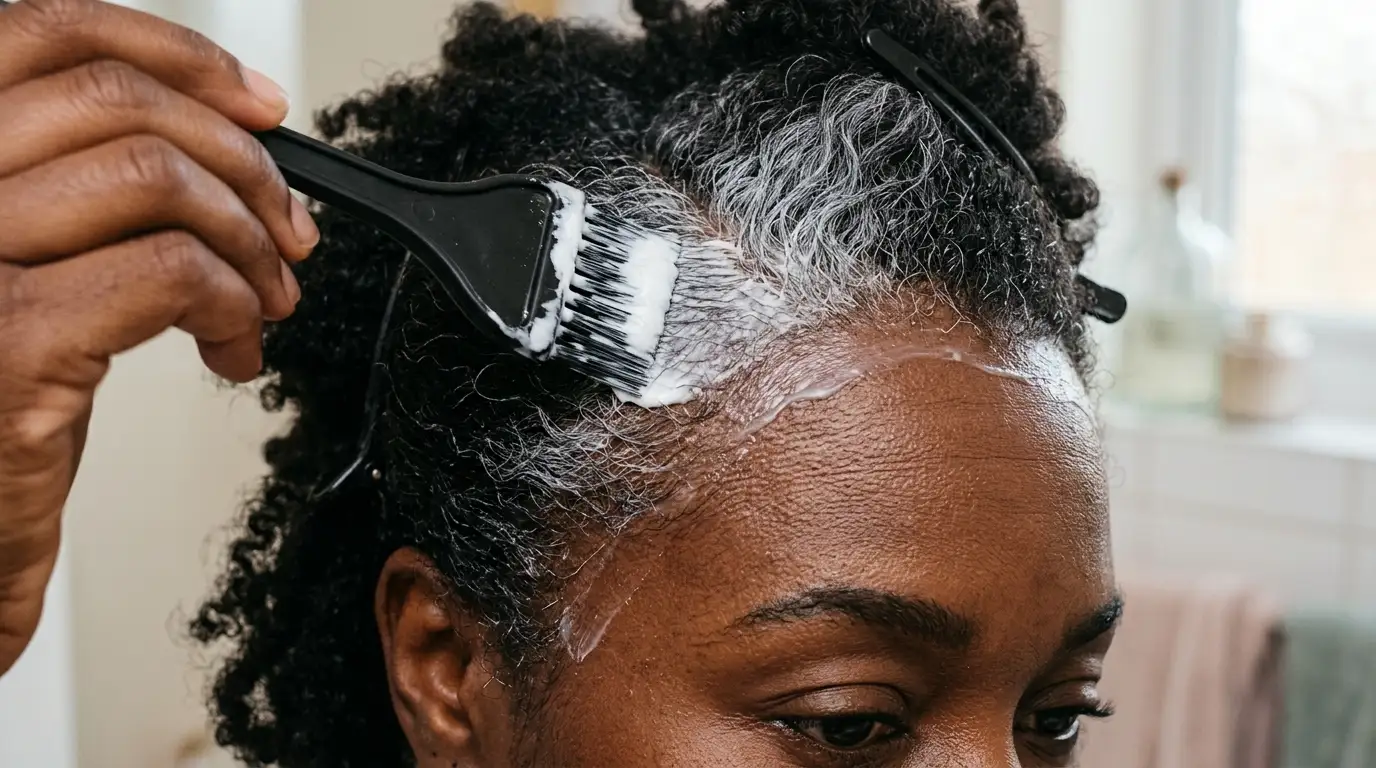
Gray follicles lack natural melanin and feature a hardened outer cuticle layer that physically repels liquid dyes. This method is engineered for individuals with more than fifty percent white or silver hair along the hairline and crown. It will over-deposit and turn muddy on fine, porous baby hairs.
Pick a permanent cream formula in an N-series or NN-series base. Mix it with 20-volume developer at a 1:1 ratio. The 20-volume strength is mandatory to soften that stubborn keratin shell.
Target only the regrowth area without overlapping onto previously colored strands. Press the dye firmly into the temple roots using the flat bevel of your tint brush, laying down a visible cushion of product. Set your timer for 45 minutes. If you rinse before 40 minutes, the oxidative pigments will fail to develop fully, leaving your gray roots looking translucent or brassy yellow.
Natural Dark Blonde Going to a Level 6 Warm Brunette
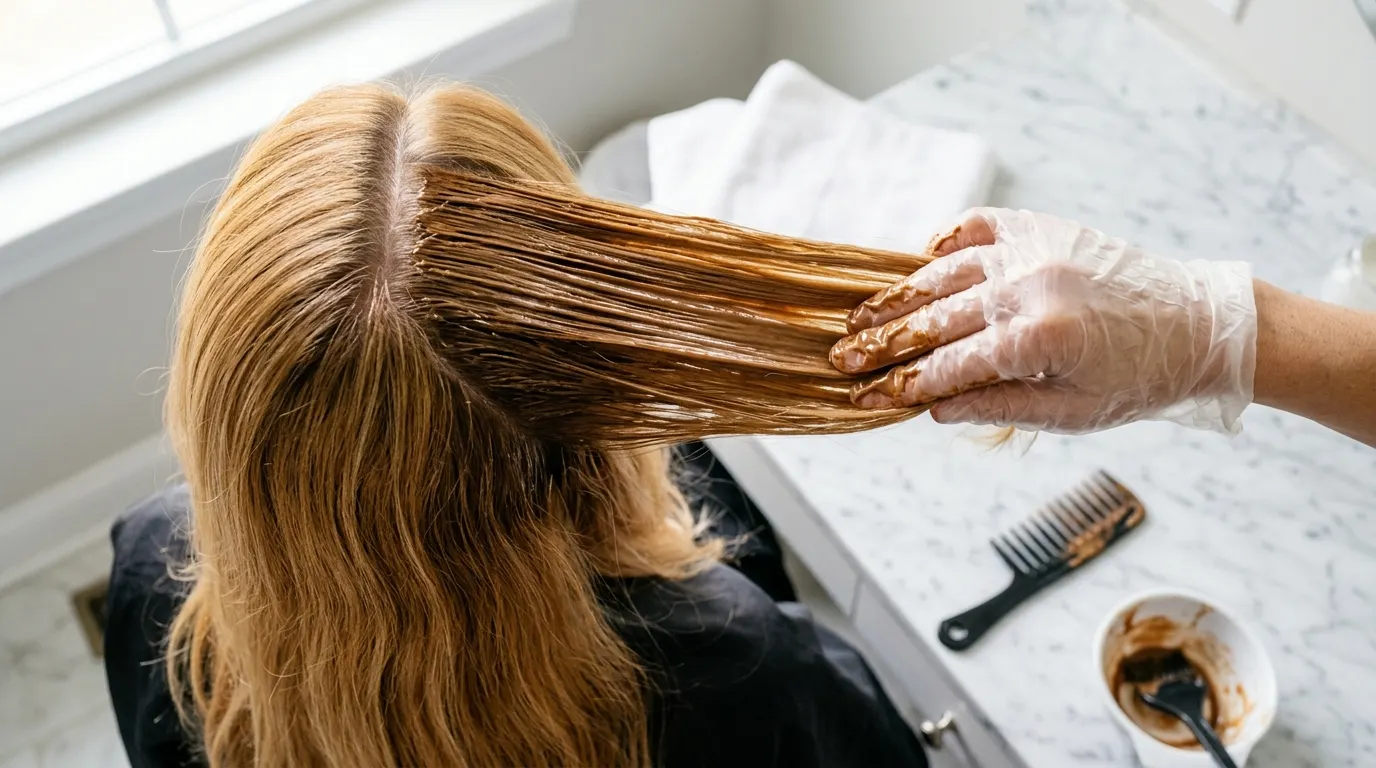
Shifting from light blonde down to medium brown without a filler formula results in a hollow, muddy green tint. This technique is for anyone with natural honey or dishwater blonde hair seeking a deep chestnut brunette finish. It is not suitable for platinum bleached hair, which requires a separate protein filler step.
You must choose a shade containing warm gold or copper undertones to replace the missing underlying warm pigments. Avoid ash-toned formulas entirely.
Blend a demi-permanent Level 6 chocolate or warm brown shade with 10-volume developer. Start applying at the root area, working down the mid-lengths, and stop two inches above your ends. Process the upper section for 15 minutes, then rake the remaining product through the ends for the final 5 minutes of processing time. Hair ends absorb dye much faster due to natural weathering, so reducing their processing window prevents an uneven, bottom-heavy appearance.
Fragile Double-Processed Blonde Needing a Brass Refresh
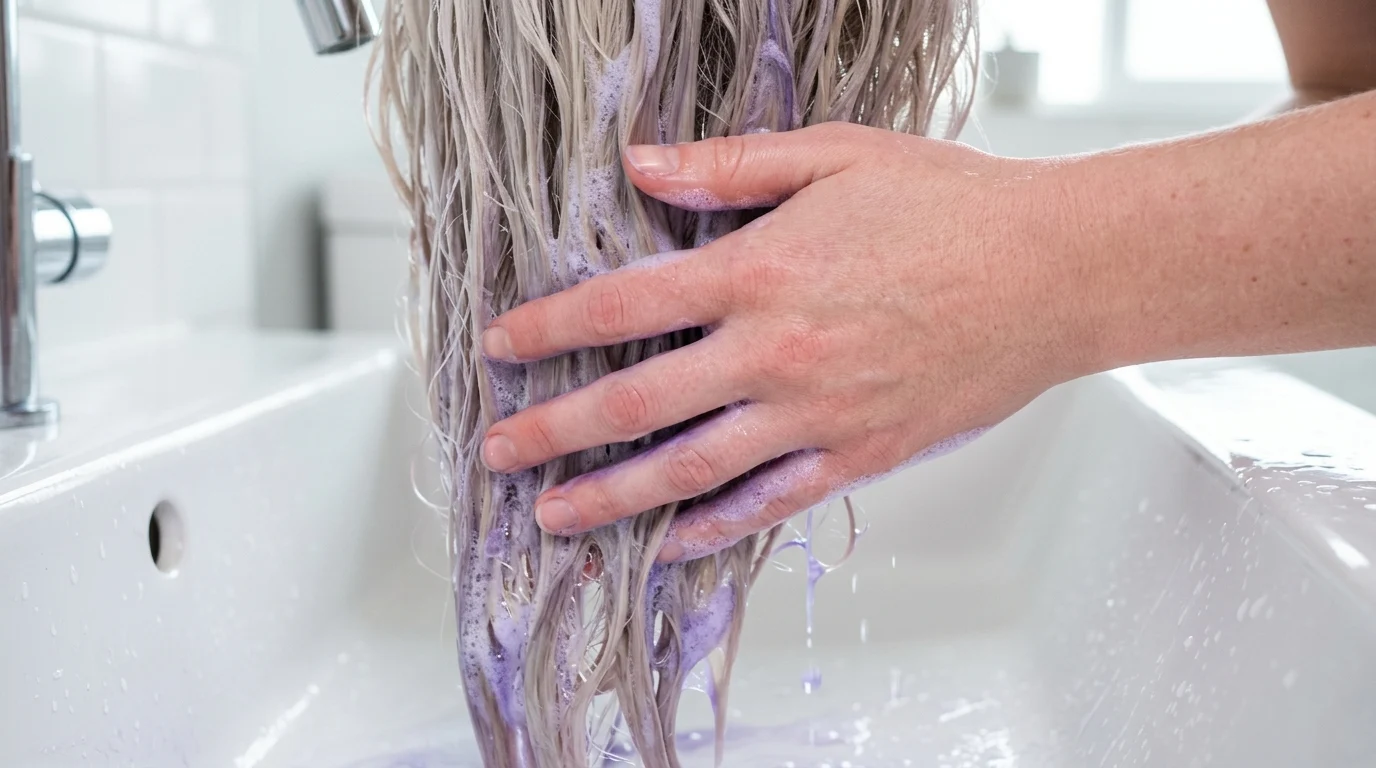
Chemically lifted platinum strands lose interior lipids, making them drink up pigments erratically. This method is tailored for high-lift blondes fighting yellow sulfur tones without wanting additional peroxide damage. Do not pick this if your roots show dark natural growth, because toners do not lighten unbleached roots.
Choose a non-ammonia liquid gloss toner featuring violet or pearl secondary pigments. Mix it with a dedicated 5-volume processing liquid in an applicator bottle.
Apply the liquid glaze quickly over clean, damp hair at your bathroom basin. Work the fluid through your strands with gloved hands, massaging continuously for 8 to 12 minutes while monitoring the tone under direct window light. Rinse immediately the second the yellow hue turns neutral champagne. Leaving a violet toner on porous bleached ends for even four minutes too long turns the outer cuticle lilac.
Dry Wavy Hair Wanting an Under-Layer Peekaboo Strip
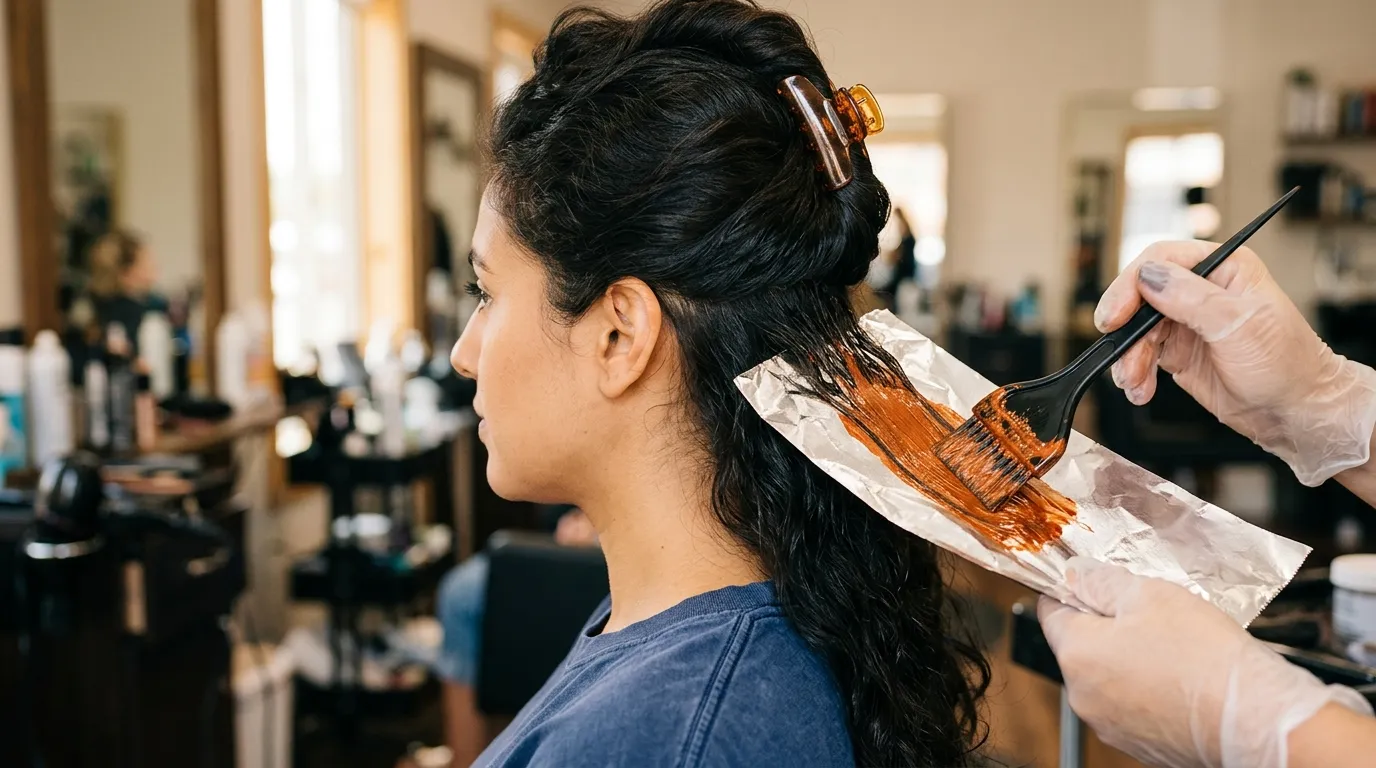
Sectioning errors during streak placements lead to bleeding spots that ruin top layers. This routine suits individuals seeking a hidden pop of contrasting color beneath their top canopy. It fails on short pixie cuts under three inches, where hair layers do not drape sufficiently to hide the placement.
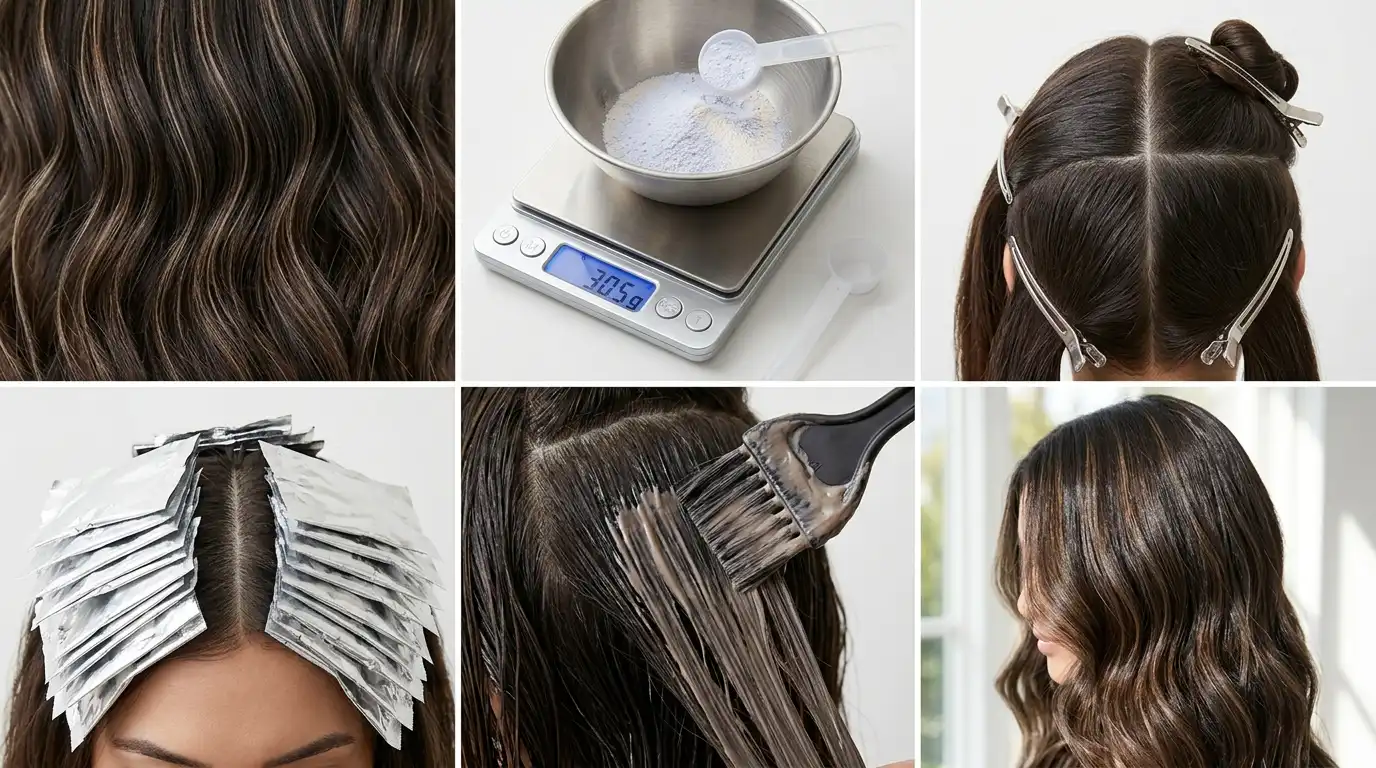
Use a tail comb to isolate a clean horizontal slice of hair across the mid-occipital bone from the top of the left ear to the top of the right ear. Pin the entire top canopy out of the way on top of your head using two sturdy clips.
Place a sheet of hairdresser foil flat beneath the isolated lower section, painting your semi-permanent direct dye or vivid pigment evenly along the lengths. Fold the foil horizontally upward in half, then fold the sides inward to seal the packet completely. This physical metal wrapper prevents the wet dye from bleeding onto the uncolored hair beneath it while you process for 35 minutes.
Fine Natural Hair Covering First Scatted Grays
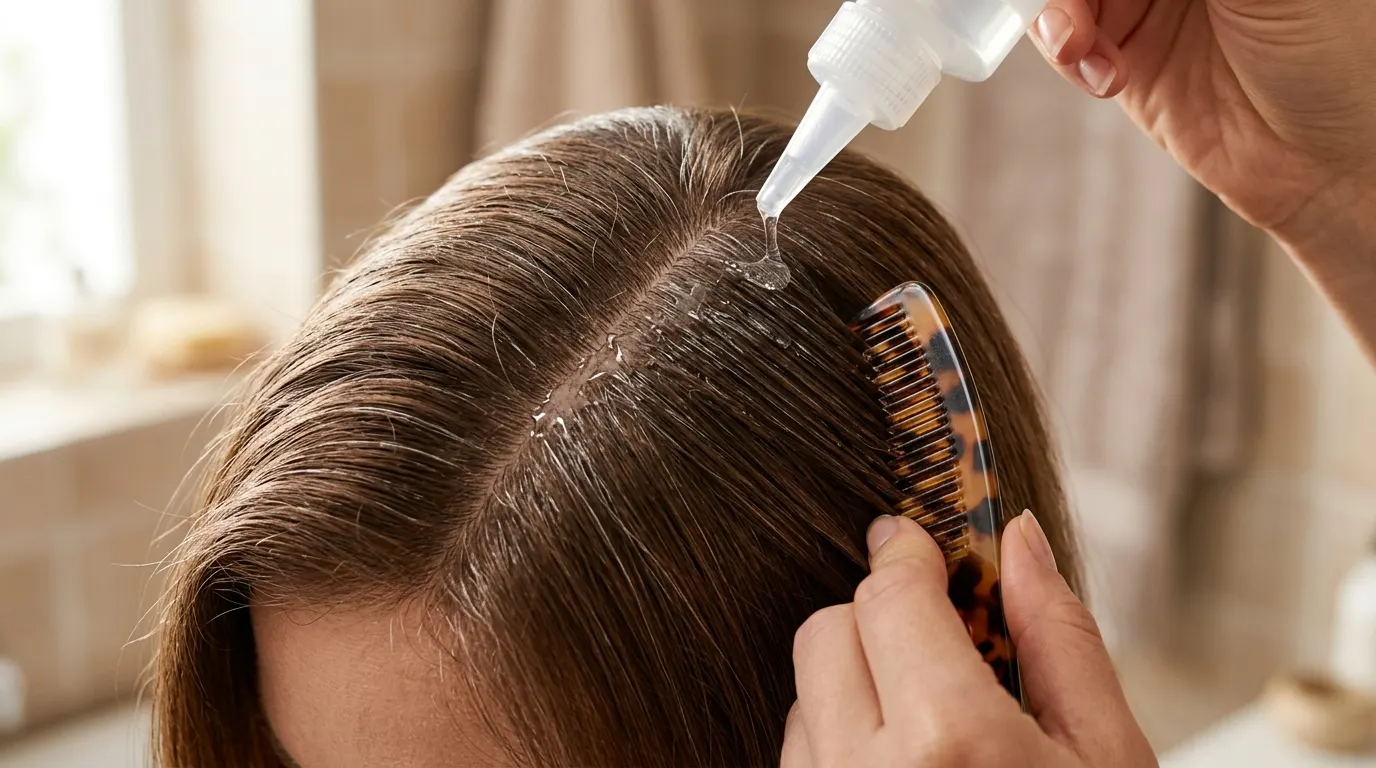
Fine strands take up color rapidly and absorb artificial pigments quickly. This gentle application serves women who have less than twenty percent gray hair scattered around their crown and want zero noticeable root demarcation as it grows out. Skip this if you want complete, opaque gray coverage.
Purchase a deposit-only demi-permanent gloss that uses monoethanolamine instead of raw ammonia. In 2026, expect to spend around $15 to $18 for a clean conditioning gloss kit. Apply this directly to clean, dry hair.
Saturate the roots where the sporadic gray strands catch the light, comb the fluid down through the lengths, and cap your head in a reusable plastic shower bonnet. Process for 20 minutes under the warmth of your scalp. The semi-translucent pigment stains the gray fibers, turning them into subtle highlights that blend softly into your darker natural base without altering your natural color.
Previously Box-Dyed Dark Hair Needing Face-Framing Lightness
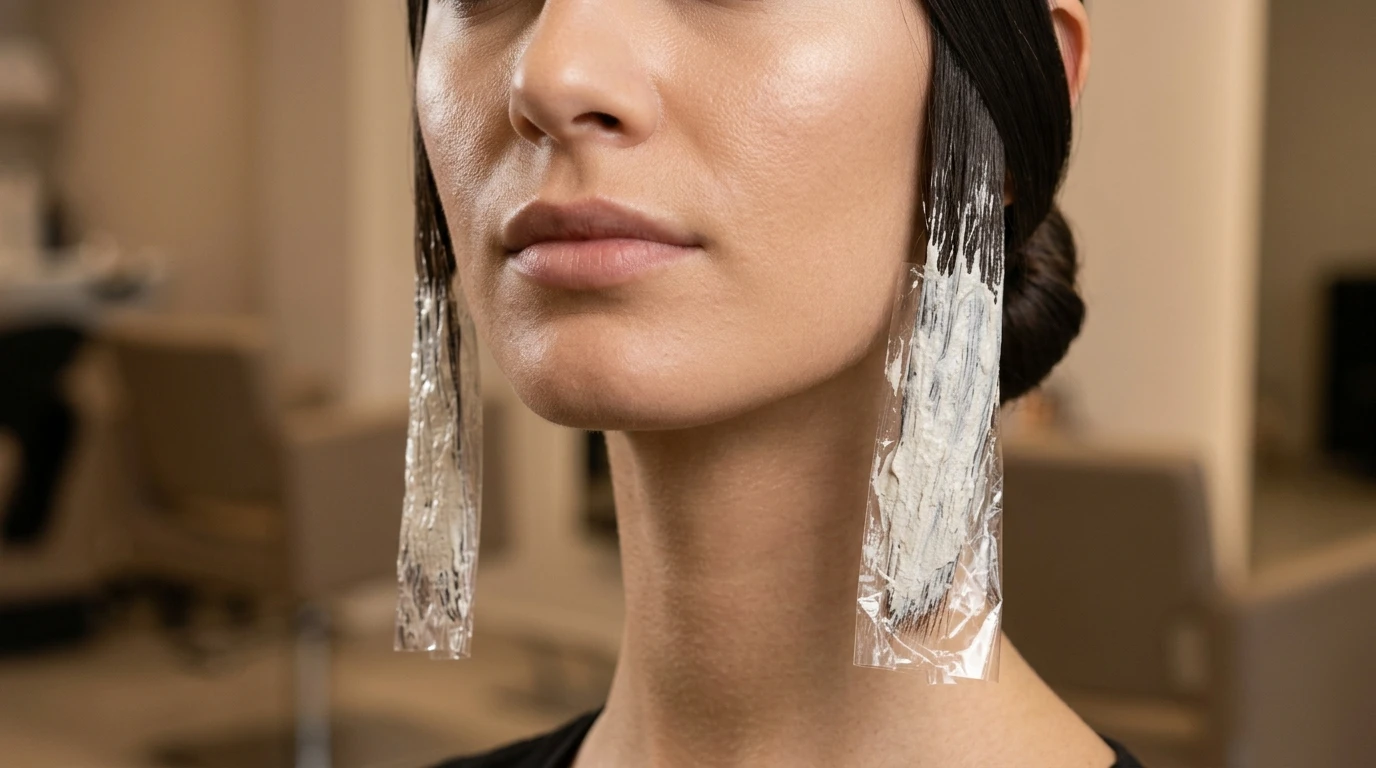
Lifting artificial dark pigment requires bleach, which can be unpredictable for home colorists across an entire head. This conservative method targets two small ribbons around the face, often called money pieces, to illuminate features safely. It is not suitable for hair that snaps when wet, which indicates structural breakage.
Isolate two quarter-inch strands on either side of your front center parting. Clip the rest of your hair firmly into a tight, low ponytail to keep it away from the lightener.
Mix powdered clay-based lightener with 20-volume developer until it reaches the consistency of Greek yogurt. Paint the mixture onto the two ribbons, keeping the lightener half an inch away from your scalp. Wrap both pieces in plastic wrap to keep the bleach moist. Check every 10 minutes by wiping a tiny section clean with a damp rag. Rinse with cool water once the strands lift to a pale yellow shade, then follow with a neutral blonde toner for 10 minutes.
Thick Curly Hair Shifting to Warm Copper
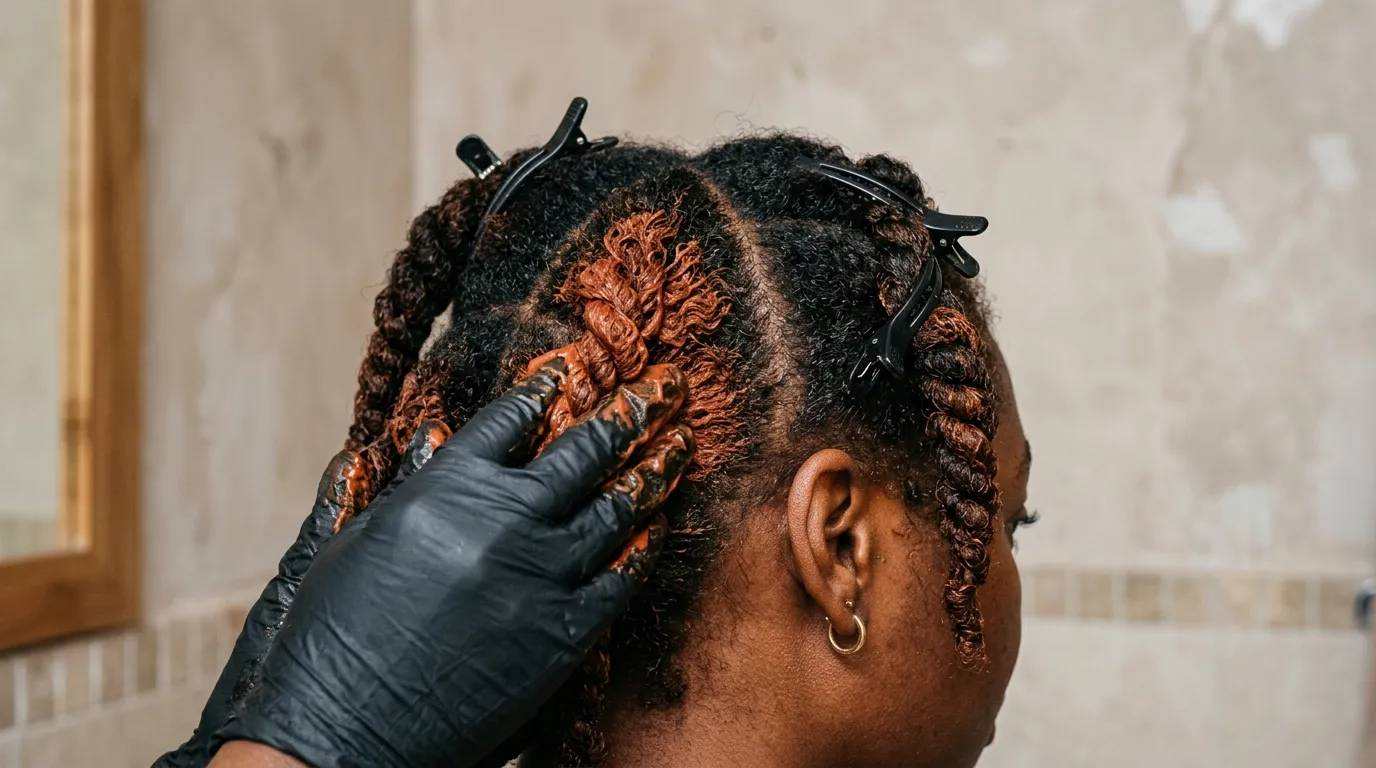
Curly textures have bends along the shaft where the cuticle naturally stands open, making them prone to dryness during color services. This process serves type 3 curls wanting an energetic copper tone without losing their bounce pattern. Skip this if you regularly use sodium hydroxide relaxers, as combining strong chemical processes dissolves disulfide bonds.
Opt for an oil-delivery permanent hair color without harsh ammonia. The oil base lubricates the delicate bends of the curly cuticles during color deposition.
Work through your hair in eight small quadrants, using duckbill clips to maintain order. Apply the mixture generously to the roots first, then work through the mid-lengths. Gently massage each section with gloved fingers to ensure the curl clumps are saturated through their interior spirals. Process for 35 minutes. Rinse using a rich, sulfate-free conditioning cleanser instead of standard shampoo to keep the newly opened cuticles soft and smooth.
Previously Highlighted Strands Transitioning to an All-Over Brunette
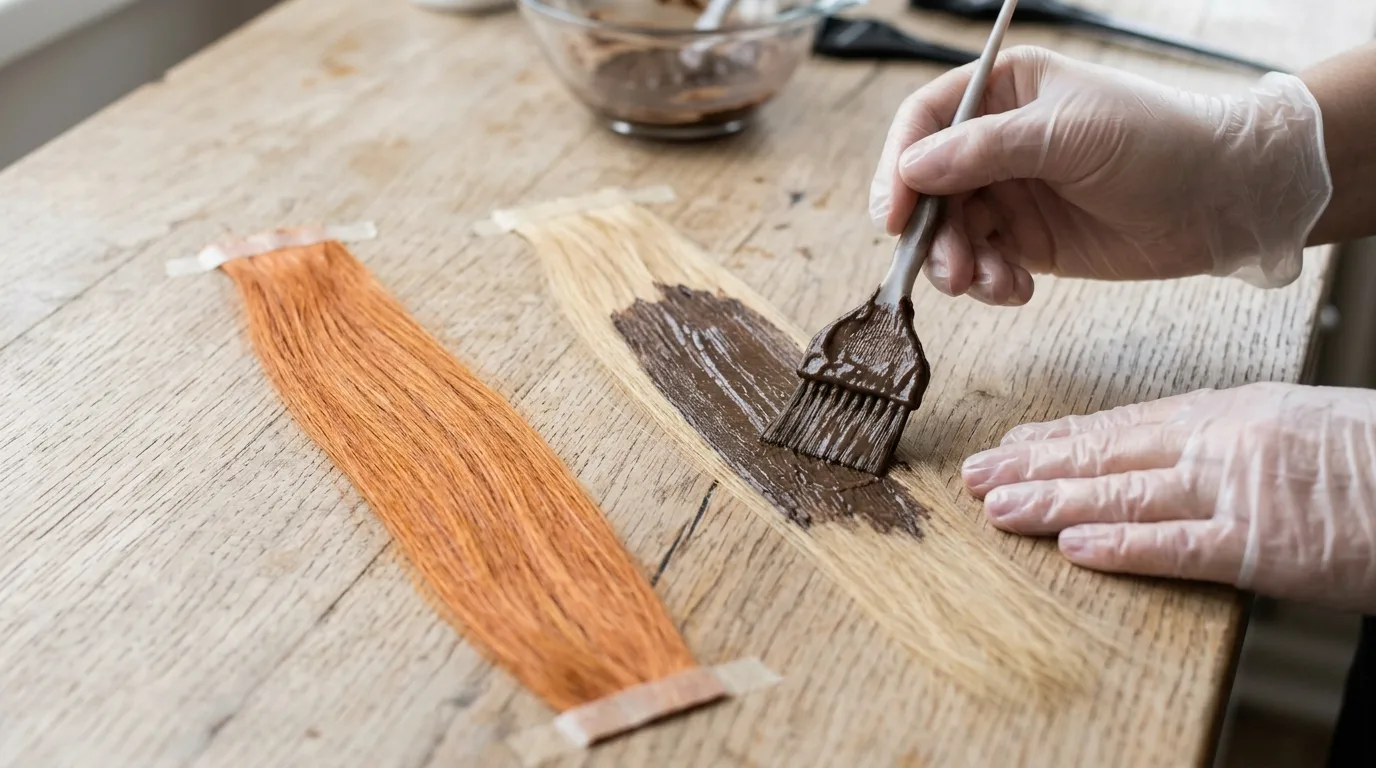
Porous bleached highlights lack red and yellow undertones, meaning a single brown box dye will fade to an unattractive gray or green hue. This two-phase filling routine is mandatory for anyone with old salon balayage who wants a solid, uniform chestnut or mocha shade at home.
Phase one requires a warm protein filler or a red-copper semi-permanent liquid glaze. Apply this copper base to your lightened sections, process for 15 minutes, and rinse thoroughly without shampooing. Your lightened hair will look bright orange, which is the necessary step.
Phase two involves applying your target neutral medium brown demi-permanent color over the entire head, mixed with 10-volume developer. The underlying copper pigments satisfy the porous core of the old highlights, allowing the brown dye to sit flat, shiny, and true to tone without odd tonal shifts.
Faded Red Strands Needing a Deep Vibrancy Refresh
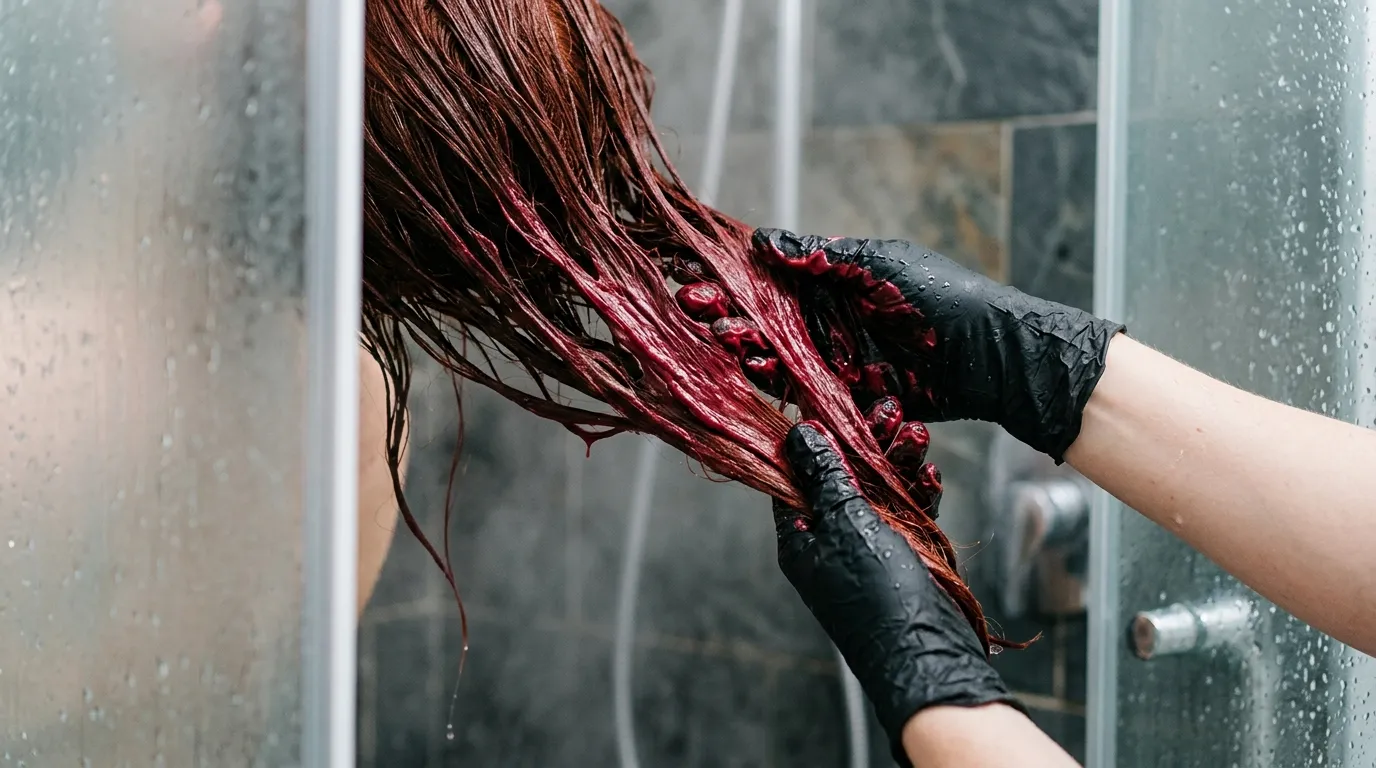
Red artificial pigments are the largest dye molecules, causing them to wash out through standard shower routines faster than other shades. This process serves natural or dyed redheads whose hair has turned copper-orange or dull brown after weeks of washing. It will not work to lighten dark roots.
Avoid permanent oxidative dyes here, as reapplying developer to red lengths causes cuticle damage and color buildup. Instead, pick a direct-dye conditioning mask loaded with crimson or auburn pigments.
Shampoo your hair with a clarifying wash to strip away silicone residues, then towel-dry until damp. Work three to four pumps of the color-depositing conditioner through your lengths with a detangling brush to guarantee streak-free distribution. Leave the product on for 15 minutes while you finish your shower. Rinse with cold water to seal the outer cuticle layer. This stains the hair fiber with fresh pigment without lifting the cuticle again.
Salt and Pepper Hair Blending into a Cool Slate
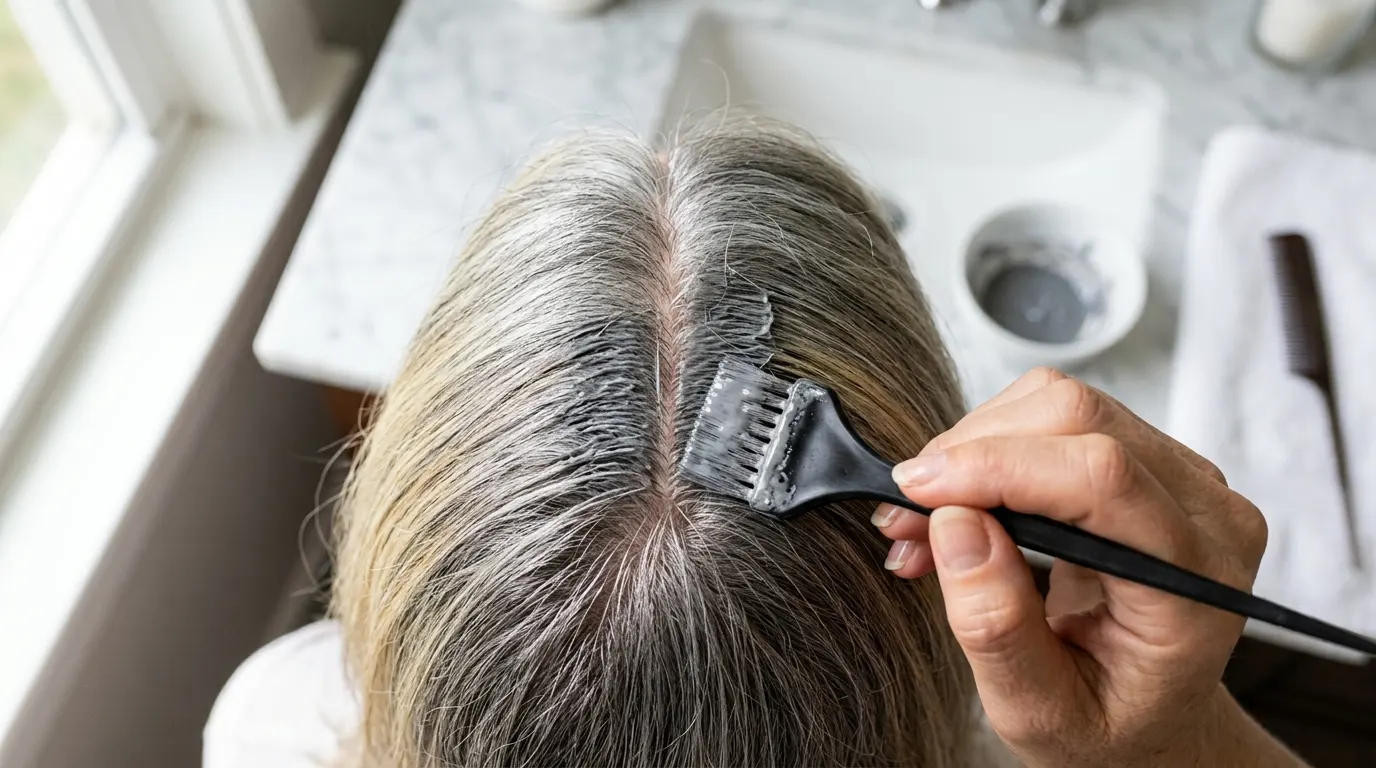
Natural silver transitions often look patchy when a harsh horizontal line separates dark ends from silver roots. This method suits anyone seeking to soften that transition into a deliberate smoky look. Do not attempt this if your natural base is dark brown or black without previous silver integration.
Pick an ash-based demi-permanent toner at a Level 8 or 9 containing slate and blue-violet undertones. Mix with 6-volume developer.
Paint the formula along the demarcation line between the gray regrowth and the older artificial color using a dry feathering stroke. Hold the tint brush vertically to sweep the color across the boundary rather than painting a straight horizontal stripe. Leave on for 18 minutes. This blends the high-contrast line into a soft transition that grows out with zero harsh lines.
Heat-Damaged Ends Rejecting Artificial Pigment
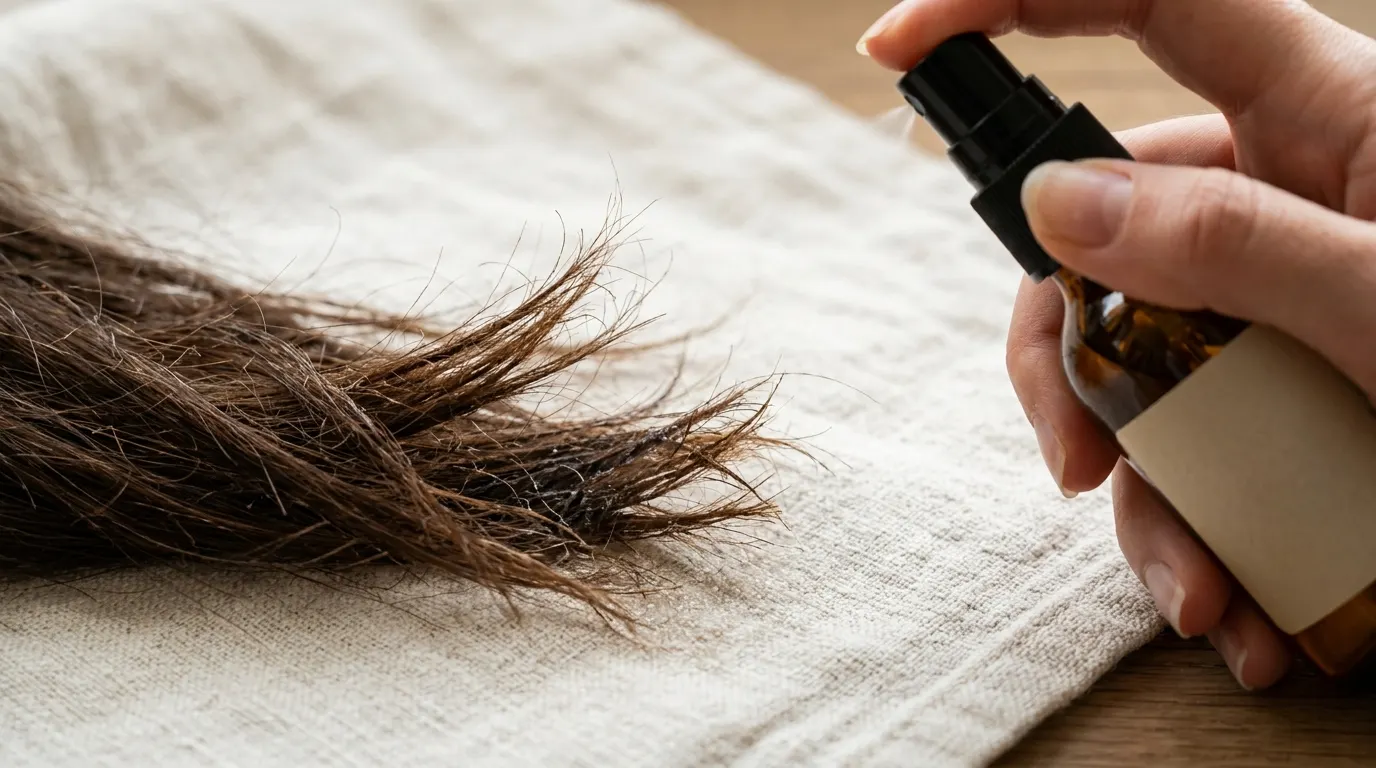
Hair damaged by excessive flat ironing features collapsed cortex proteins that dump artificial color molecules within three washes. This routine is designed for anyone whose ends look translucent, stringy, and faded compared to their roots. It will not repair split ends, which must be trimmed with hair shears.
Apply a spray-on bond-building treatment or keratin restructuring spray across dry mid-lengths 24 hours prior to coloring. This creates an internal scaffold for the pigments to cling to.
When formulating your color, drop down one half-level darker than your roots for the damaged ends, and use a 5-volume acid-balanced demi-permanent gloss. Acidic glosses drop the hair cuticle closed during development. Process the damaged ends for only the final 7 minutes of the total coloring time. Avoid blow-drying or curling irons for four days post-color to let the delicate outer sheath stabilize.
Coarse Stubborn Hair Going One Shade Lighter Naturally
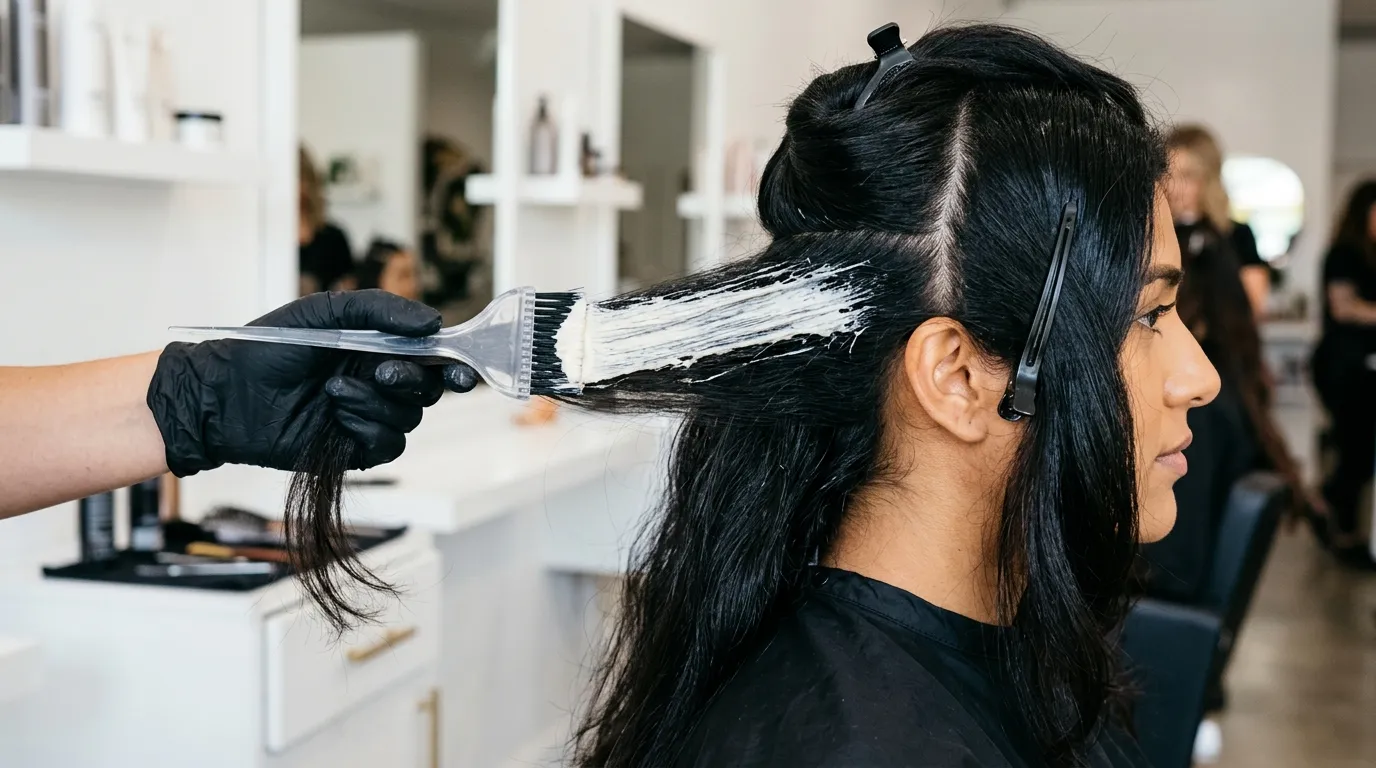
Natural hair with thick, glassy cuticles often resists opening with light, off-the-shelf developers. This approach is for individuals with untreated, non-porous dark hair wanting subtle honey-brown highlights without industrial bleach powders. It is useless on hair with existing black artificial dye.
Mix a high-lift permanent color in a neutral or golden blonde series with 30-volume developer at a 1:2 ratio. The high ratio of developer to dye provides the oxidative power needed to lift stubborn natural melanin by one to two levels.
Section hair into small quarter-inch slices. Paint the mixture through mid-lengths first, keeping one full inch away from your scalp. Process for 20 minutes, then apply the remaining mixture to the scalp zone for the final 15 minutes. The warmth radiating from your head accelerates the lifting process, so applying to the scalp last prevents bright roots from forming.
| Hair Situation | Target Color Format | Developer Strength | Processing Window | Primary Risk to Prevent |
|---|---|---|---|---|
| Virgin Medium Brown | Demi-permanent cream | 10-Volume | 25 minutes | Unwanted red lift at the base |
| Resistant Gray Temples | Permanent N-series cream | 20-Volume | 45 minutes | Translucent, un-covered roots |
| Blonde to Warm Brunette | Warm demi-permanent cream | 10-Volume | 20 minutes staged | Murky khaki or green undertones |
| Fragile Double-Bleached | Acidic liquid gloss | 5-Volume | 8 to 12 minutes | Accidental purple tone grabbing |
| Hidden Contrast Peekaboo | Semi-permanent direct dye | No developer | 35 minutes wrapped | Color bleeding onto top canopy |
| Fine Hair Early Gray | Translucent deposit gloss | No developer | 20 minutes capped | Dense, artificial helmet look |
| Dark Hair Face Frames | Clay powdered lightener | 20-Volume | Max 30 minutes checked | Brass orange tone development |
| Thick Curls to Copper | Oil-delivery permanent dye | 20-Volume | 35 minutes | Dryness and curl clump distortion |
| Bleached Hair to Brown | Two-phase protein fill + dye | 10-Volume | 15 min fill + 20 min dye | Hollow fading within two washes |
| Faded Artificial Red | Direct-dye color mask | No developer | 15 minutes | Excessive chemical cuticle wear |
| Silver Line Blending | Cool ash demi-toner | 6-Volume | 18 minutes | Sharp horizontal demarcation lines |
| Damaged Over-Ironed Ends | Acid-balanced gloss | 5-Volume | 7 minutes end-staged | Rapid pigment drop and leaching |
| Stubborn Glassy Virgin | High-lift blonde series | 30-Volume | 20 min ends + 15 min roots | Bright, mismatched scalp roots |
How to Dye Hair at Home
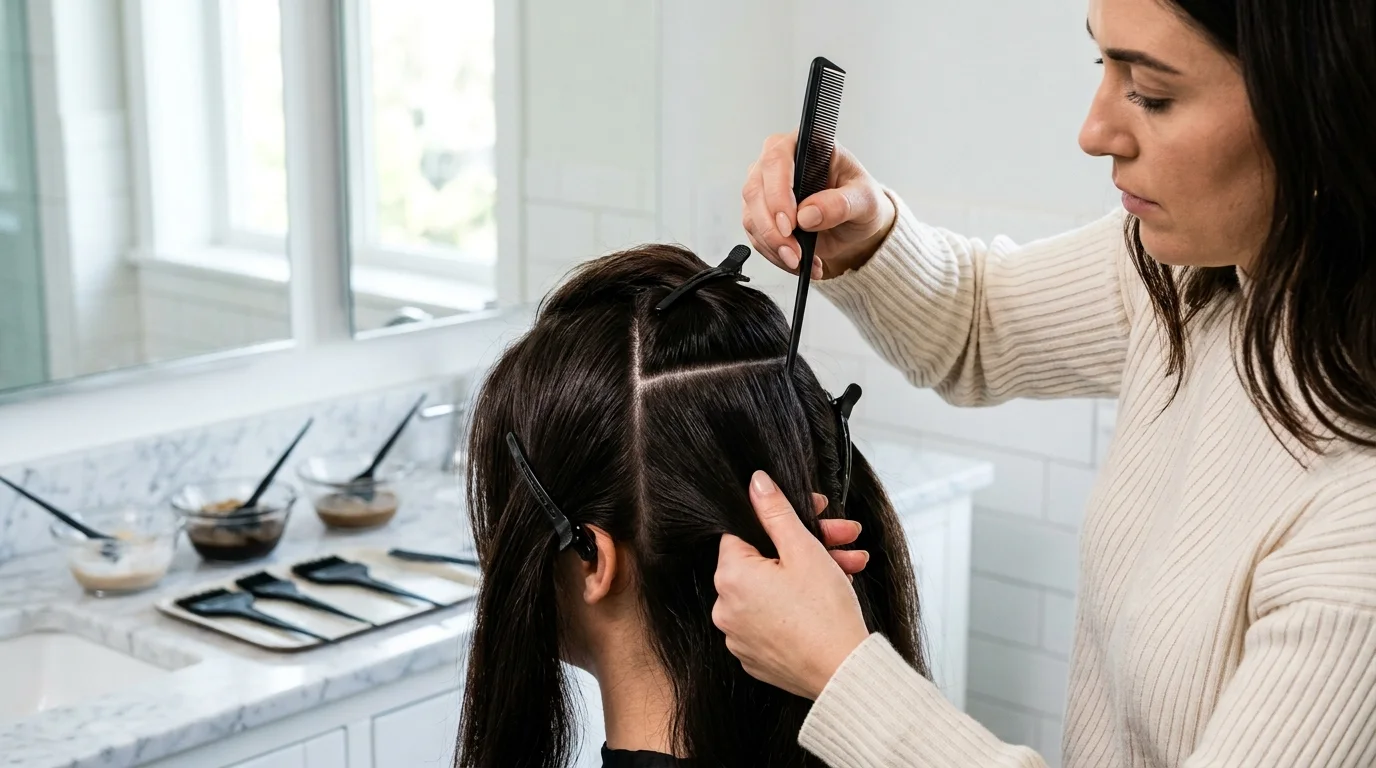
Mastering your technique requires understanding how different tools and formulas interact with your individual strand diameter. Some home colorists seek tips on how to dye hair at home using pantry mixtures like coffee or beet juice. Those methods wash out in a single rinse, making authentic homemade hair dye useful only as a temporary surface stain rather than a durable colorant.
Budget shoppers often grab home bargains hair dye off discount shelves without checking the expiration dates stamped on the cardboard crimp. If you are exploring at home hair dye ideas, you must select the best blonde home hair dye formulated with conditioning polymers rather than harsh stripping agents.
Weighing dye hair at home vs salon appointments comes down to technical complexity. Simple tone refreshes are easy to dye hair at home with basic plastic clips and applicator bowls.
Using the easiest hair dye to use at home, such as a rich foam or an acid gloss, prevents drips along your neck. Exploring different ways to dye hair at home allows you to identify the best home hair dye for gray hair that penetrates coarse strands without turning scalp skin orange.
Frequently Asked Questions
Which developer volume should I choose if I only want to cover gray without lightening?
Choose a 20-volume developer if your gray hair is coarse, resistant, or concentrated around your hairline. If your hair is fine, fragile, or damaged, select a 10-volume developer paired with a rich permanent cream, which will deposit pigment without over-opening the cuticles.
How do I choose between a liquid toner and a conditioning color mask?
Select a liquid gloss toner mixed with 5-volume developer if you have recently bleached your strands and need to neutralize persistent brassiness throughout the hair shaft. Choose a pigment-depositing conditioning mask if your ends feel dry, damaged, or brittle and you want to refresh existing color without chemical developers.
Should I choose a semi-permanent, demi-permanent, or permanent dye for early grays?
Opt for a demi-permanent formula if you have less than thirty percent scattered gray and want a natural, low-maintenance grow-out line. Pick a permanent formula only when you have broad, solid patches of white hair that refuse to absorb temporary color molecules.
How do I select the right hair dye formula for a sensitive scalp?
Pick an ammonia-free cream dye formulated with monoethanolamine and botanical oils. Avoid formulas that contain high percentages of paraphenylenediamine if you have a history of contact dermatitis, and always patch-test the mixed cream behind your ear 48 hours before your application.
Should I pick an ash, neutral, or warm tone to avoid brassiness?
Choose a cool ash shade if your natural hair pulls strong orange and red undertones whenever it is exposed to sunshine or heat styling. Select a neutral shade if your hair has no underlying warmth and you want an authentic, true-to-swatch brunette or blonde finish.
The Clear Direction for Color Success
When you feel caught between conflicting box instructions and complicated shade charts, choose the gentler path: stick to a demi-permanent shade within two levels of your current base. Never attempt a three-shade color transformation on your bathroom floor. Keep your developer strength low, watch your clock carefully, and give your hair the hydration it needs to lock in color for weeks.
Disclaimer: Chemical hair dyes can trigger severe allergic contact dermatitis or chemical burns if misused. Always perform a 48-hour cutaneous patch test on your inner arm prior to applying any color formulation to your scalp. Avoid hair coloring if your scalp is scratched, sunburned, or irritated.
Related reads: The Complete Step-by-Step Wavy Curly Hair Routine for All-Day Clumps, How to Curl Your Hair With Lasting Shape and Minimal Friction and The Best Short Haircuts for Fine Thin Hair to Boost Volume.