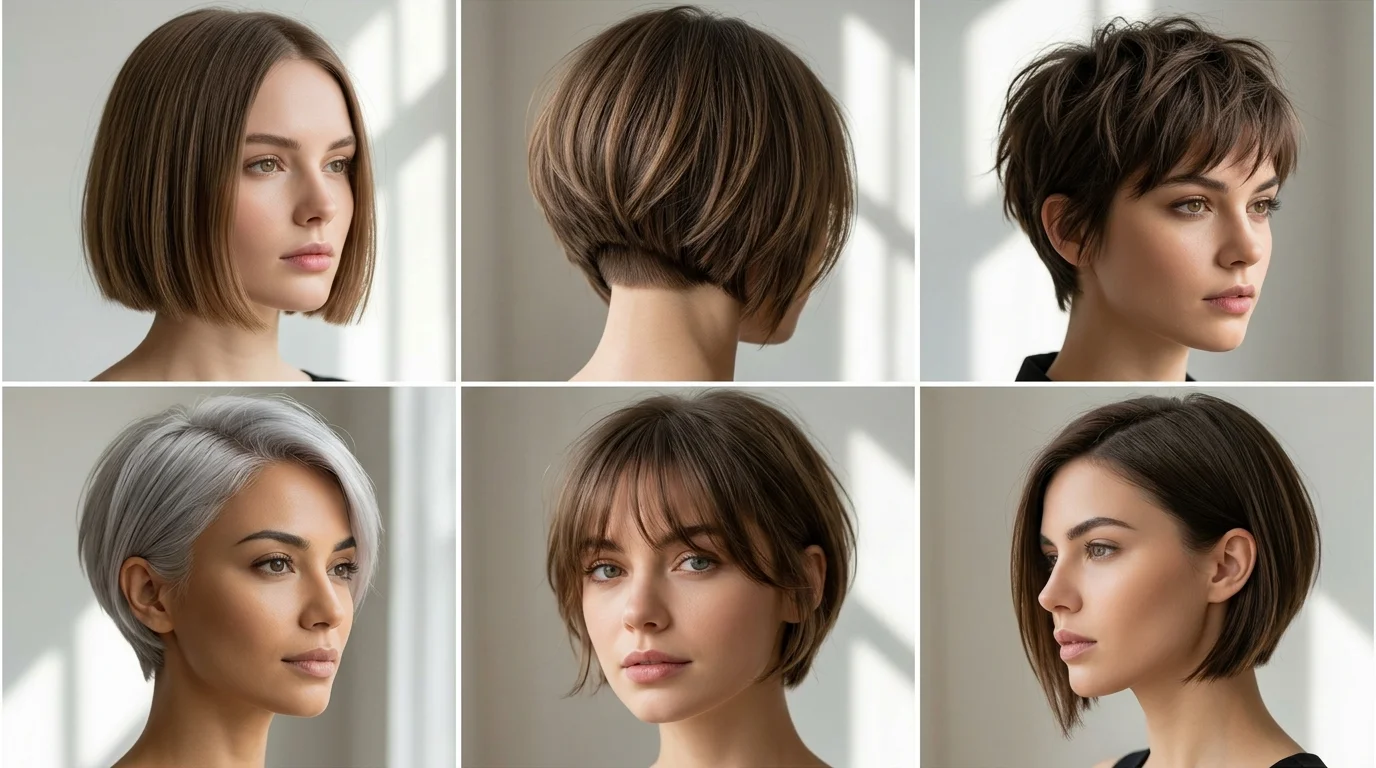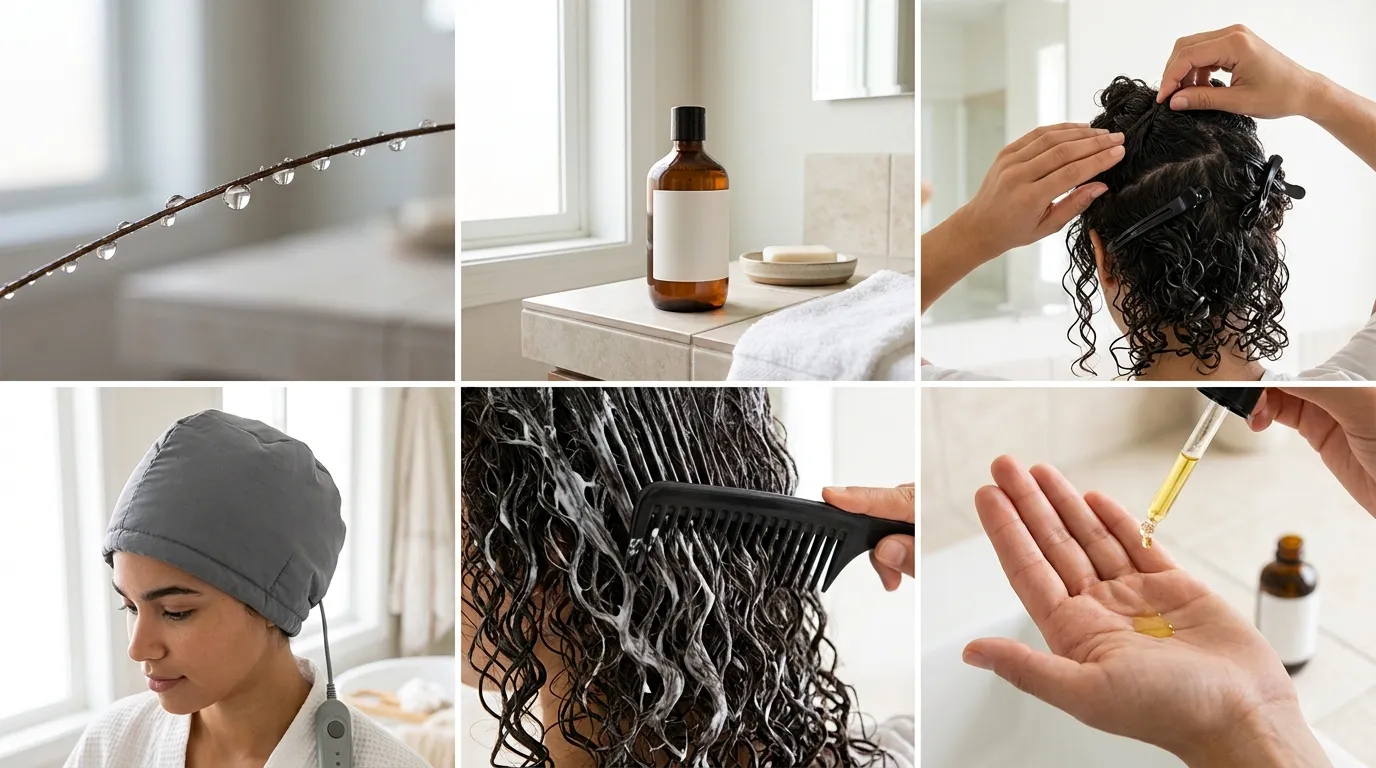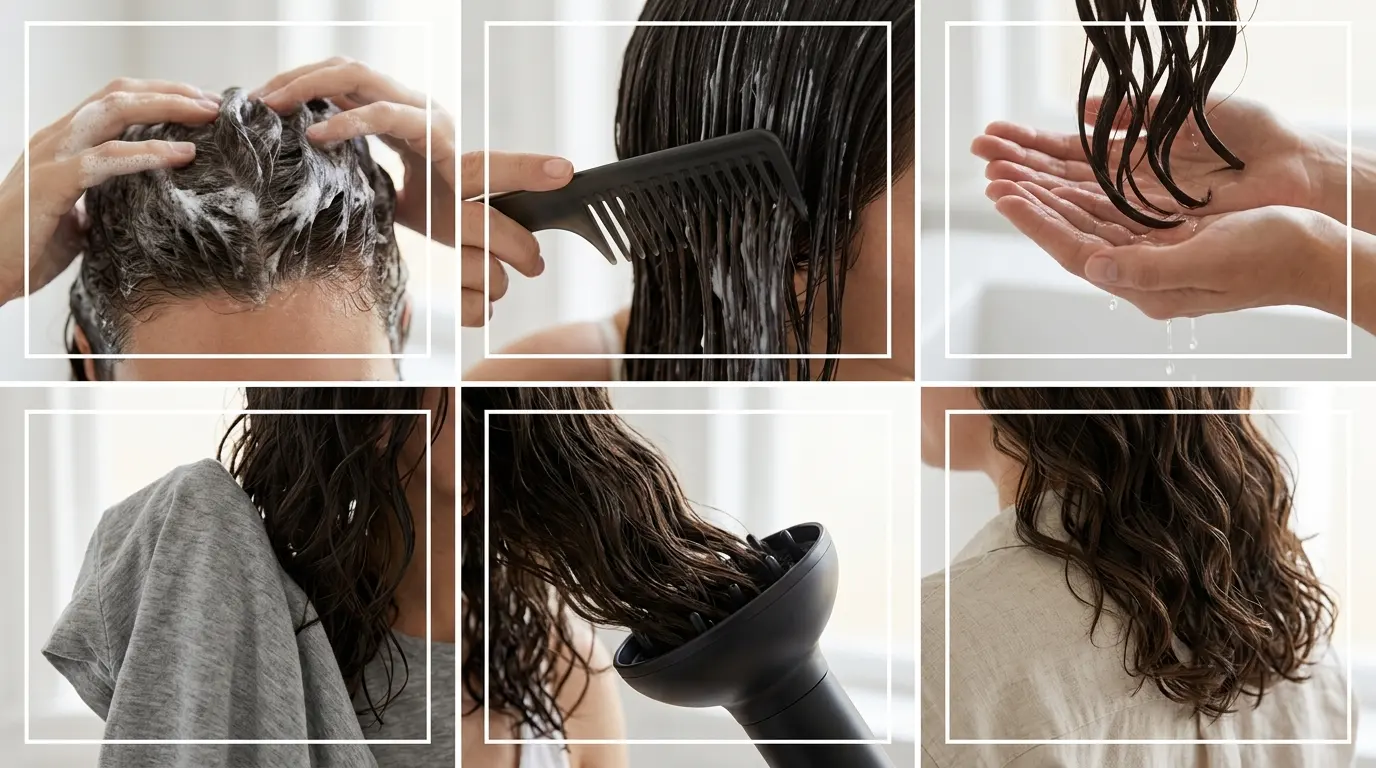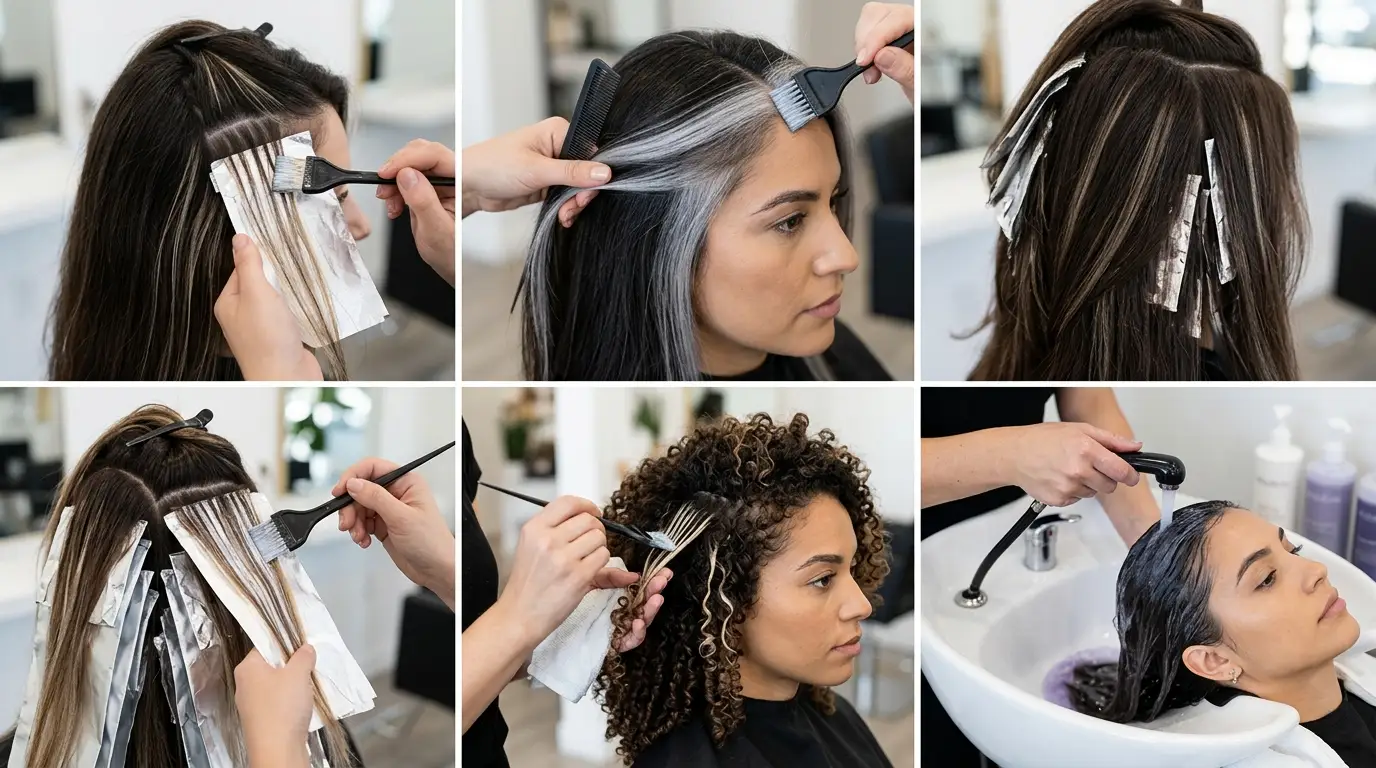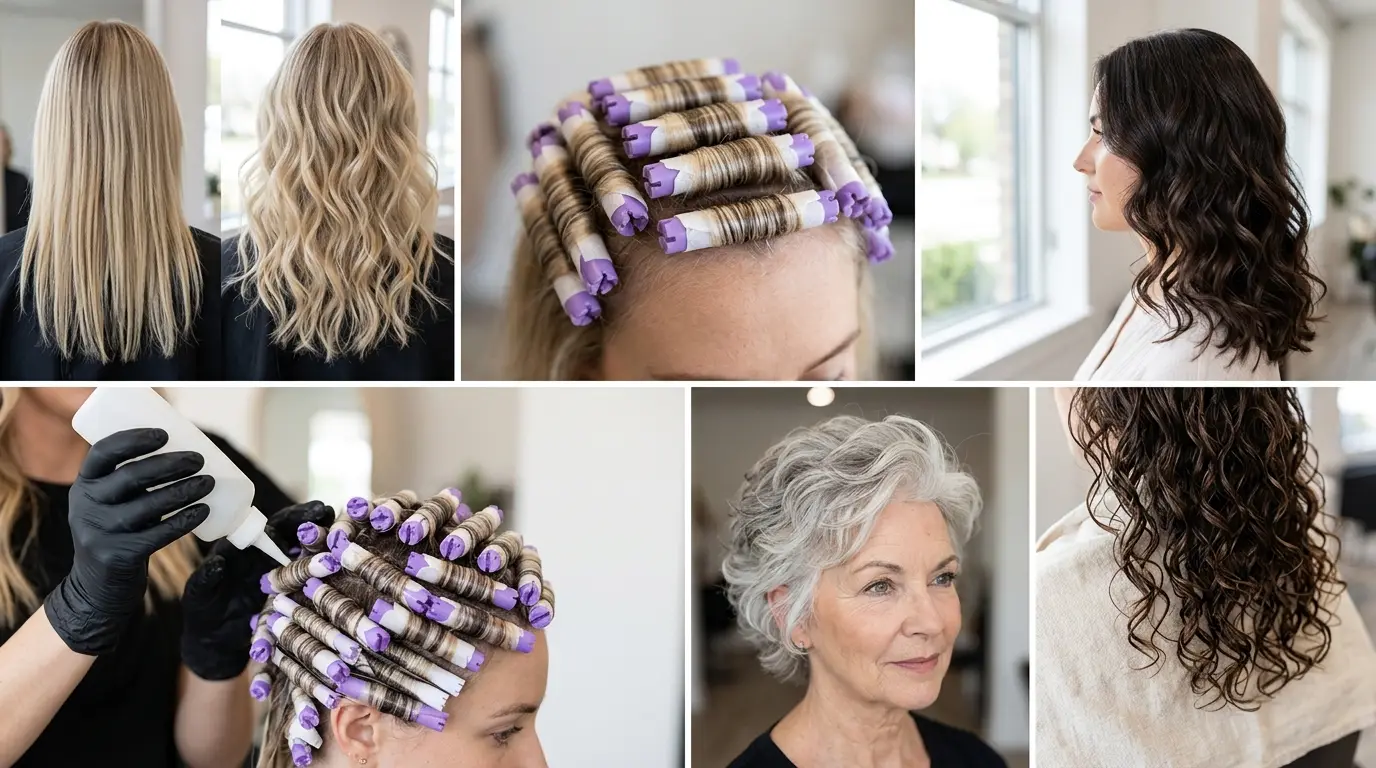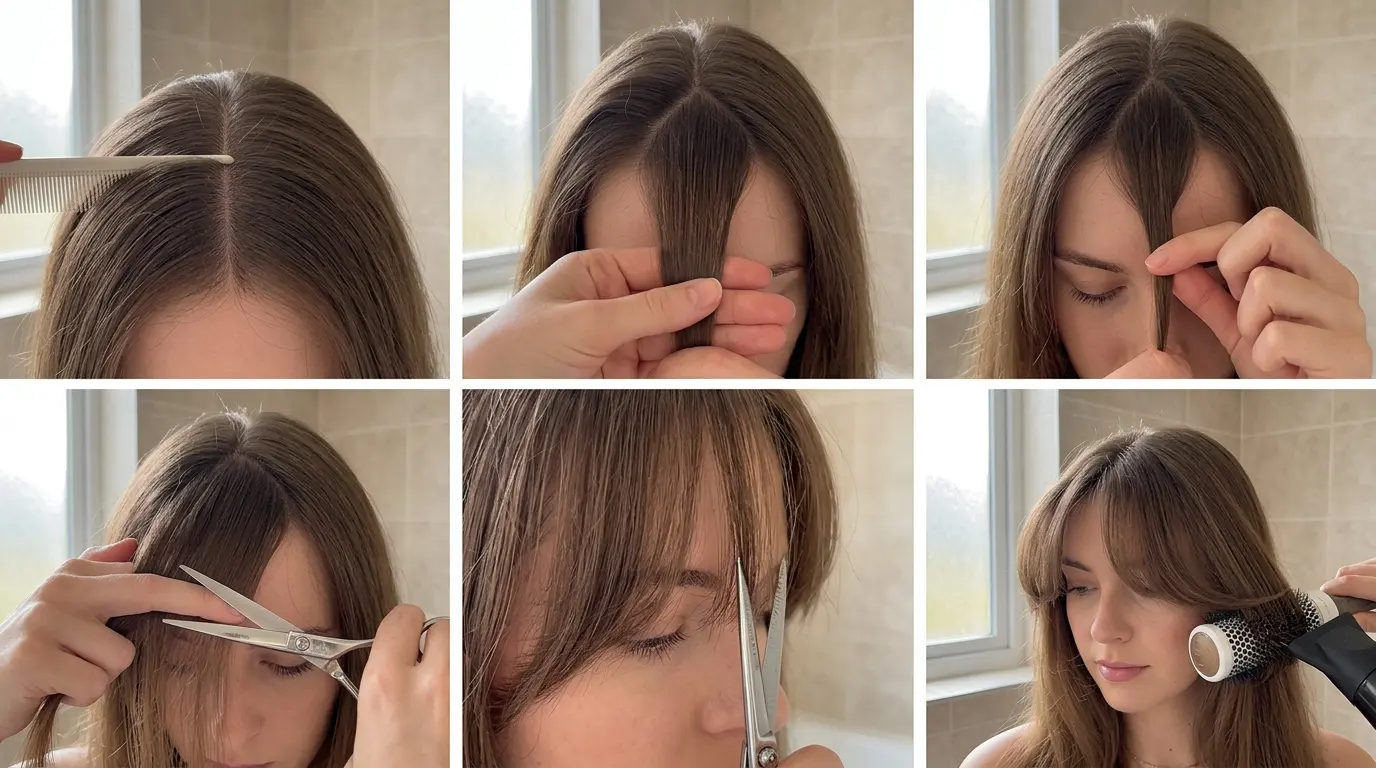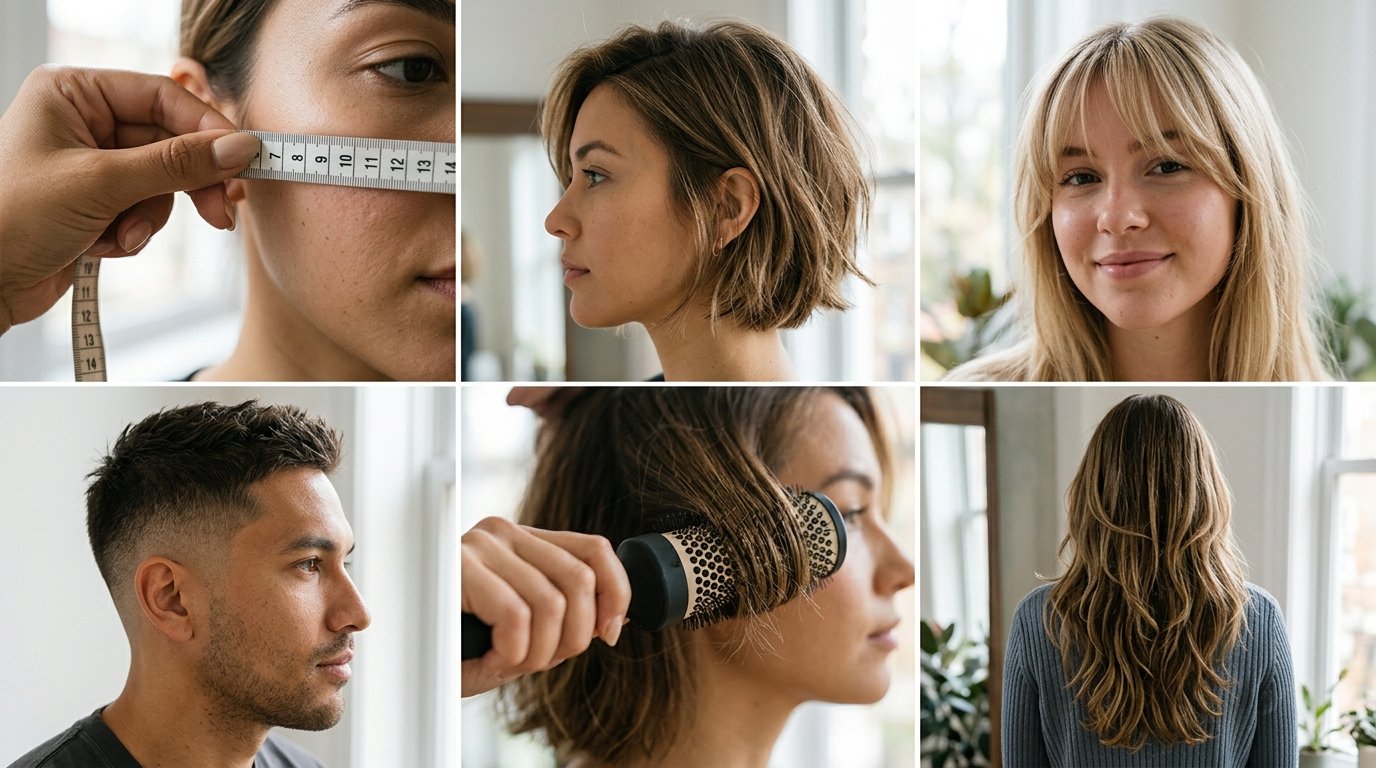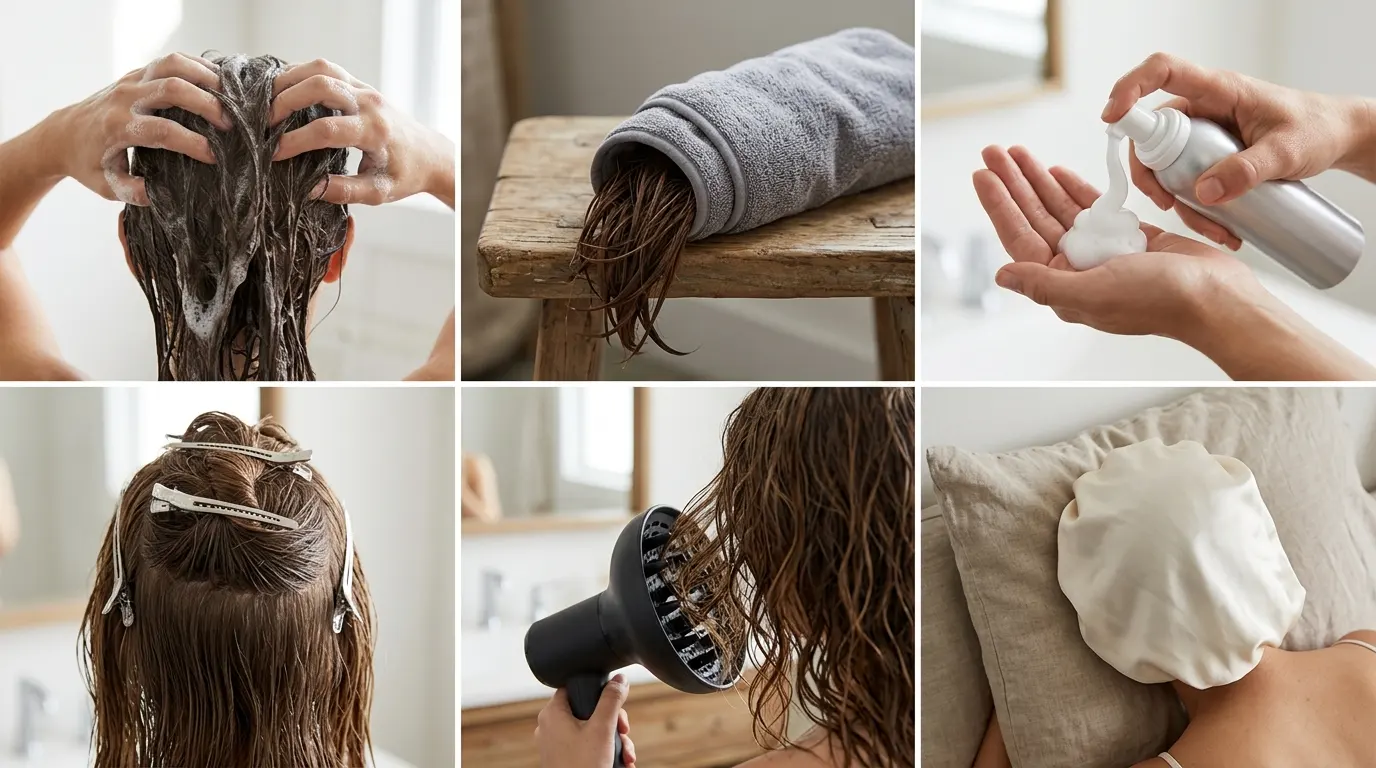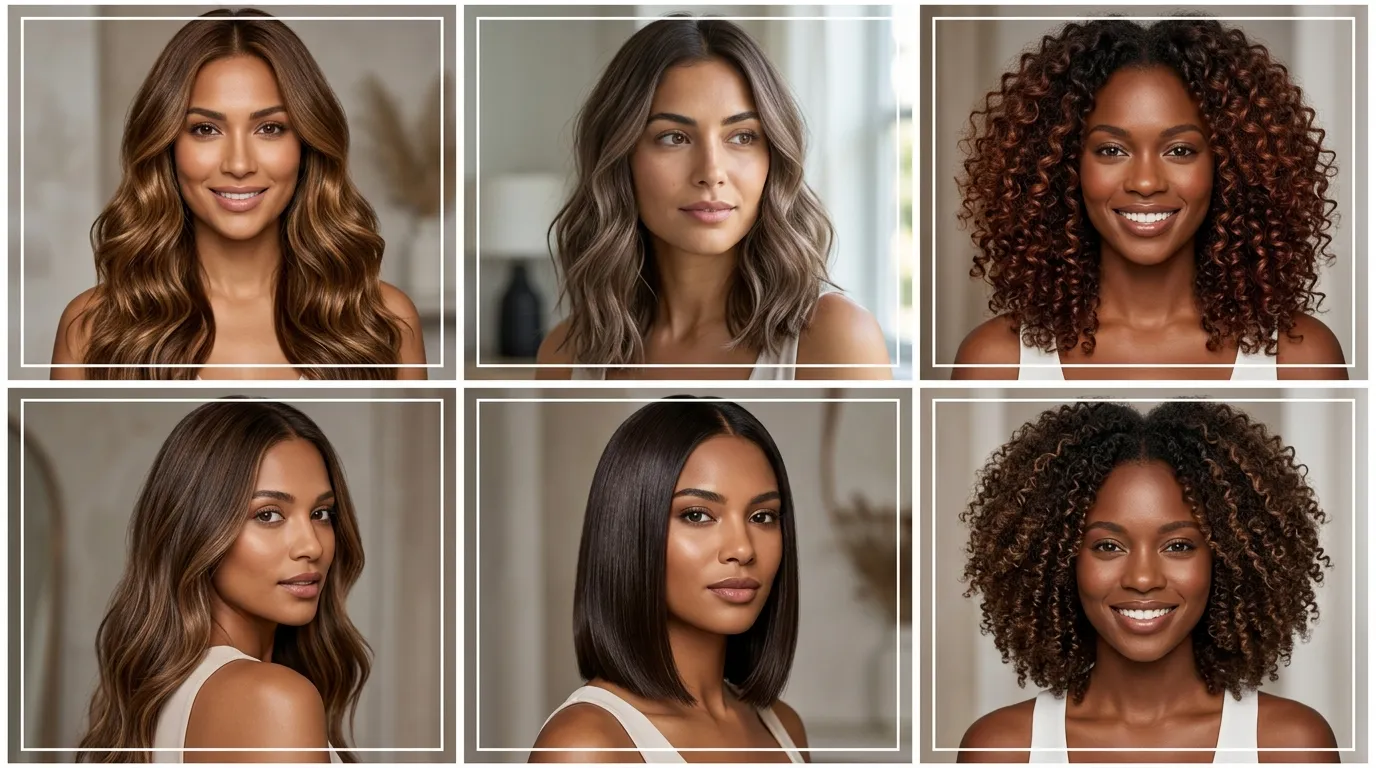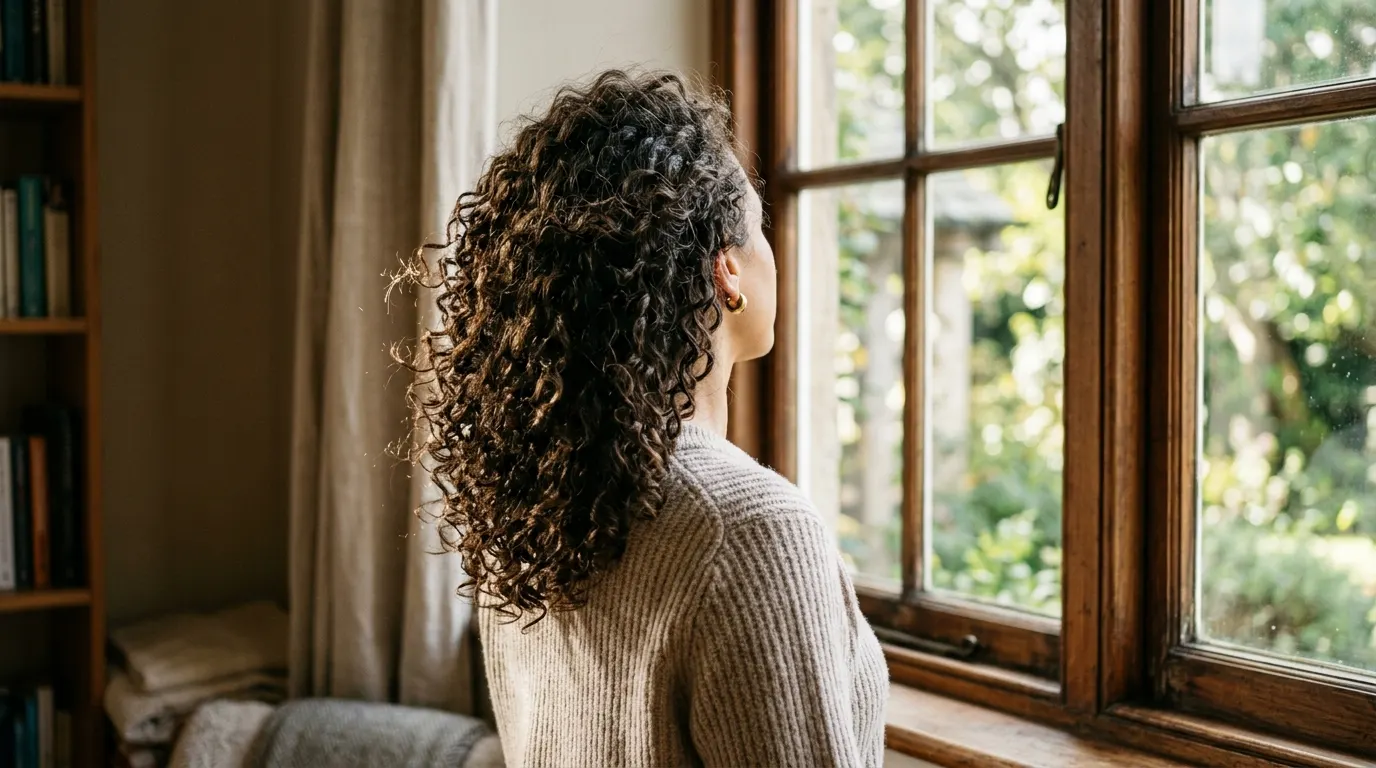

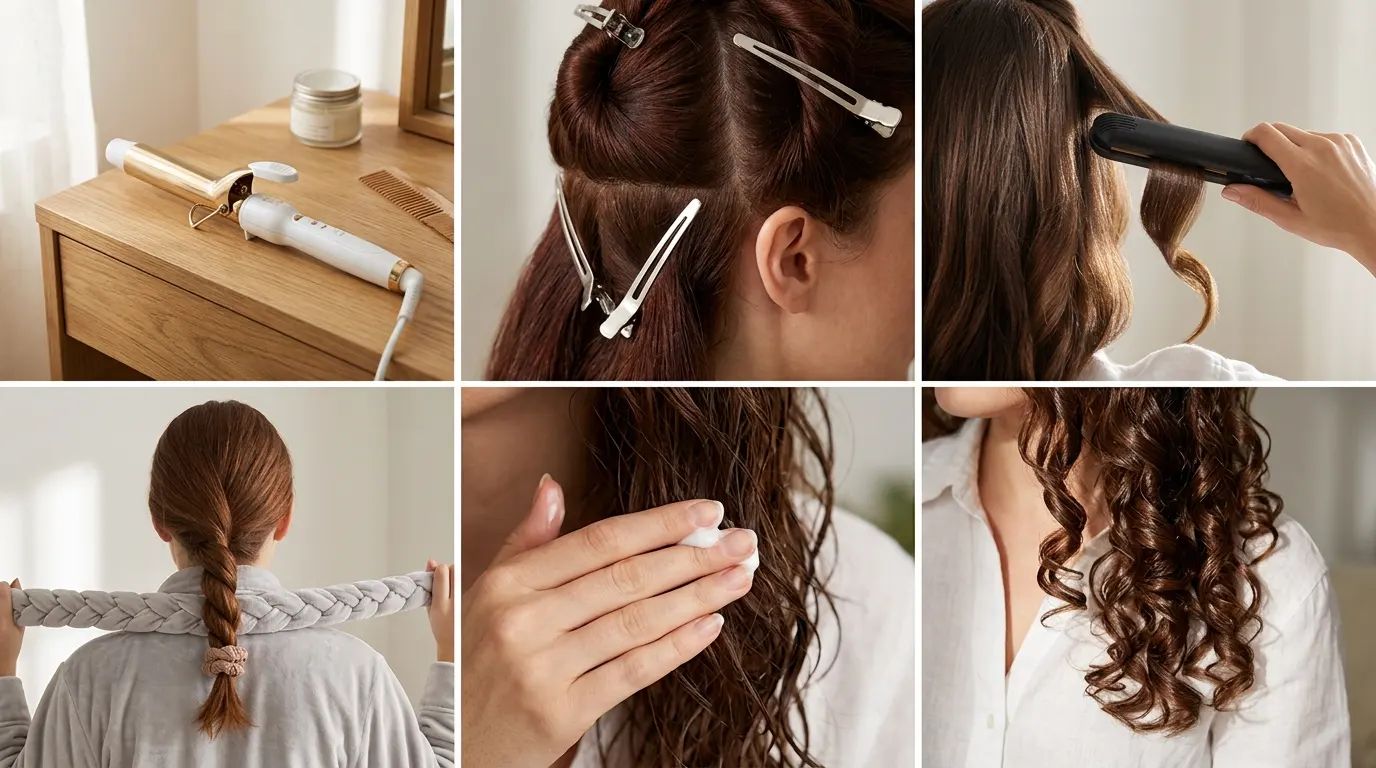
Curling hair works by breaking and resetting hydrogen bonds with heat or moisture. Understanding this mechanical shift is the entire secret to learning how to curl your hair so the spirals actually survive past noon.
Disclosure: This post contains affiliate links. If you purchase through them, we may earn a small commission at no extra cost to you. Always perform a patch test on a small strand of hair and skin before using new styling creams or aerosol products to avoid allergic irritation.
Preparing the Hair Canvas Before Applying Heat
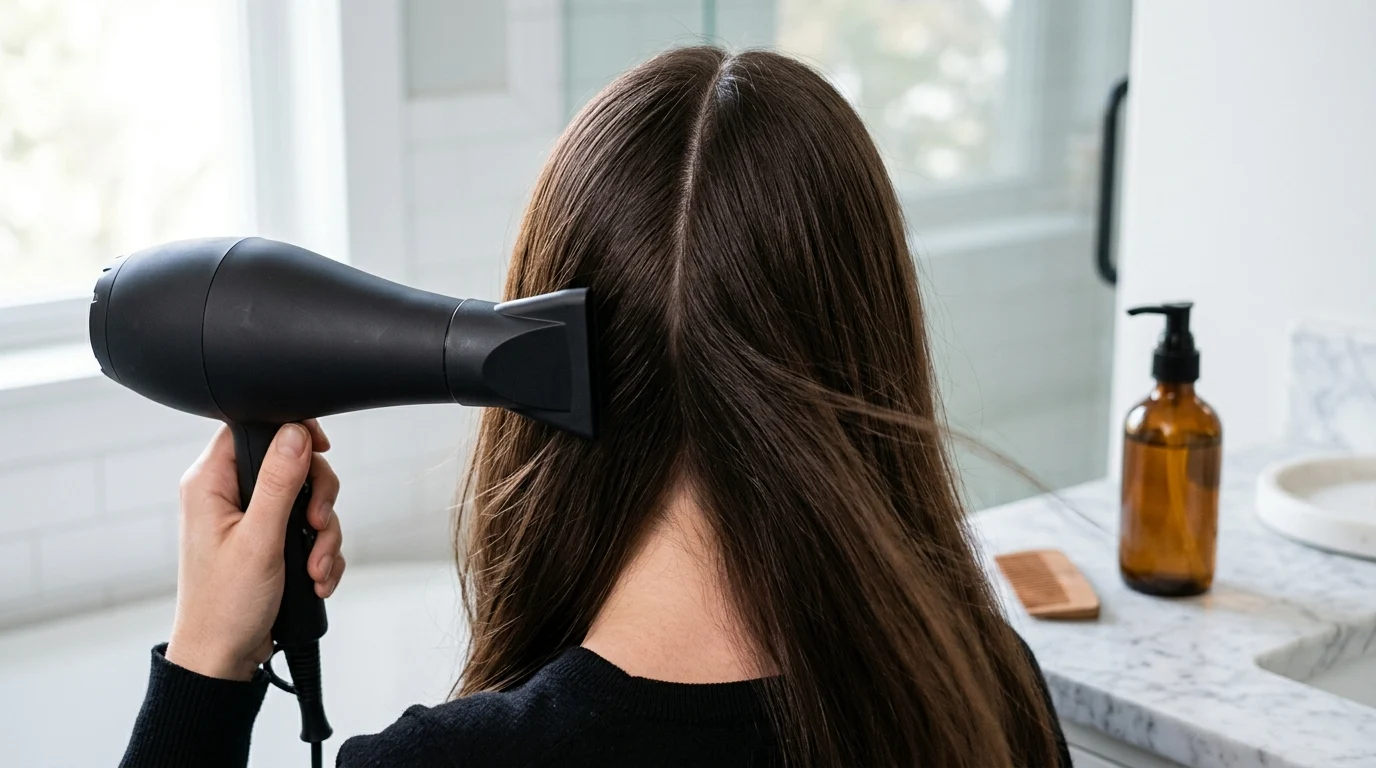
Thermal tools demand an immaculate, bone-dry base. Attempting to wrap damp strands around a 350-degree wand boils trapped moisture inside the cortex, causing steam blisters that permanently fray the cuticle.
Managing Moisture and Residual Water
Run your blow dryer on medium until not a trace of dampness remains along the nape or behind the ears. Water expands when heated instantly, which blasts the hair shaft open from the inside out. If an iron sizzles against your strands, stop immediately.
Wait two minutes after blow-drying so the residual ambient humidity clears out of the room. A dry canvas holds its shape because the hair fibers absorb ambient styling products rather than their own trapped dampness.
Thermal Protection Barriers and Placement
Mist every layer with a silicon-based or copolymer heat spray from ten inches away, keeping the mist light rather than soaking the fiber. Concentrate application on mid-lengths and ends where natural scalp oils never reach.
Comb through with a wide-tooth carbon comb to distribute the liquid barrier evenly over every single strand. Letting the spray dry completely for thirty seconds prevents sticky crust from adhering to your tool plates.
Grab a clip and pin up the top half before touching any hot device to the lower layers.
Selecting Barrel Dimensions and Metallurgy
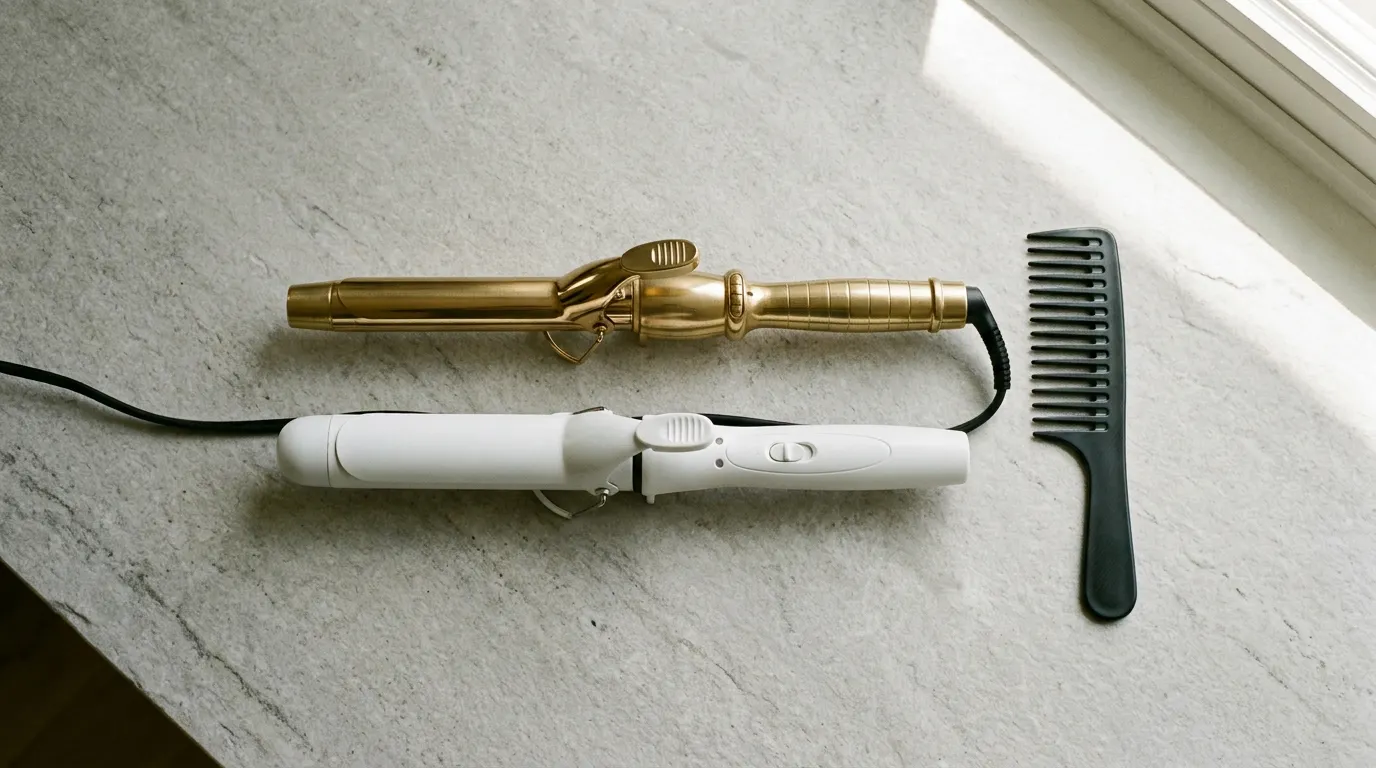
The physical barrel material dictates heat transfer speed, while its diameter sets the circumference of the wave pattern. Choosing wrong means fighting your own equipment on every pass.
Ceramic Against Titanium Plates
Ceramic barrels warm slowly and diffuse heat evenly across the entire surface, making them ideal for bleached or fragile hair textures. Titanium conducts heat instantly, demanding a steady hand and fast motion to avoid scorching fine ends.
Ceramic surfaces provide slight mechanical grip, which helps slippery, untreated virgin hair stay put around the cylinder.
Expect to invest between $45 and $120 for an adjustable-temperature ceramic iron in 2026.
Matching Cylinder Width to Desired Wave Density
A 1-inch barrel creates defined, bouncy ringlets that stay intact across long days. Step up to a 1.5-inch or 2-inch barrel if you prefer a loose, relaxed bend with minimal coiling.
Small barrels deposit more concentrated heat into a smaller surface area, giving fine hair the structural density it lacks naturally. Larger cylinders simply lack the curve radius needed to bend short layers that sit above shoulder level.
Store your tools clean by wiping the cooled metal with rubbing alcohol on a cotton pad once a month to remove baked-on spray residue.
Mastering the Clamp Curling Iron
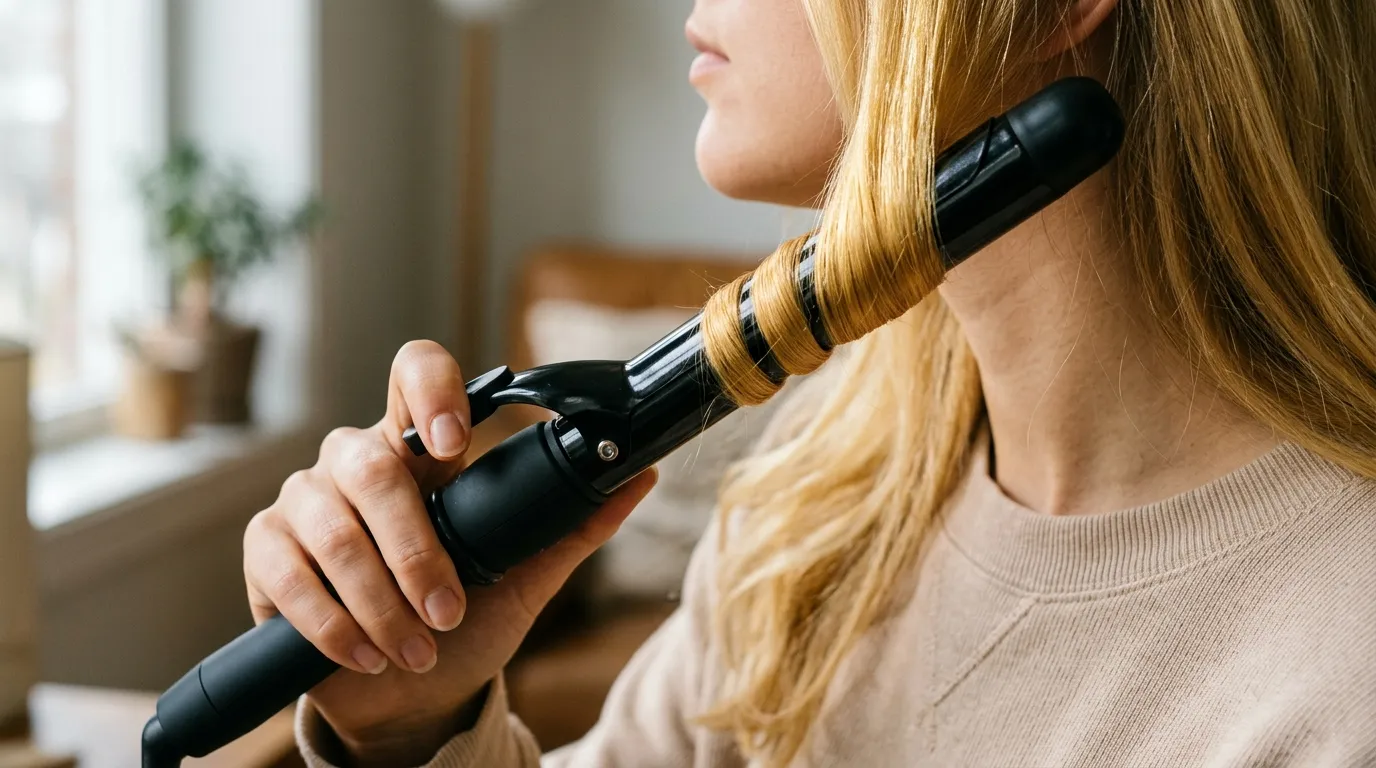
Using a traditional spring clamp requires steady tension and uniform rotation to prevent unsightly crimp marks near the root zone.
Section Partitioning and Width Rules
Divide hair into tidy 1-inch to 1.5-inch squares using the tail of a metal comb. Taking a chunk larger than two inches prevents heat from penetrating into the core of the bundle, leaving the center limp and flat.
Clip away excess bulk so stray hairs do not snag in the metal spring mechanism during rotation.
Clean sectioning lines guarantee that every curl receives identical thermal exposure from base to tip.
The Feed-In Barrel Method
Clamp the iron two inches below the scalp, smooth down the section, then roll the hair upward toward the head. Open the clamp slightly with your thumb to feed the remaining ends through the barrel slowly as you turn.
Leave the final half-inch of hair out of the clamp entirely. This prevents blunt ends from bending into awkward fishhooks and preserves a modern, casual silhouette.
Hold the wrapped hair against the heated metal for roughly eight to ten seconds before pressing the release lever to slide the tool downward.
Shaping Spirals with a Standard Flat Iron
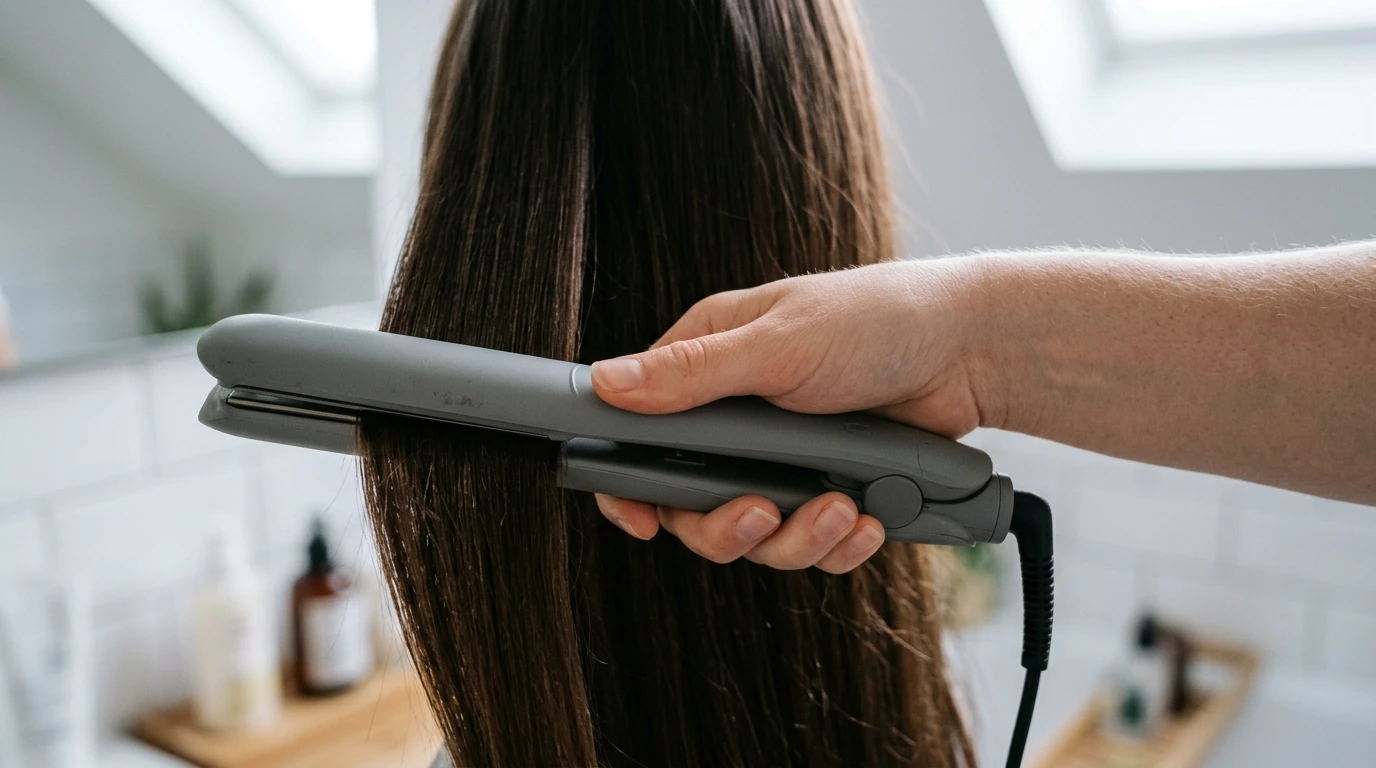
A flat iron functions as an outstanding curling device once you master the wrist-rotation angle, offering an easy how to curl your hair with a straightener routine without buying separate appliances.
Beveled Plate Mechanics and Grip
Select a straightener equipped with rounded, beveled edges rather than sharp 90-degree corners. Squared edges snag the hair shaft and leave sharp horizontal ridges across the mid-lengths.
Clamp a 1-inch section near the root with moderate, steady hand pressure.
Squeezing the handles too tightly creates friction drag that pulls strands out by the root, while too loose a grip lets the strand slip free before taking a bend.
The Single Fluid Pull Technique
Rotate the flat iron a full 180 degrees away from your face so the hair wraps once around the outer casing. Glide the iron down the hair shaft at a continuous, steady pace toward the floor without stopping at any point.
Halting the motion even for a second imprints a visible line across the hair strand.
Catch the warm ribbon of hair in your open palm as it falls from the plates, letting it rest for three seconds to set the curve before dropping it onto your shoulder.
Alternative Zero Heat Mechanical Styling
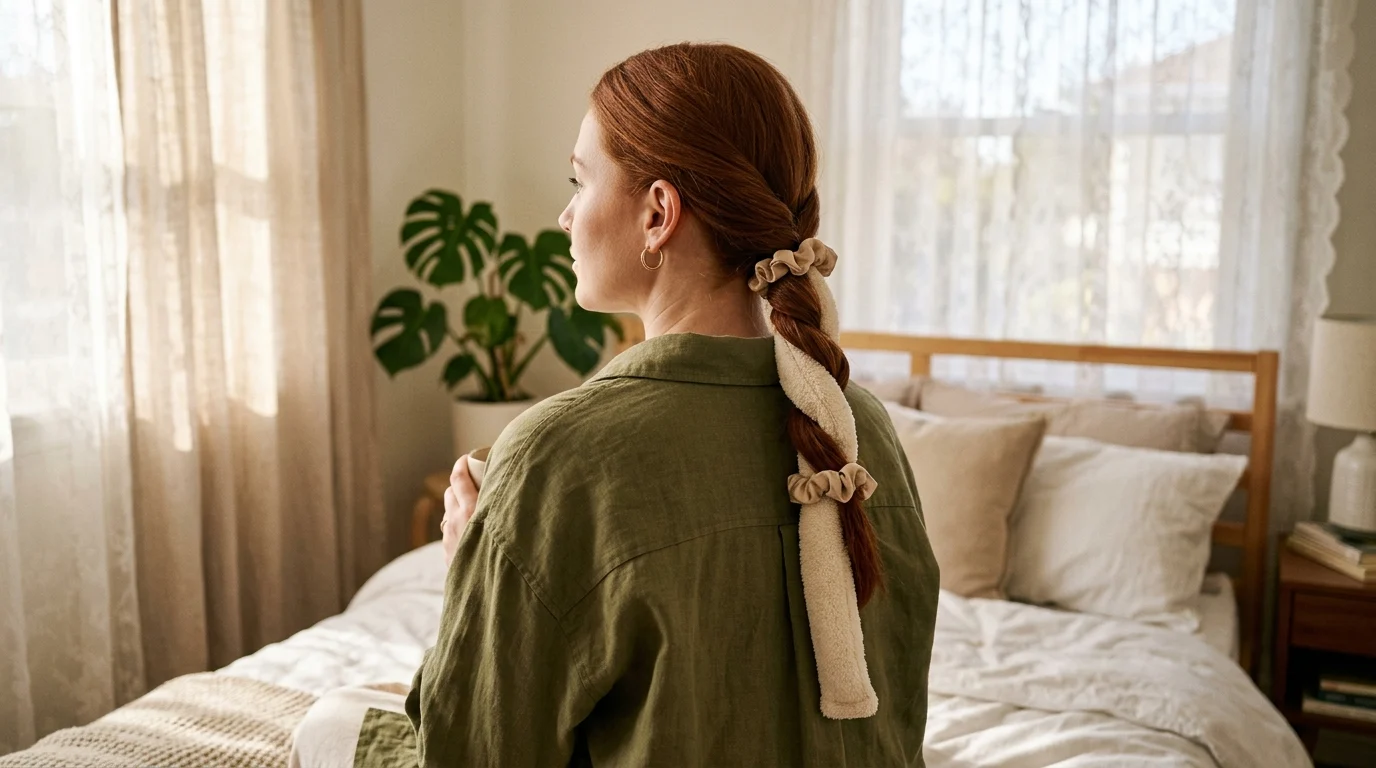
Ditching hot appliances saves your cuticle from thermal degradation while delivering voluminous body, which serves as a foundation for cute ways to curl your hair on busy weekdays.
Fabric Strap Wrapping Methods
Part slightly damp hair down the center into two equal pigtails. Place a long bathrobe belt or soft silk scarf across the top of your head like a headband, securing it with a claw clip.
Wrap 1-inch sections of hair over and under the fabric ribbon, adding a new slice of hair with each turn just like a French braid.
Secure the ends with a soft satin scrunchie to eliminate elastic creases along the bottom edges.
The Overnight Sock Roll Technique
Gather four clean cotton tube socks to test out different ways how to curl your hair without buying expensive curling rods. Pin the open cuff of the sock at your roots, then spiral a damp section around the cotton tube down to the toe.
Flip the open sock cuff back down over the rolled bundle to protect the hair from friction while sleeping. This provides an effective demonstration of ways to curl your hair with socks that hold up until morning.
Waking up to bouncy waves without plugging in a single cord makes this an exceptional option for fragile or chemically lightened strands.
Overnight Preservation and Setting Strategy
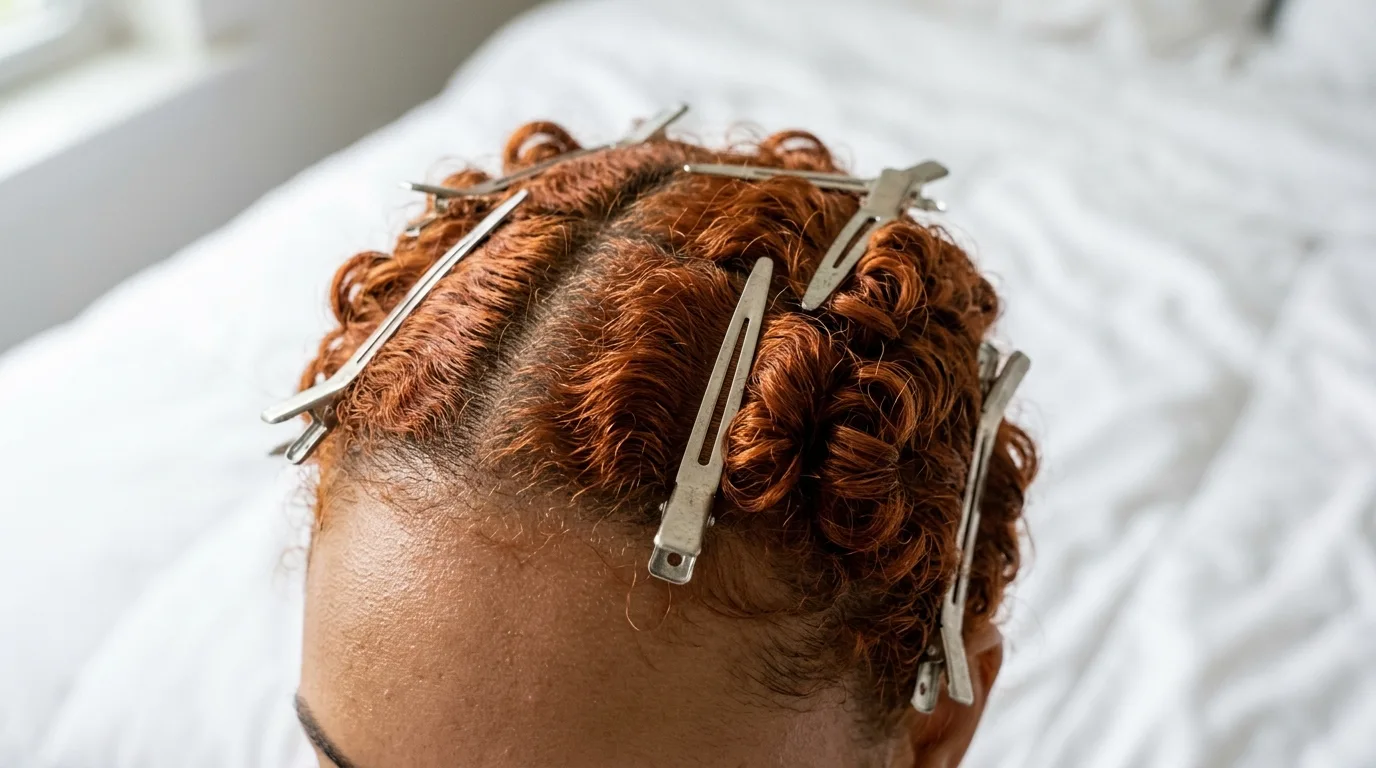
How you treat warm or damp curls during the initial setting window determines whether the look lasts forty-eight hours or drops out before lunch.
Thermal Cooling Physics and Bond Locking
Hair proteins soften when exposed to heat, shifting into whatever shape the tool enforces. Those internal protein bonds only solidify into their new curved memory as the hair cools completely down to room temperature.
Pin every hot spiral to your scalp using a metal duckbill clip right after releasing it from the iron.
Letting hair hang while warm allows gravity to stretch the hot bonds back into a straight line before they set.
Nighttime Friction Reductions
Pull dry curls into a high, loose ponytail on top of your head using a silk scrunchie, keeping the loop soft to avoid leaving an indentation. This preserves your style overnight without crushing the perimeter waves against your bedding.
Switching your standard cotton pillowcase to a pure mulberry silk slip prevents coarse fibers from pulling individual hairs out of their set pattern.
Leave your clips or socks in place for at least six hours if you want the best way to curl your hair overnight without morning touch-ups.
Choosing Products by Hair Texture and Density
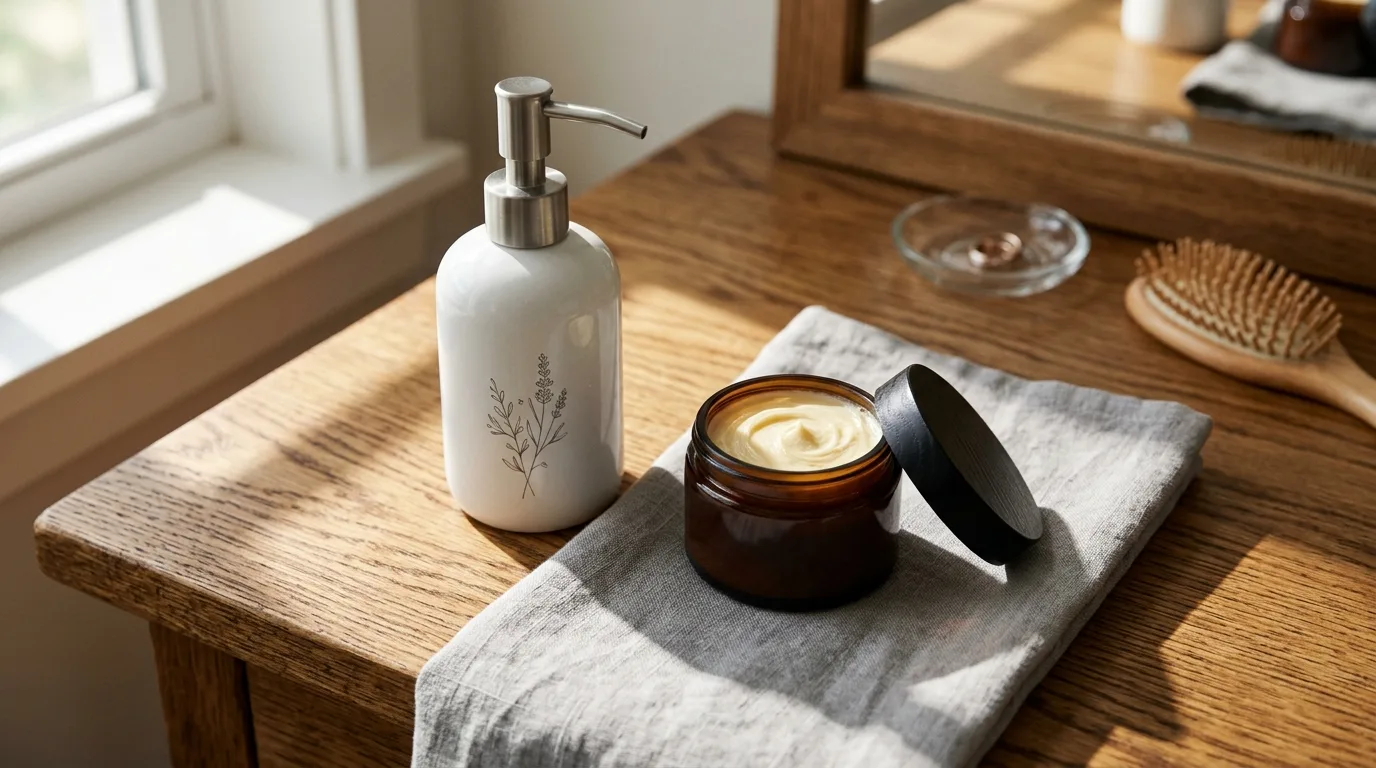
A style is only as durable as the product chemistry supporting it, so picking the best product to curl your hair depends entirely on your specific strand diameter.
Formulations for Fine and Flat Strands
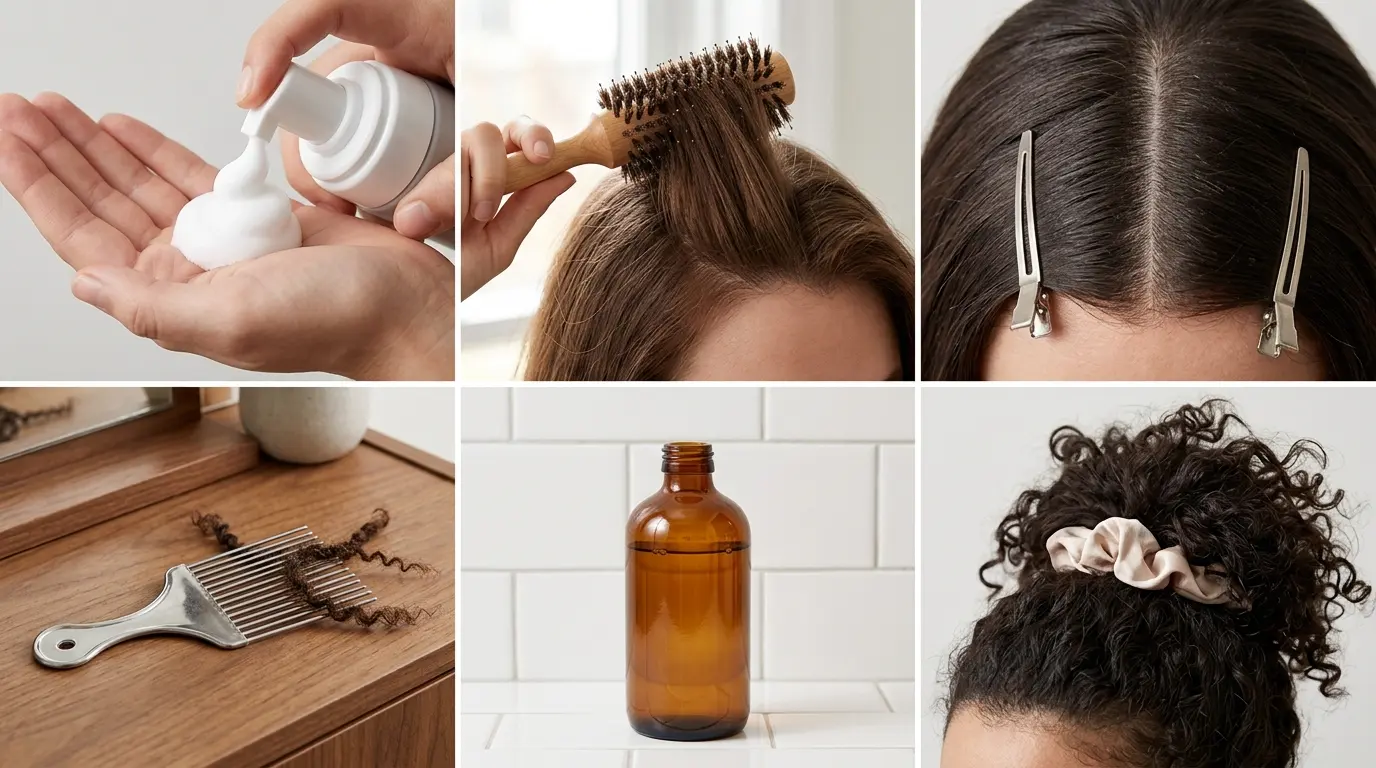
Fine strands collapse under heavy botanicals, silicones, and rich butter bases. Reach for a light aerosol dry texture spray or a water-based setting foam applied before drying.
Distribute a golf-ball-sized puff of volumizing mousse through damp roots to mid-lengths.
The alcohol and polymer blend coats the strand with microscopic scaffolding that gives fine fibers something to grip onto when heated.
Formulas for Thick and Coarse Fibers
Coarse hair contains a thick internal medulla that drinks up hydration and battles humidity frizz. Apply a rich argan or camellia-infused curl cream through wet mid-lengths before you begin styling.
Work a dime-sized amount between your hands until transparent, then rake through sections with your fingers.
Skipping heavy moisture on coarse hair results in brittle, straw-like waves that spread out wide into a cloud of static.
Refining Definition on Naturally Curly Textures
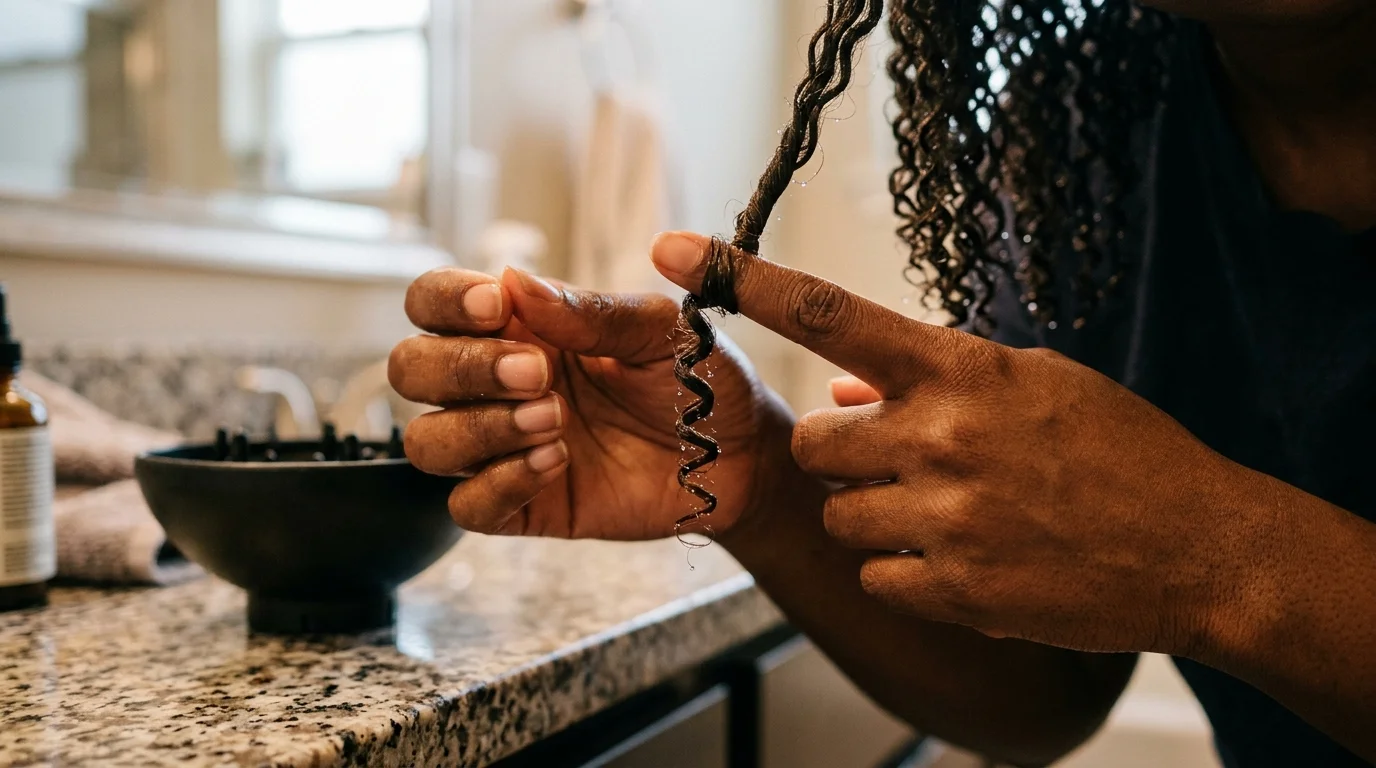
Styling hair that already possesses an organic wave pattern requires defining natural clusters rather than forcing an artificial shape over the top.
Finger Rolling on Soaked Strands
Relying on easy ways to curl your hair heatless starts right in the shower while hair is dripping wet. Coat your palms with a water-soluble leave-in conditioner and smooth it down the hair shaft using praying hands.
Twirl individual half-inch ribbon sections around your index finger from root to tip, pressing the coil upward toward the scalp before letting go.
This mechanical twirling aligns neighboring hair fibers into unified, tidy ringlets that dry without separating into frizz.
Diffuser Drying Airflow Protocols
Fit a deep-bowl diffuser onto your blow dryer and select the low air velocity setting paired with medium heat. High airflow blows delicate curls apart, causing instant surface halo frizz.
Tilt your head to the side and scoop a handful of curls into the bowl of the diffuser, pressing the prongs gently against your scalp.
Hold the dryer stationary for forty-five seconds per section before switching off the power and moving to the next spot.
Straightening Out Common Styling Blunders
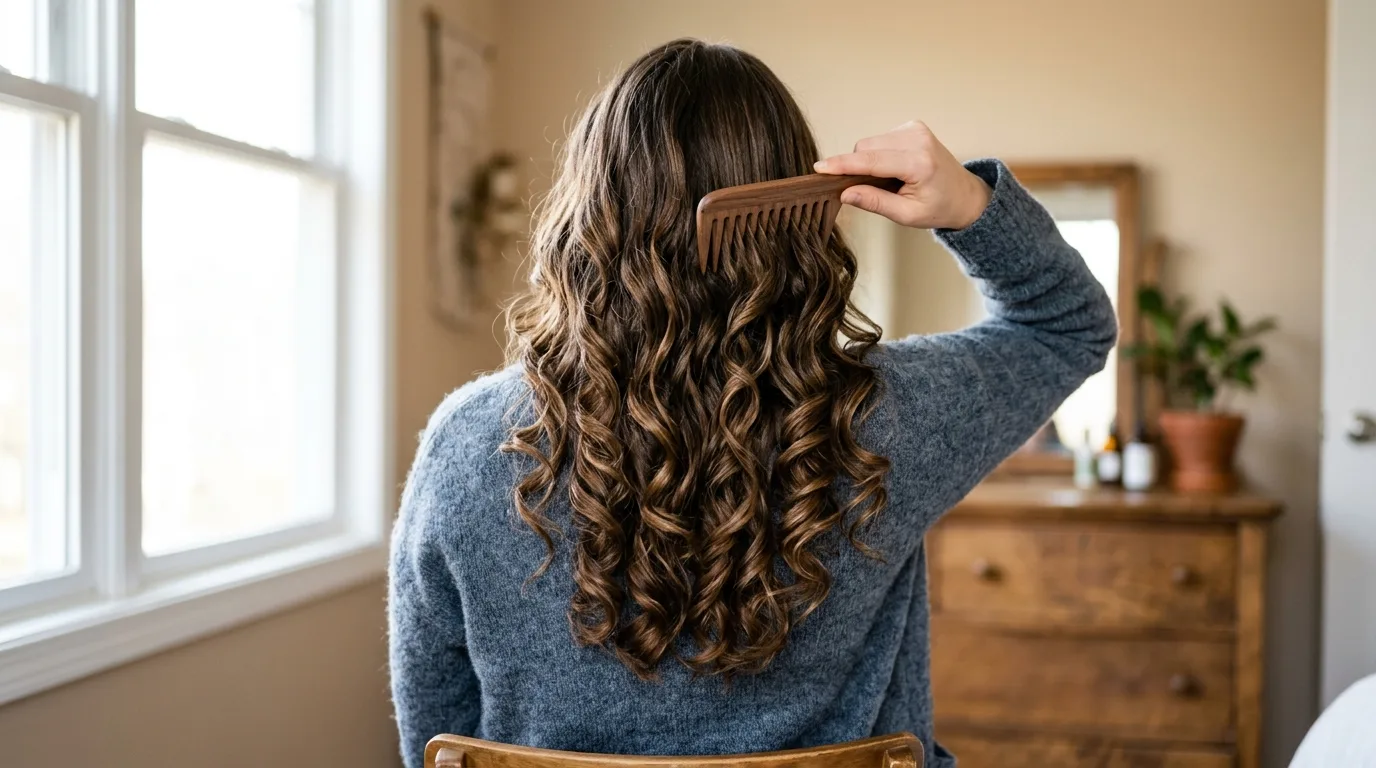
Small mechanical errors during the styling routine ruin the curl structure before you even walk out the front door.
Over-Brushing While Hair Is Warm
Running a boar bristle paddle brush through freshly curled hair stretches out the wave instantly. The warm mechanical memory has not stabilized, so bristle friction flattens the pattern back into limp lengths.
Wait at least ten full minutes until every strand feels cool to the touch.
Gently rake through the curls with a wide-tooth comb or just your bare fingers to separate the sections without breaking the pattern.
Rushing the Iron Passes
Swinging a hot iron rapidly down the hair shaft fails to transfer sufficient heat into the cortex. You end up making four or five hurried passes over the same section, causing compounded heat damage on the delicate cuticle layers.
Slow your hand down to one single, deliberate pass lasting eight to ten seconds.
One controlled thermal pass changes the structural bonds cleanly without subjecting the fiber to repetitive friction.
Adapting Techniques for Shorter Lengths and Men
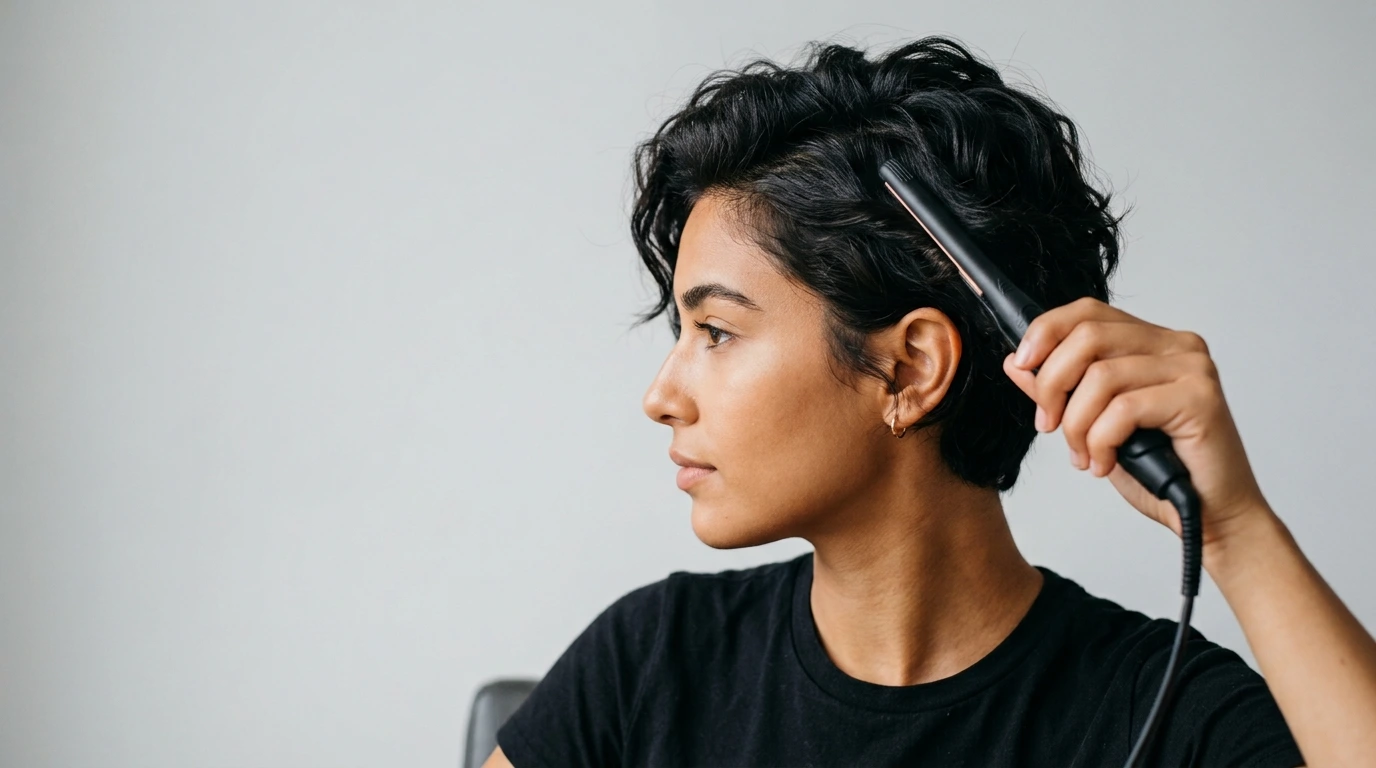
Cropped hair leaves minimal clearance between the hot metal and the scalp, demanding specialized tools and defensive hand placement.
Half-Inch Tool Control and Angles
Working on short crops requires stepping down to a micro half-inch barrel or a narrow pencil flat iron. A wide 1.5-inch barrel simply cannot grab enough hair along the sides or nape to execute a full turn.
Point the tip of the tool down toward the collarbone while wrapping hair backward away from the forehead.
Leaving the bottom half-inch uncurled keeps short styles looking relaxed rather than turning into a puffy sphere around the crown.
Texturizing Clays for Short Spirals
Warm a pea-sized dab of matte bentonite clay between your fingertips until pliable. Work the product through the tips of short curls using an upward scrunching motion.
Clays provide all-day pliable hold with a shine-free finish, preventing short hair from looking greasy or wet.
Avoid high-shine pomades on short, thin hair because the clear grease allows the scalp to show through under bright overhead lighting.
The Physical Mechanics of Heatless Wave Maintenance
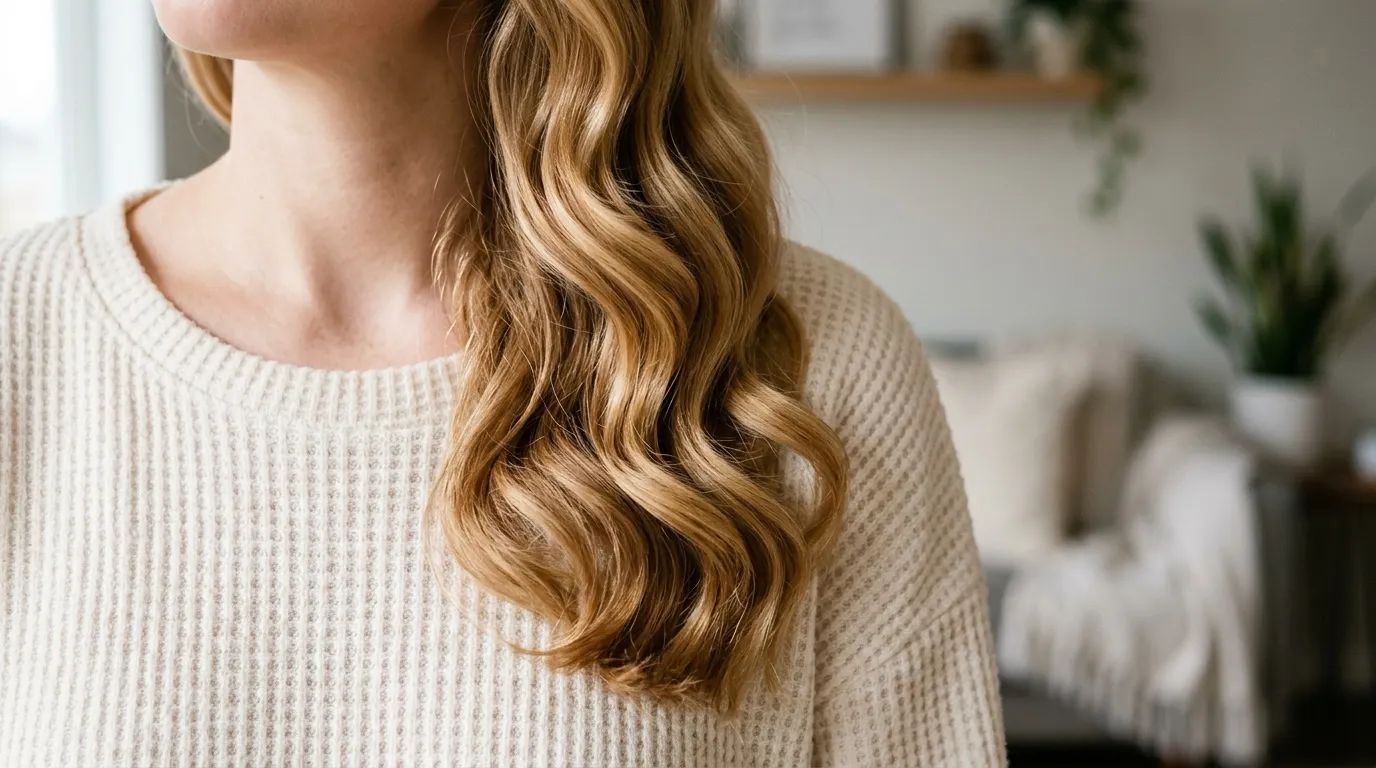
Relying on easy ways to curl your hair without a curler keeps hair pliable, but zero-heat styles absorb atmospheric moisture faster than thermally baked shapes.
Managing Environmental Humidity
Airborne moisture molecules break down the hydrogen bonds formed by overnight fabric wraps, causing the waves to drop flat within an hour of walking outside on a humid day.
Seal your finished dry curls with an anti-humidity spray that contains dimethicone or cross-linked polymers.
These ingredients form an invisible hydrophobic shield across the cuticle that blocks atmospheric water vapor from entering the core.
Refreshing Shapes on Day Three
Revive sleeping curls on day three by lightly misting ends with a mixture of eighty percent distilled water and twenty percent leave-in conditioner.
Twist fallen pieces around your finger and secure them with a duckbill clip for ten minutes while getting dressed.
Unclip the loops and shake out your roots for instant, refreshed bounce without ever plugging an iron into the wall.
Long-Term Hair Health and Cuticle Upkeep
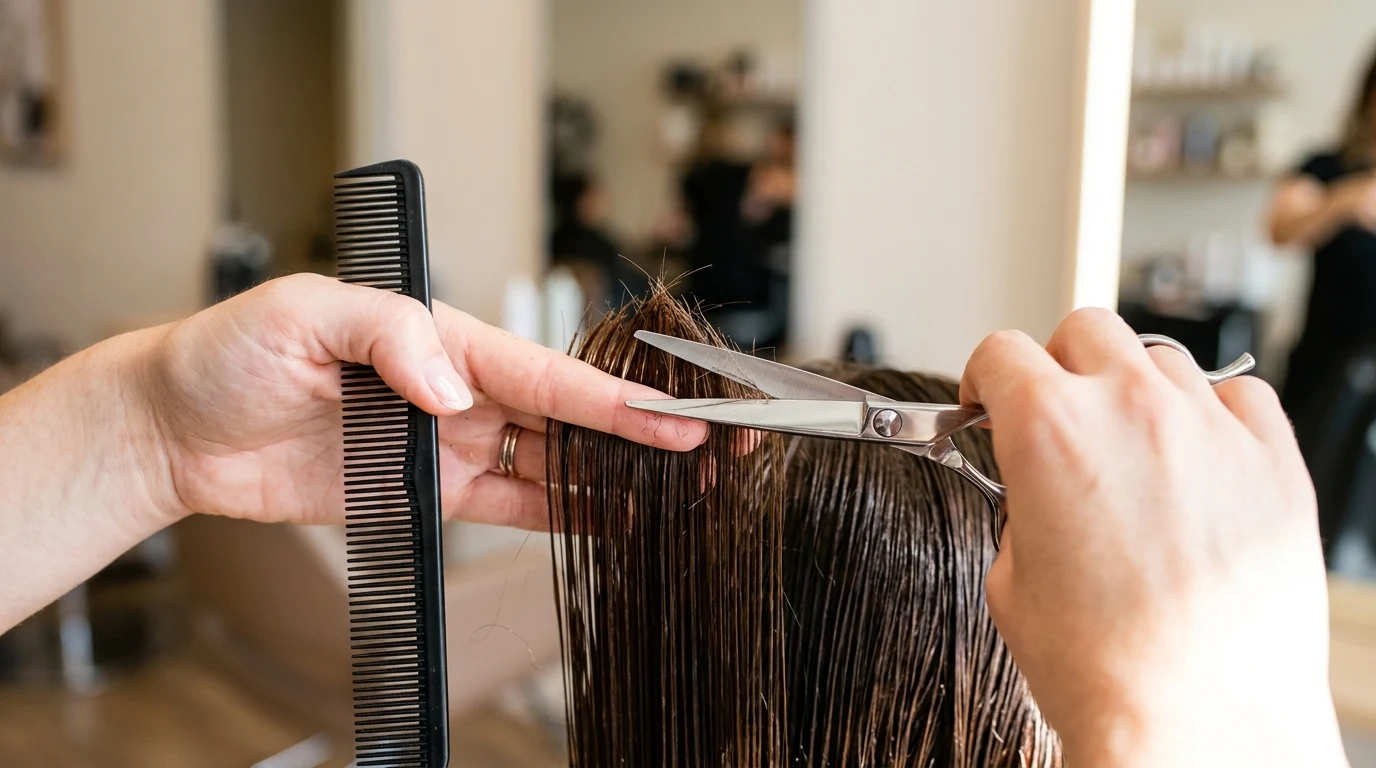
Curling hair every week alters the lipid layer of the cuticle, demanding structured moisture replenishment to keep strands elastic and prevent breakage.
Porosity Changes Over Time
Repeated heat styling lifts the protective scales of the hair cuticle, increasing porosity. High-porosity hair absorbs moisture rapidly but loses it just as fast, leading to chronic dryness, split ends, and limp curls that refuse to bounce.
Incorporate a hydrolyzed wheat protein or bond-building treatment into your routine every third wash.
The microscopic protein fragments bind into structural gaps along the damaged cuticle, restoring mechanical strength to fragile fibers.
Maintaining Edge Integrity
Schedule a dust trim every eight to ten weeks to clip away split ends before they travel up the hair shaft. Once an end splits into two or three branches, it creates friction that catches on neighboring strands and unravels your curl pattern.
A blunt, clean trim gives every spiral a defined baseline that holds its shape instead of fizzling out into wispy cobwebs at the bottom.
Protecting the physical ends ensures that whether you use heat or overnight wraps, your curls fall with uniform weight and clean, glossy bounce.
Real Answers to Common Curling Questions
Why do my curls fall out within an hour of styling?
Hair drops because it was either slightly damp when styled, exposed to an iron that was too cool to reset the internal bonds, or touched before the fiber cooled down. Pinning each hot curl against your head with a metal clip until room temperature locks the structural memory in place.
What iron temperature is safe for color-treated strands?
Keep your hot tool dial between 300 and 340 degrees Fahrenheit if you have bleached or color-treated hair. Pushing heat above 375 degrees strips artificial toner molecules from the shaft and burns the fragile, exposed cortex fibers.
Can you curl hair that has dry shampoo in it?
Yes, but only if the dry shampoo is thoroughly brushed out before applying heat. Starch and talc powders cake onto hot metal plates, creating abrasive friction that burns delicate strands during tool passes.
Finding the Routine That Works for You
Mastering how to curl your hair starts with picking one reliable technique, whether you prefer the rapid precision of a flat iron or the zero-damage ease of an overnight fabric wrap. Focus on consistent section size, give the hair ample time to cool completely, and protect your cuticles with clean thermal barriers.
Disclaimer: Persistent scalp irritation or severe hair breakage should be evaluated by a certified trichologist or dermatologist.
Related reads: Curly Hair Routine on Straight Hair That Actually Creates Lasting Shape, Diamond Face Shape Haircut Options That Balance Sharp Features and Flattering Hairstyles for Thin Hair and Round Face Shapes.