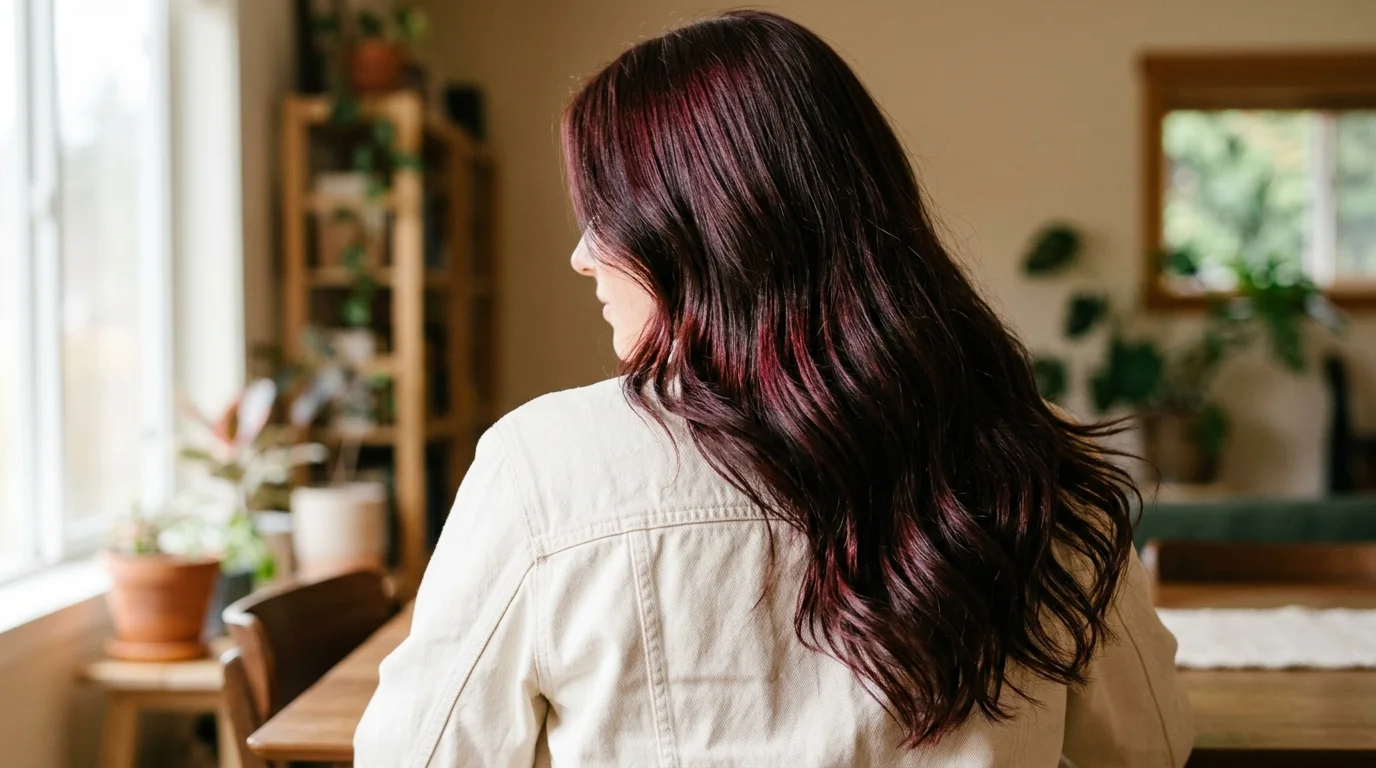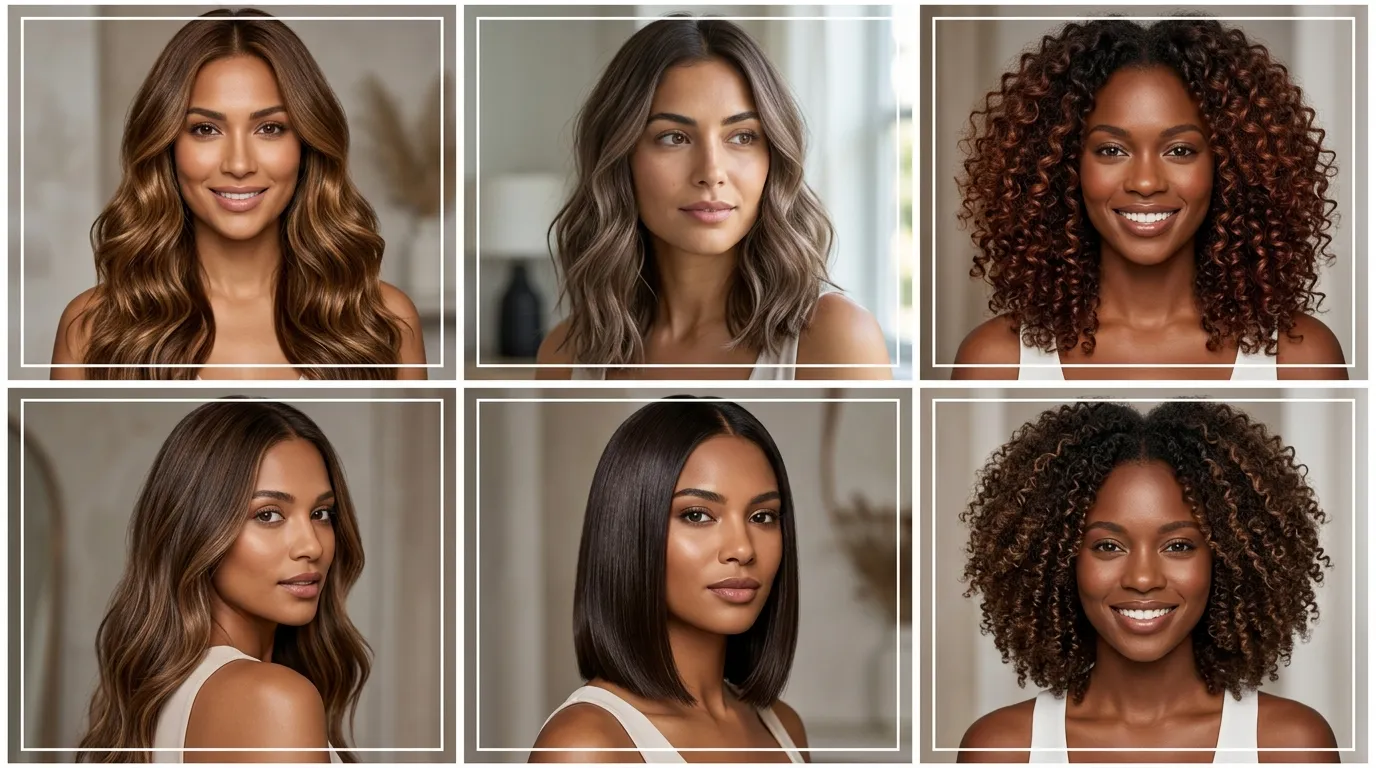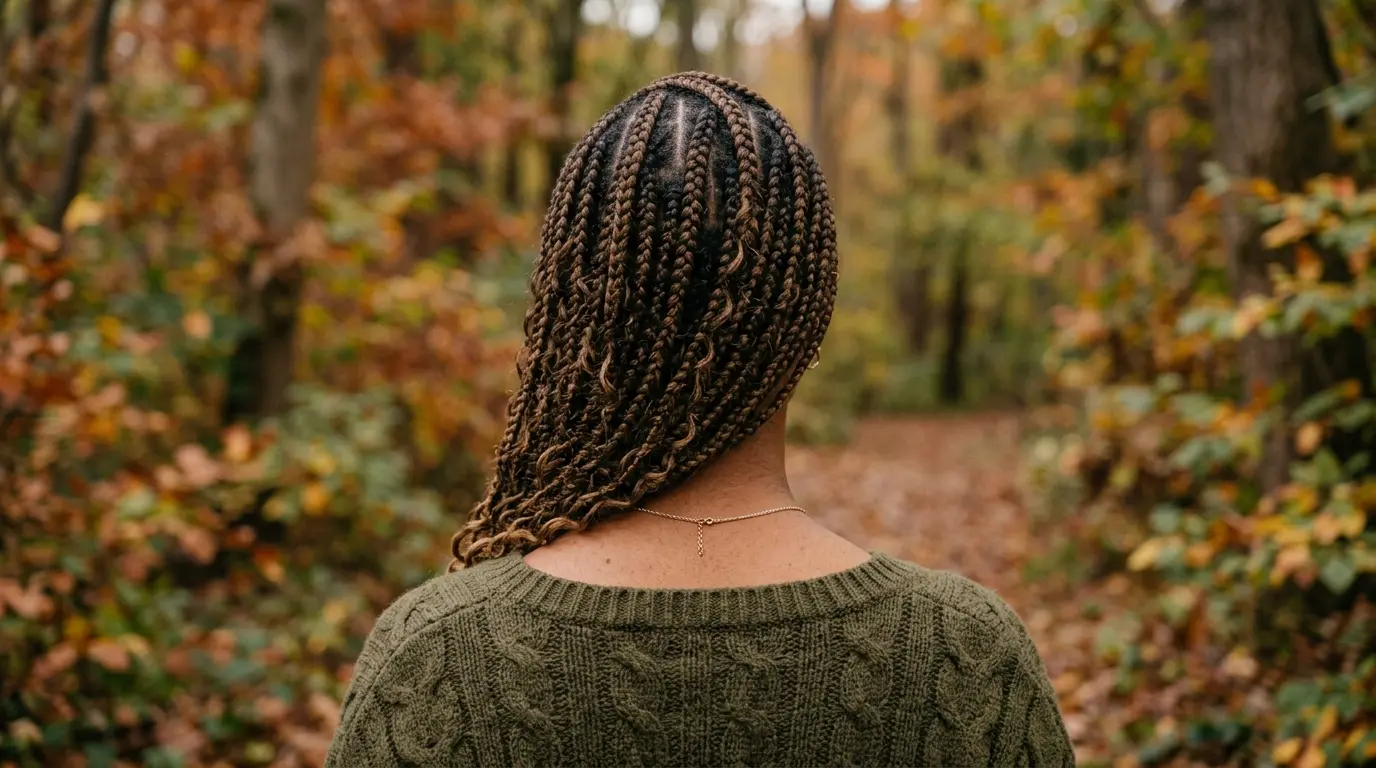

Rich soda tones rely on an exact balance between deep brown base pigment and bright ruby reflect. Getting that signature tint requires understanding how artificial dye layers over your existing undertones. A dedicated cherry cola hair color formula combines level 4 or level 5 neutral brown with intense red-violet tones, creating a dimensional finish that looks espresso in dim rooms and crimson under sunlight.
What You Need:
- 45 grams level 4 or 5 natural brown permanent cream hair dye
- 15 grams concentrated red-violet or red-red booster pigment
- 60 grams 20-volume cream developer
- Digital kitchen scale measuring in grams
- Plastic mixing bowl and silicone tint brush
- 4 non-metallic sectioning alligator clips
- Barrier ointment or petroleum jelly
- Nitrile gloves
- Wide-tooth plastic comb
Assess Your Starting Base Level
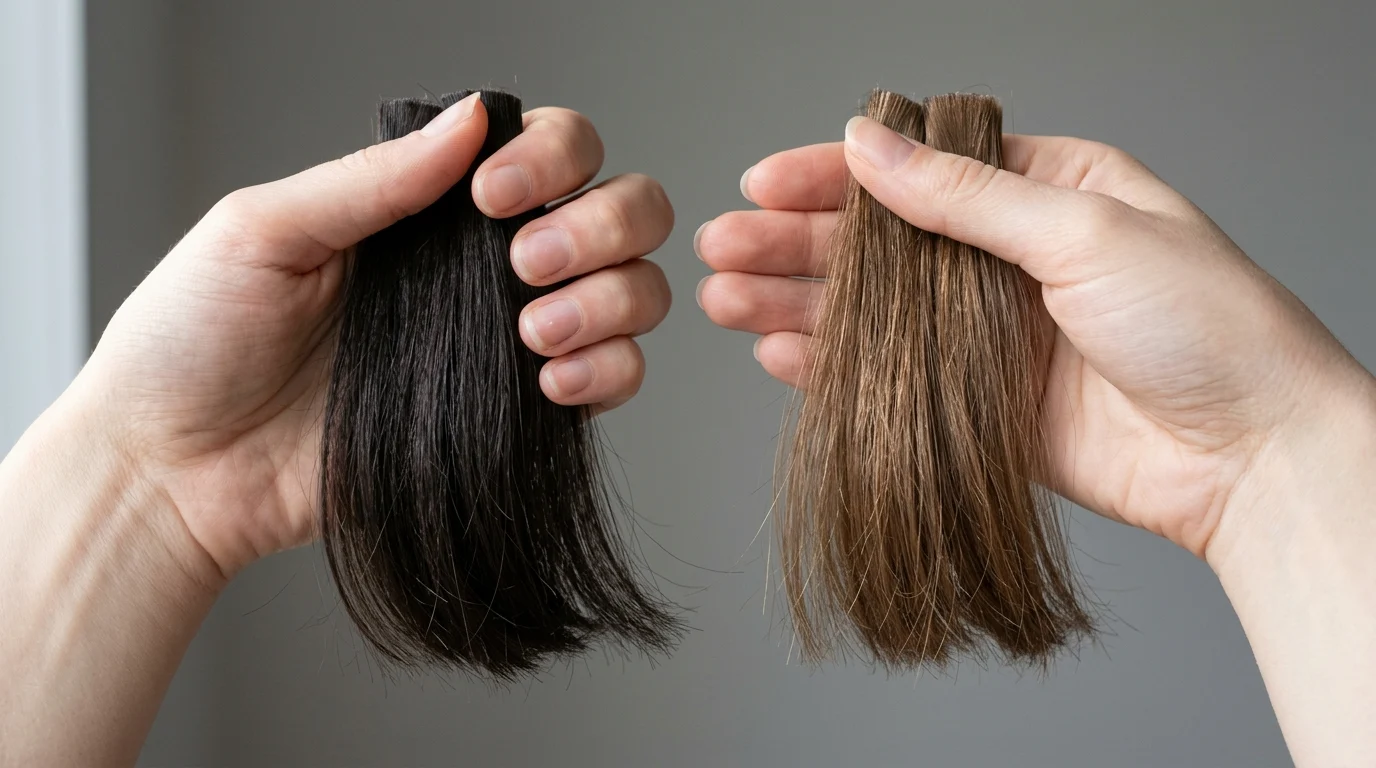
Natural hair level dictates whether your mixture will show up or vanish. Level 1 to level 3 strands carry heavy black eumelanin that swallows subtle red reflect. If you plan on applying cherry cola hair color on black hair, the formula cannot deposit visible crimson without lifting the cuticle slightly first. A 20-volume developer lifts natural pigment one to two levels, which exposes the underlying warm red tone beneath dark strands.
When working with light brown hair to cherry cola color, porosity matters more than lift. Light bases at level 6 or above absorb red pigment aggressively, turning scarlet instead of moody soda brown. You must add gold or copper filler pigment to porous light hair before applying cool red tones, or the final color will fade into a muddy purple hue after two washes.
Measure the Pigments on a Digital Scale
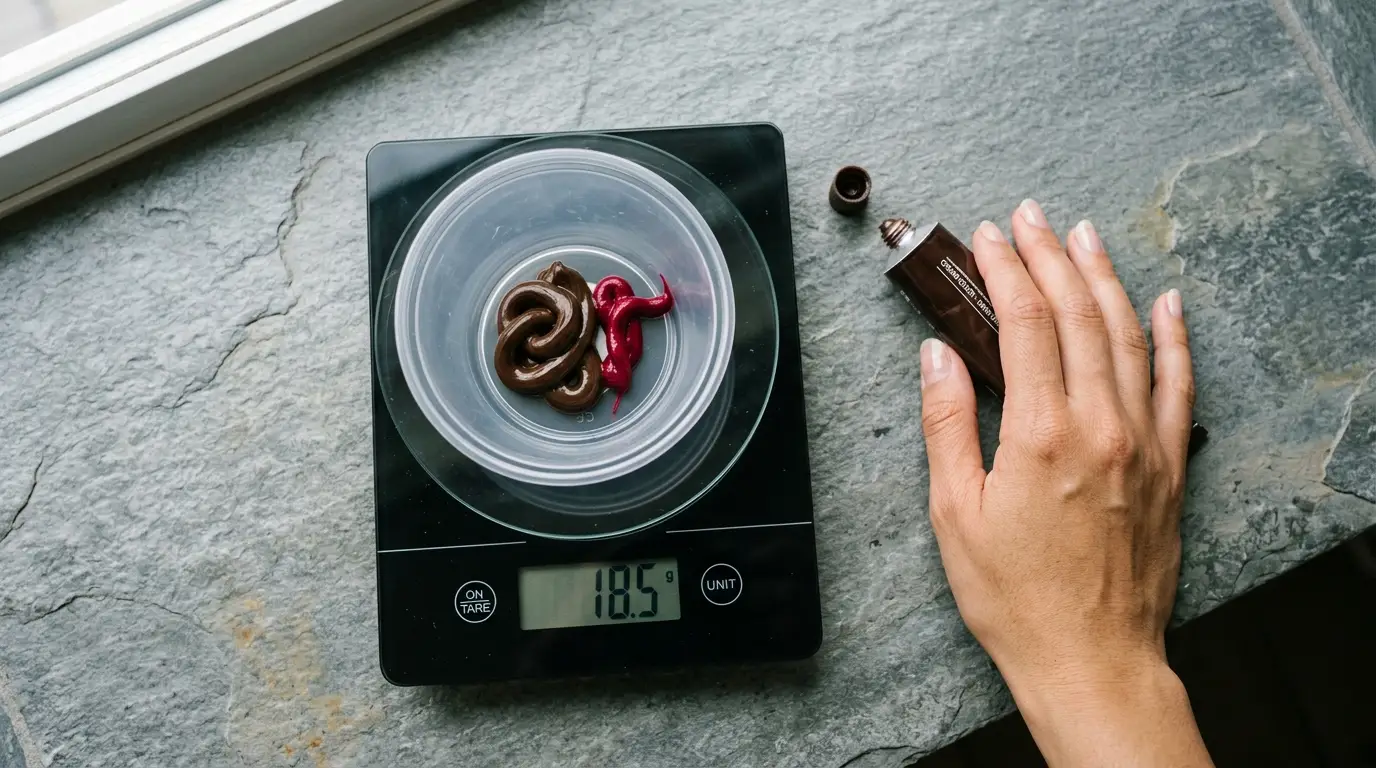
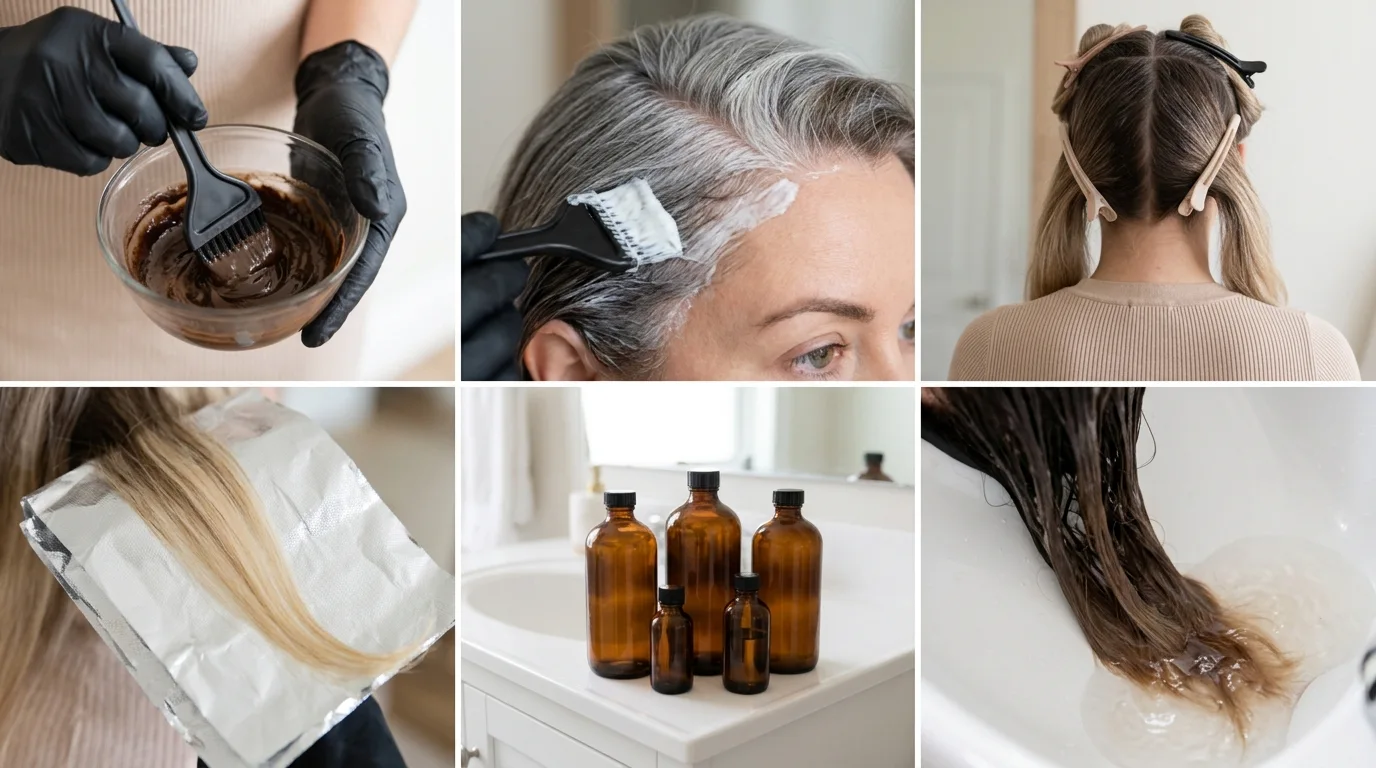
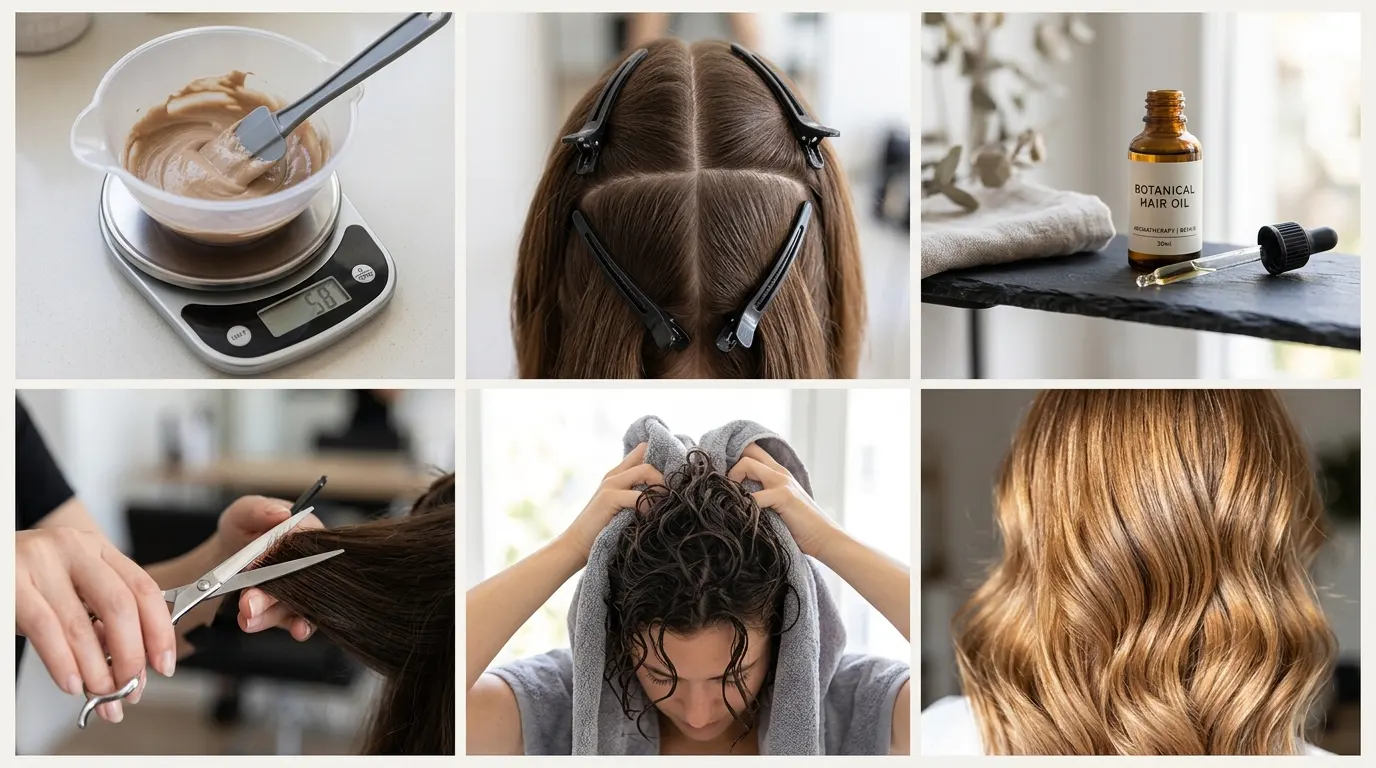
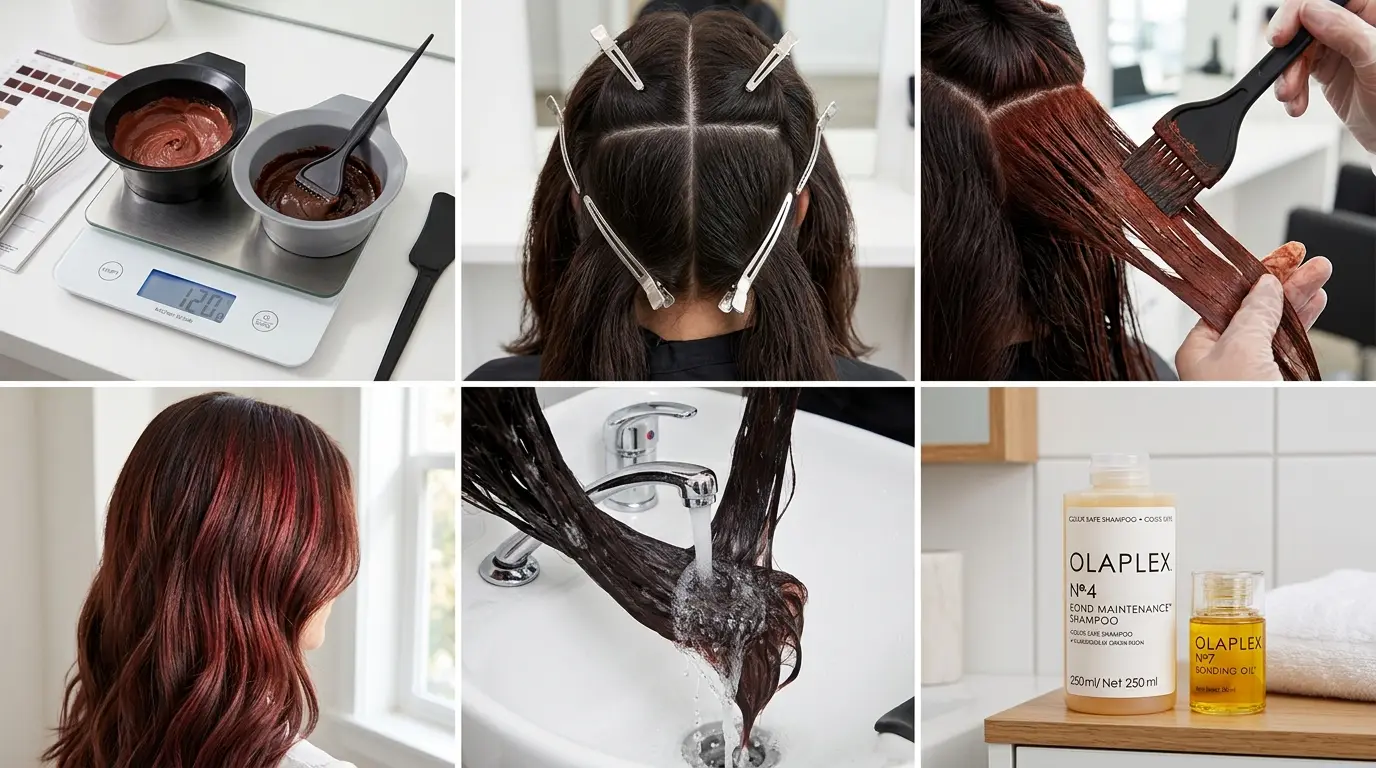
Eyeballing cream dye directly from the tube leads to uneven saturation and unexpected shifts in tone. Set your plastic bowl on the digital scale and tare it to zero. Squeeze out 45 grams of level 4 natural brunette cream dye to build the dark chocolate anchor.
Tare the scale again. Add 15 grams of red-violet booster to introduce the crisp berry reflect. This 3:1 ratio provides enough dark brown to prevent the mixture from turning neon, yet gives the crimson tones enough intensity to show through the brunette. If you prefer a darker black cherry cola hair color formula, drop the base to a level 3 blue-violet brown and use 10 grams of booster instead.
Whisk the Developer into the Color Bowl
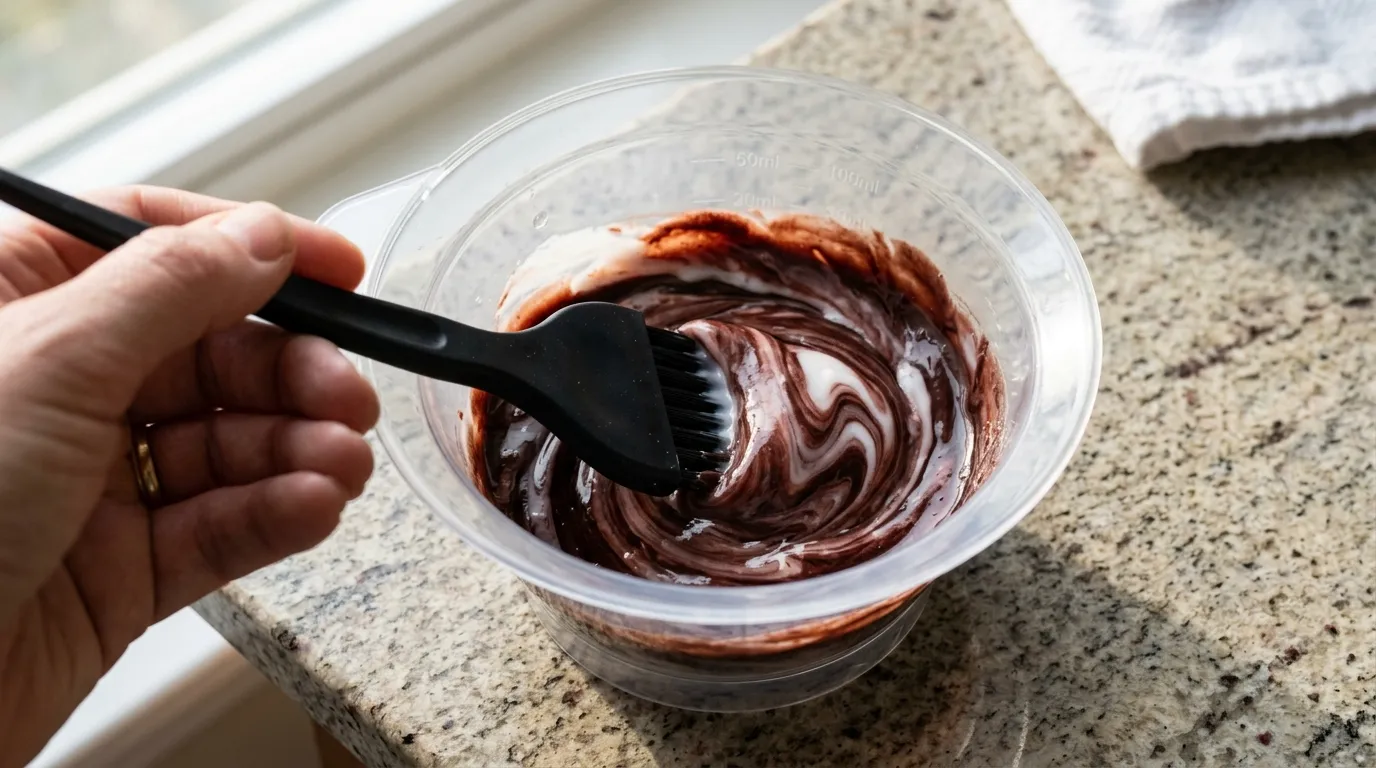
Pour 60 grams of 20-volume cream developer directly over your measured pigments to match the standard 1:1 mixing ratio. Using higher developer strengths like 30-volume blows open the cuticle too fast, burning through the delicate red dye molecules and leaving hair looking brassy orange rather than deep crimson.
Stir the liquid and cream together with a silicone tint brush for a full 60 seconds until the mixture matches the consistency of thick yogurt. Any unblended pockets of pure pigment will leave hot spots along the scalp. If you source your supplies at a beauty outlet, a cherry cola hair color formula sally’s setup often uses liquid additives, but cream formulas cling to coarse hair strands much better without dripping onto clothing.
Section the Dry Hair into Four Quadrants
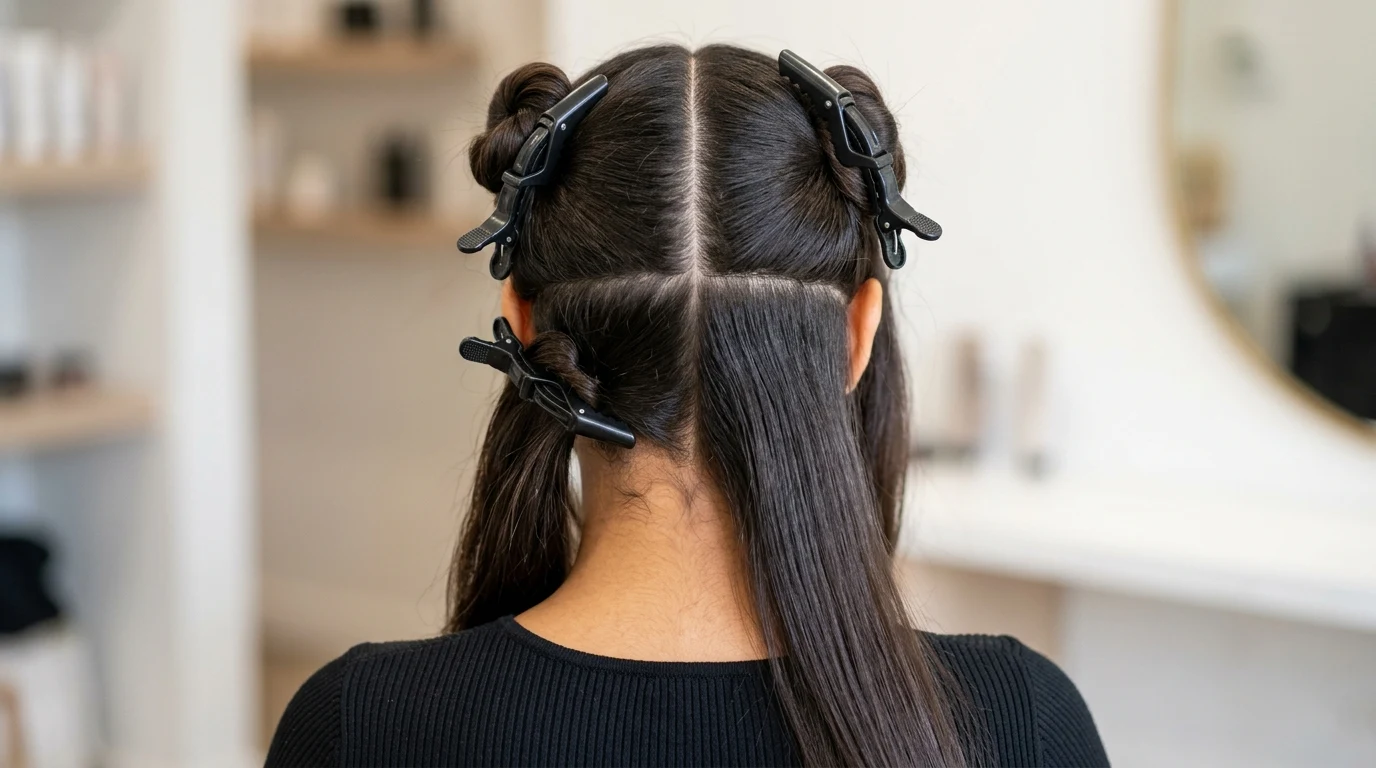
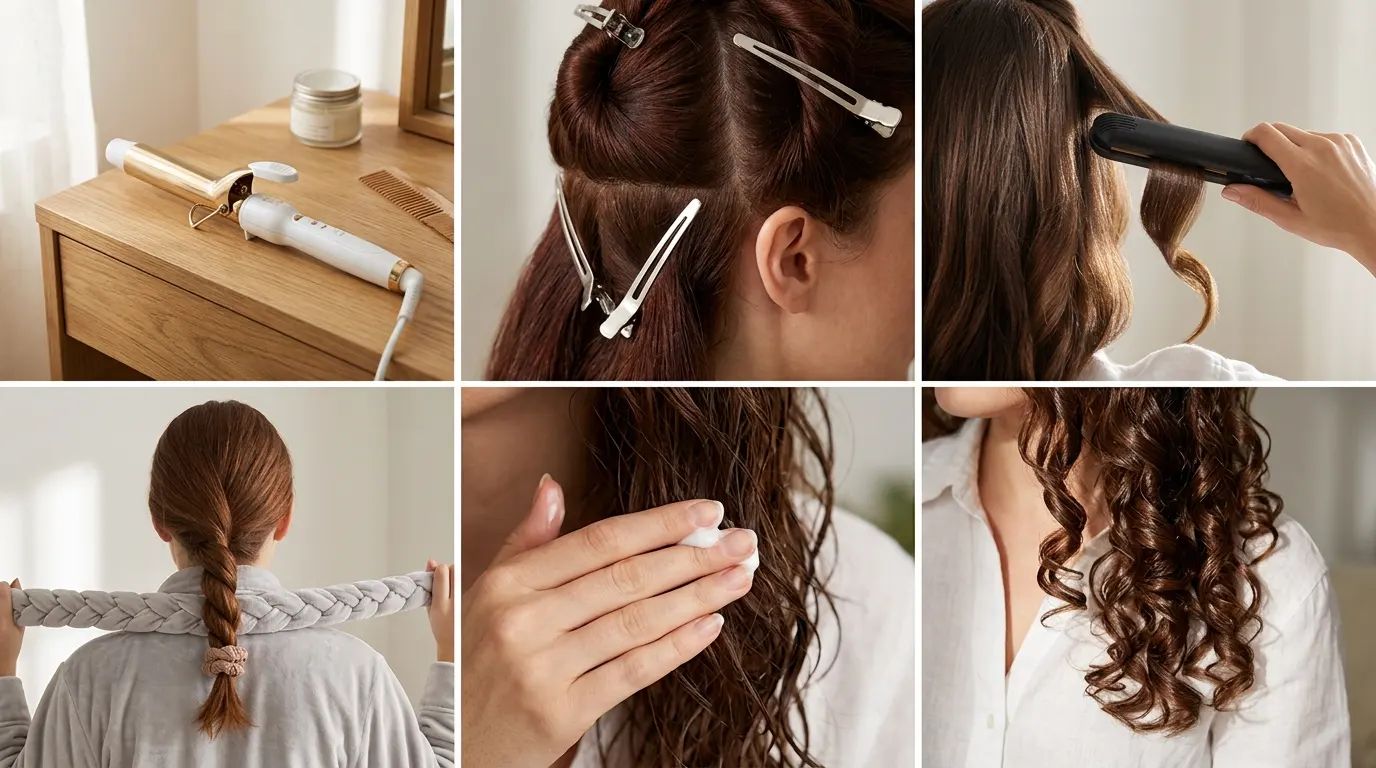
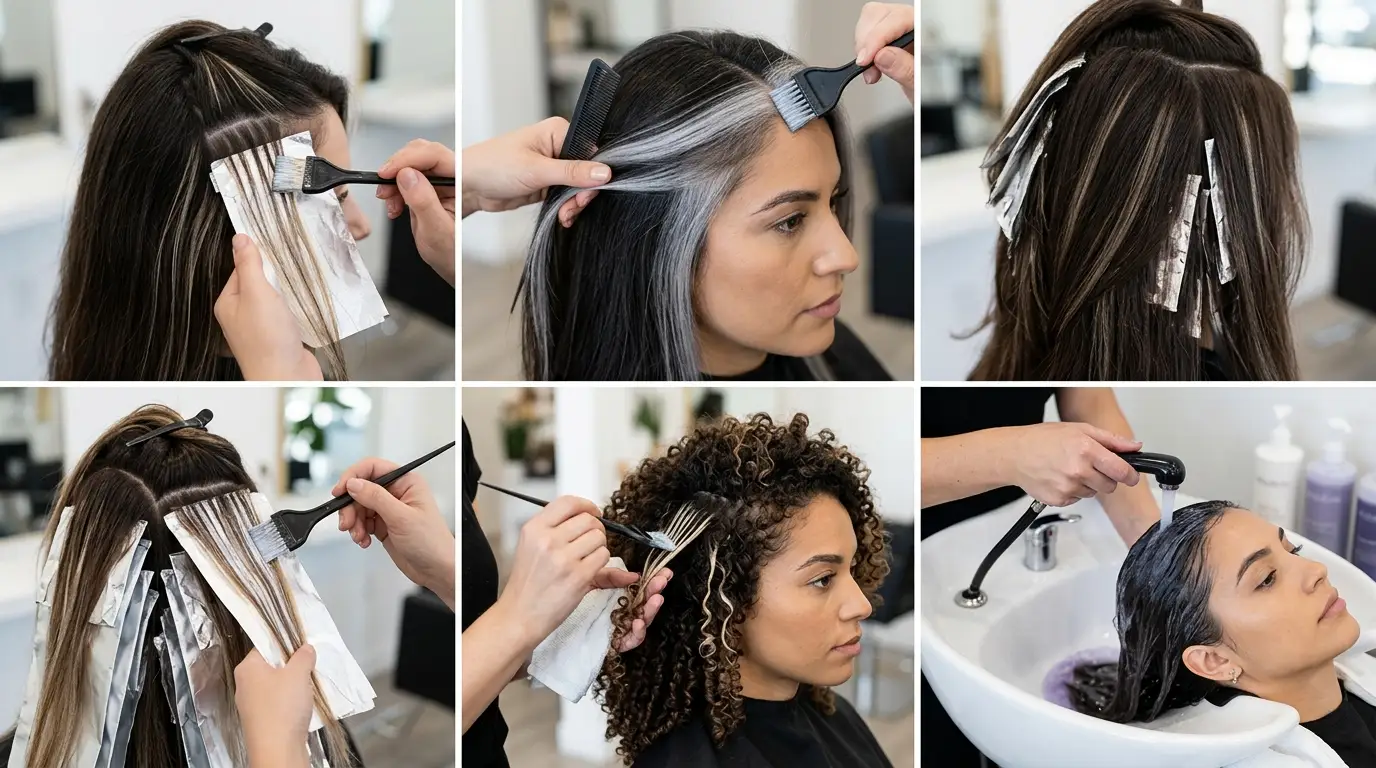
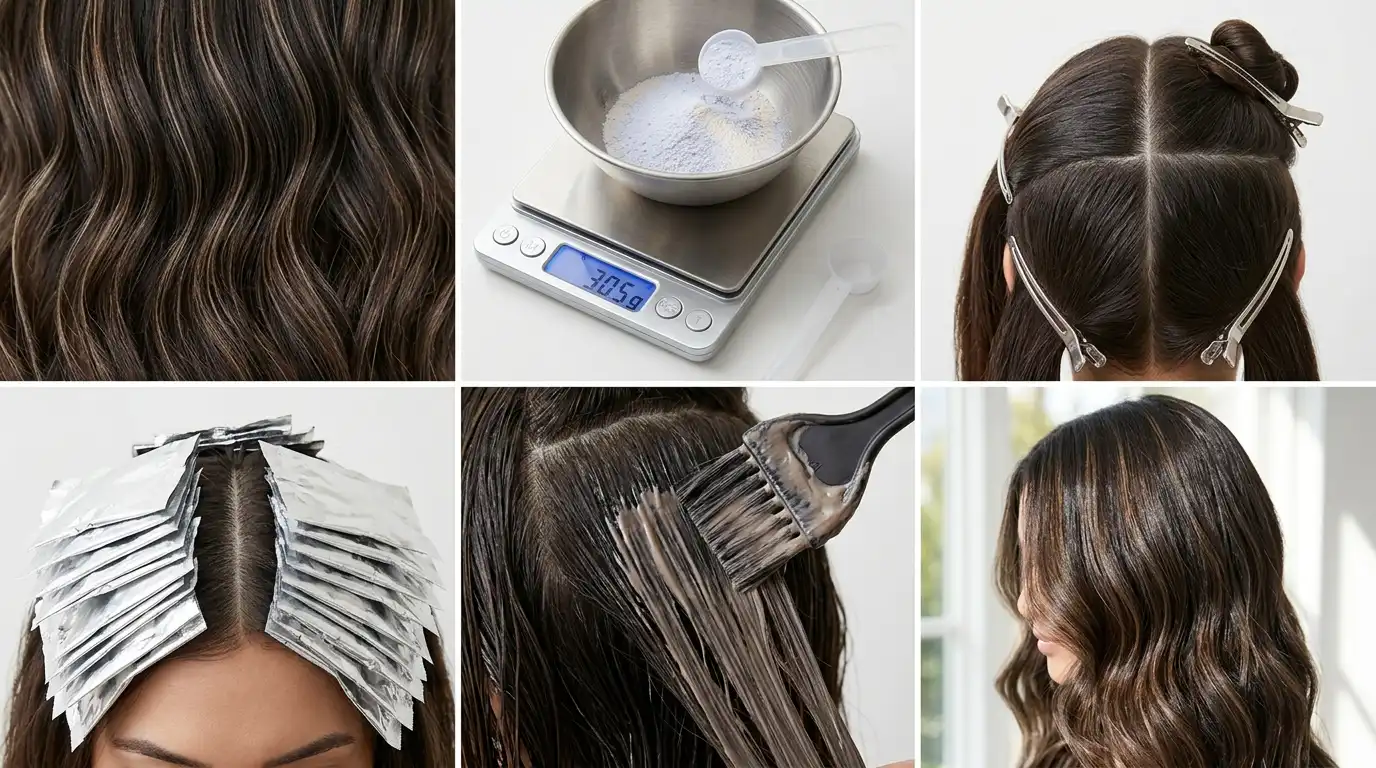
Divide dry, unwashed hair down the center from forehead to the nape of the neck using the tail of a comb. Next, carve a perpendicular line from the top of the crown down to the back of each ear. Twist each quadrant tightly and pin it to the head using non-metallic alligator clips.
Metal clips react chemically with oxidizing developers, discoloring the dye and weakening the hair shaft. Smear a half-inch strip of barrier ointment around your entire hairline, including the tops of the ears and the base of the neck. Permanent red pigment stains stratum corneum skin cells quickly, requiring harsh alcohol wipes to lift if left unprotected during the application window.
Apply the Color Mixture to the Regrowth and Mid-Lengths
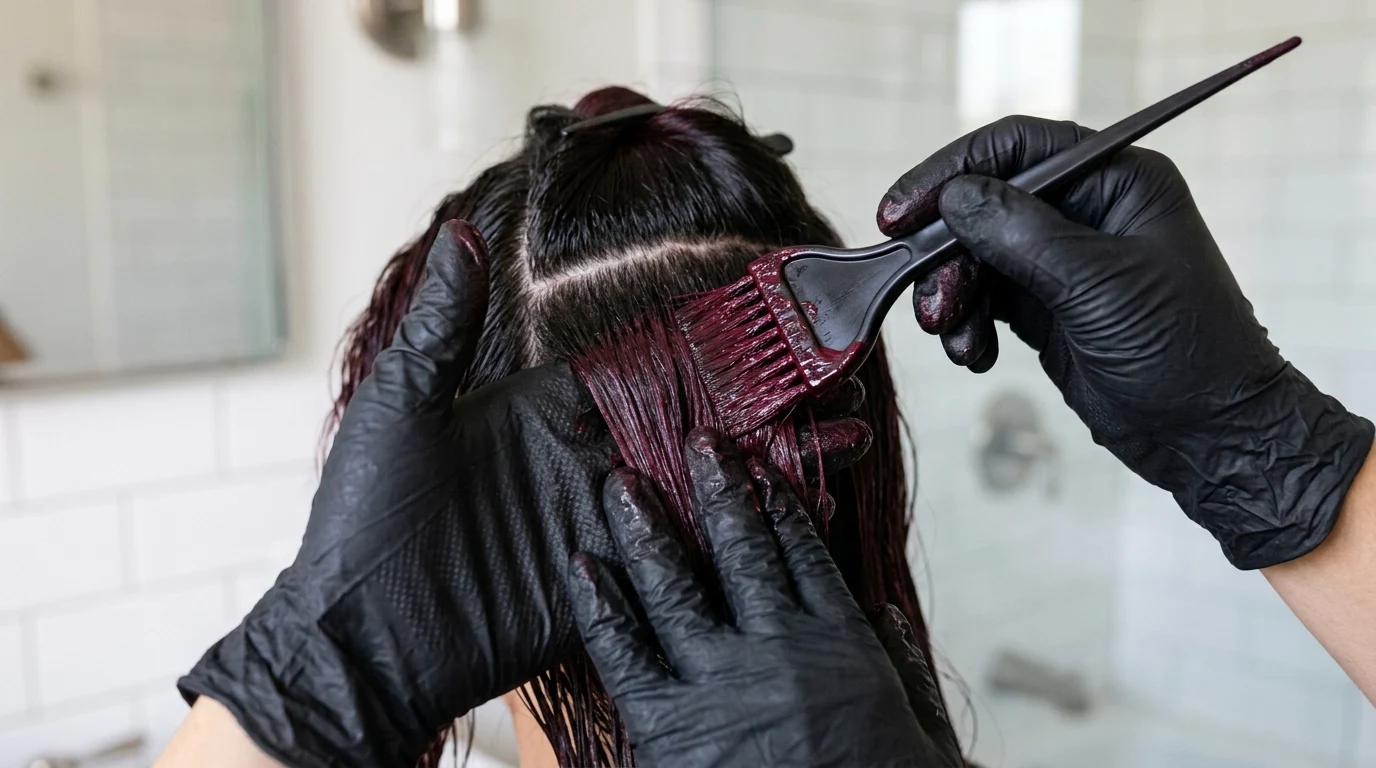
Put on your nitrile gloves and release one rear quadrant. Begin laying down the dye half an inch away from the scalp, working in quarter-inch horizontal slices from the crown down to the nape. The warmth from your skull accelerates chemical reactions, meaning roots process faster than cooler ends.
Once both rear quadrants carry dye through the mid-lengths, repeat the process across the two front sections. Work methodically to saturate both sides of every hair slice. Thorough saturation prevents dry interior pockets that lead to patchy color. After the lengths are coated, return to the roots and paint the remaining formula directly against the scalp across the entire head.
Process for the Exact Development Window
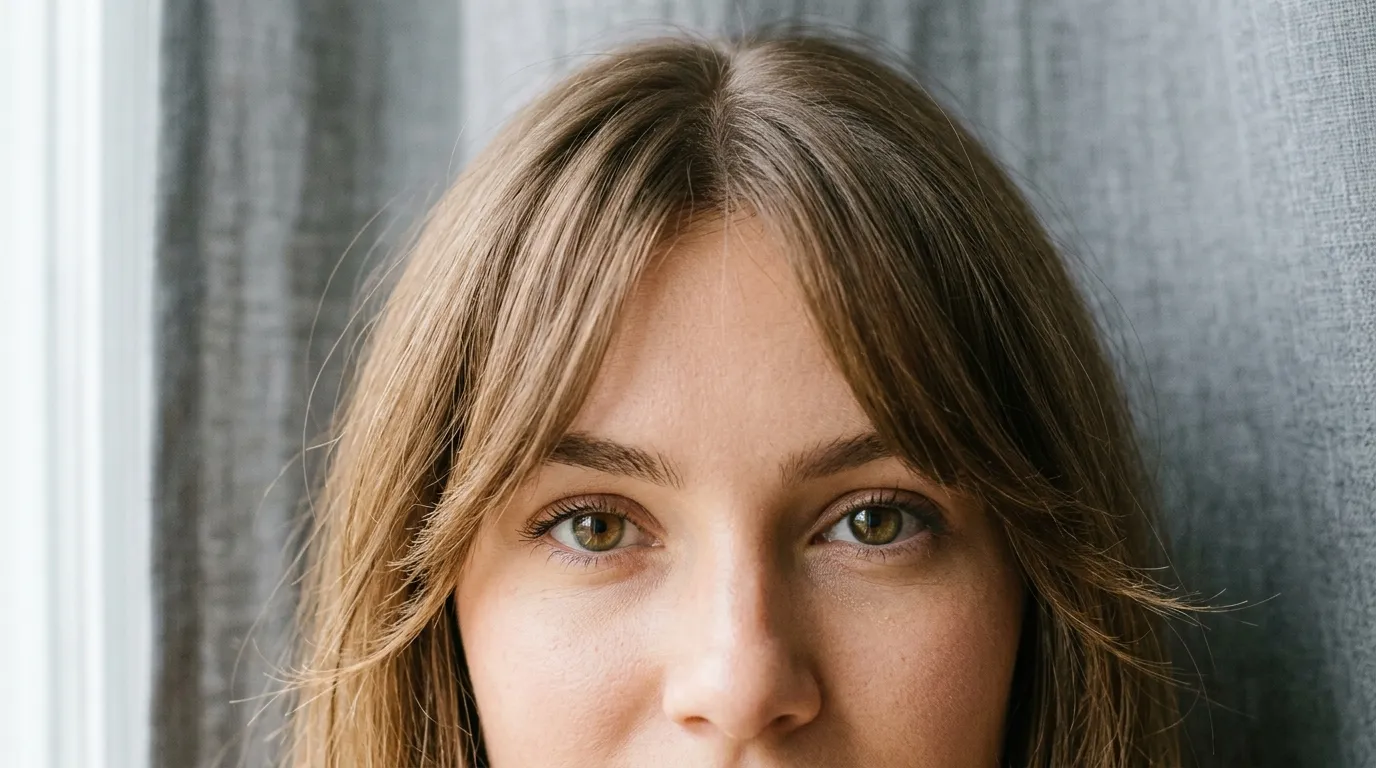
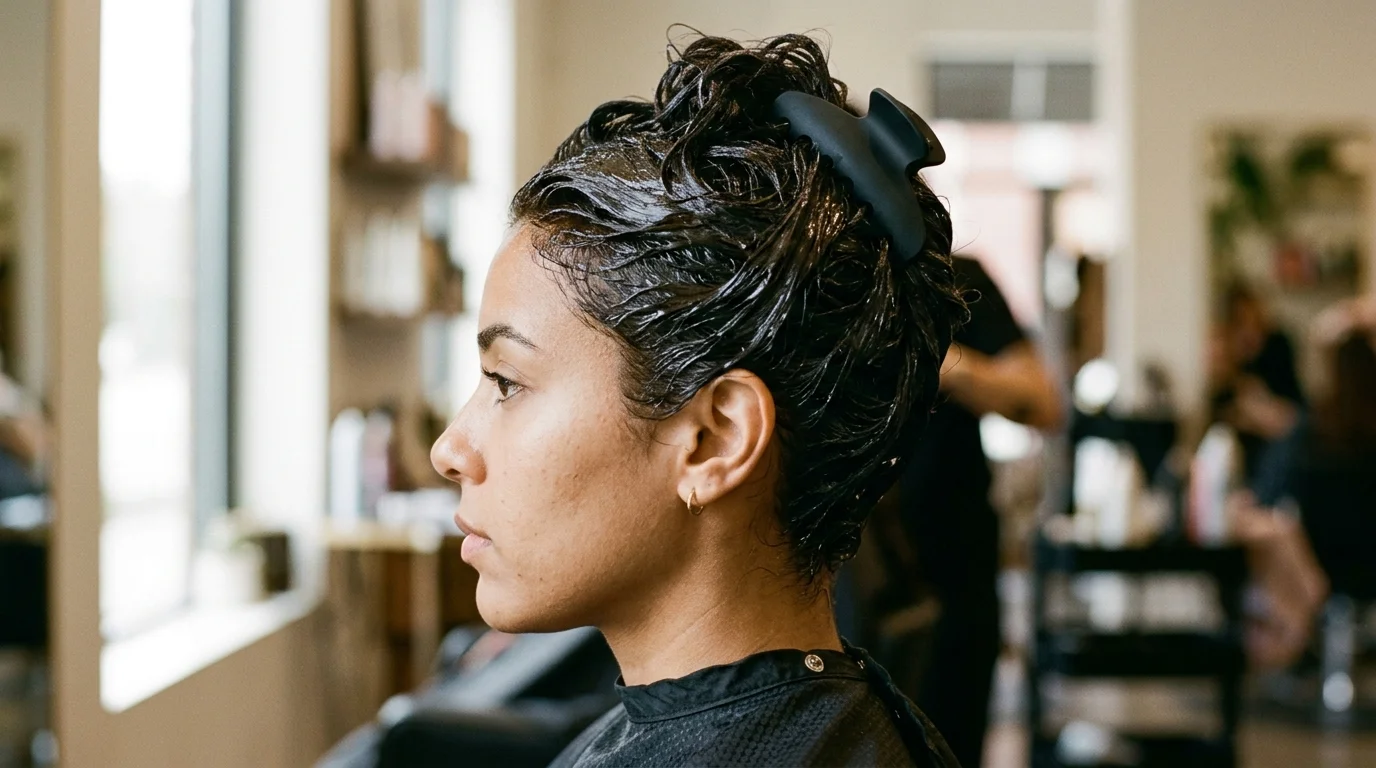
Clip the saturated hair loosely to the top of the head without covering it with a plastic processing cap. Trapping body heat beneath plastic traps ammonia fumes and causes the roots to develop lighter than the lengths, creating an accidental glowing scalp effect.
Leave the product on the hair for 35 minutes to allow full deposit. The first 15 minutes allow the developer to soften the cuticle and shift natural melanin, while the remaining 20 minutes allow artificial red and brown couplers to oxidize and lock inside the cortex. Rinsing early halts the oxidation process before the heavy brown base pigments can fully form, leaving you with raw, uneven copper tones.
Emulsify and Rinse with Lukewarm Water
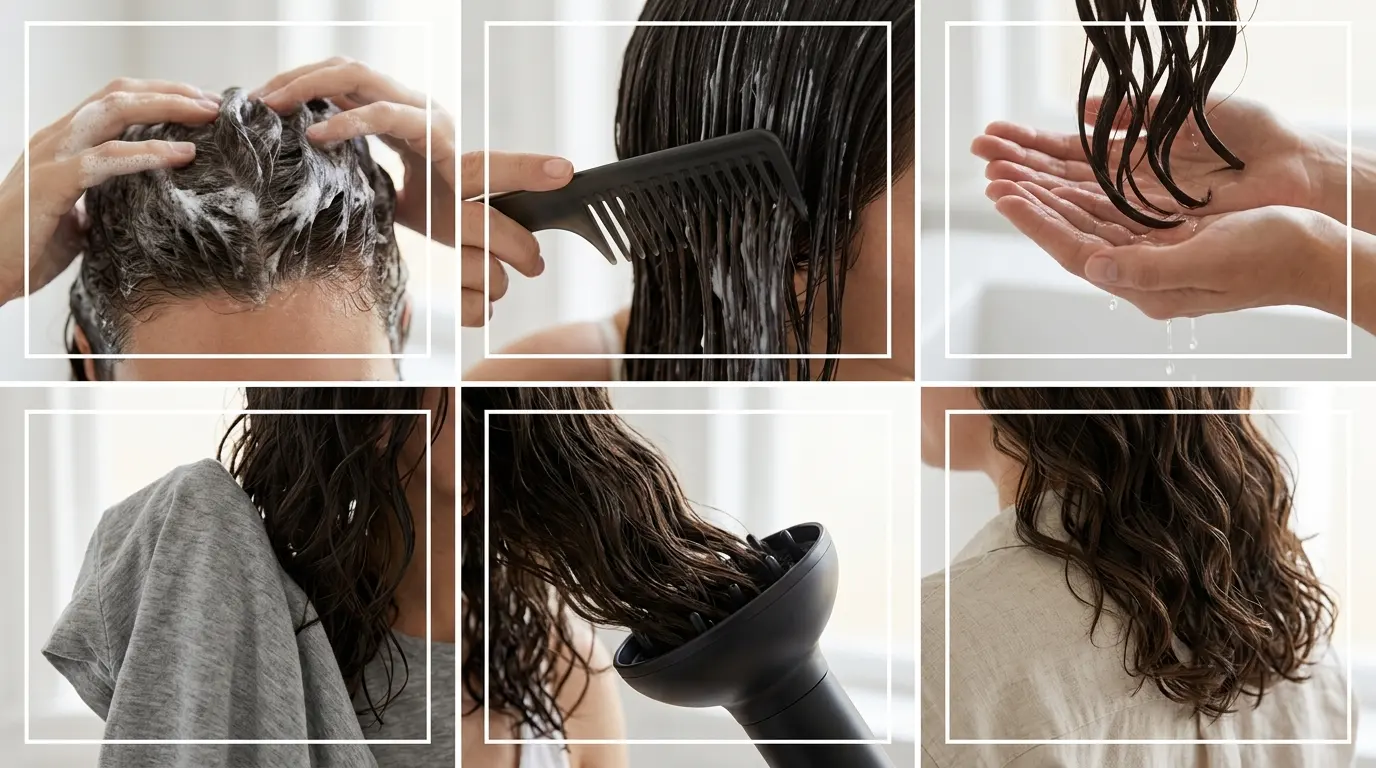
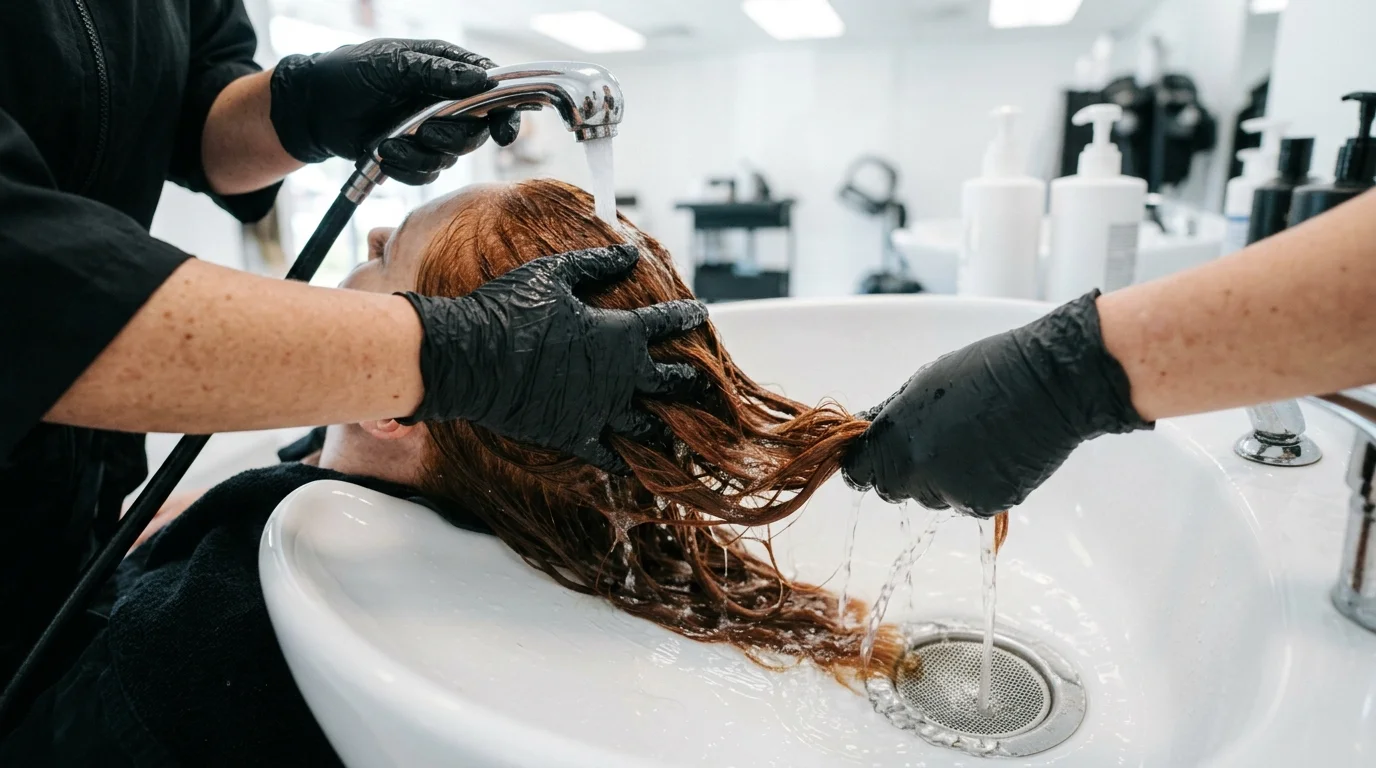
Step into the shower and apply a splash of tepid water across the hairline. Massage the wet edges in small circular motions using gloved fingers to loosen any dried dye from the skin. Work that moisture through the rest of the hair for two minutes, using the emulsion to break surface tension and buff away excess color deposits.
Rinse the hair thoroughly with lukewarm or cool water until the stream runs clear. Hot water expands the cuticle layer immediately, flushing out the smallest red dye molecules before they settle. Do not use clarifying shampoo on fresh color. Instead, coat the lengths in an acidic post-color conditioning balm with a pH between 3.5 and 4.5. Let it sit for five minutes to close the cuticle scales tightly over the fresh pigment.
Rescue Uneven Bands and Tone Mistakes
If your final color reveals flaming roots with muddy ends, the heat from your head pushed the base level too high at the scalp. Fix this hot root problem by applying a deposit-only demi-permanent level 4 neutral brown with 5-volume developer strictly to the first inch of hair for 15 minutes. This drops the brightness back down without shifting the rest of your work.
When the entire head turns too dark and looks almost black under bathroom bulbs, do not reach for powder bleach. Mix equal parts clarifying shampoo and 10-volume developer, lather it through damp hair, and work it for ten minutes under warm water. This gentle bath strips away the outermost layer of heavy brunette pigment, allowing the hidden red-violet reflect to emerge into the light.
Maintain Tone Density Between Dye Cycles
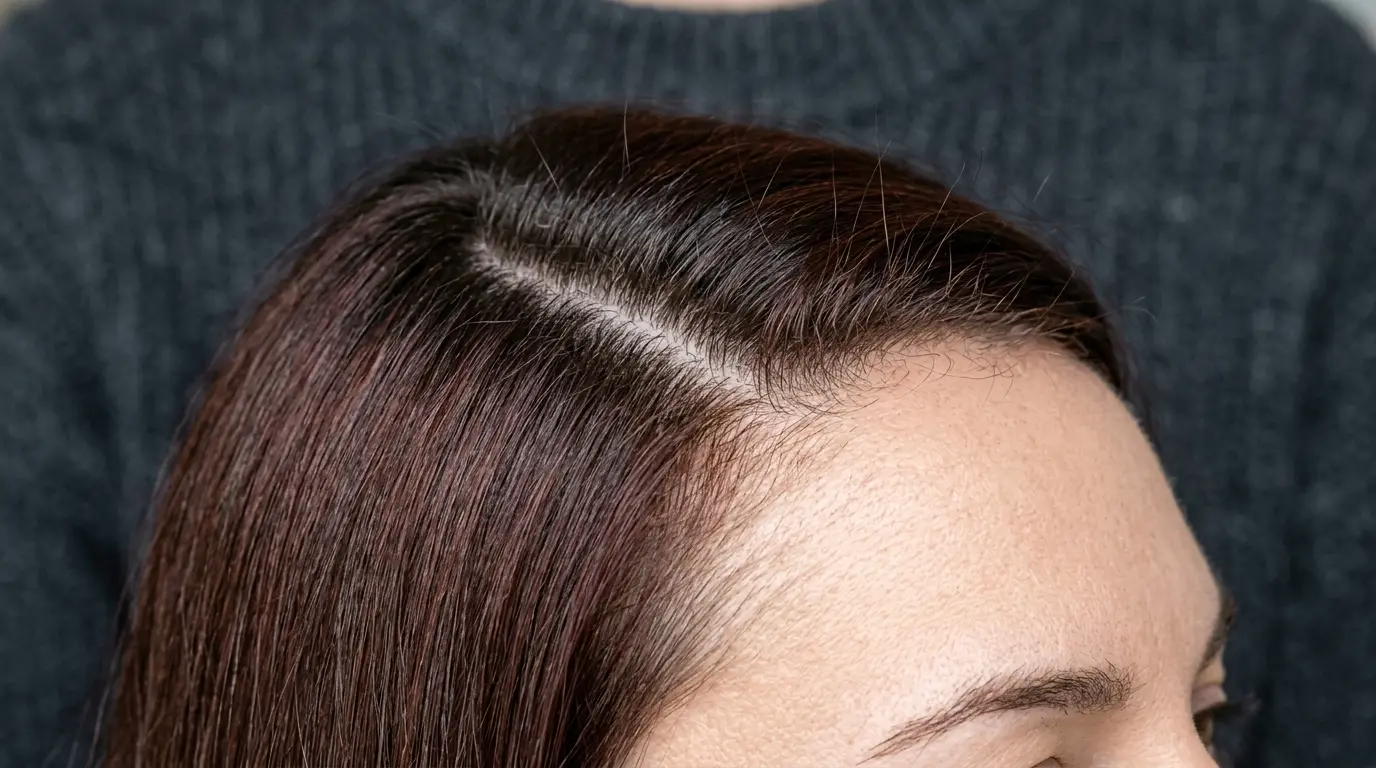
Red artificial pigments hold a smaller molecular weight than brown pigments, causing them to slip out of the cortex every time hair gets wet. Water alone accounts for the majority of color wash-out. Wash your hair no more than twice weekly, keeping water temperatures comfortably cool.
Between permanent root touch-ups, refresh faded mid-lengths using a pigmented red-brown conditioning mask every third wash. Leave the depositing mask on damp strands for 10 minutes after cleansing. This routine replenishes lost ruby tones without forcing you to reapply chemical developers over previously processed lengths, preserving elasticity and shine across every season.
Professional Formulation Rules for Custom Shades
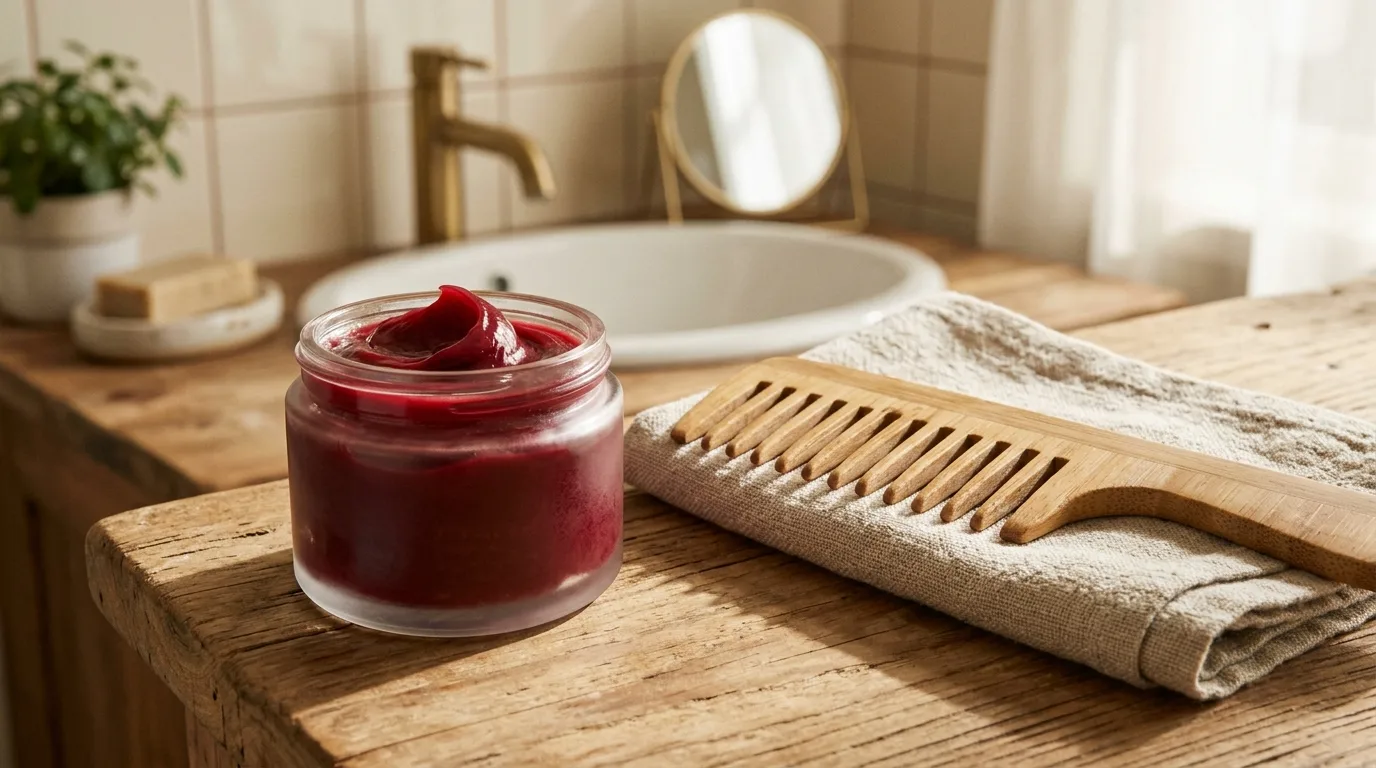
Getting customized salon results requires tweaking your baseline ratios to complement specific textures, skin tones, and underlying pigments. A standard cherry cola hair color formula balances equal parts depth and warmth, but specialized adjustments ensure the red undertones never look flat or unintentional on complex starting bases.
When formulating for clients who prefer salon-specific product lines, a cherry cola hair color formula paul mitchell approach uses 3 parts 5VR to 1 part 4N mixed with 20-volume developer. This specific red-violet base cancels underlying greenish tones in older box dyes while maintaining a reflective, polished finish.
If you want noticeable movement through your lengths, try cherry cola hair color with highlights. Lift fine ribbons around the face to a level 7 copper using a low-ammonia clay lightener before glazing the entire head with a demi-permanent gloss. The pre-lightened ribbons take on a bright ruby sparkle, while the deeper brunette base grounds the overall look.
Stylists often adapt this palette into the chocolate cherry hair color trend, which leans heavily into warm cocoa undertones instead of violet. To mix this variation, substitute the red-violet booster for an auburn-red tone, blending 40 grams of level 5 warm brown with 20 grams of true red. This creates cherry cola hair color brown strands that complement olive and golden complexions without pulling cool berry.
Executing cherry cola hair color at home demands patience and accurate tools. Many people jump straight into the dye application without reviewing cherry cola color basics and considerations, such as porosity and previous dye buildup. Previously dyed dark hair will not lift with color alone. Applying a fresh mixture directly over old black dye yields zero visible change. In those cases, you must run a gentle sulfur-based color reducer through the lengths first to clear out old artificial pigment.
Once your canvas is prepped, cherry cola colored hair offers the depth of a dark brunette paired with the visual punch of a red fashion shade. Take your time measuring, section cleanly, and keep heat away from your processing roots to achieve uniform color from front to back.
Common Questions About Cherry Cola Formulations
What colors make cherry cola hair?
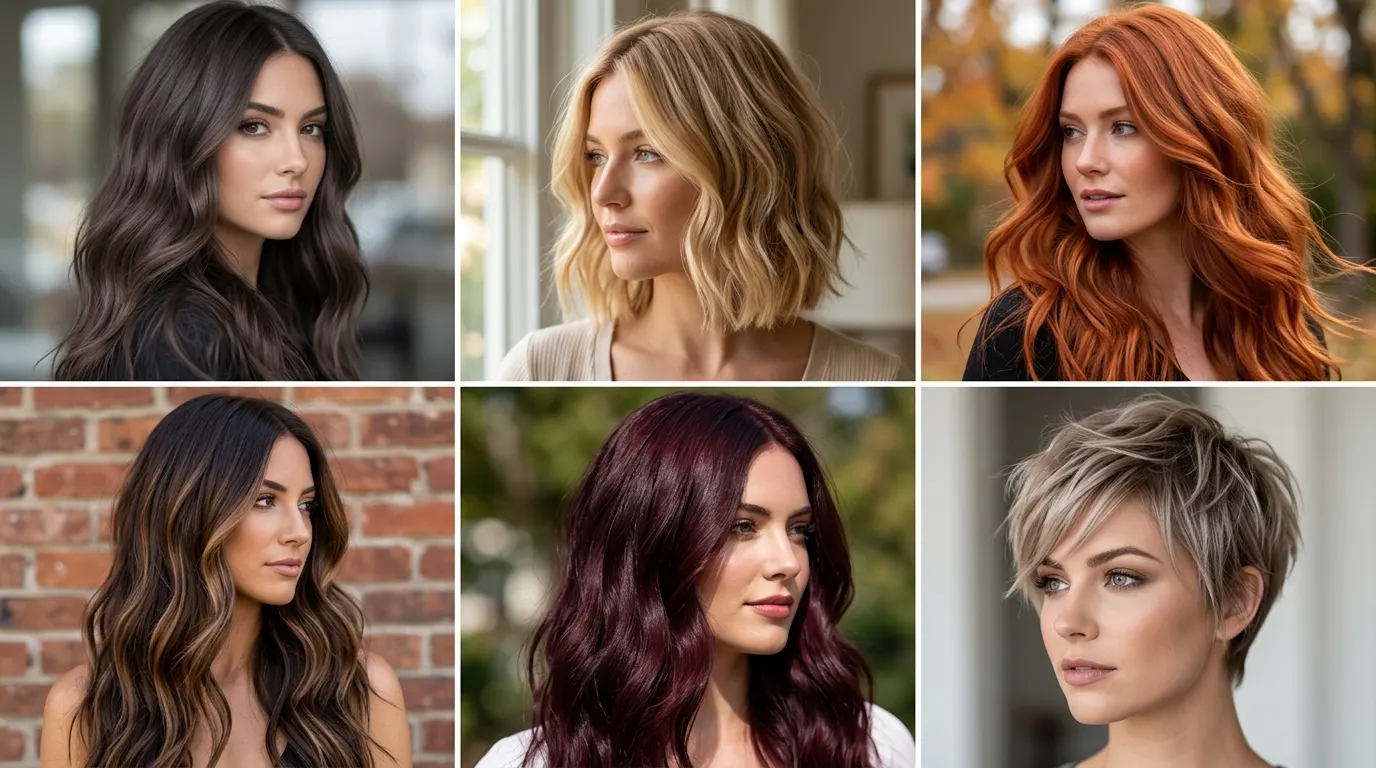
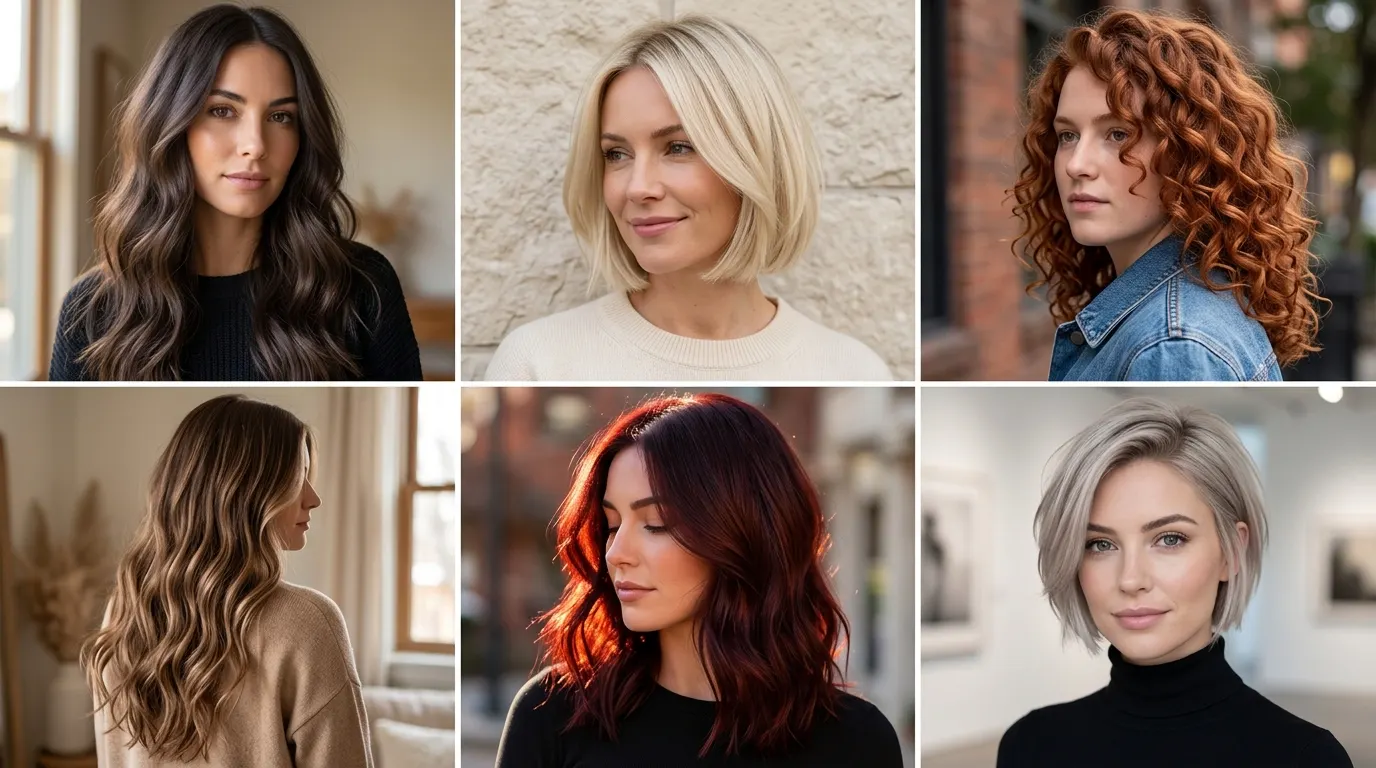
The look is created by blending two distinct shade families: a dark neutral or golden brunette base (levels 4 to 5) mixed with an intense red-violet or ruby red concentrate. The brown creates deep, wearable darkness, while the red-violet reflects light with a crimson pop.
How does cherry cola differ from standard burgundy hair?
Burgundy contains strong purple, blue, and wine undertones built on a dark base. Cherry cola relies on a distinct soda-brown chocolate foundation combined with true red and violet-red tones, making it appear warmer and richer under direct light.
Can you get cherry cola tones without bleaching?
Virgin hair at a level 4 or lighter easily shifts to cherry cola using permanent dye mixed with 20-volume developer, requiring no separate lightener. Hair that has already been dyed dark brown or black needs a color stripper to remove artificial dye before the red tones will show.
How long will the red tone stay vibrant?
The red reflect remains bright for two to four weeks depending on your wash habits. After four weeks, the crimson reflect gently fades, leaving behind a soft auburn-brunette base that can be revived using a red-tinted color conditioner.
Step Order Summary for Mixing and Applying
Success with this shade depends on strict order of operations. Always measure your base brown and booster pigments by weight on a scale, blend the cream thoroughly with 20-volume developer, section dry strands into four quadrants, apply from mid-lengths to ends first, finish at the scalp, and let the product process uncovered for 35 minutes before rinsing cool.
Affiliate disclosure: This guide contains affiliate links. If you purchase styling tools or color products through these links, a small commission may be earned at no extra cost to you.
Safety warning: Always perform a patch test behind your ear 48 hours prior to full application to check for allergic reactions to permanent hair dyes. Avoid using metallic tools with developers to prevent chemical heat reactions.
Related reads: Flattering Hairstyles for Thin Hair and Round Face Shapes, Flattering Ways on How to Braid Your Own Hair Step by Step and Hair Color 2026 Trends Women Are Booking Now.